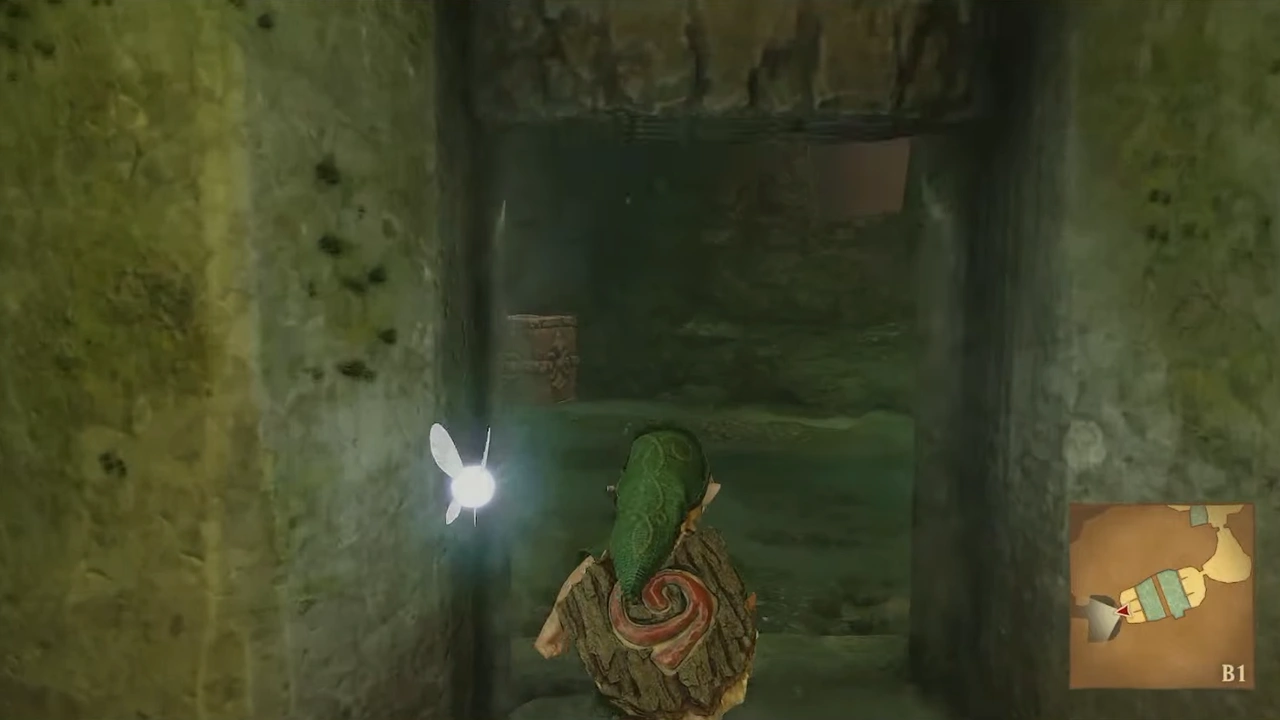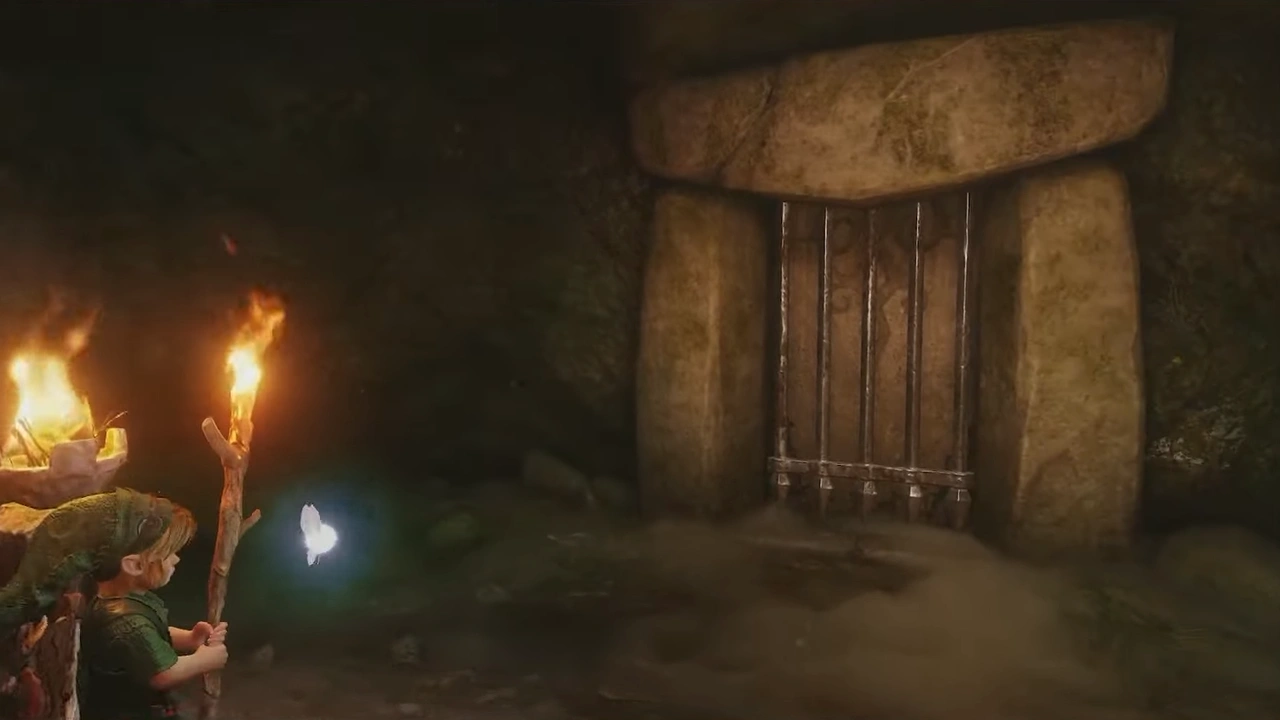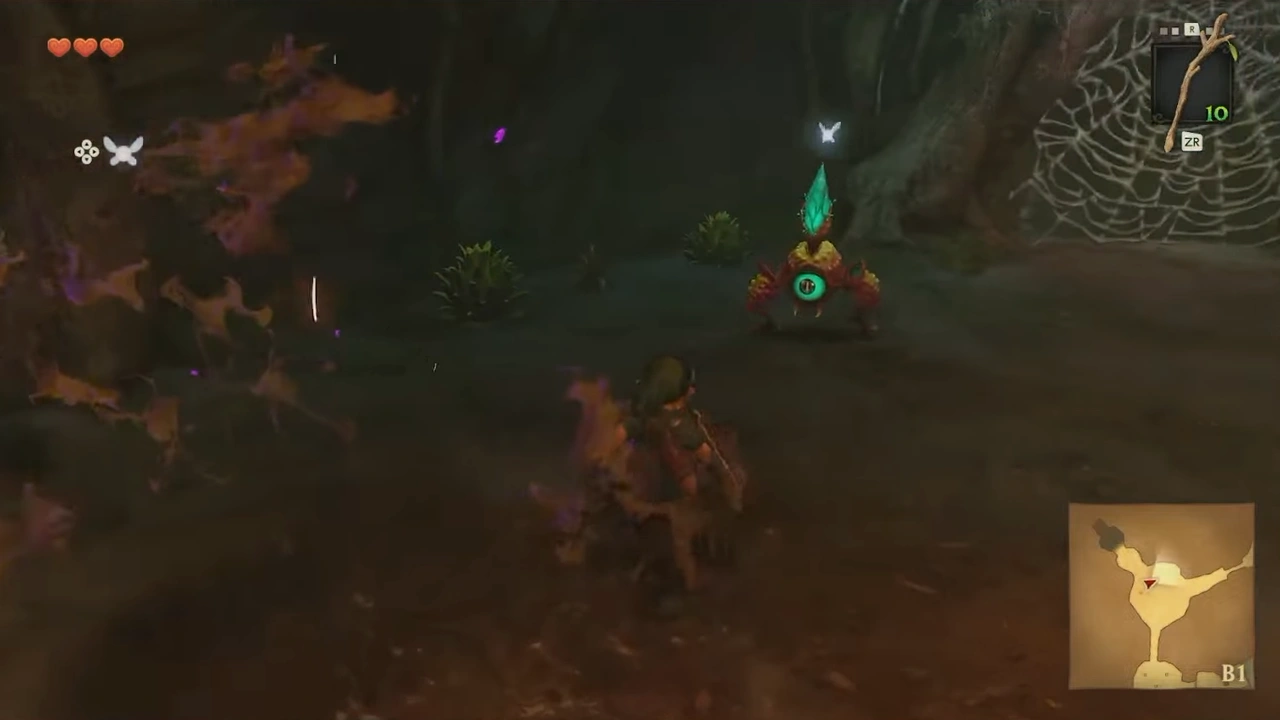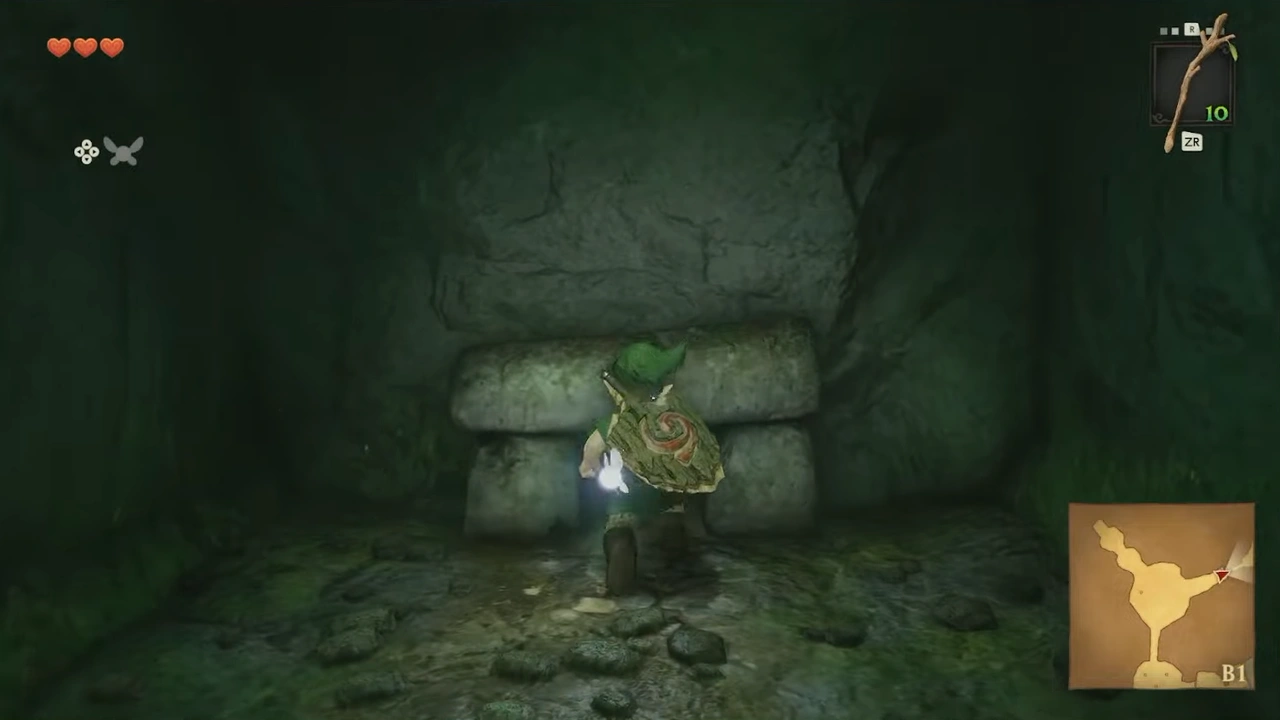
Z

Kokiri's Emerald

By

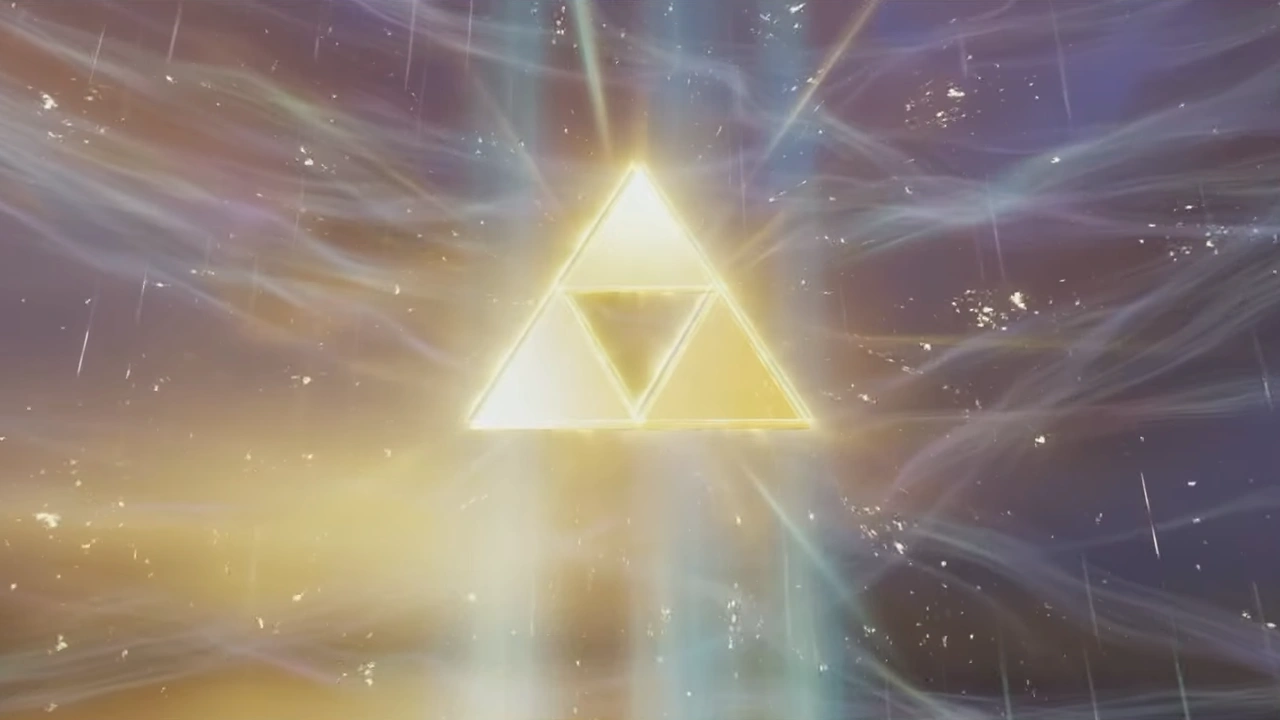
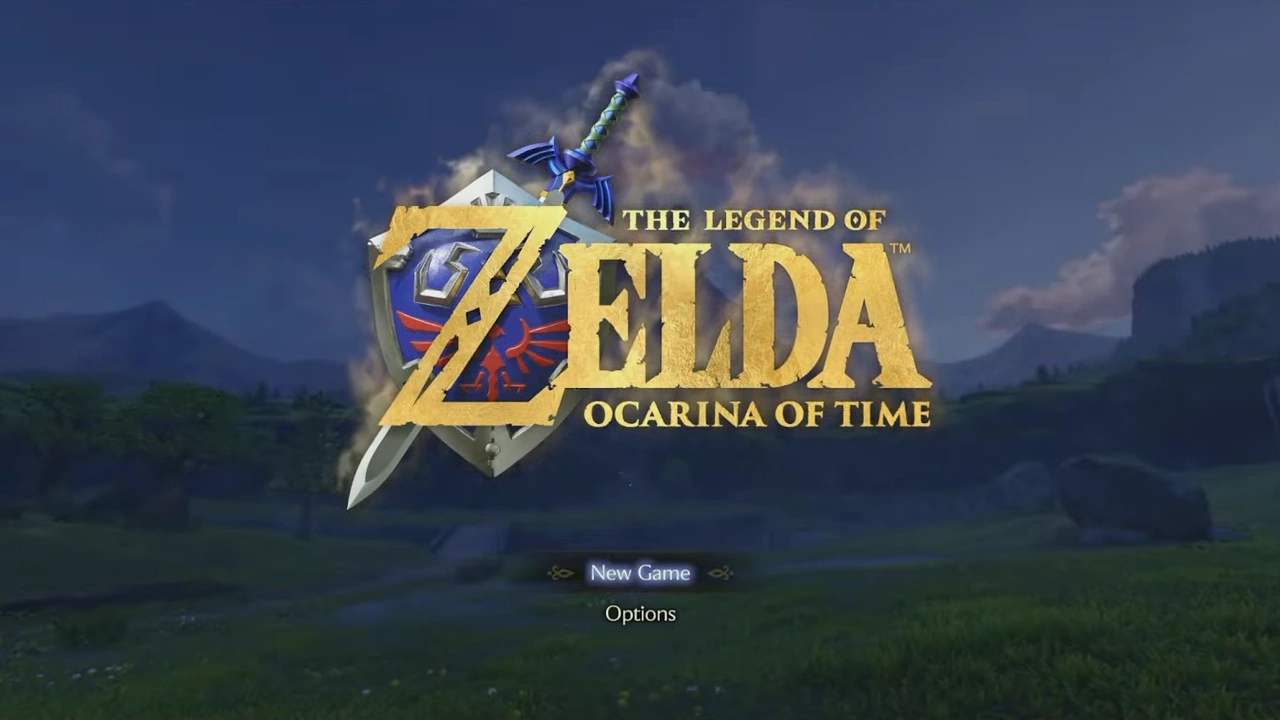
Title screen of The Legend of Zelda: Ocarina of Time
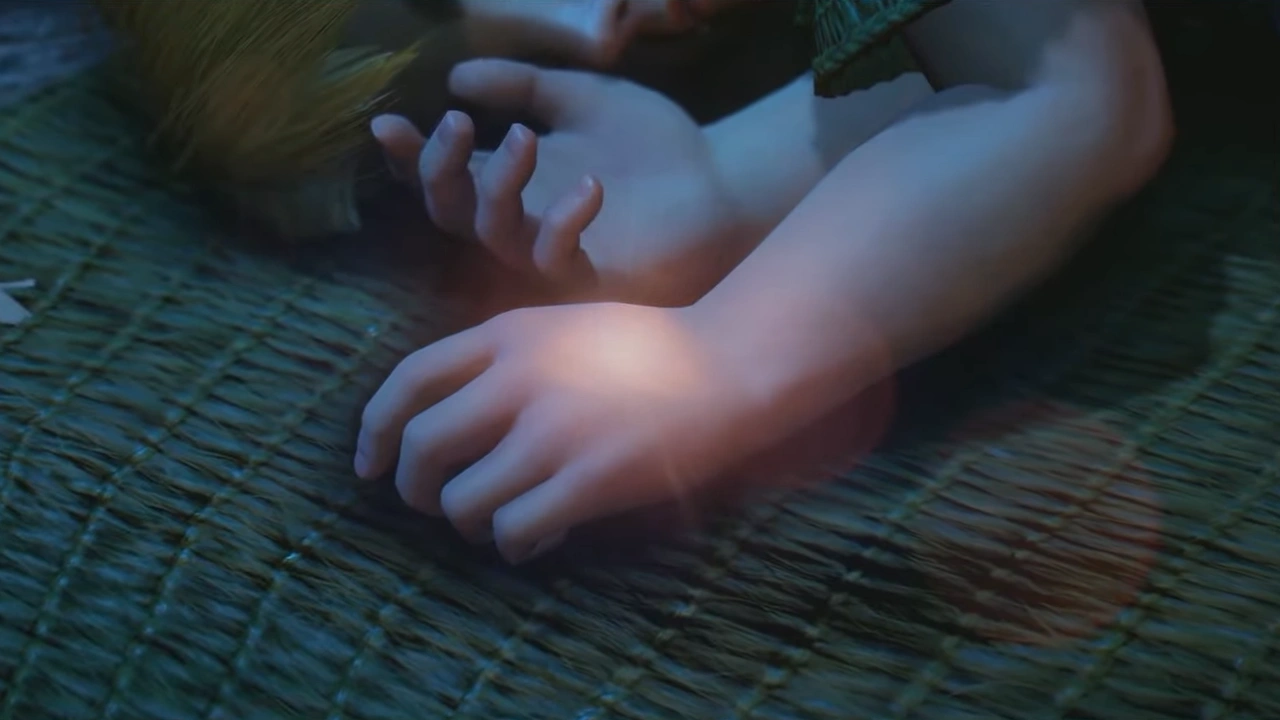
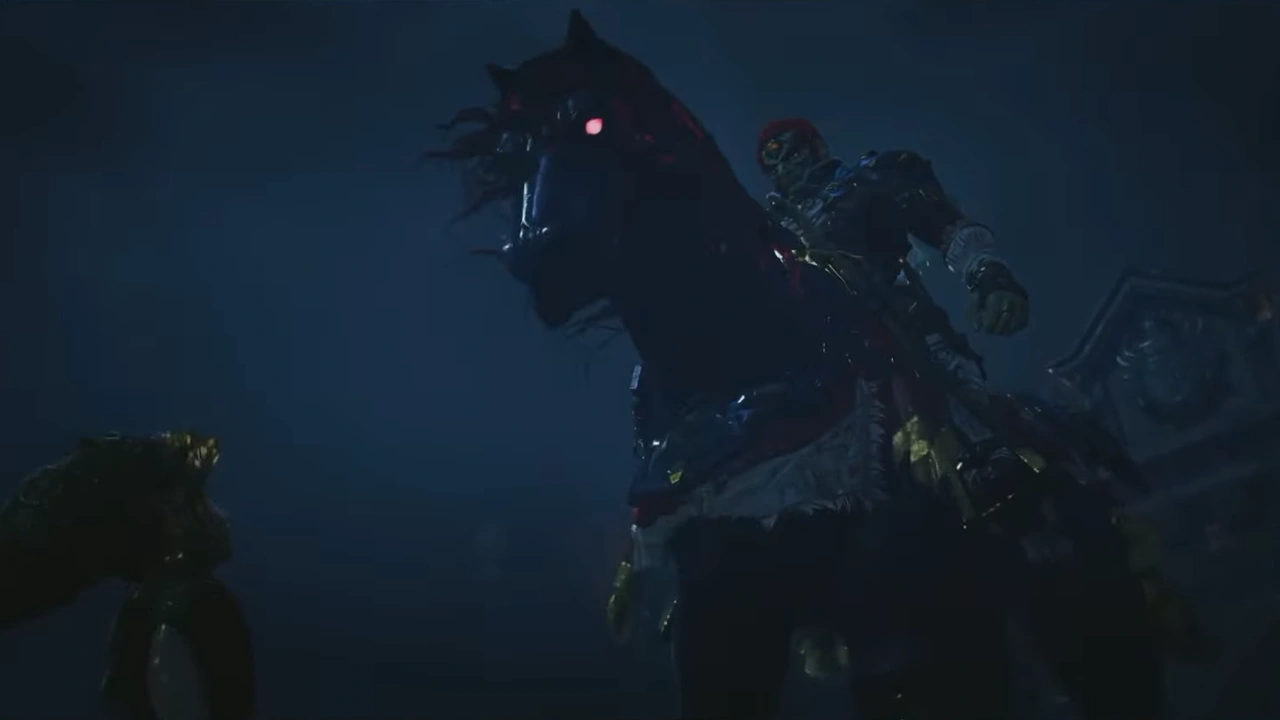
Close-up of Link's hands as he wakes up in his houseGanondorf on horseback in the opening cutscene
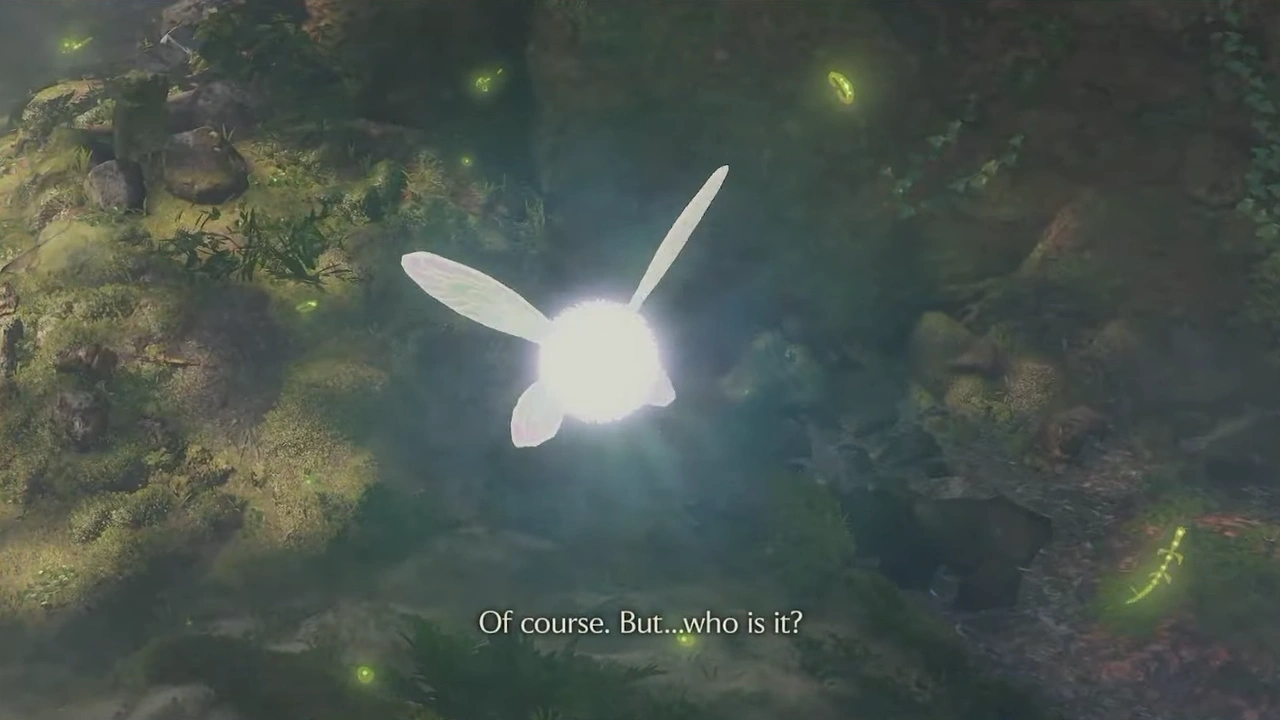
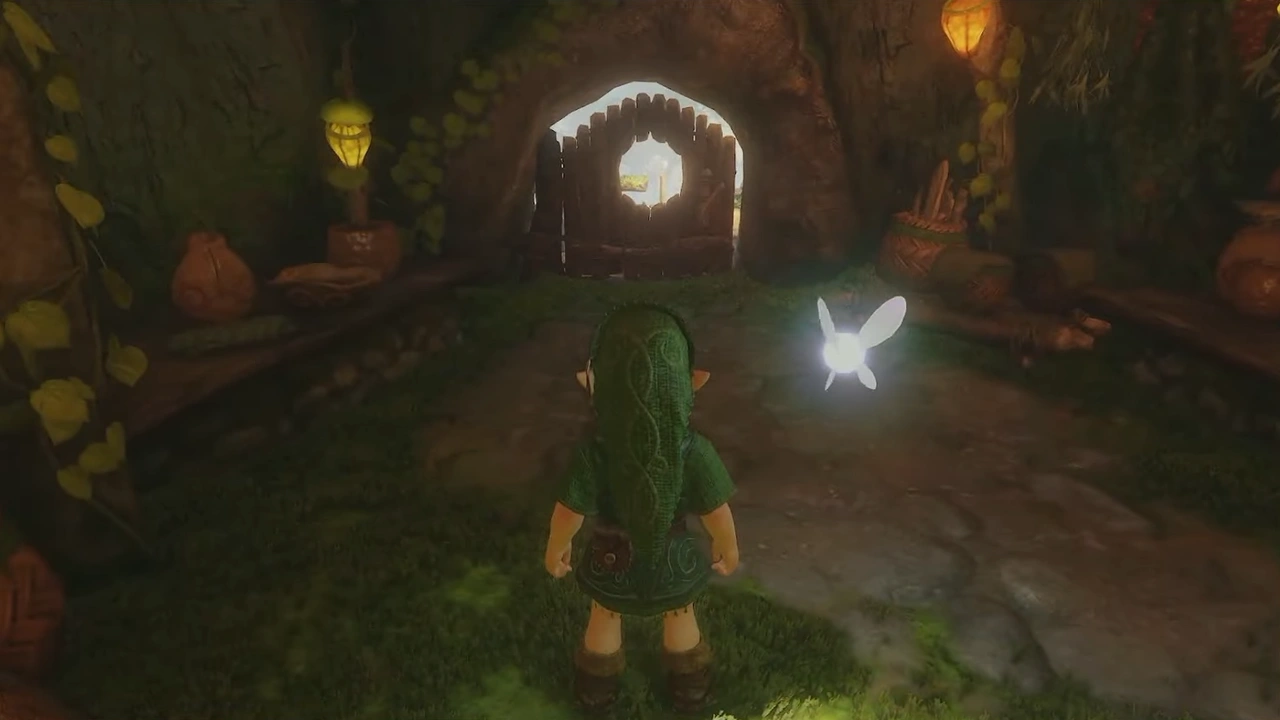
Navi glowing inside Kokiri ForestLink inside his house looking toward the exit

Once we have control of Link, the first thing we'll do is leave the house and head into Kokiri Forest.
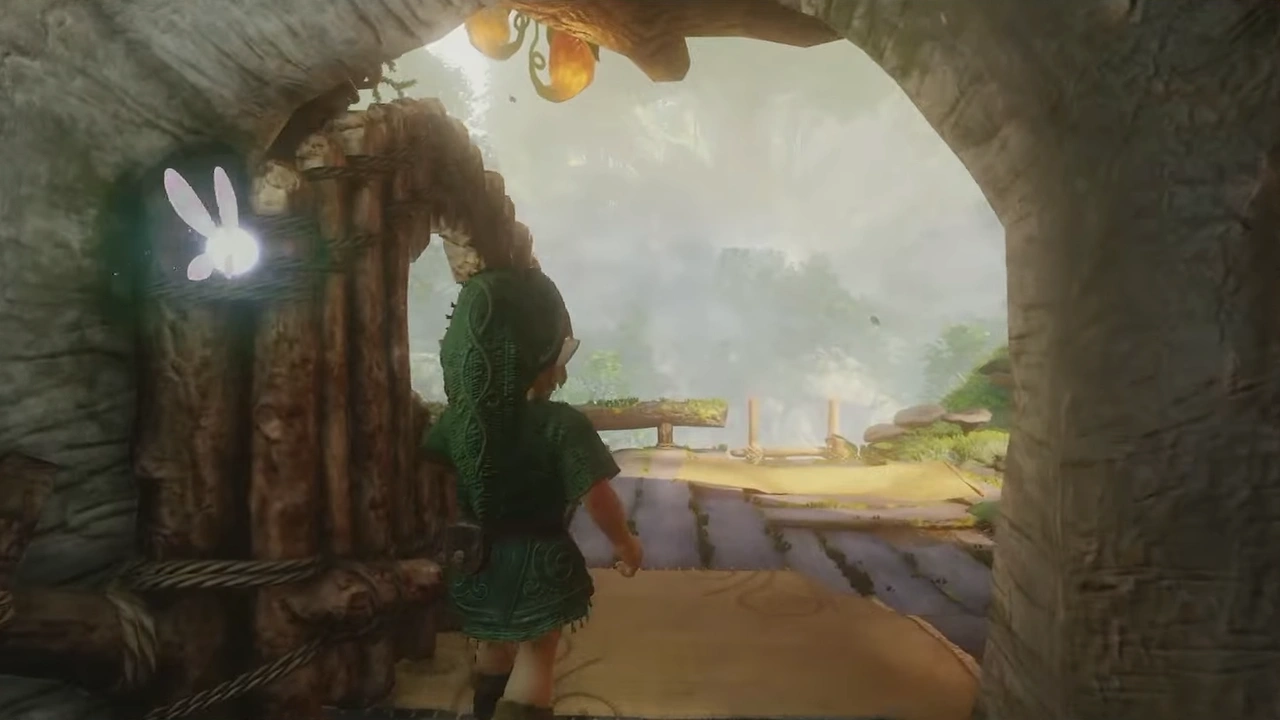
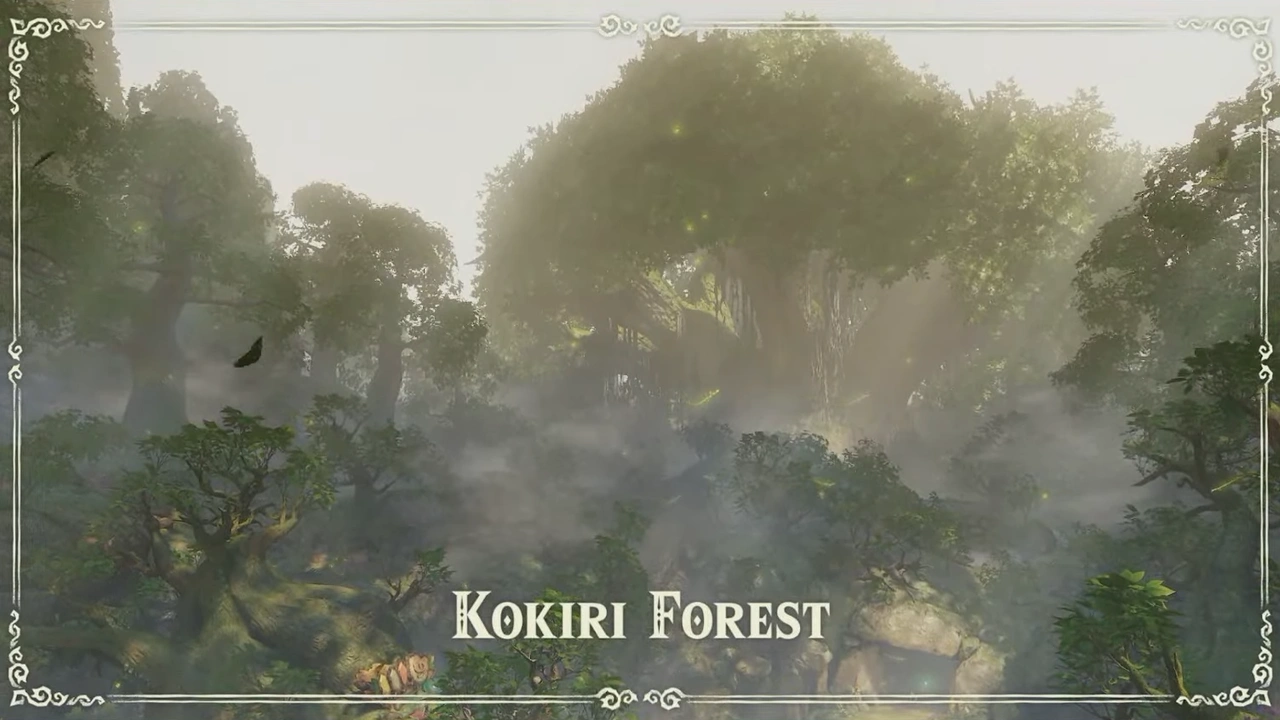
Once we have control of Link, the first thing we'll do is leave the house and head into KokiriOnce we have control of Link, the first thing we'll do is leave the house and head into Kokiri (screenshot 7)

Saria will greet us outside; we'll go down the stairs to talk to her.
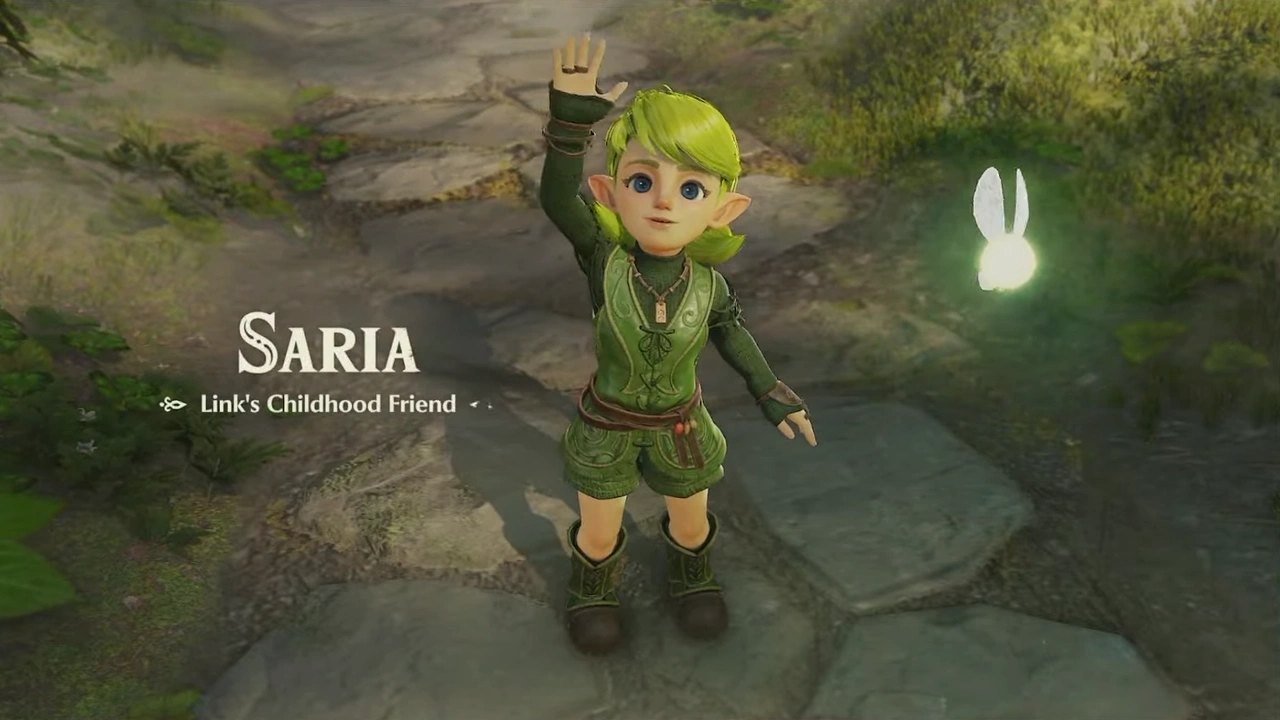
Saria will greet us outside; we'll go down the stairs to talk to herSaria will greet us outside; we'll go down the stairs to talk to her (screenshot 9)

First we'll look for the sword. To do that, we'll walk southwest until we see some stairs and climb them.
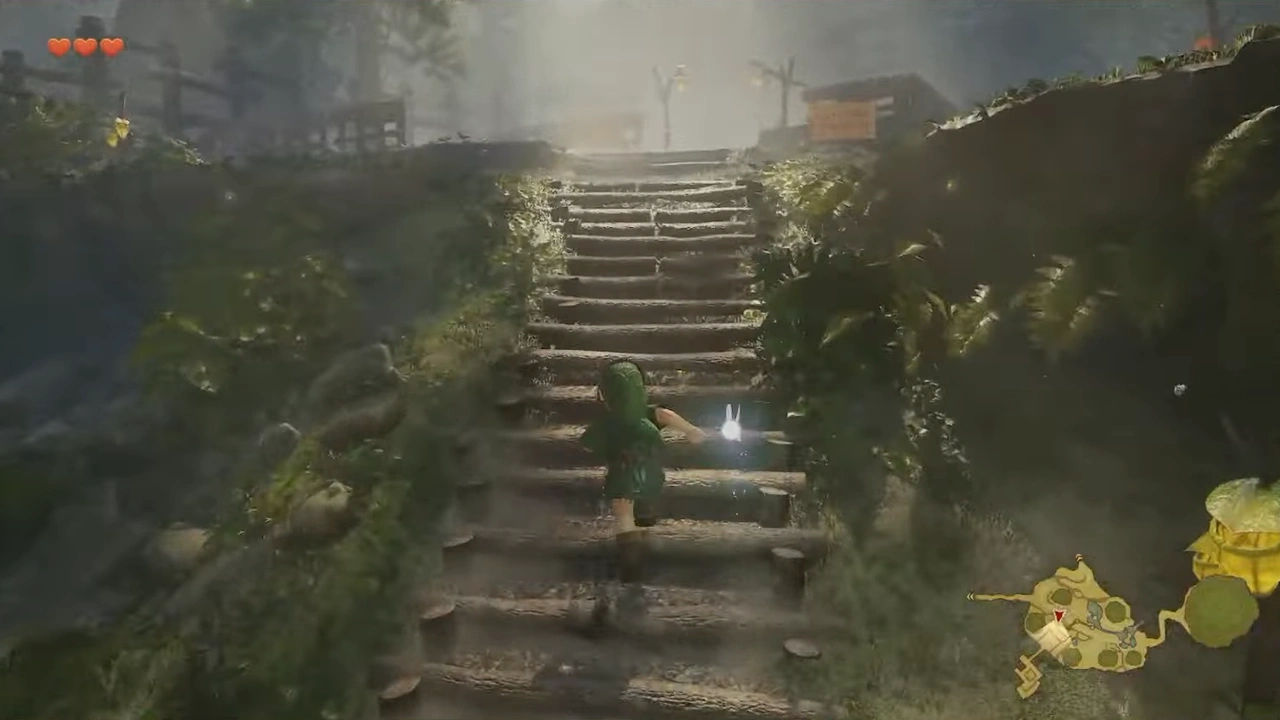
To do that, we'll walk southwest until we see some stairs and climb themFirst we'll look for the sword

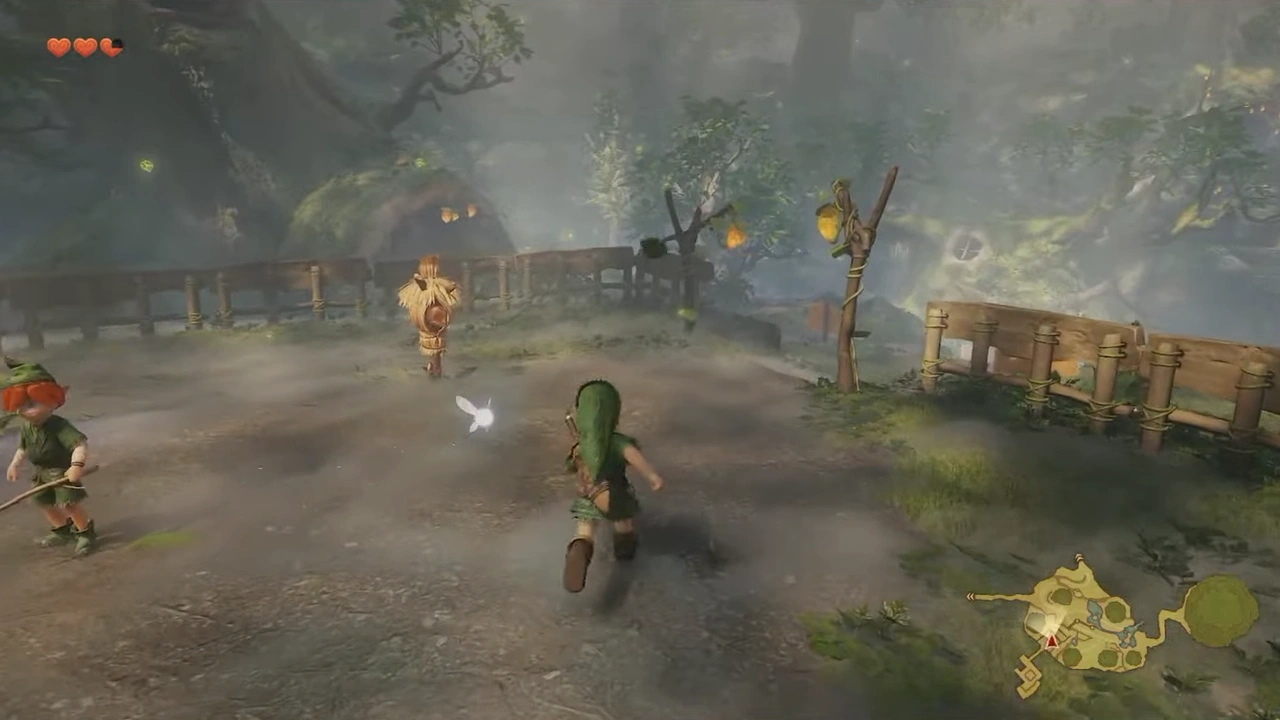
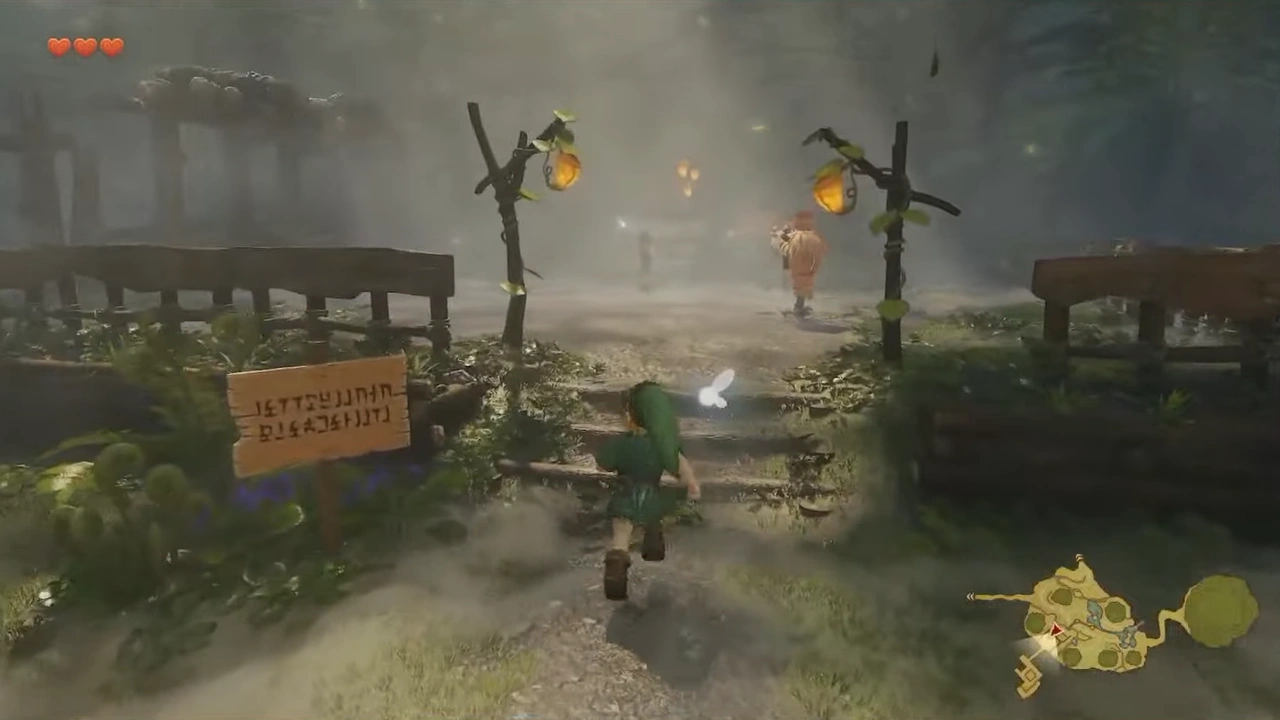
We'll pass a sign and a field with two training scarecrows. At the back, we'll see a small opening at the bottom of the wall that we can enter.
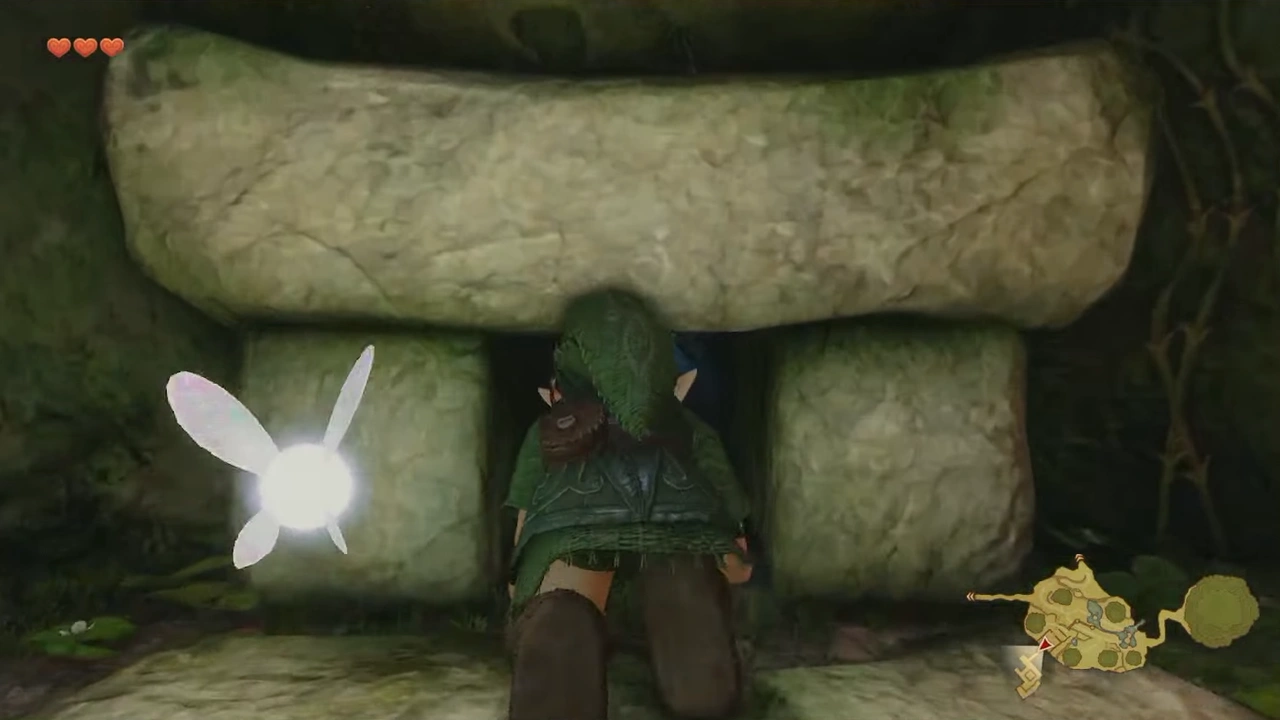
At the back, we'll see a small opening at the bottom of the wall that we can enterWe'll pass a sign and a field with two training scarecrows

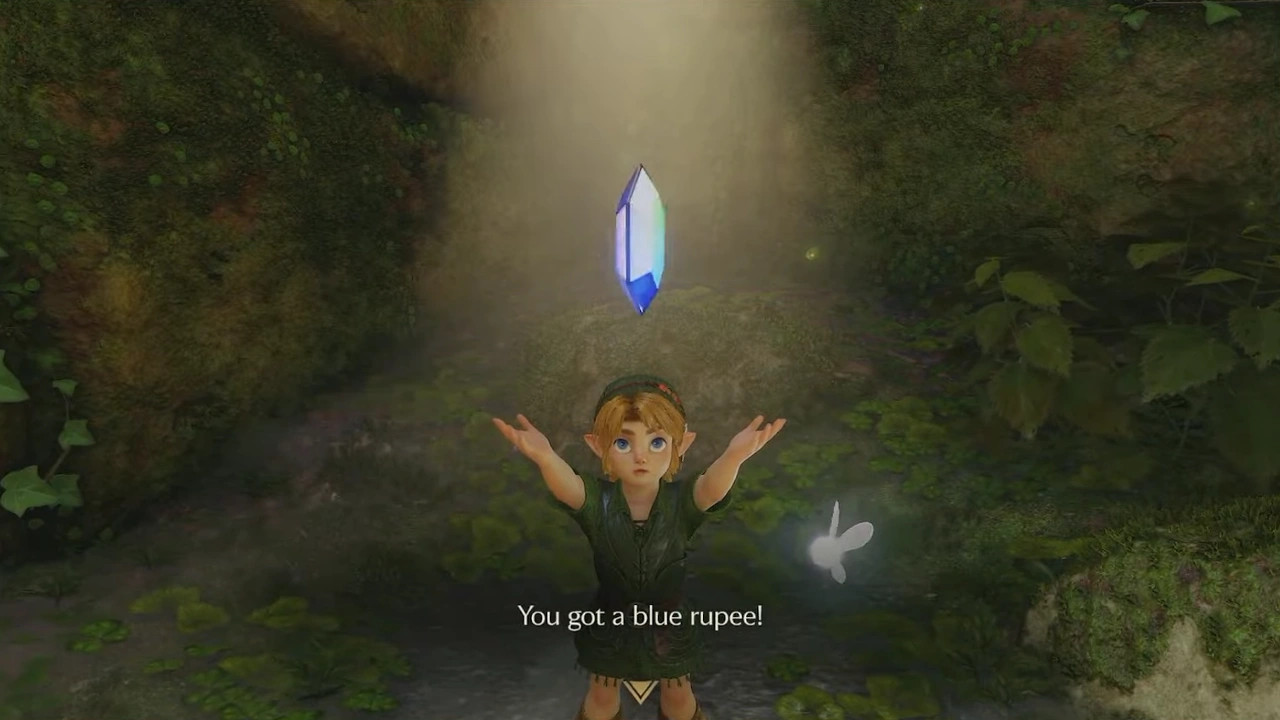
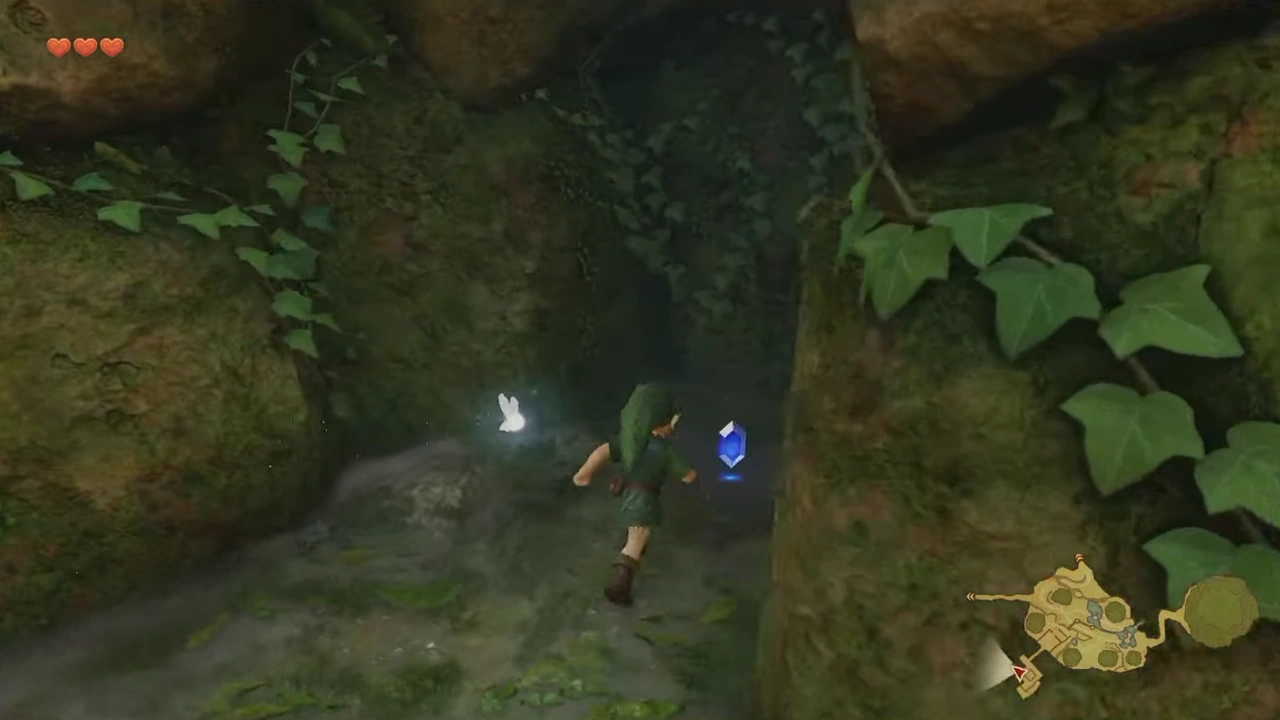
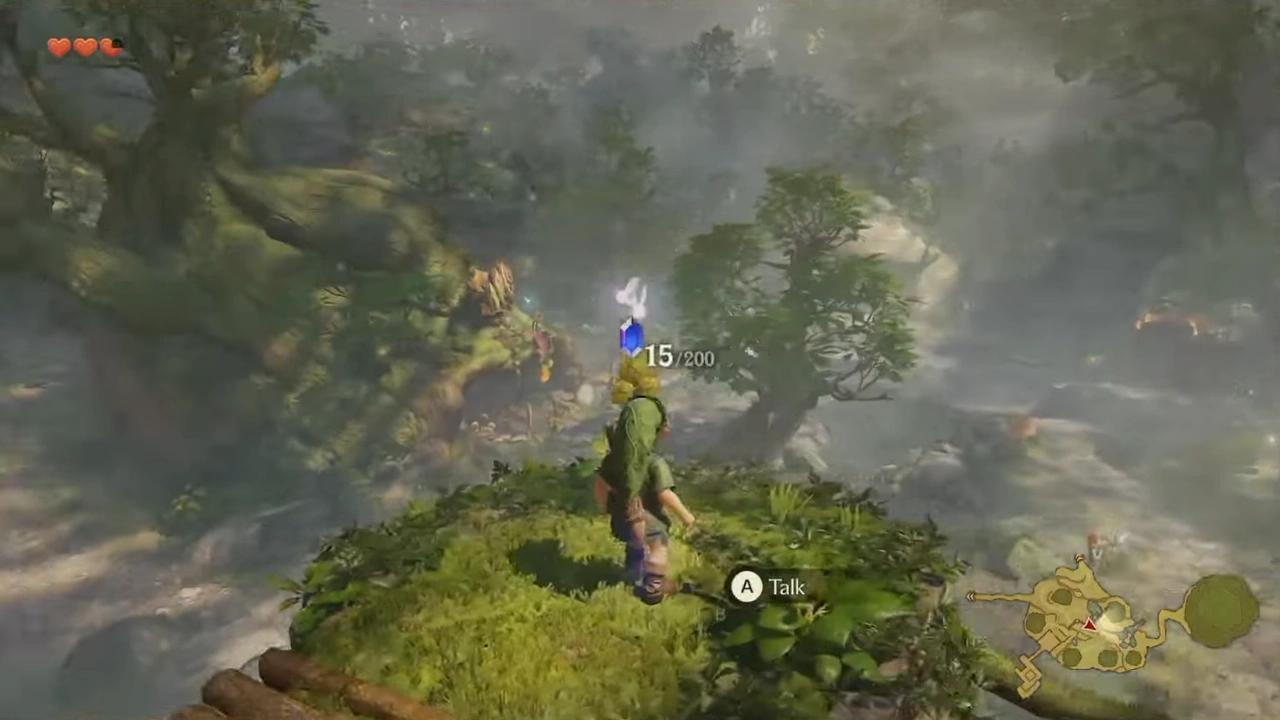
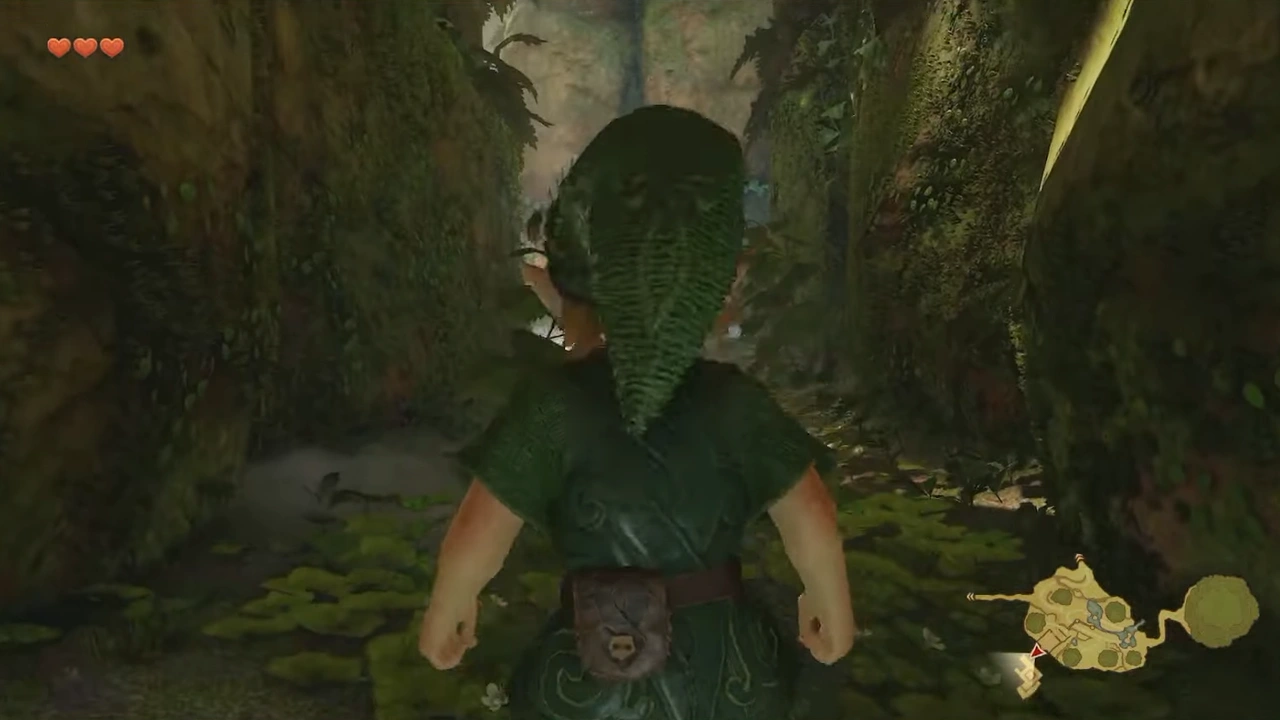
Once inside, we'll keep going straight and turn right to find a Blue Rupee.
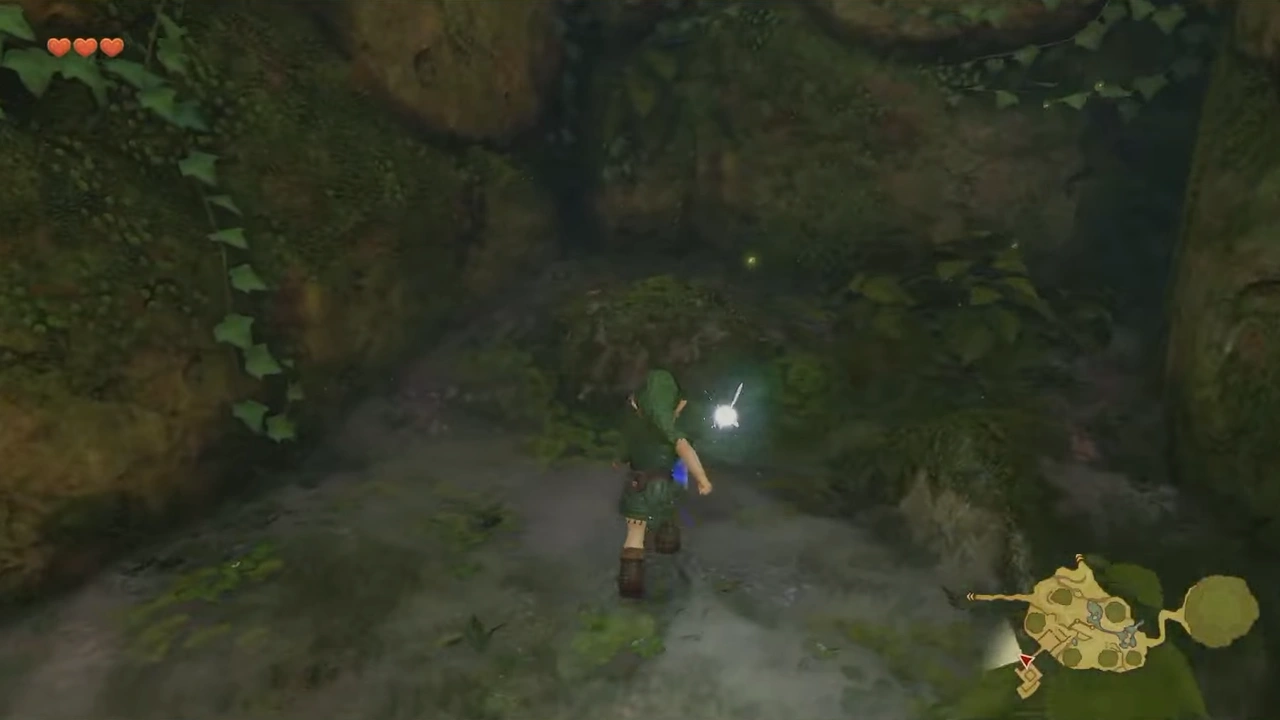
Once inside, we'll keep going straight and turn right to find a Blue RupeeOnce inside, we'll keep going straight and turn right to find a Blue Rupee (screenshot 15)

On our left we'll find a spinning rock and, up above, a chest. There are small gaps we can use as cover so the rock doesn't hit us.
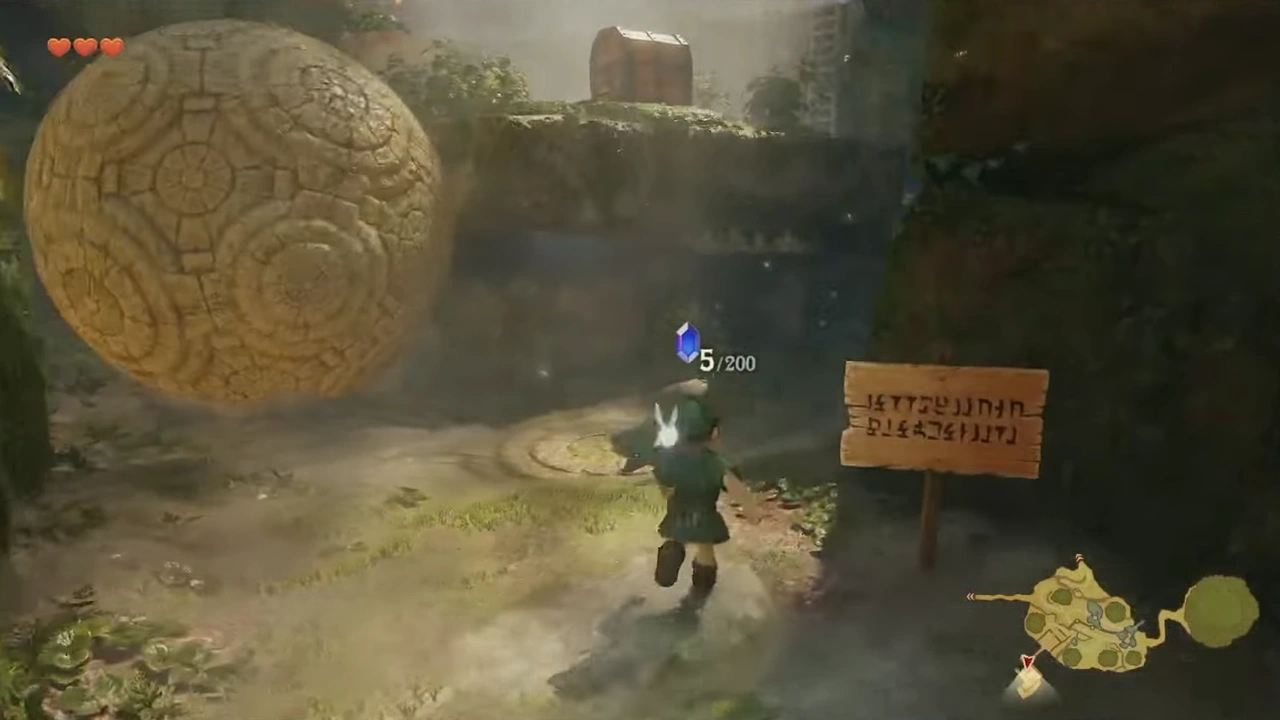
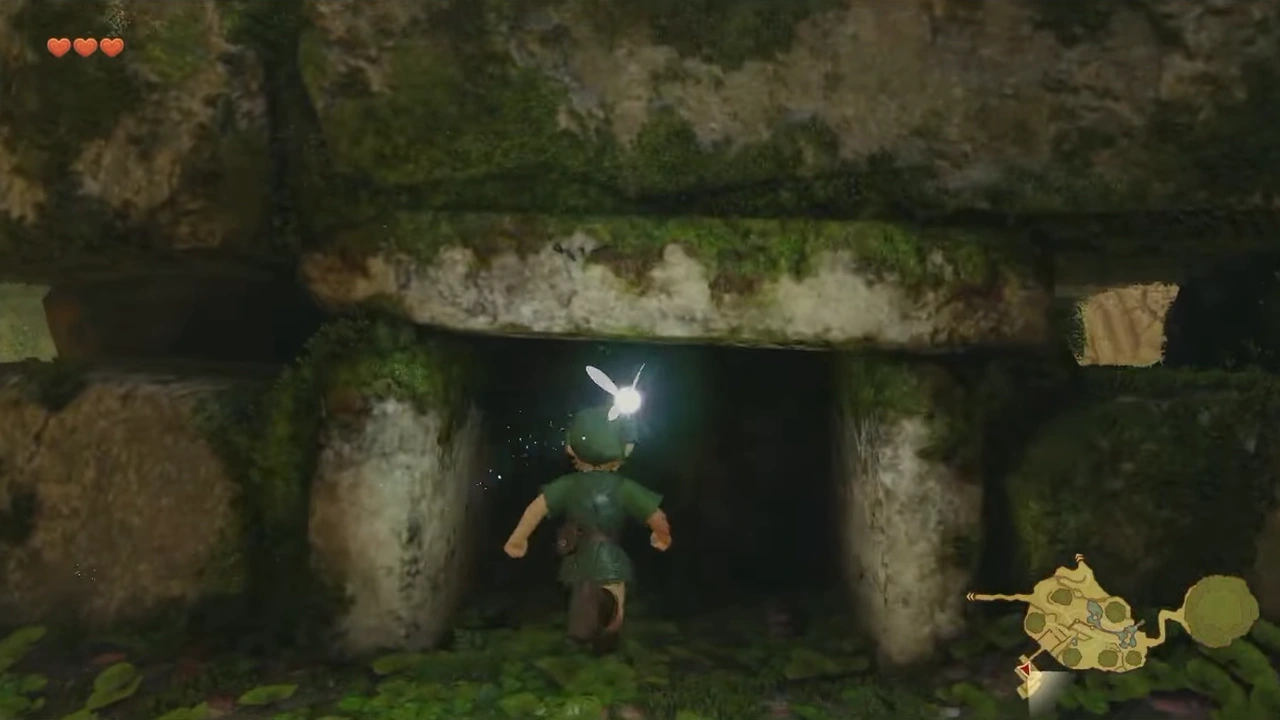
There are small gaps we can use as cover so the rock doesn't hit usOn our left we'll find a spinning rock and, up above, a chest

We'll follow the path, turning right twice, where we'll find another Blue Rupee.
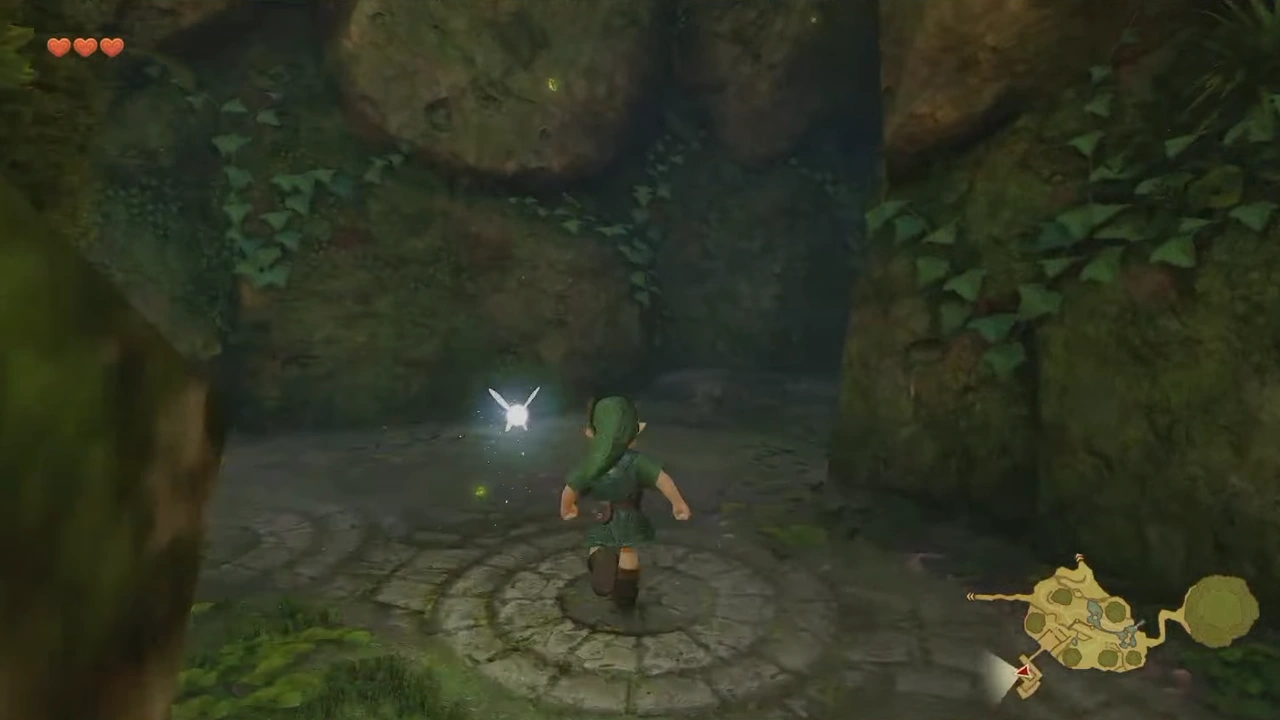
We'll follow the path, turning right twice, where we'll find another Blue RupeeWe'll follow the path, turning right twice, where we'll find another Blue Rupee (screenshot 19)

In the corner opposite from where we started, we'll find some stairs. Once we climb them, we can jump to the chest's platform.
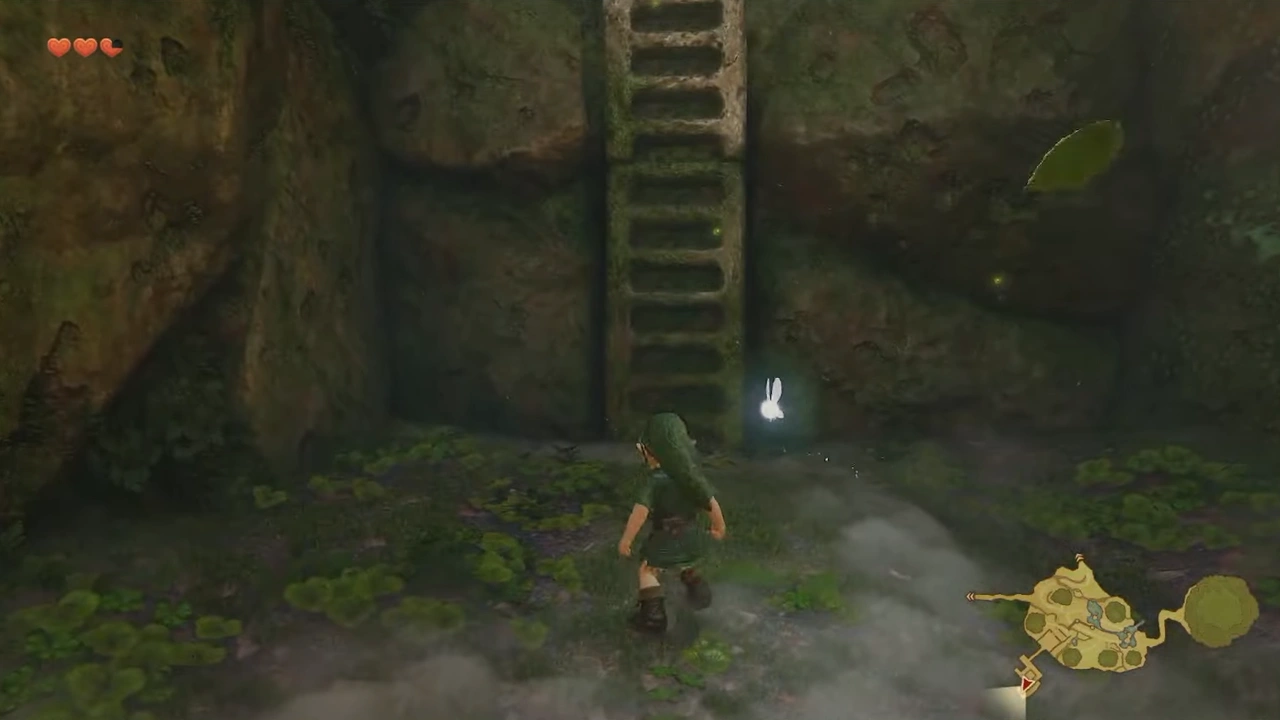
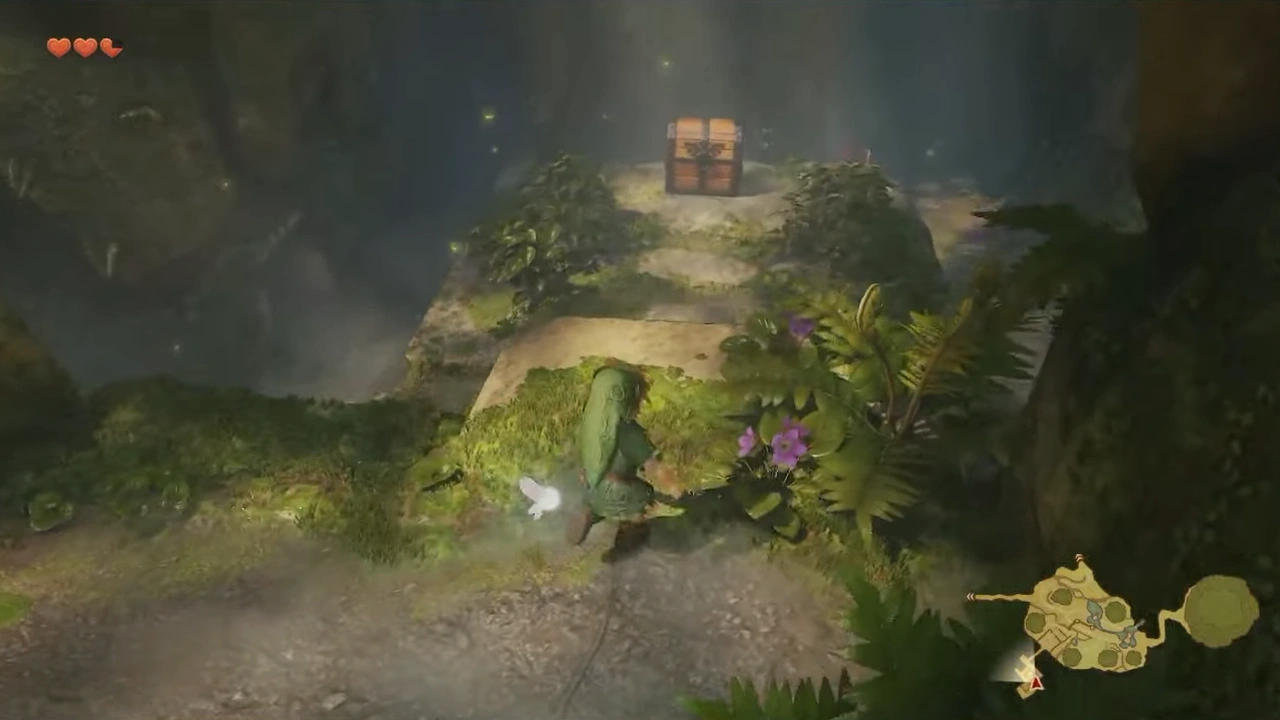
Once we climb them, we can jump to the chest's platformIn the corner opposite from where we started, we'll find some stairs

Inside we'll find the Kokiri Sword, and then we'll head back.
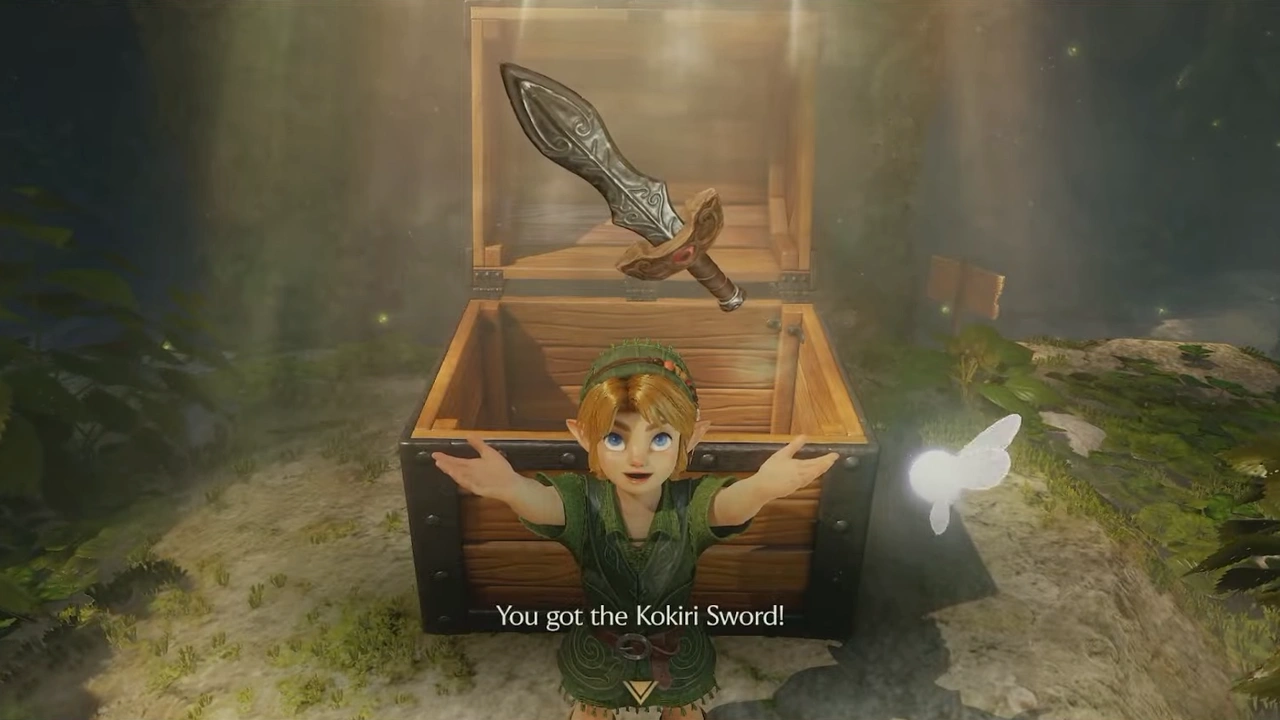
Inside we'll find the Kokiri Sword, and then we'll head backInside we'll find the Kokiri Sword, and then we'll head back (screenshot 23)

On the way back we'll take the wooden bridge, where we'll get another Blue Rupee at the end.
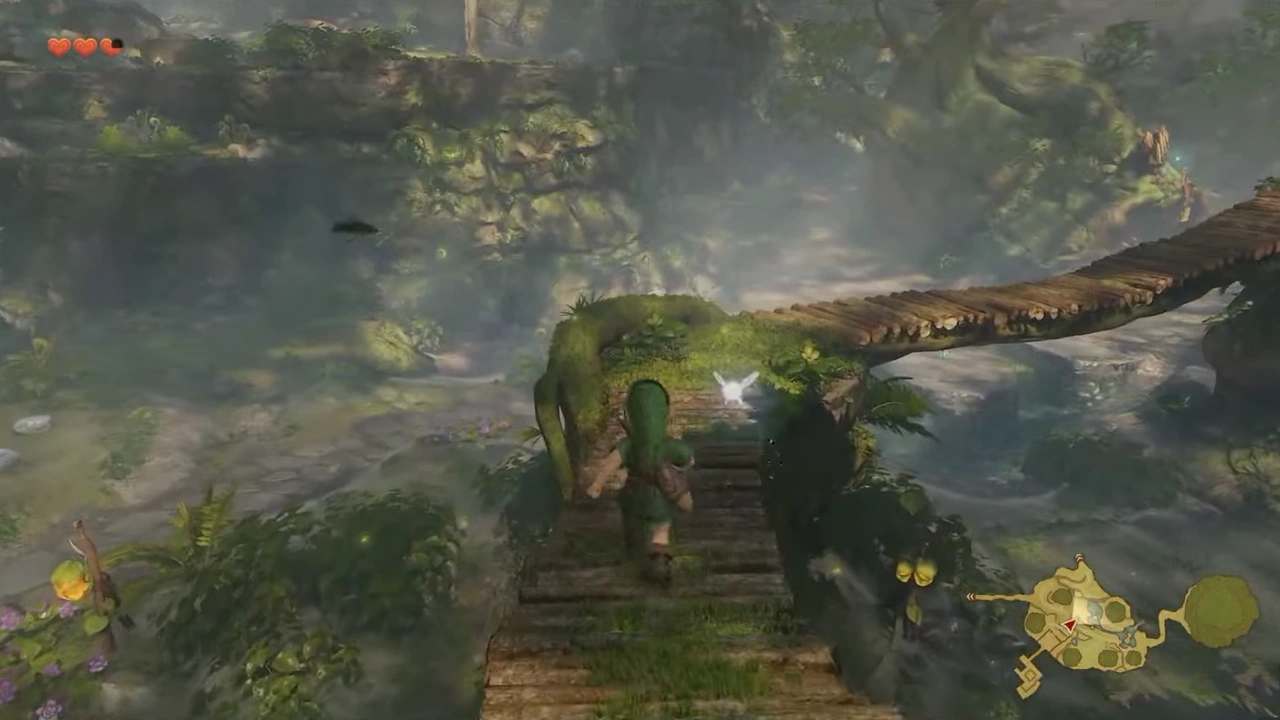
On the way back we'll take the wooden bridge, where we'll get another Blue Rupee at the endOn the way back we'll take the wooden bridge, where we'll get another Blue Rupee at the end (screenshot 25)

We'll now walk toward the center of the village, where we'll find a river and some platforms holding a Rupee and a Blue Rupee.
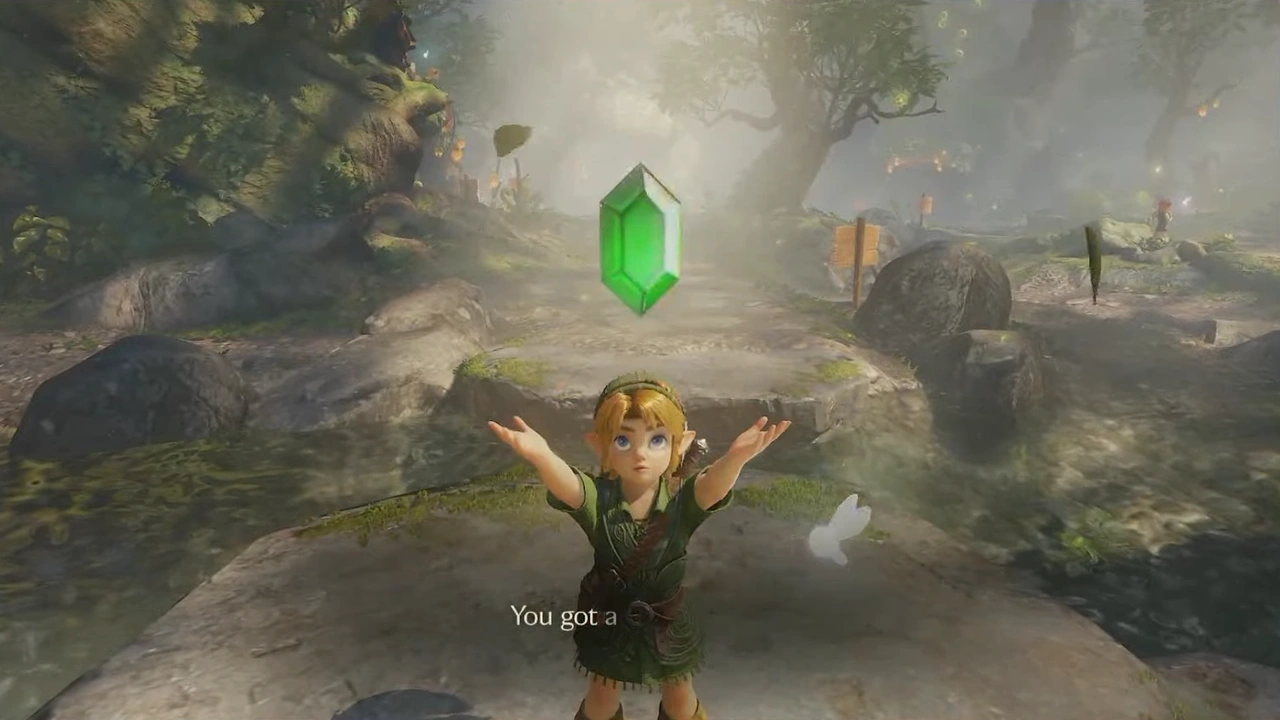
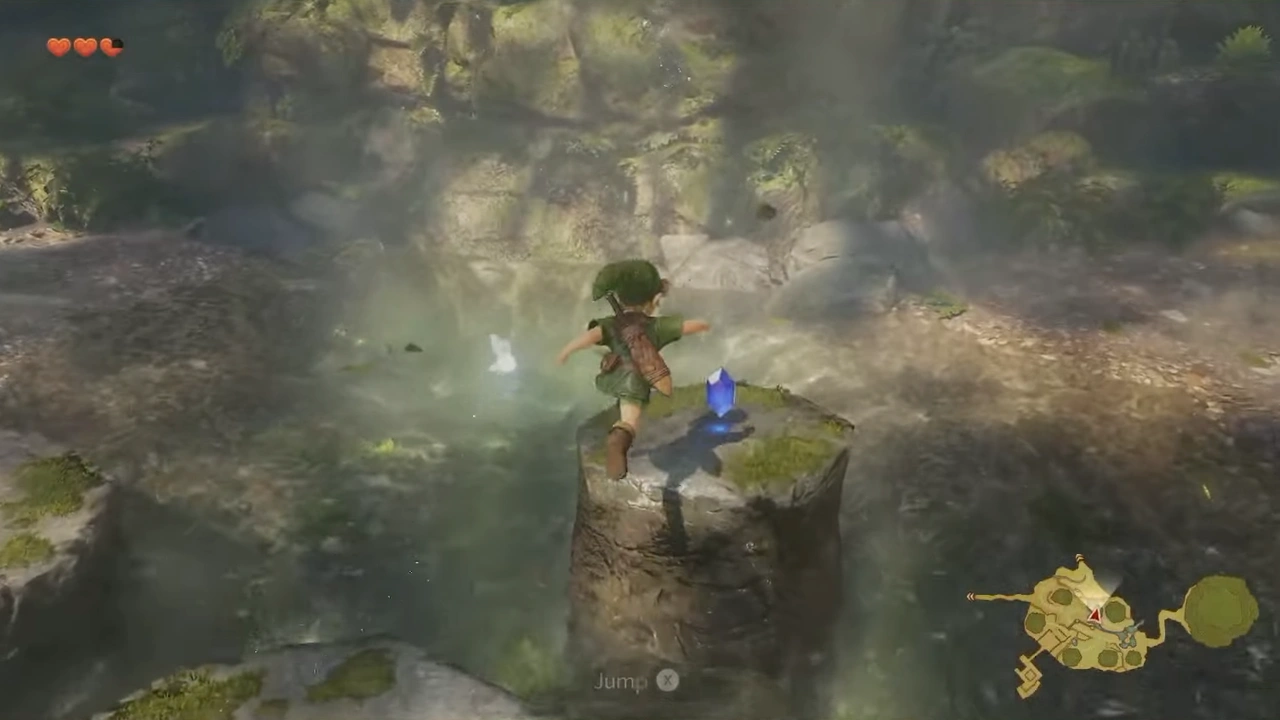
We'll now walk toward the center of the village, where we'll find a river and some platformsWe'll now walk toward the center of the village, where we'll find a river and some platforms (screenshot 27)

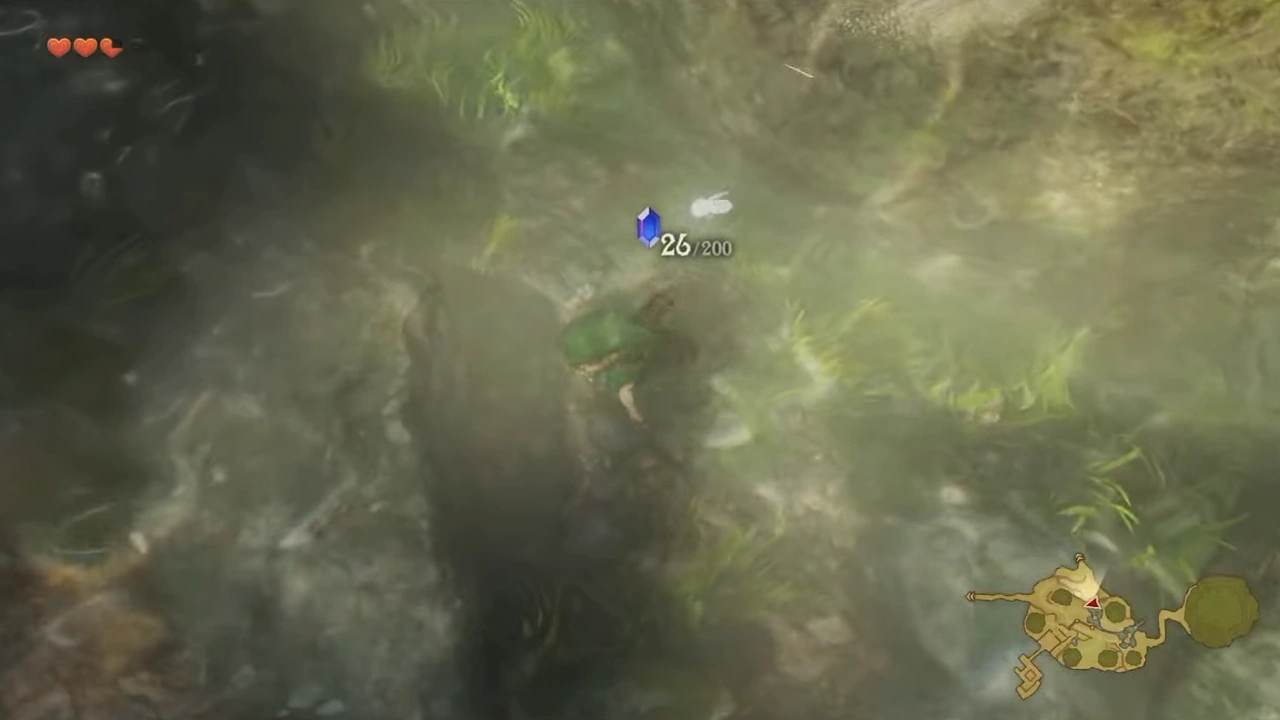
We'll jump north from where we found that Rupee to reach another Blue Rupee in the water.
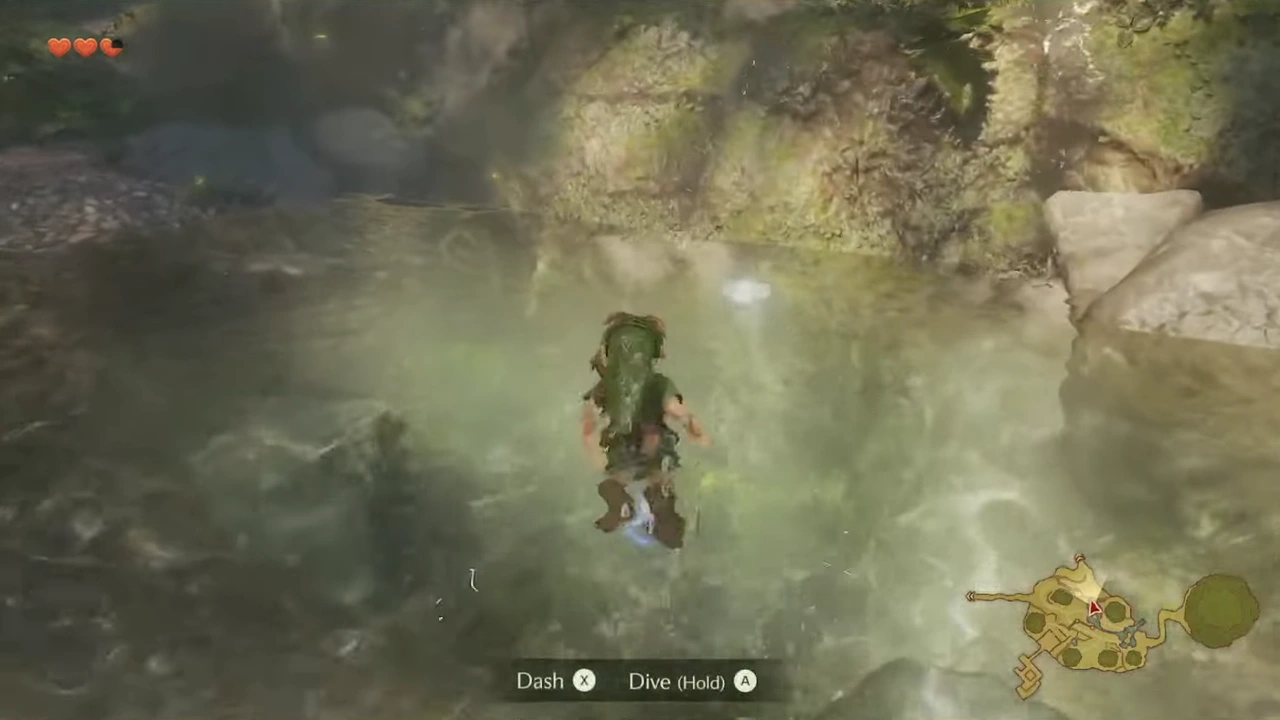
We'll jump north from where we found that Rupee to reach another Blue Rupee in the waterWe'll jump north from where we found that Rupee to reach another Blue Rupee in the water (screenshot 29)

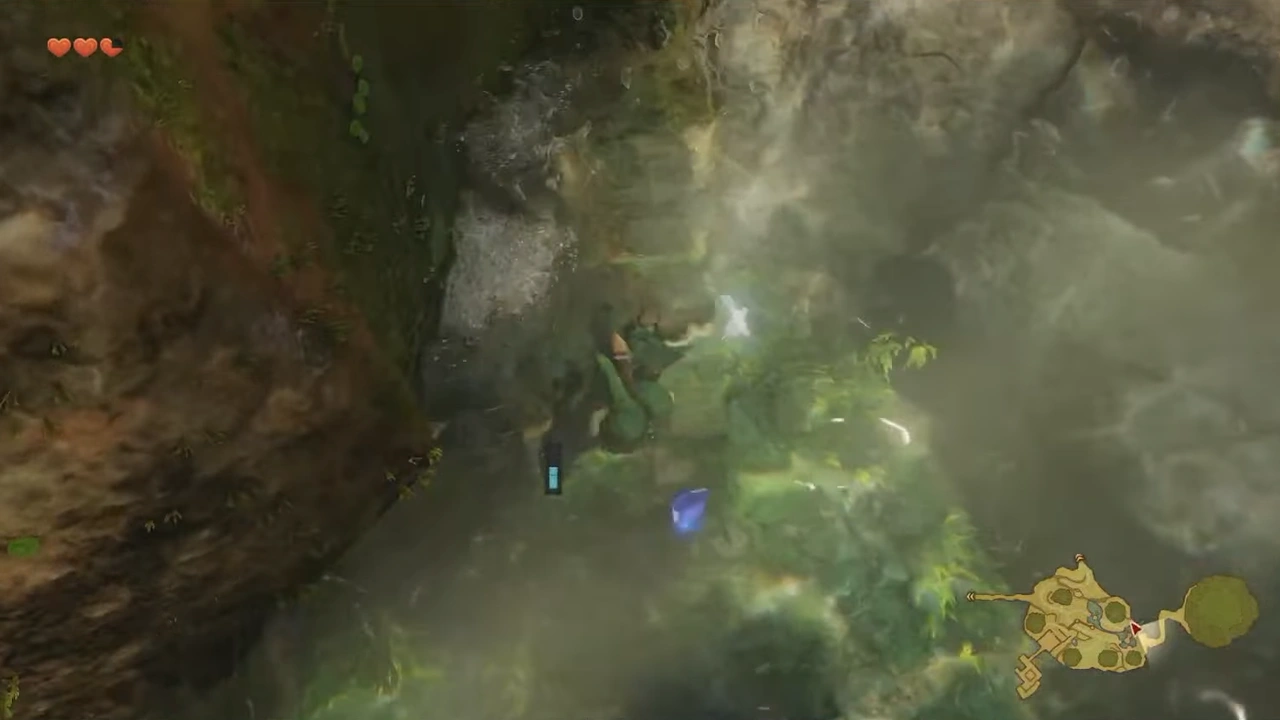
A little farther east we'll find more water with a Blue Rupee.
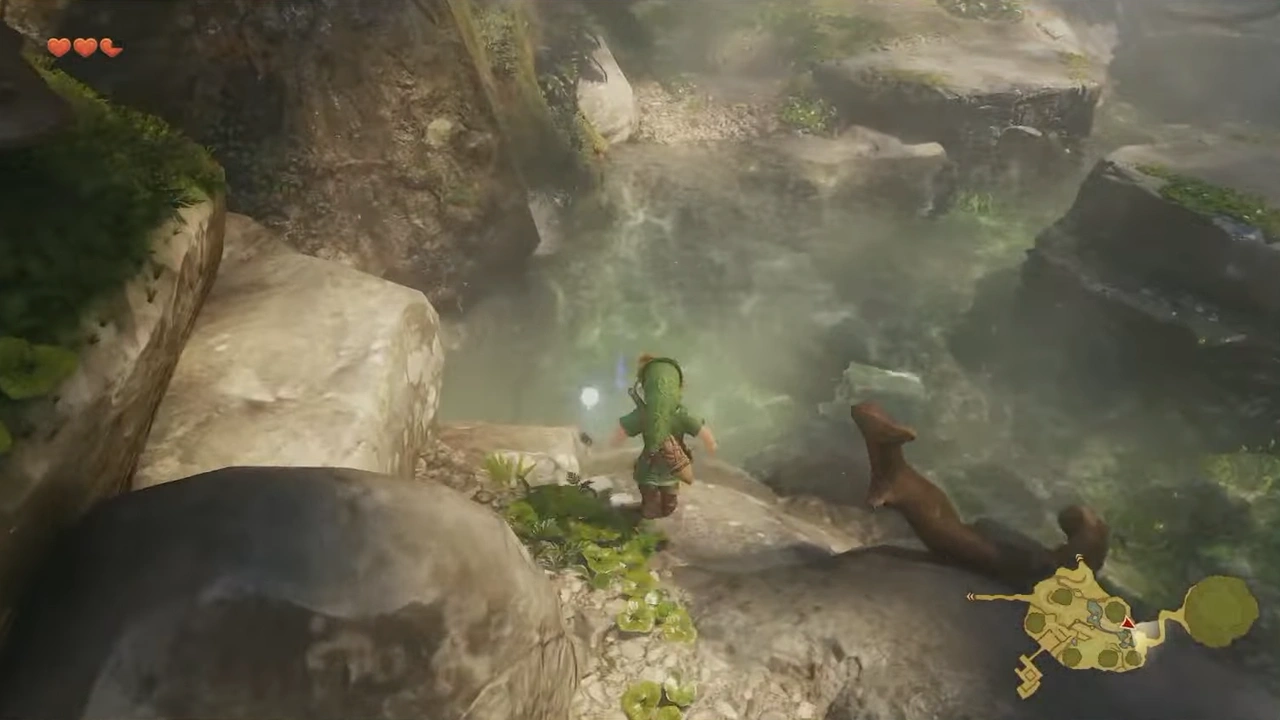
A little farther east we'll find more water with a Blue RupeeA little farther east we'll find more water with a Blue Rupee (screenshot 31)

We'll enter the house farthest to the northwest, where we'll find 4 chests: 3 contain Blue Rupees and the other a Green Rupee.
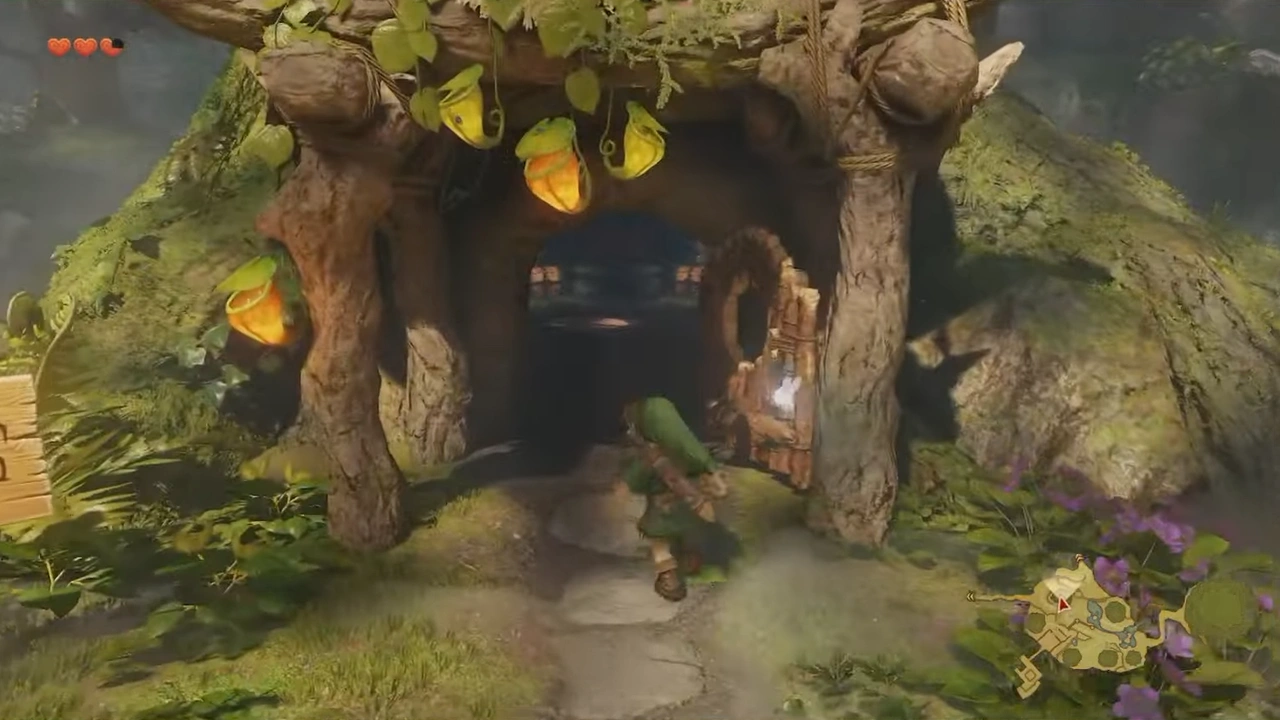
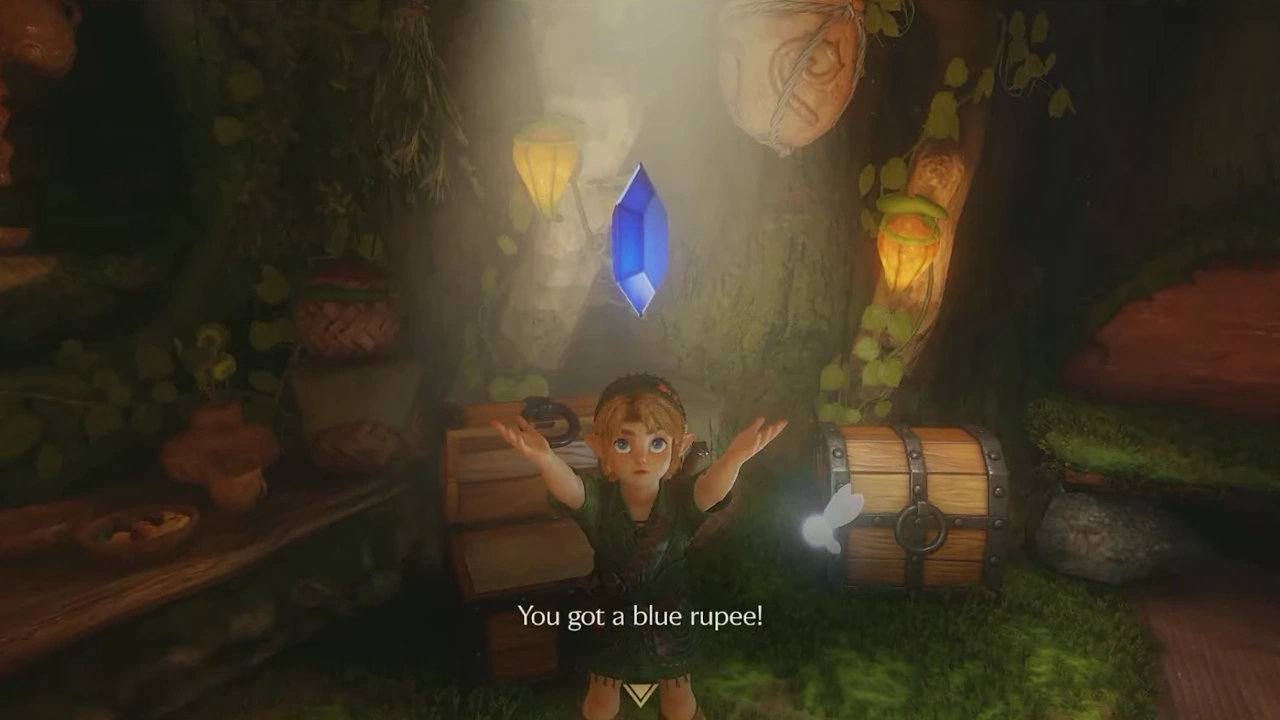
We'll enter the house farthest to the northwest, where we'll find 4 chests: 3 contain Blue RupeesWe'll enter the house farthest to the northwest, where we'll find 4 chests: 3 contain Blue Rupees (screenshot 33)

This time we'll enter the shop, located northeast of the village center. Inside we'll find a Blue Rupee and buy the Deku Shield.
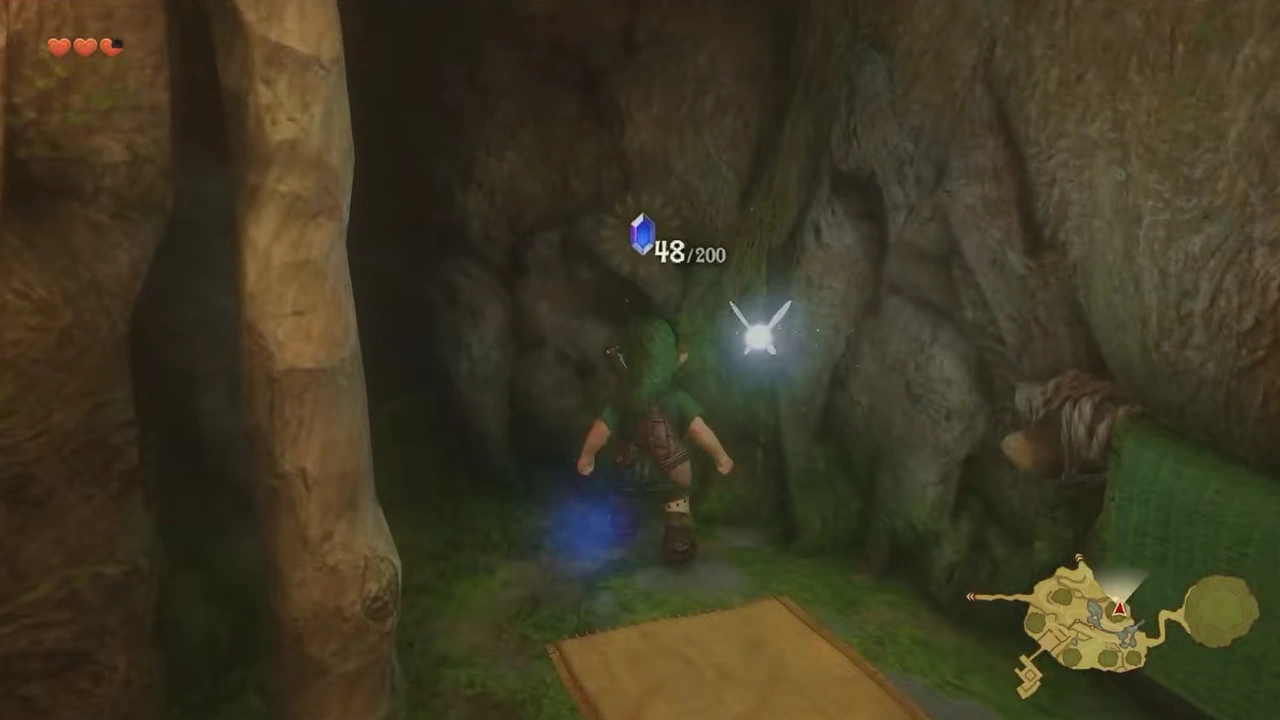
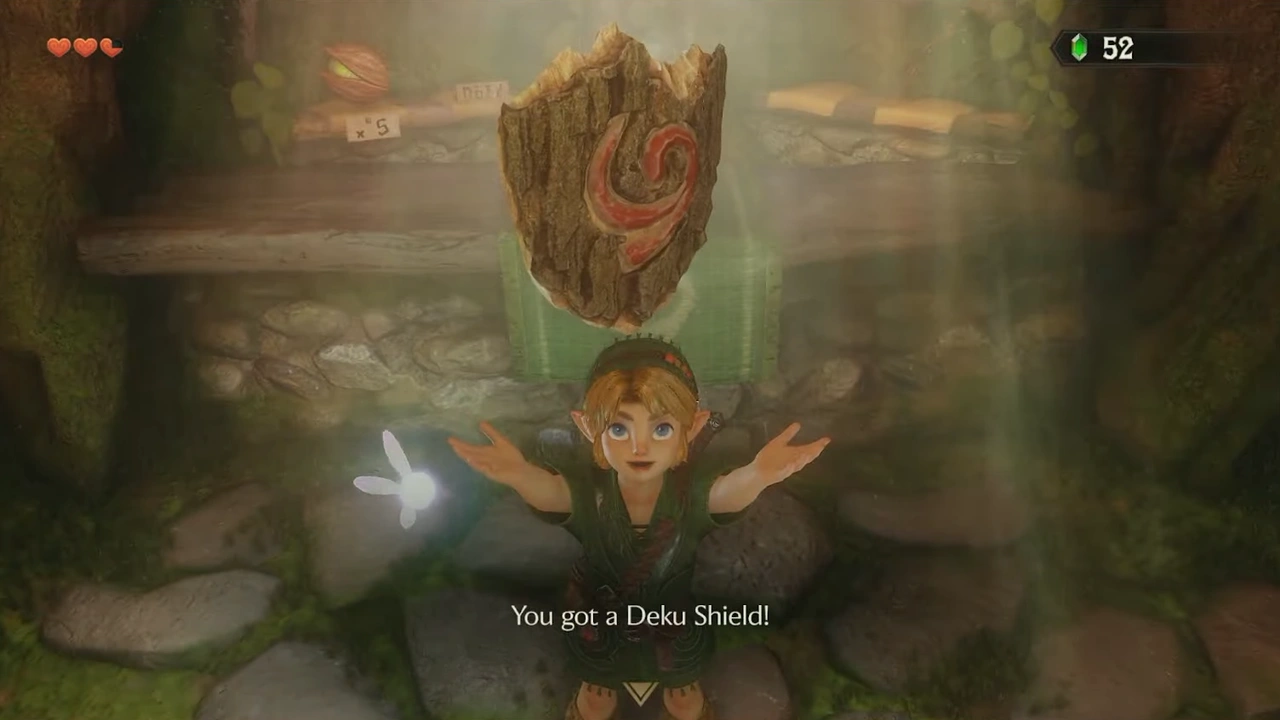
Inside we'll find a Blue Rupee and buy the Deku ShieldThis time we'll enter the shop, located northeast of the village center

Once we have the Kokiri Sword and the Deku Shield, we'll head east, and this time Mido will let us through.
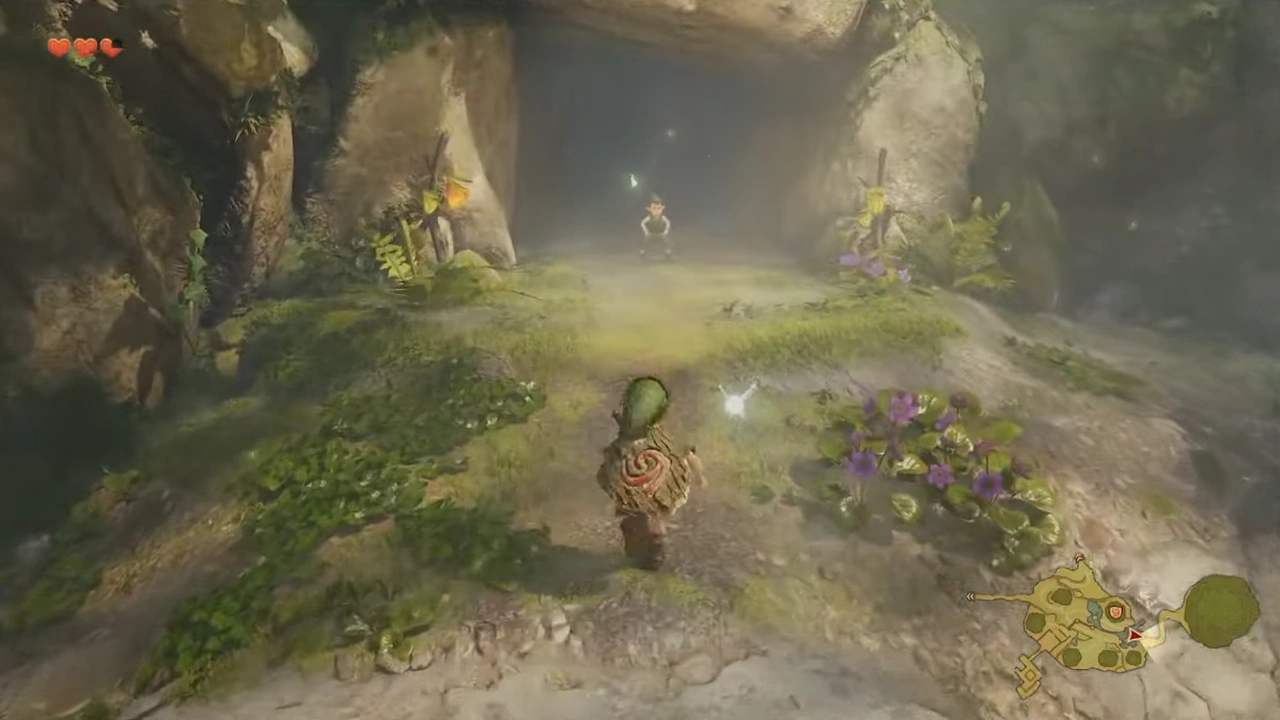
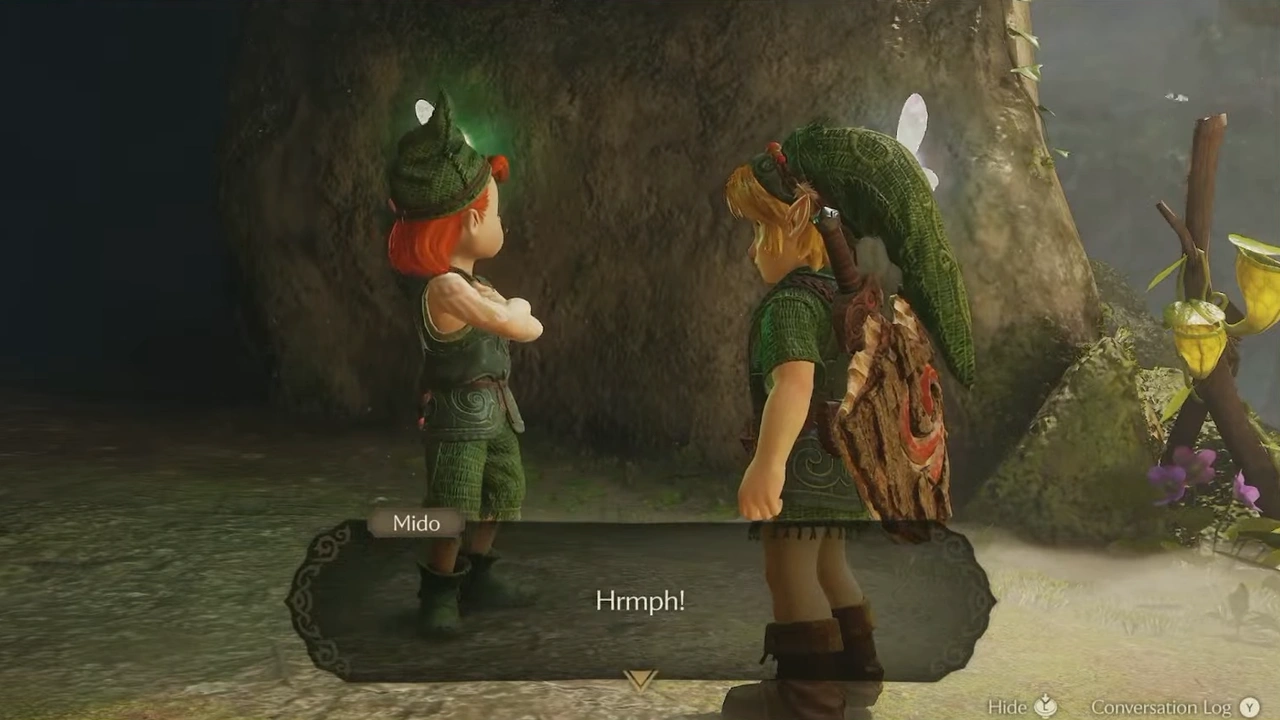
Once we have the Kokiri Sword and the Deku Shield, we'll head east, and this time Mido will let usOnce we have the Kokiri Sword and the Deku Shield, we'll head east, and this time Mido will let us (screenshot 37)

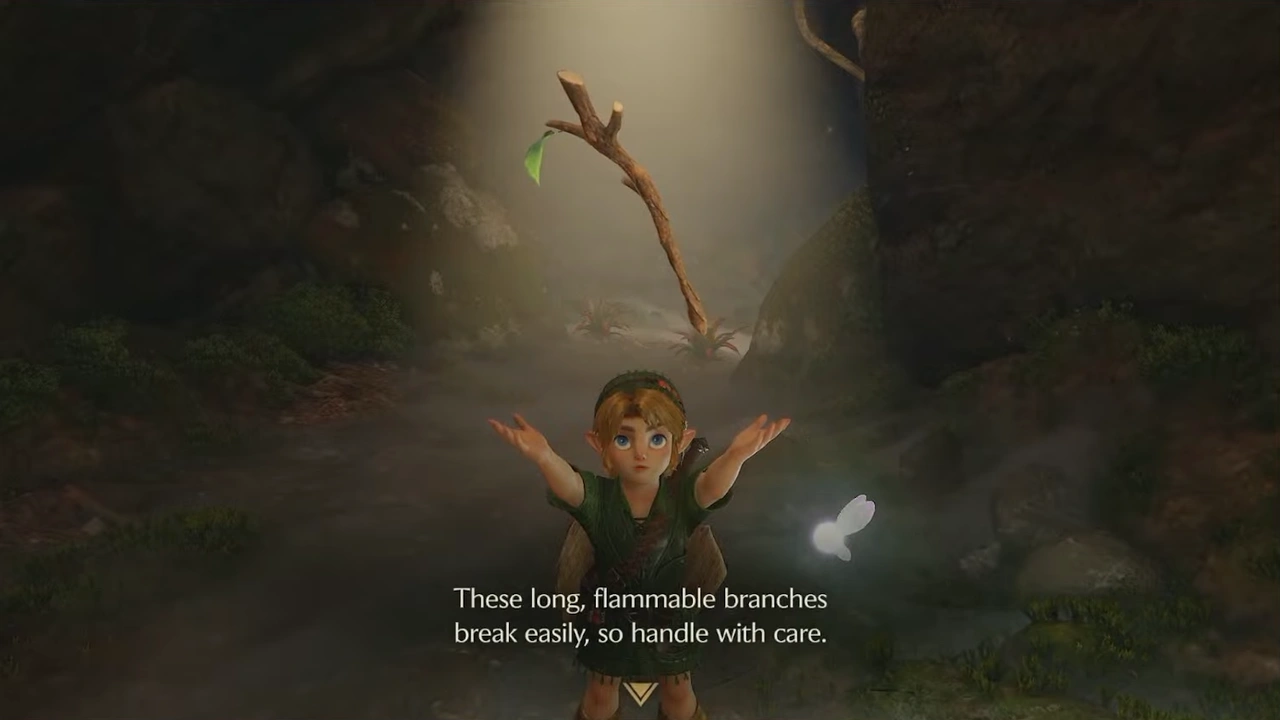
On the way we'll find a Deku Baba; we'll defeat it to get a Deku Stick.
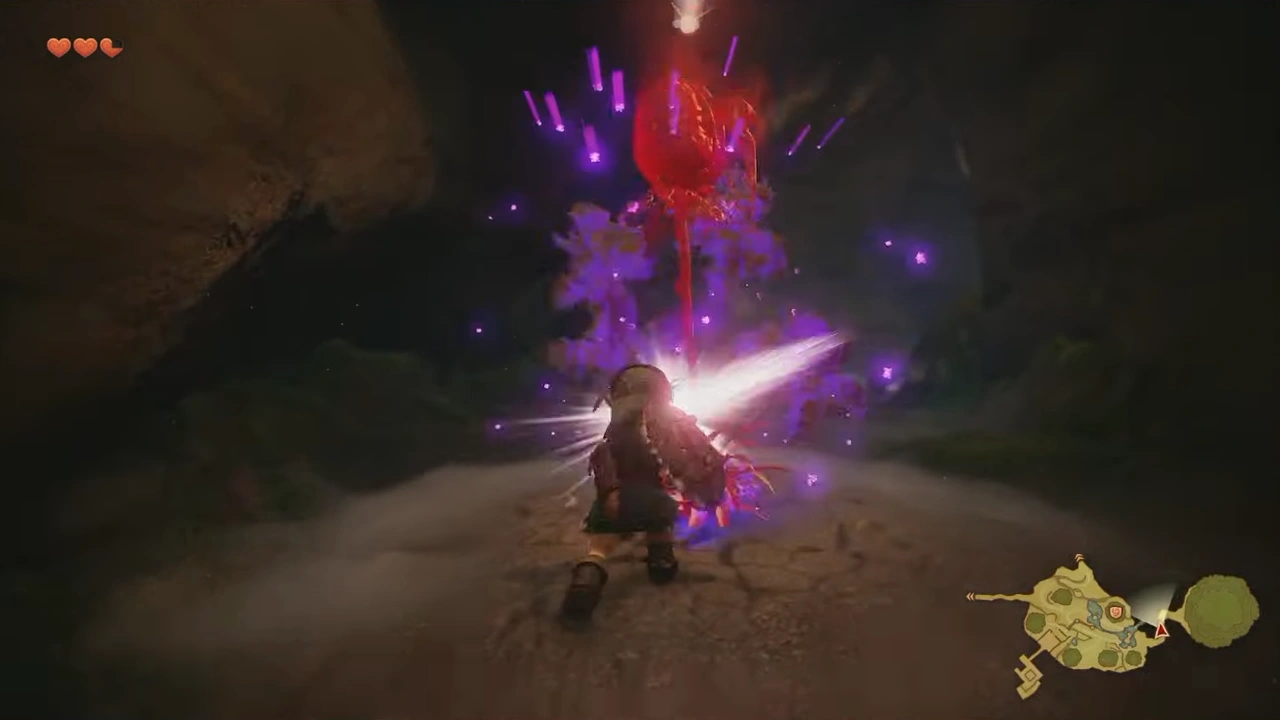
On the way we'll find a Deku Baba; we'll defeat it to get a Deku StickOn the way we'll find a Deku Baba; we'll defeat it to get a Deku Stick (screenshot 39)

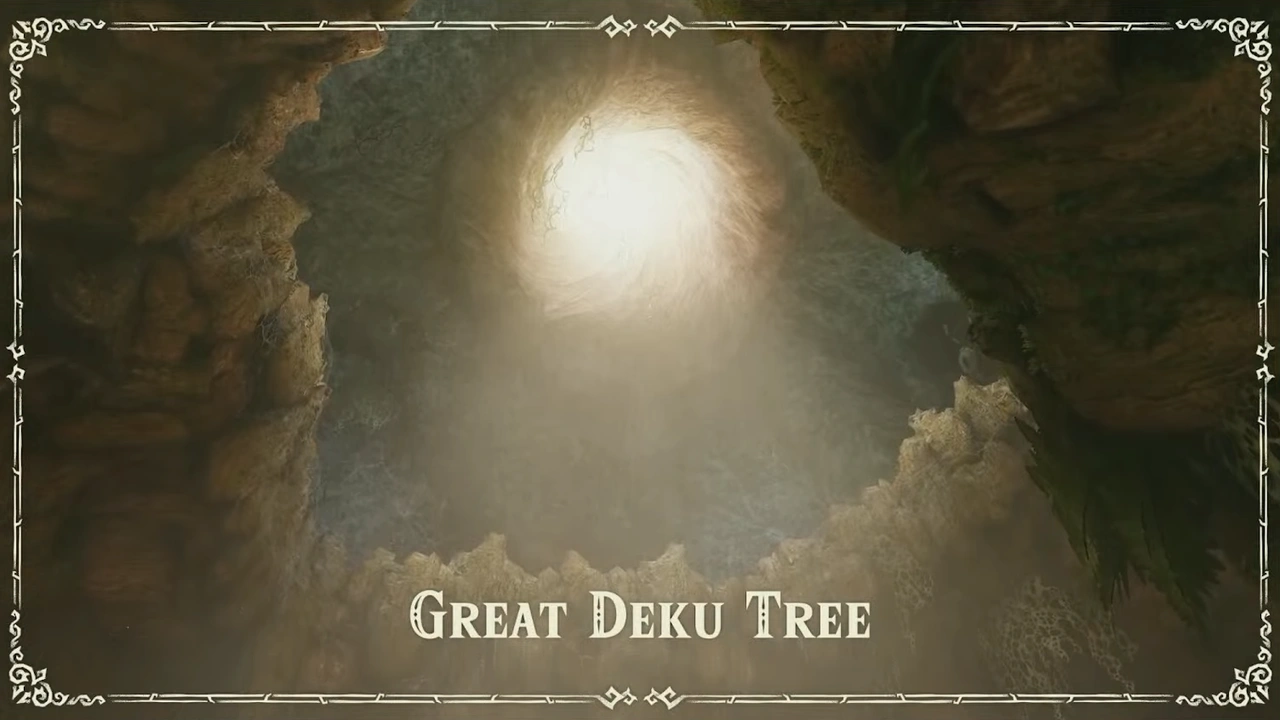
We'll continue on our way until we reach the Great Deku Tree.
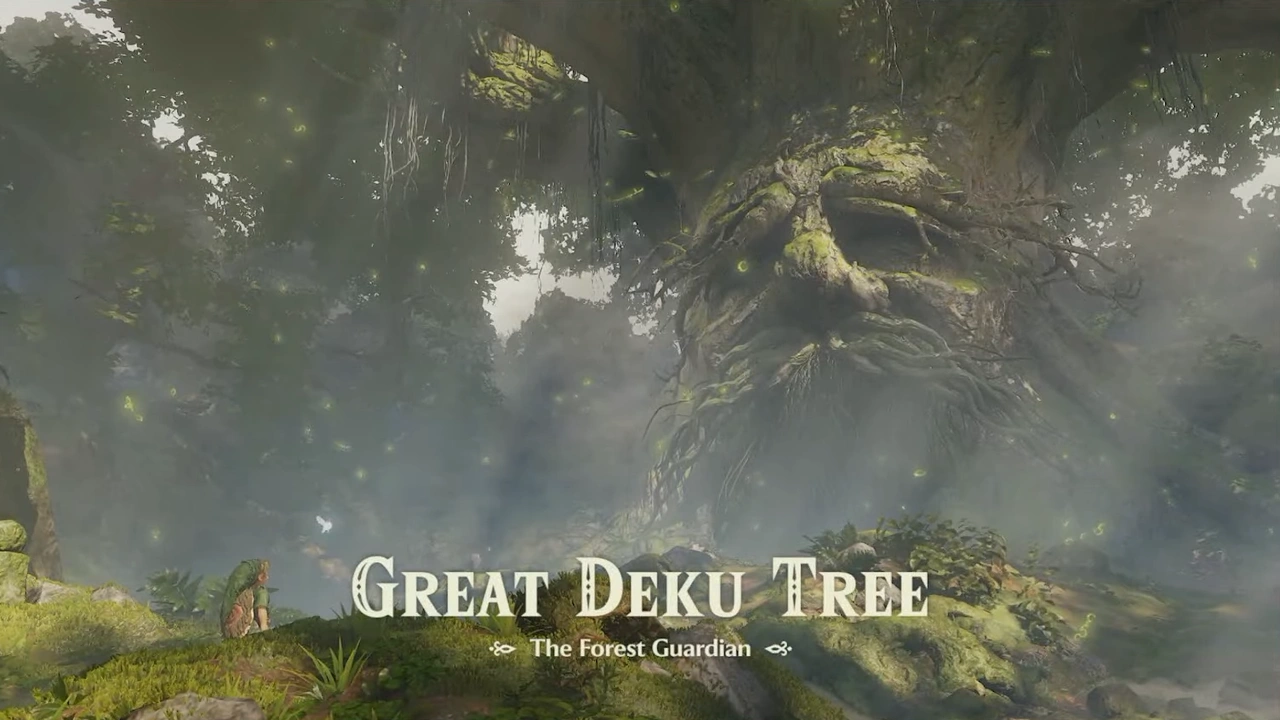
We'll continue on our way until we reach the Great Deku Tree

After the cutscene, we'll enter its mouth to go into the first dungeon.
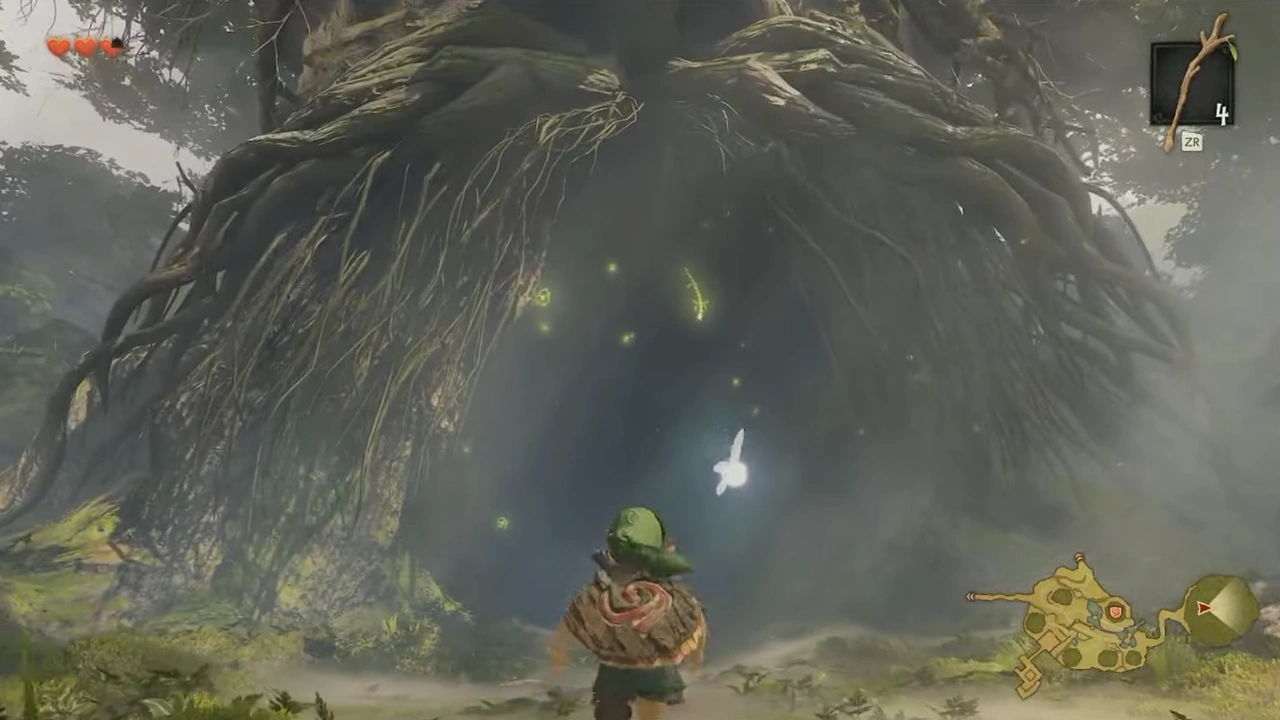
After the cutscene, we'll enter its mouth to go into the first dungeonAfter the cutscene, we'll enter its mouth to go into the first dungeon (screenshot 42)

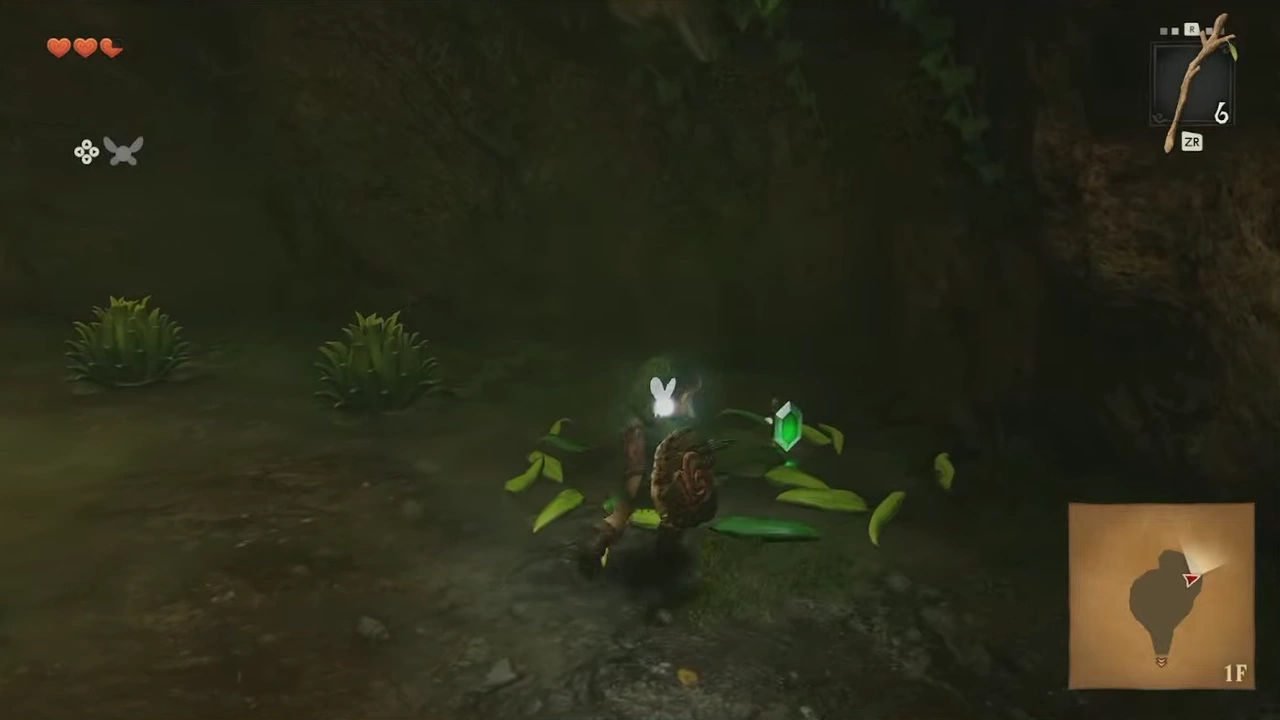
Down below we'll find some Deku Babas and bushes we can cut to get a few Rupees.
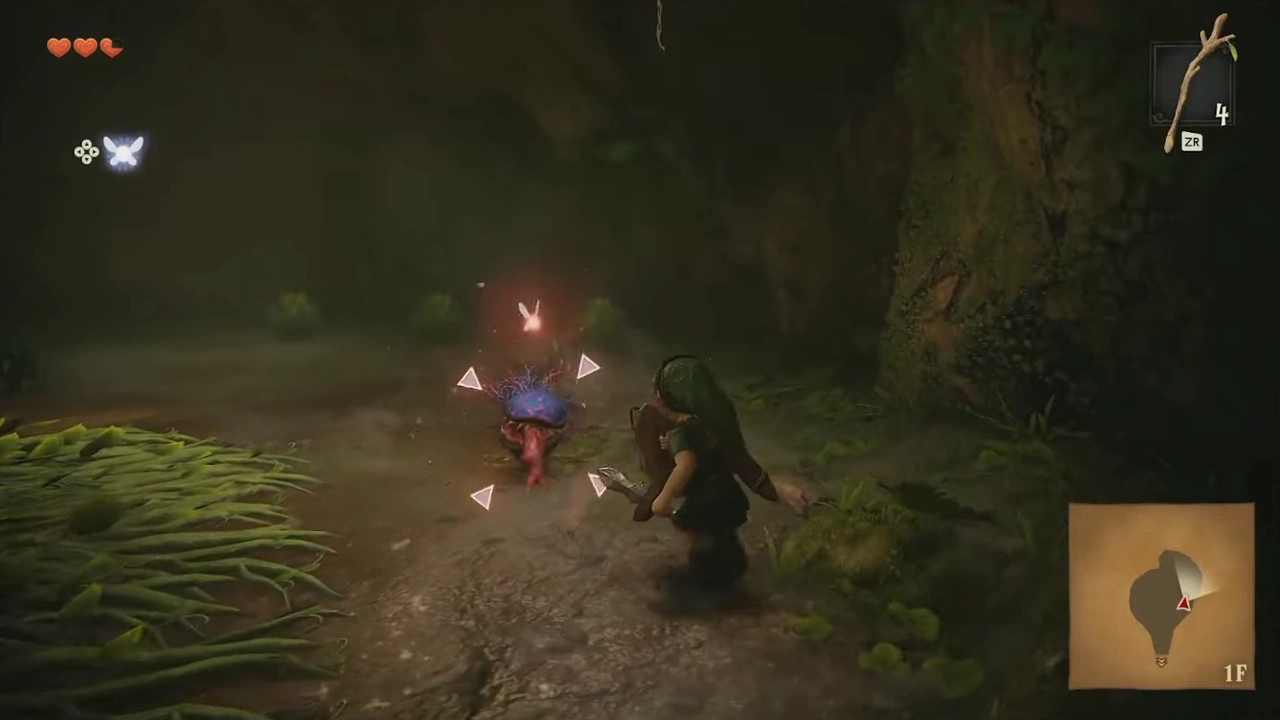
Down below we'll find some Deku Babas and bushes we can cut to get a few RupeesDown below we'll find some Deku Babas and bushes we can cut to get a few Rupees (screenshot 44)

Throughout the guide there will be many rooms with grass that can drop Rupees, but this is the only time we'll mention it. Keep an eye on these bushes and patches of grass to earn extra Rupees.

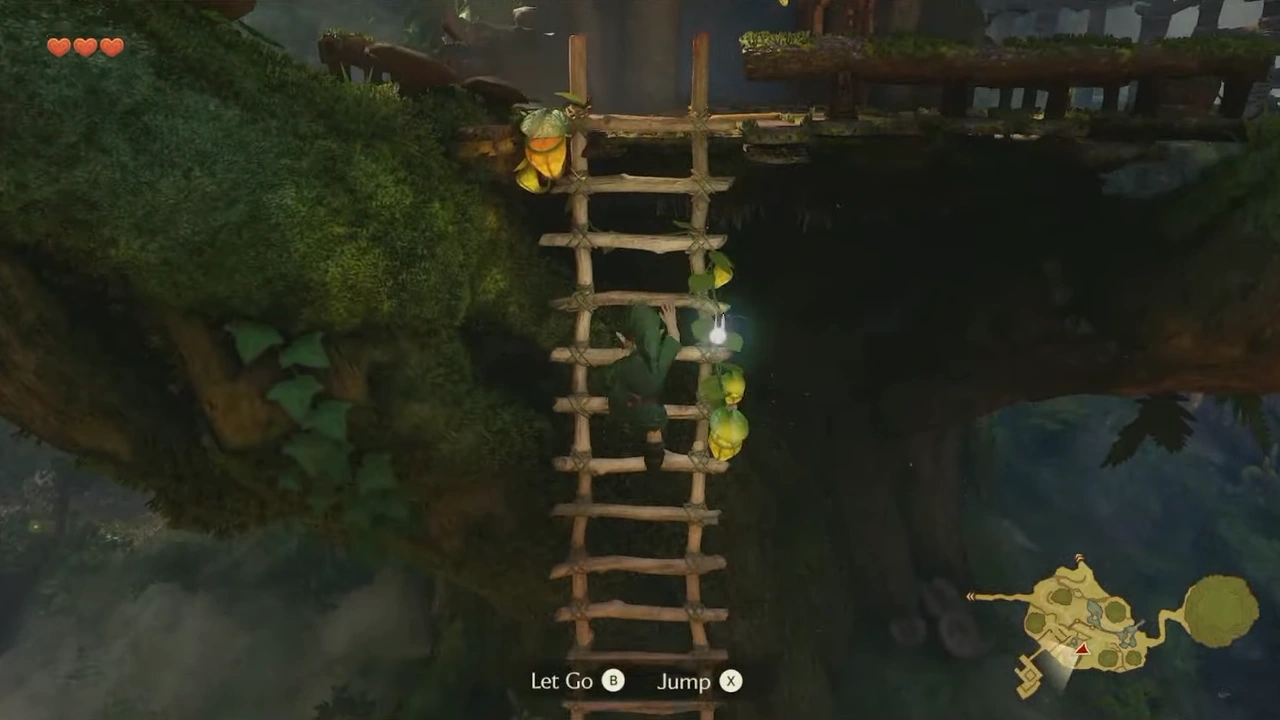
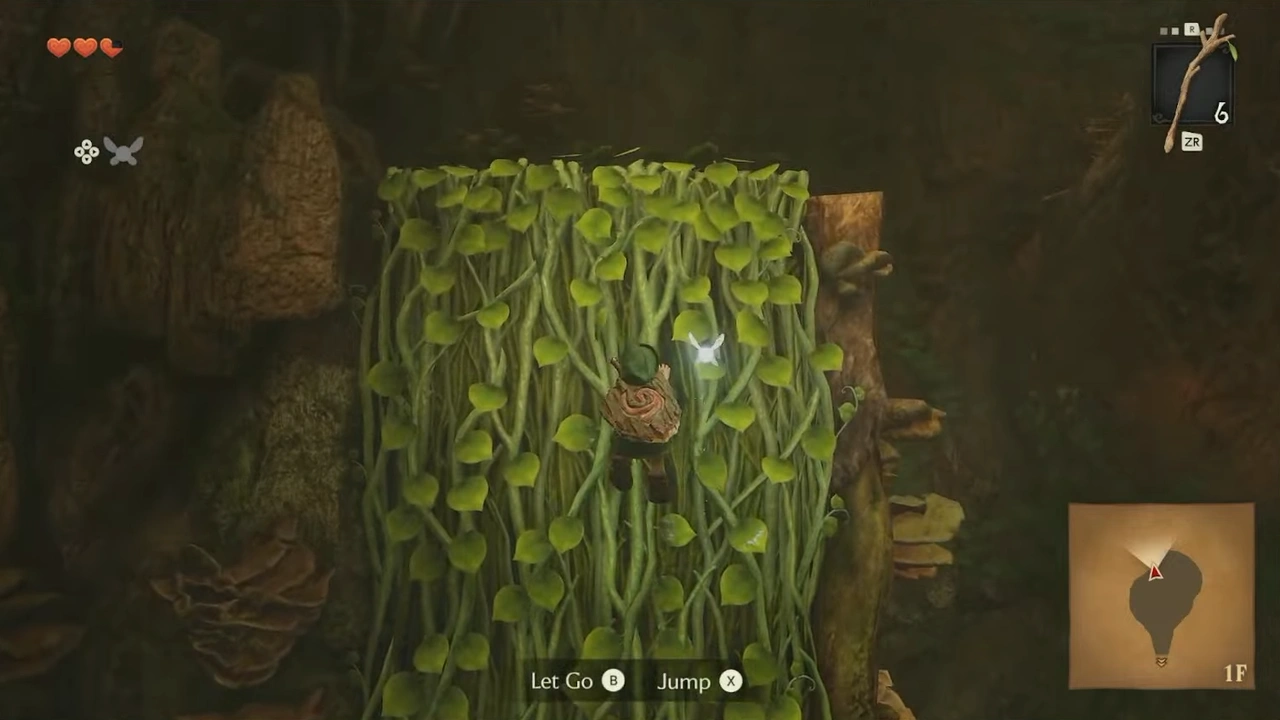
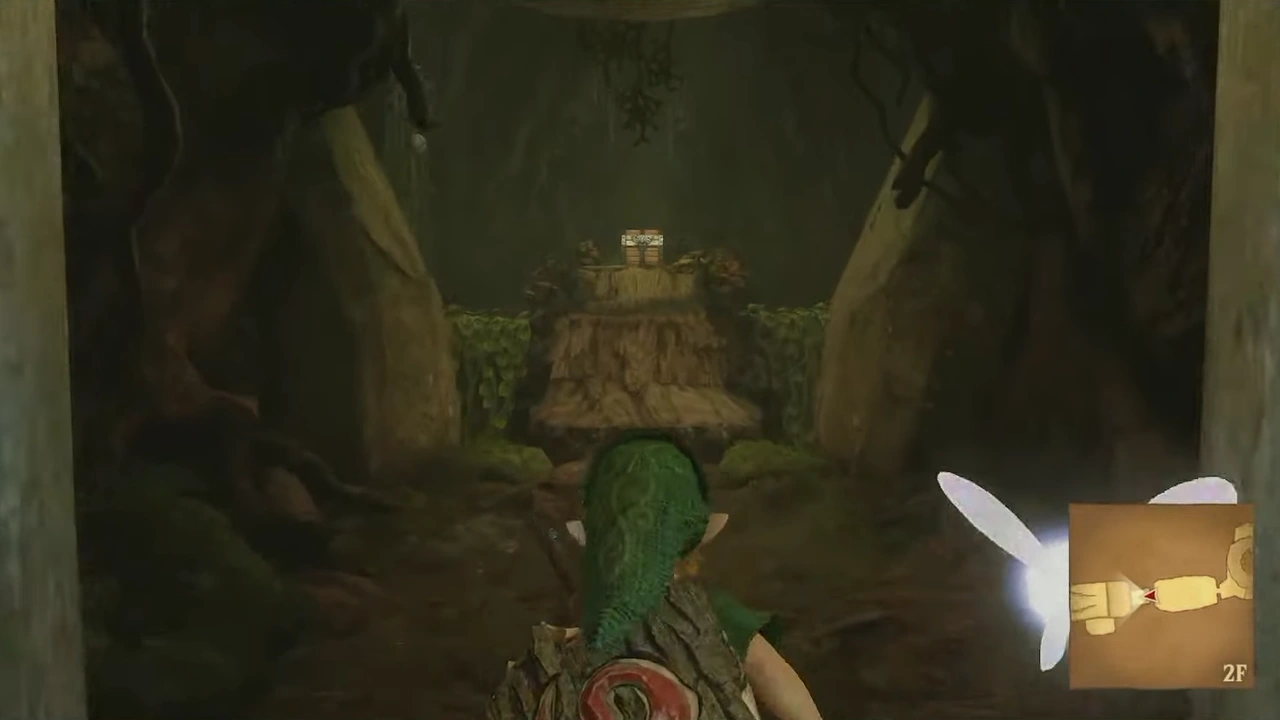
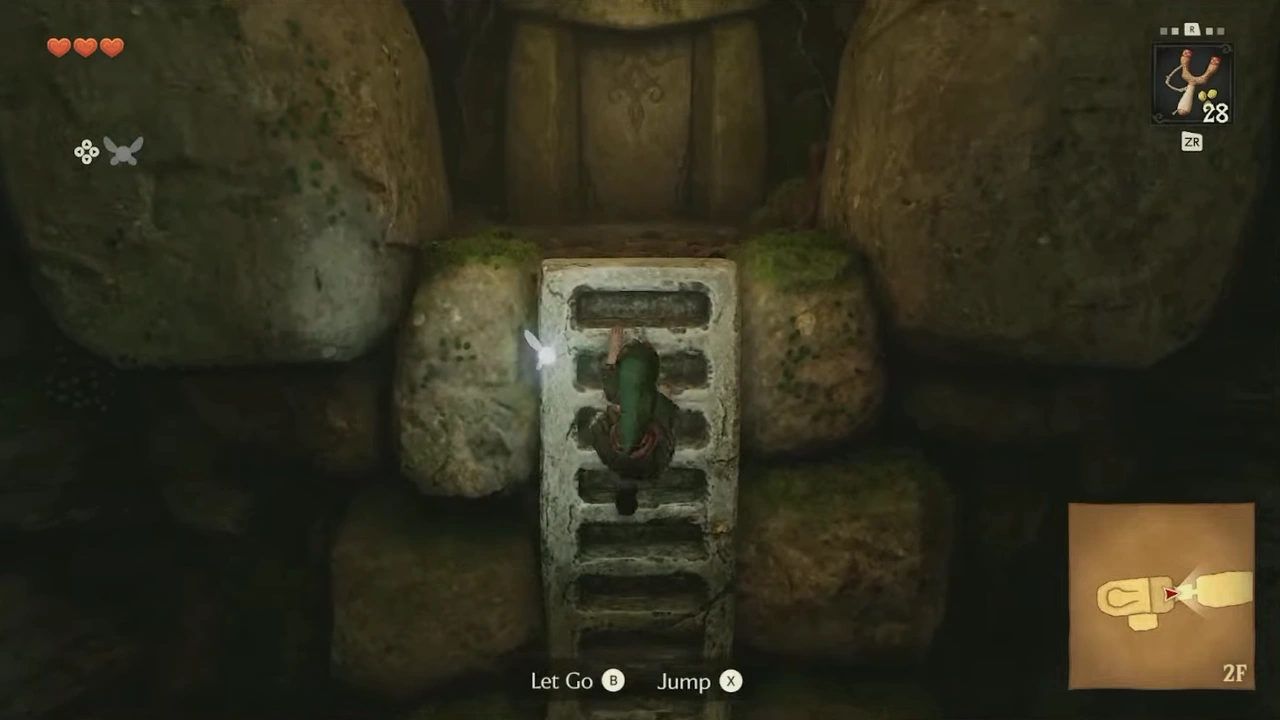
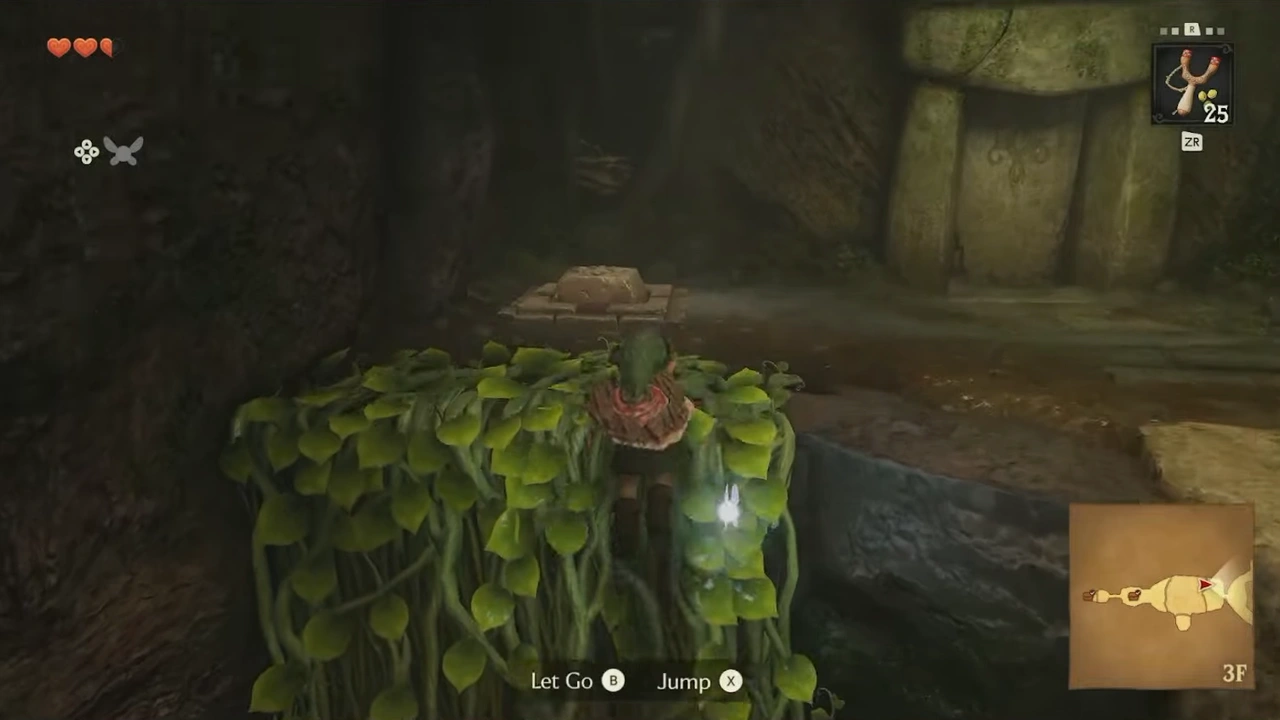
We'll continue north through the room, where we'll climb the vines growing on the wall.
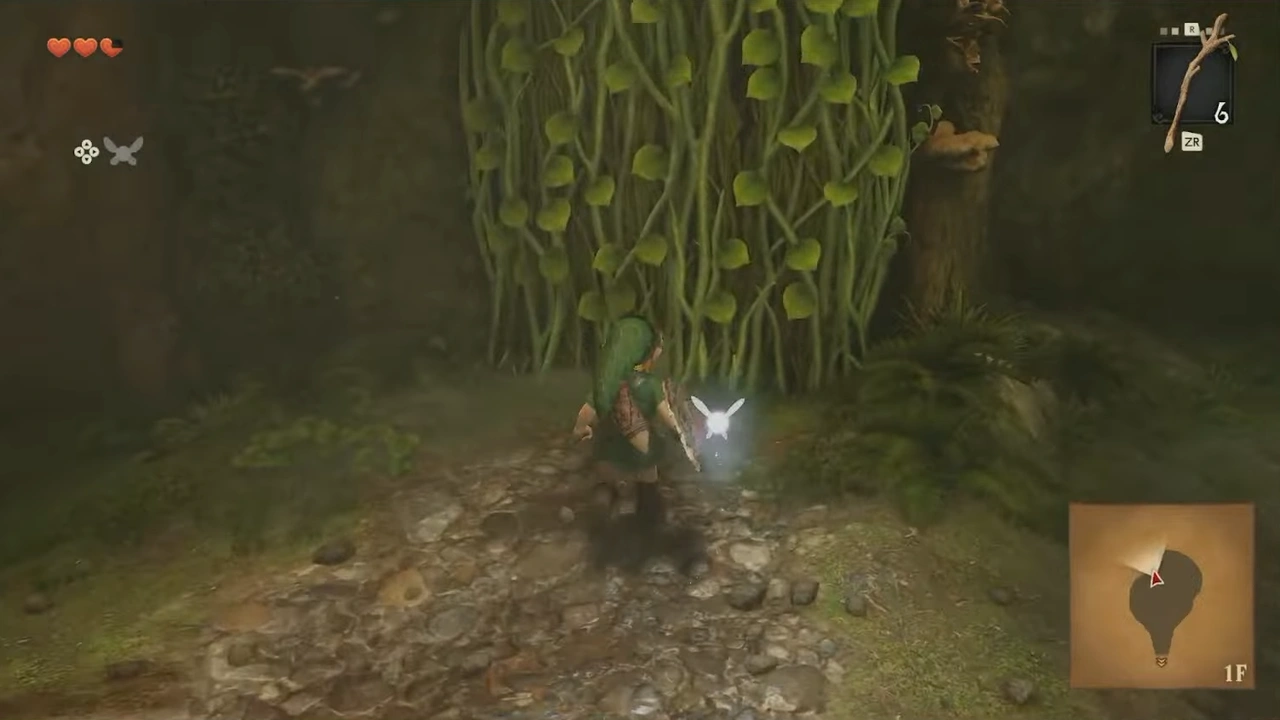
We'll continue north through the room, where we'll climb the vines growing on the wallKeep an eye on these bushes and patches of grass to earn extra Rupees

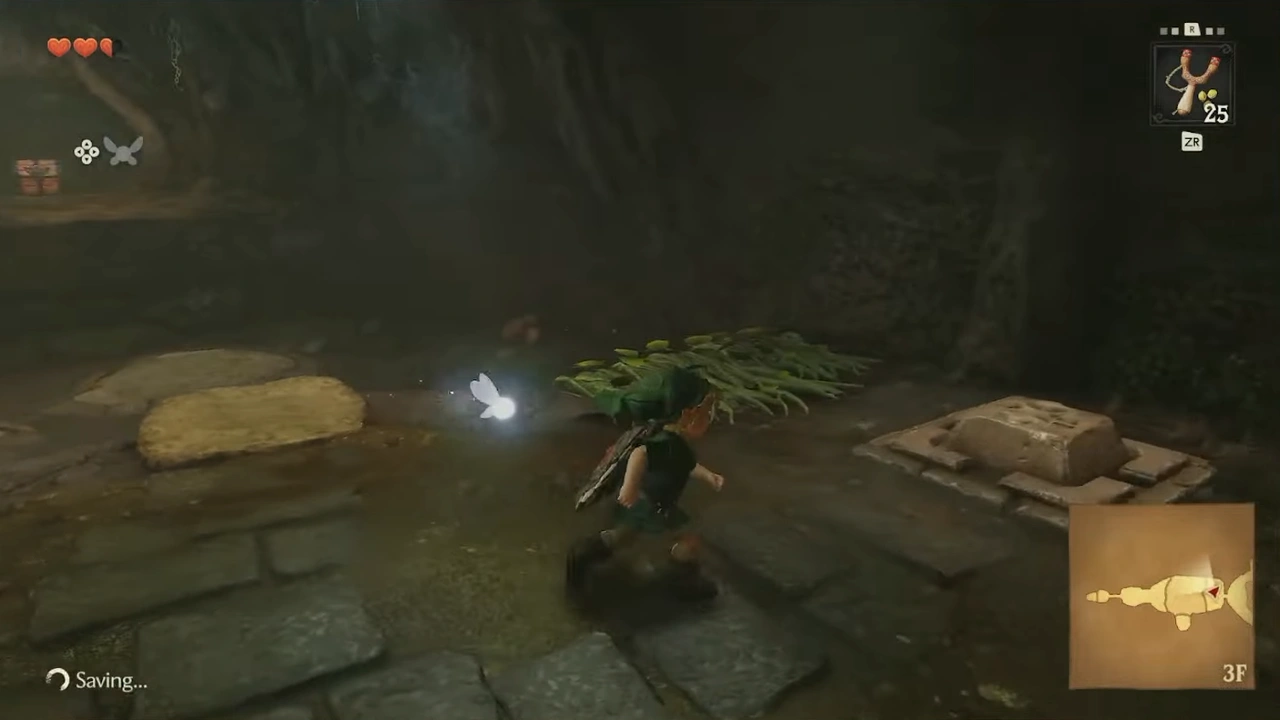
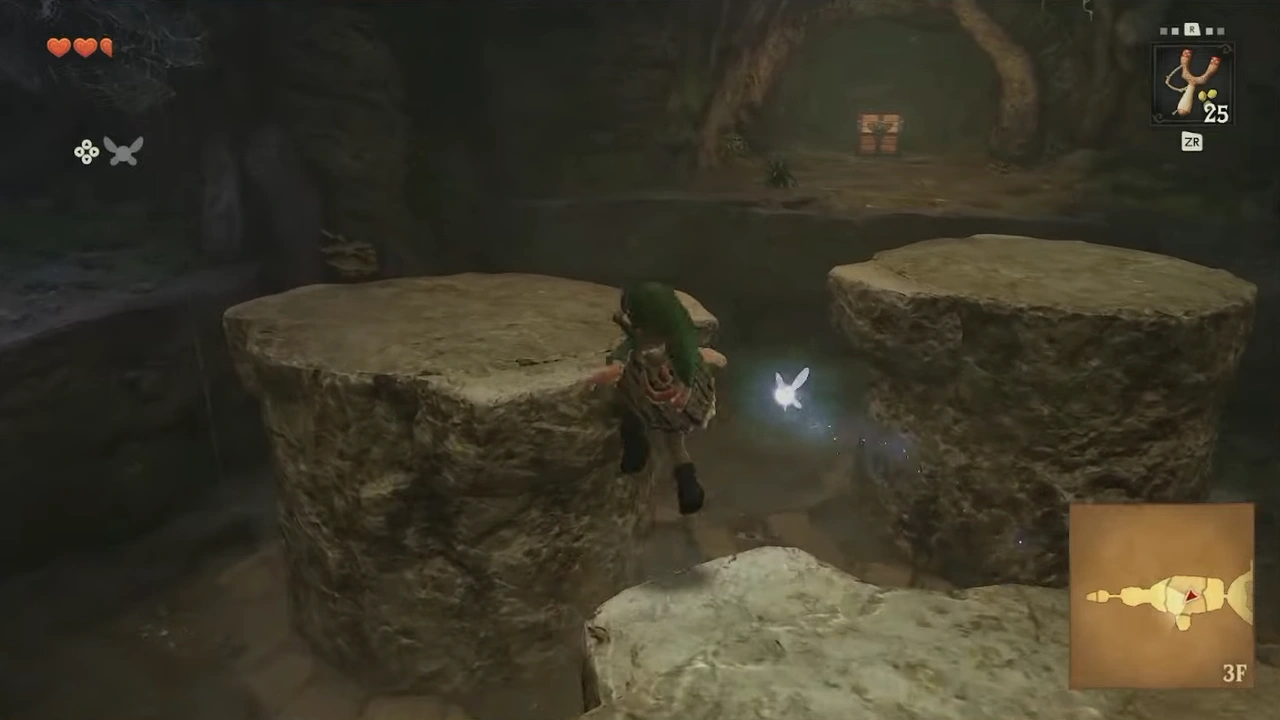
We'll be careful when jumping so we don't fall, and make our way to the chest along the path, which contains the Dungeon Map.
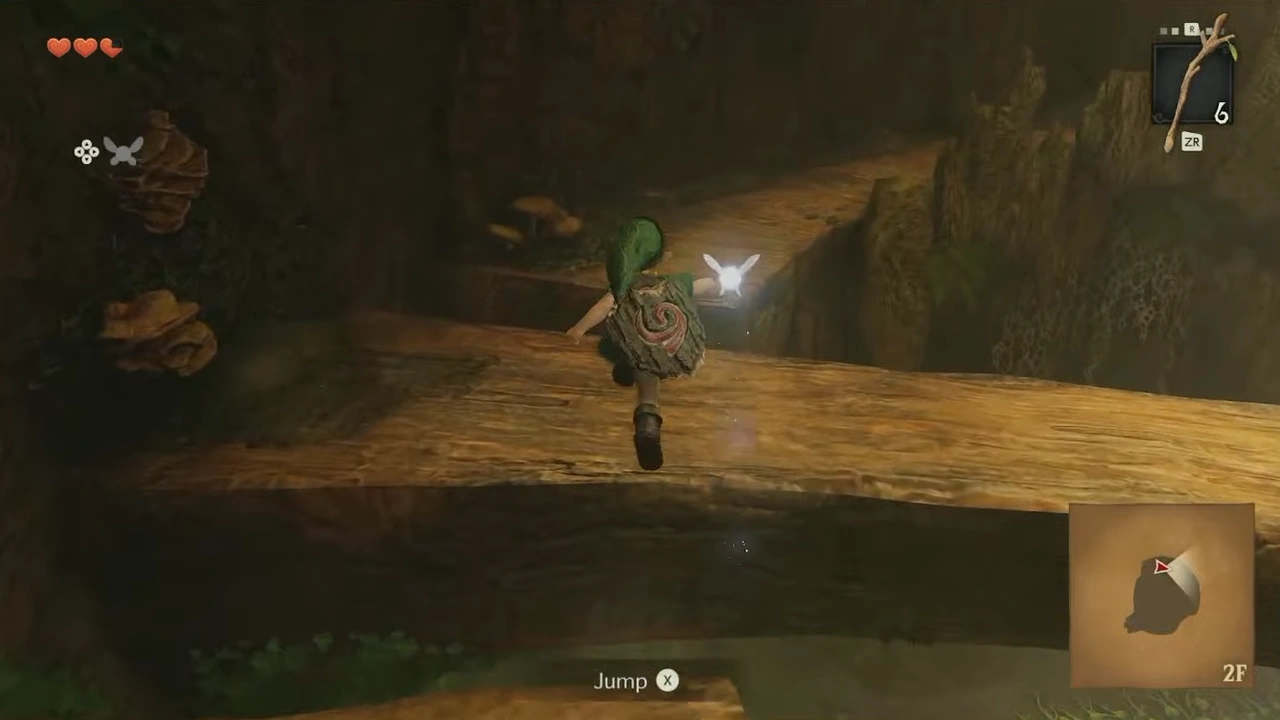
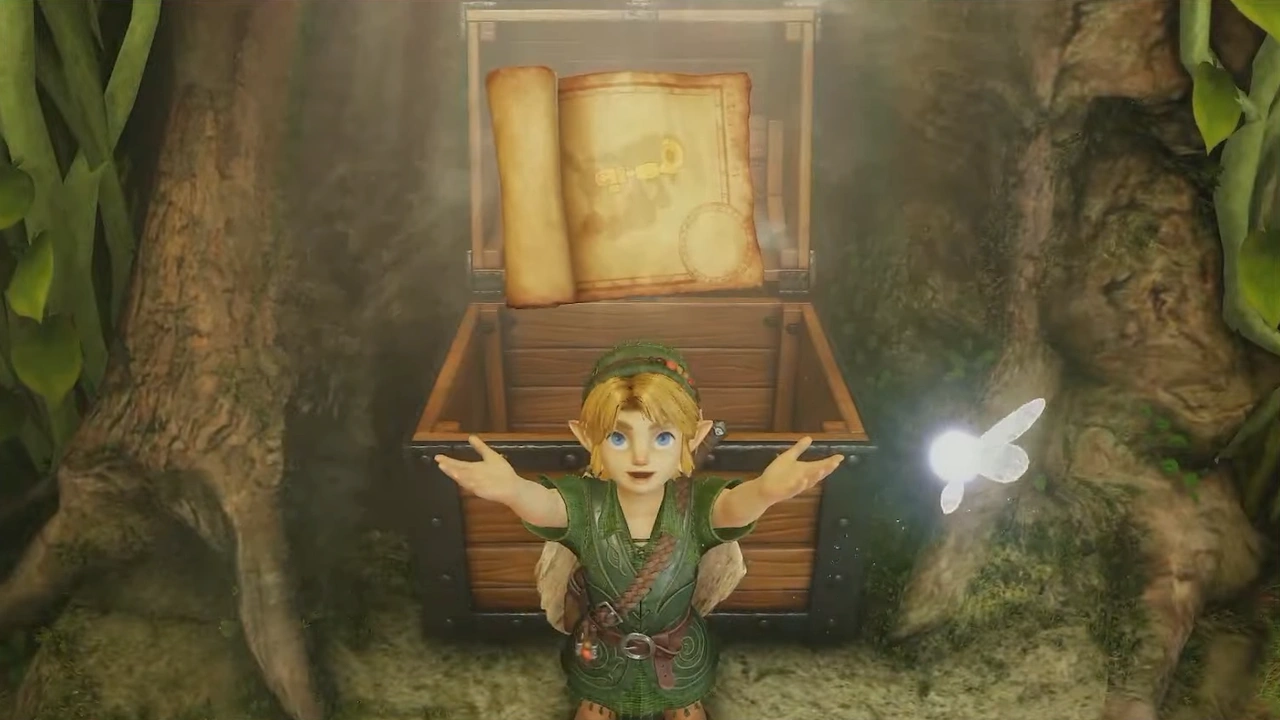
We'll be careful when jumping so we don't fall, and make our way to the chest along the path, whichWe'll be careful when jumping so we don't fall, and make our way to the chest along the path, which (screenshot 48)

We'll keep climbing and make one last jump, then open the door to reach the next room.
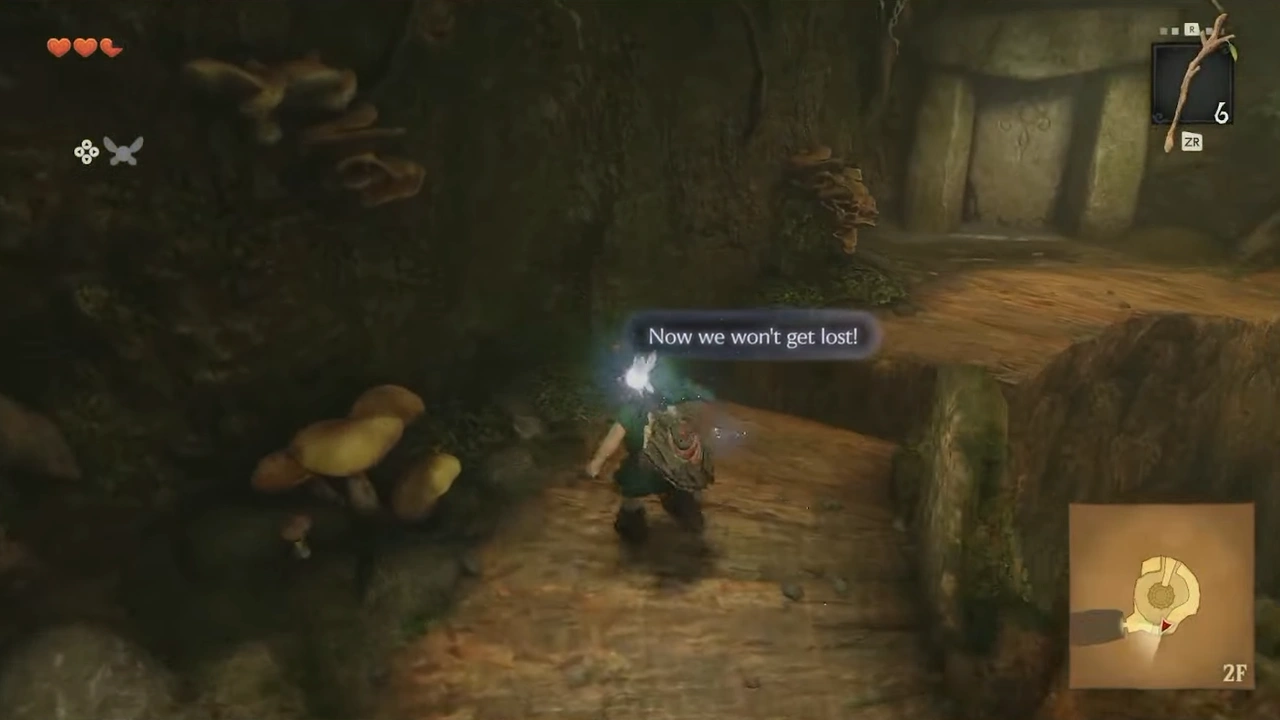
We'll keep climbing and make one last jump, then open the door to reach the next roomWe'll keep climbing and make one last jump, then open the door to reach the next room (screenshot 50)

Inside we'll find a new enemy, a Deku Scrub. We'll reflect its projectile with our shield so we can attack it.
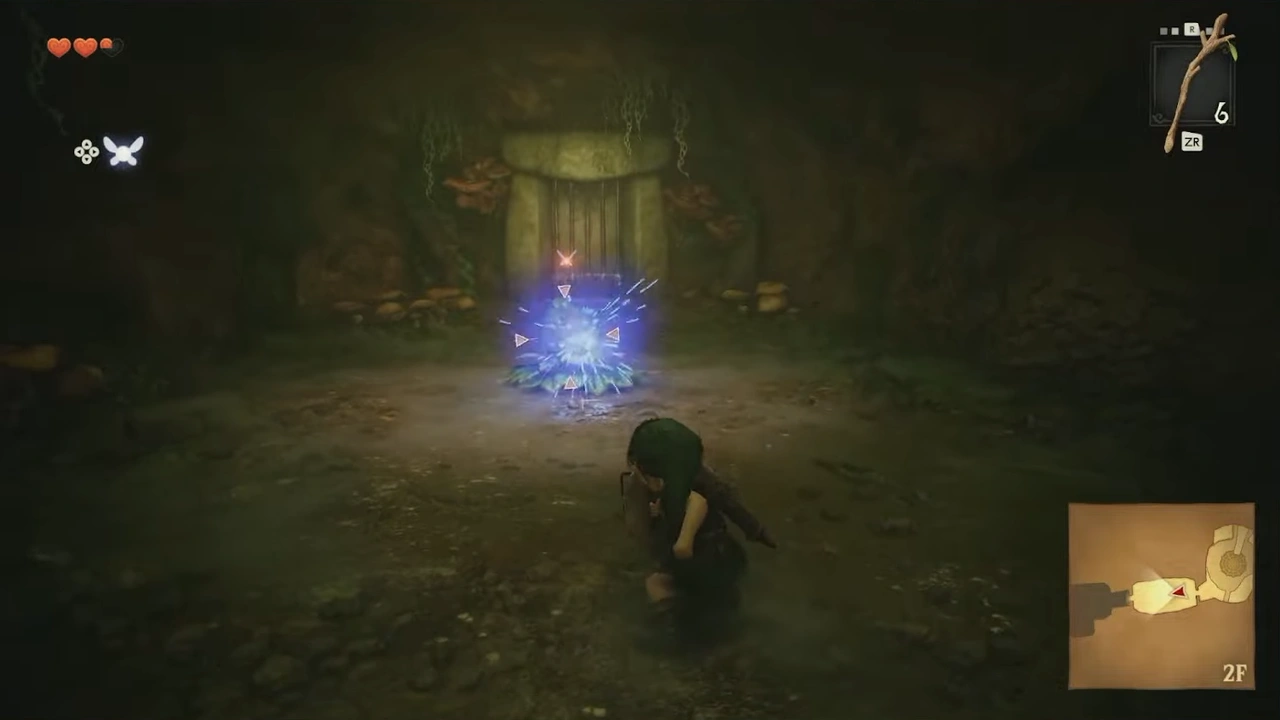
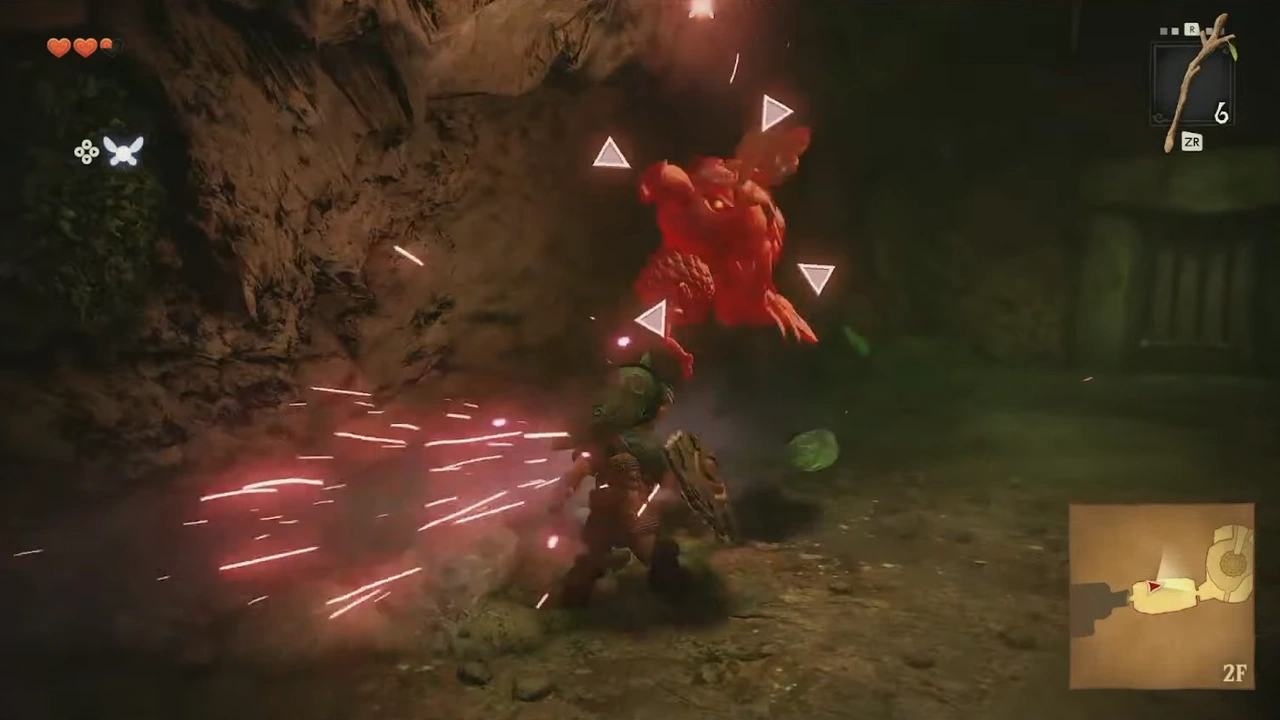
We'll reflect its projectile with our shield so we can attack itInside we'll find a new enemy, a Deku Scrub

After talking to it, we'll continue through the only door to the west.
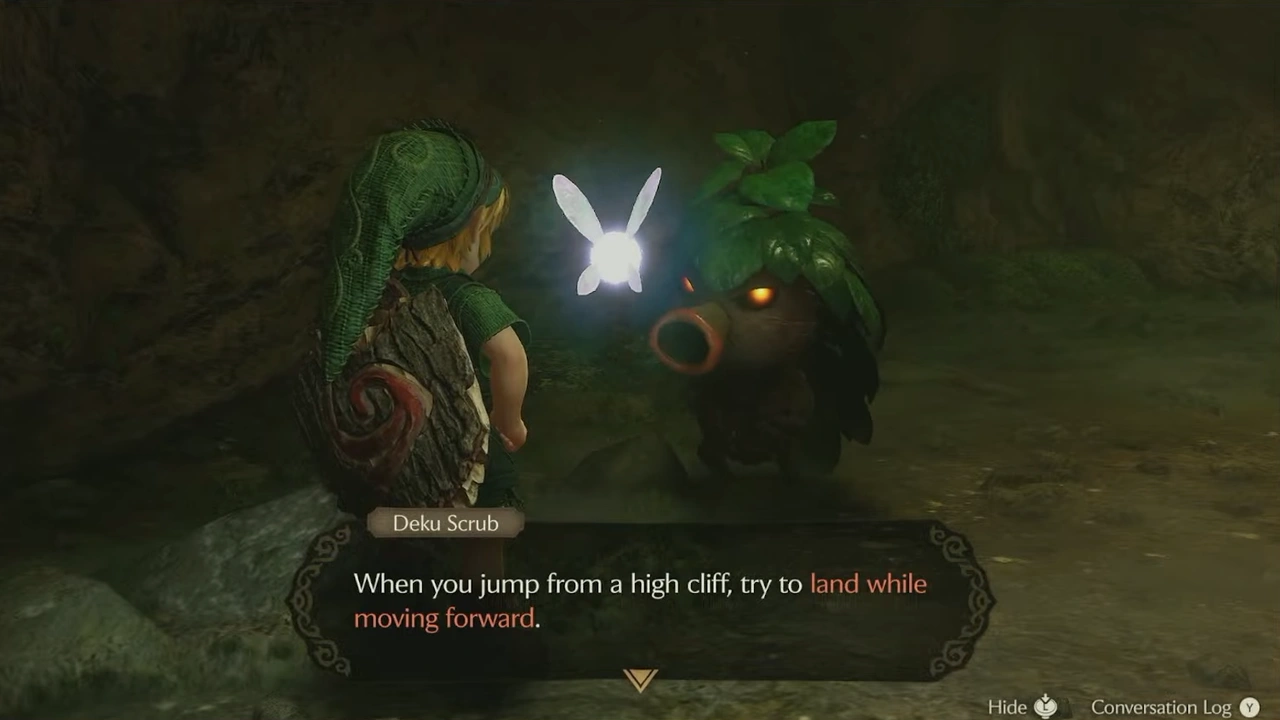
After talking to it, we'll continue through the only door to the westAfter talking to it, we'll continue through the only door to the west (screenshot 54)

We'll jump to the platform to reach the chest where we'll get the Fairy Slingshot.
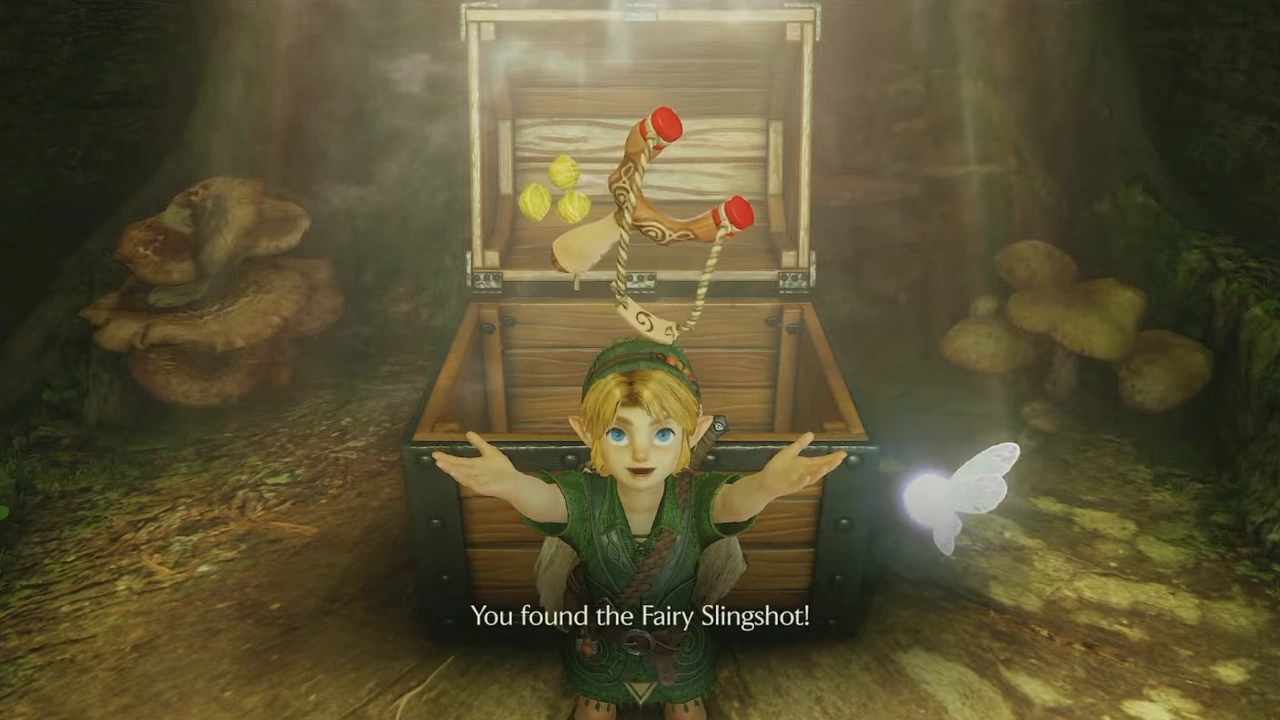
We'll jump to the platform to reach the chest where we'll get the Fairy SlingshotEmpty image slot

On our right we'll find vines with a Skulltula. If we climb the vines, we'll find a chest with Deku Nuts.
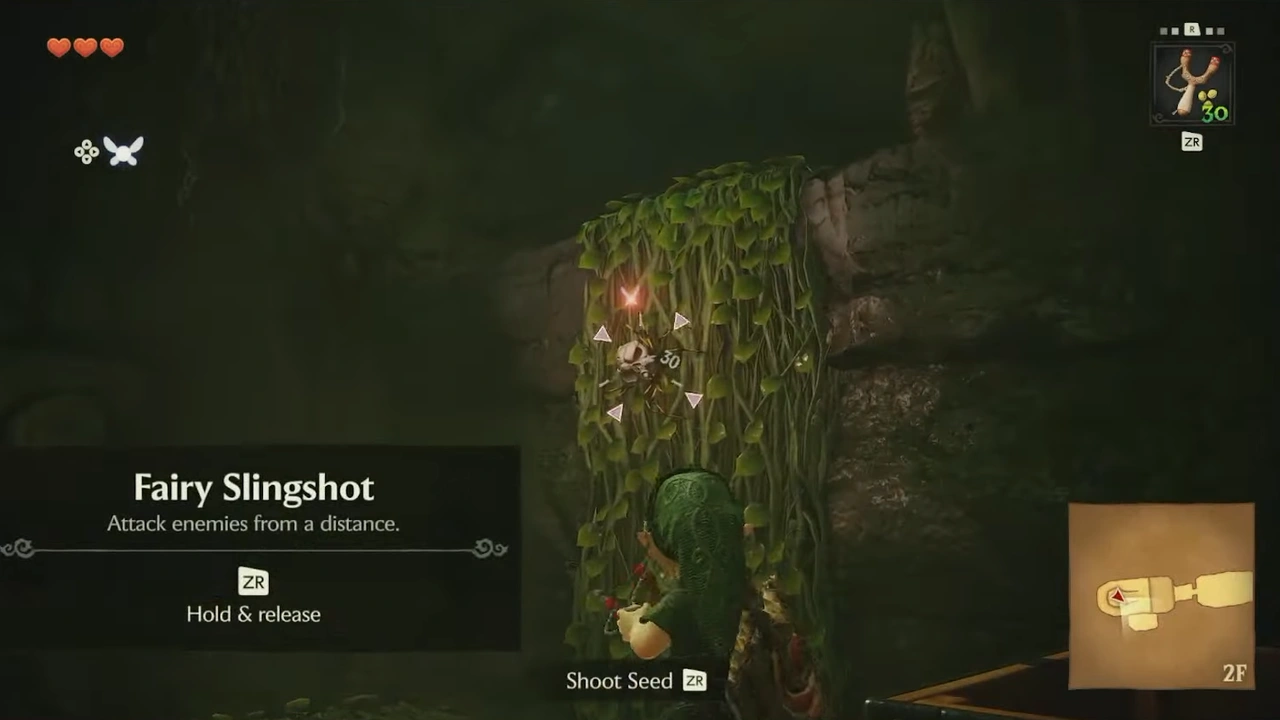
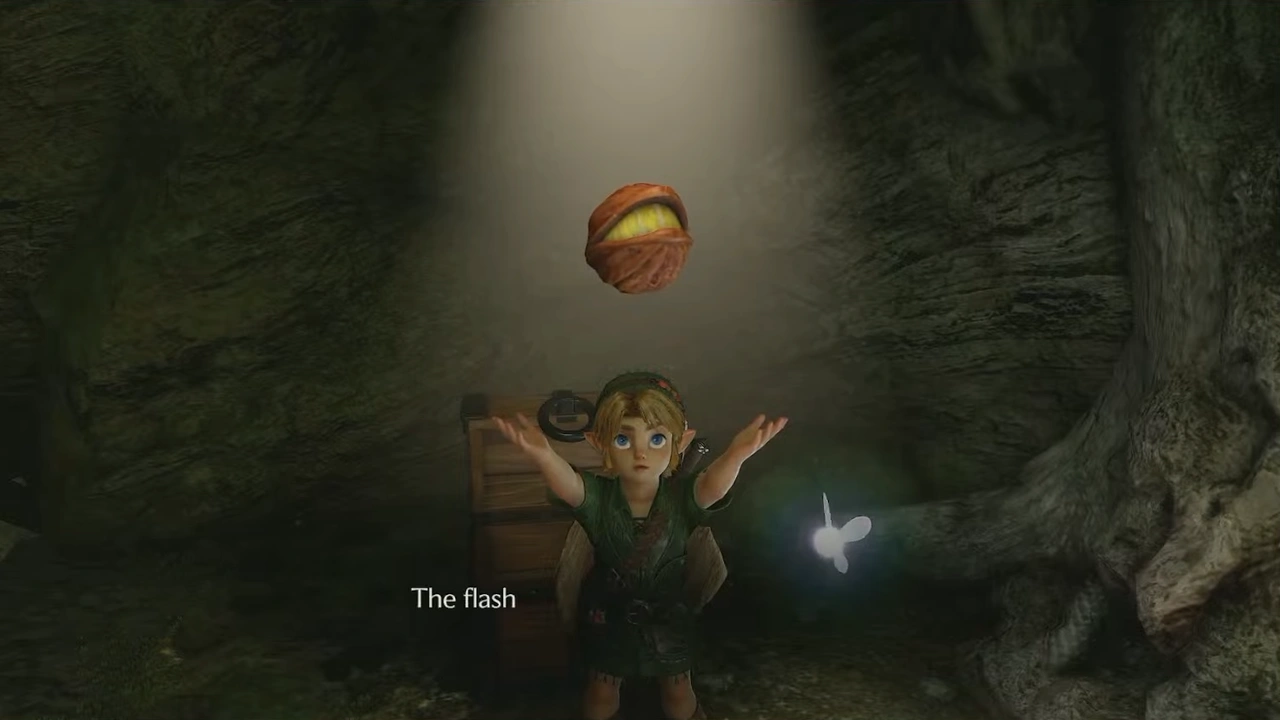
If we climb the vines, we'll find a chest with Deku NutsOn our right we'll find vines with a Skulltula

To get back we'll have to use the Fairy Slingshot to hit the eye and make the ladder drop.
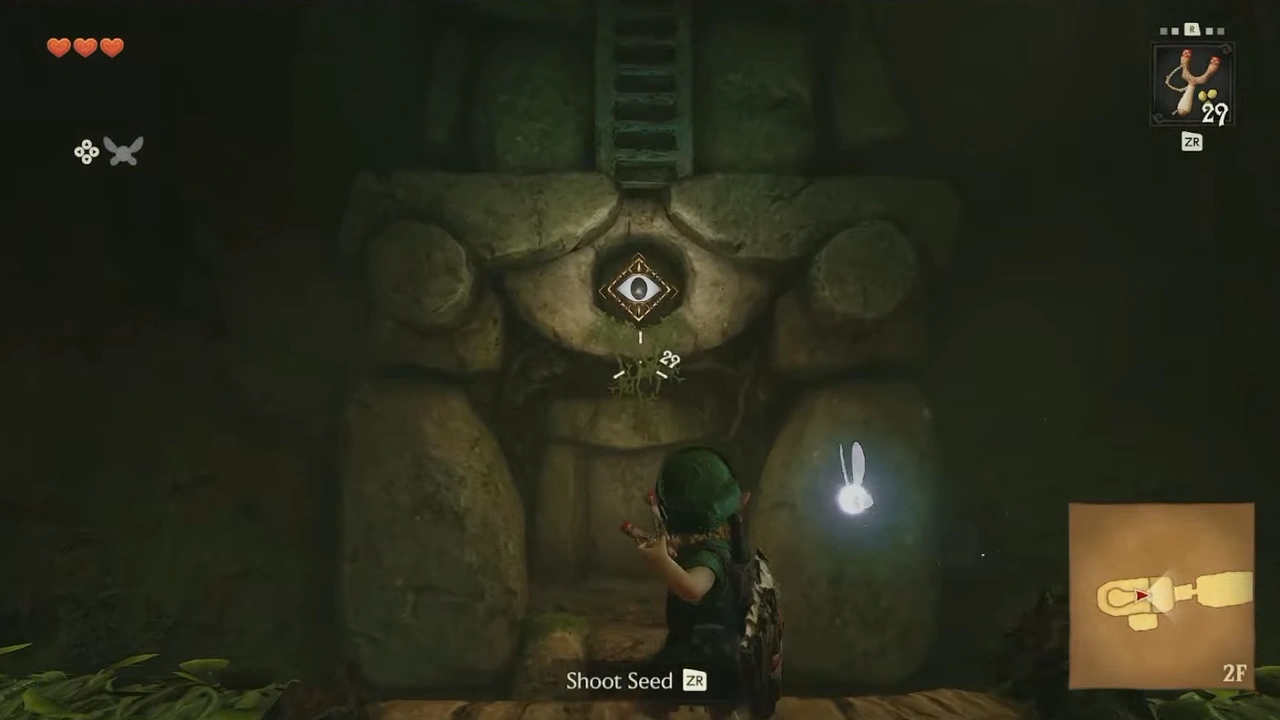
To get back we'll have to use the Fairy Slingshot to hit the eye and make the ladder dropTo get back we'll have to use the Fairy Slingshot to hit the eye and make the ladder drop (screenshot 60)

We'll go back to the first room of the dungeon and return to where we found the Dungeon Map chest. We'll kill the Skulltula blocking the way before climbing up.
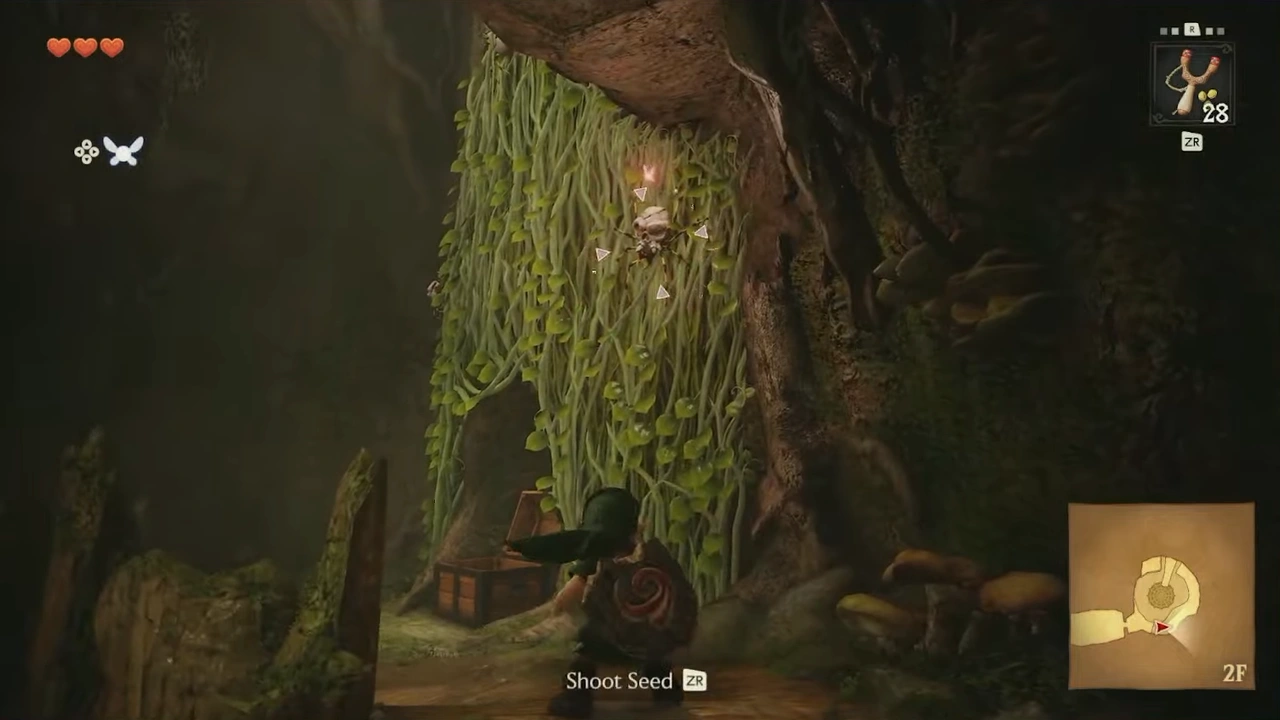
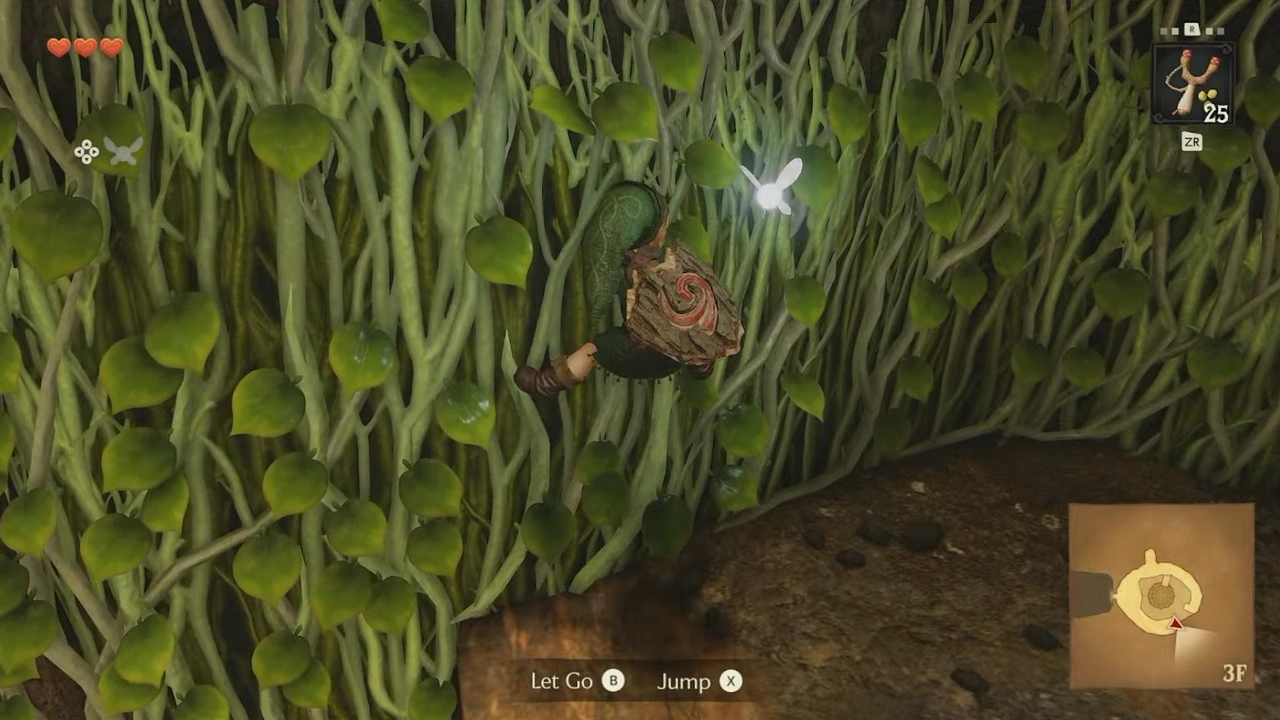
We'll kill the Skulltula blocking the way before climbing upWe'll go back to the first room of the dungeon and return to where we found the Dungeon Map chest

We'll follow the only path upward and find a Big Skulltula blocking the way. We'll wait for it to turn its back to us before attacking.
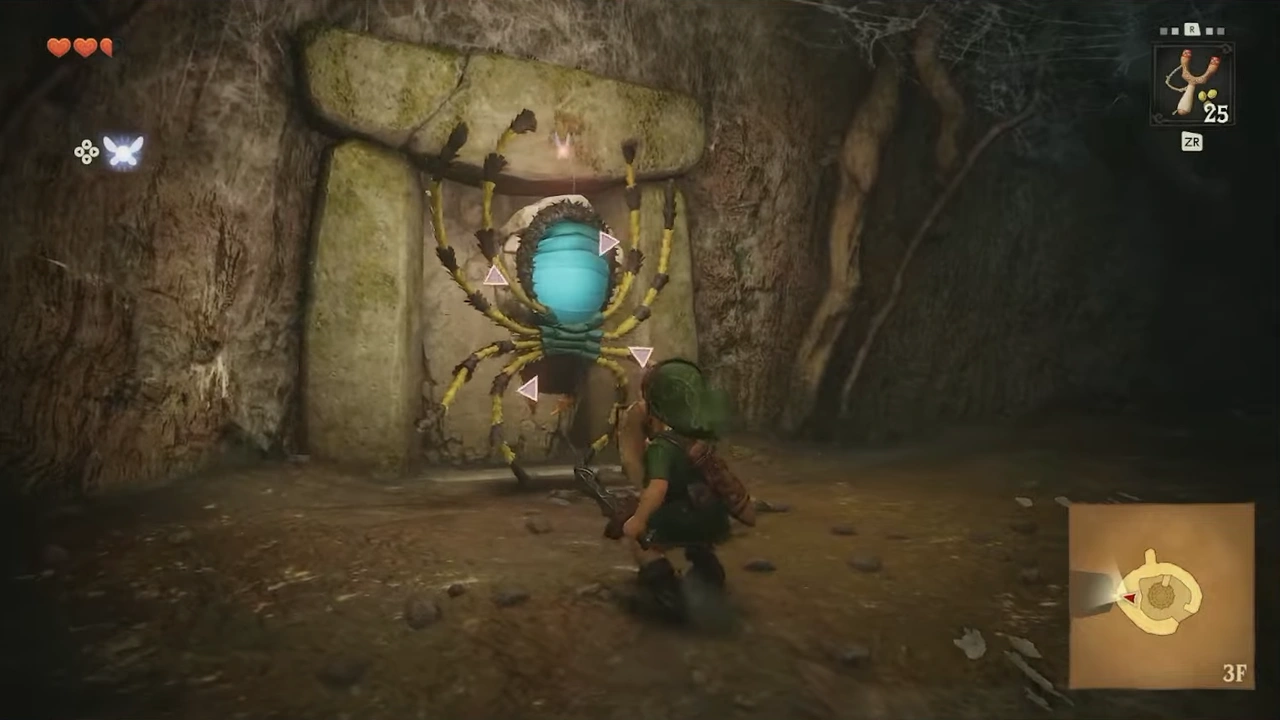
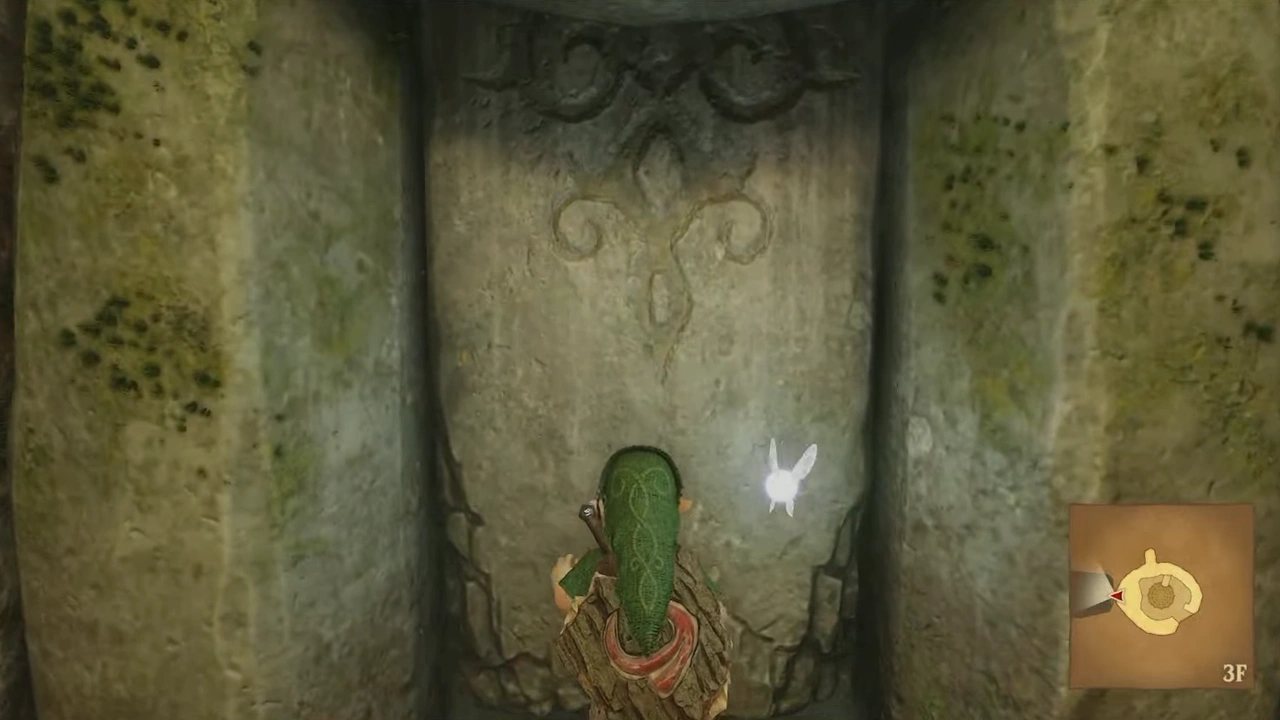
We'll wait for it to turn its back to us before attackingWe'll follow the only path upward and find a Big Skulltula blocking the way

In the next room we'll find a switch on our right; the first thing we'll do is press it.
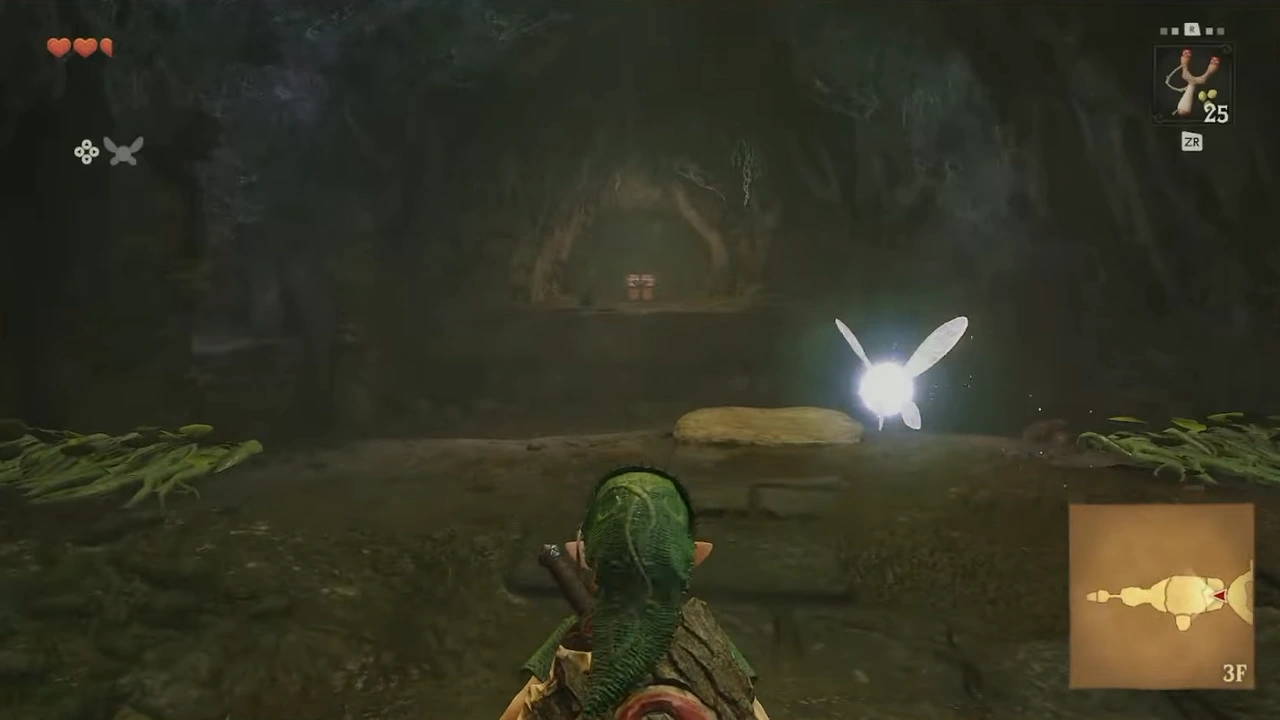
In the next room we'll find a switch on our right; the first thing we'll do is press itIn the next room we'll find a switch on our right; the first thing we'll do is press it (screenshot 66)

Pressing it will temporarily raise some platforms, letting us cross to the back of the room.
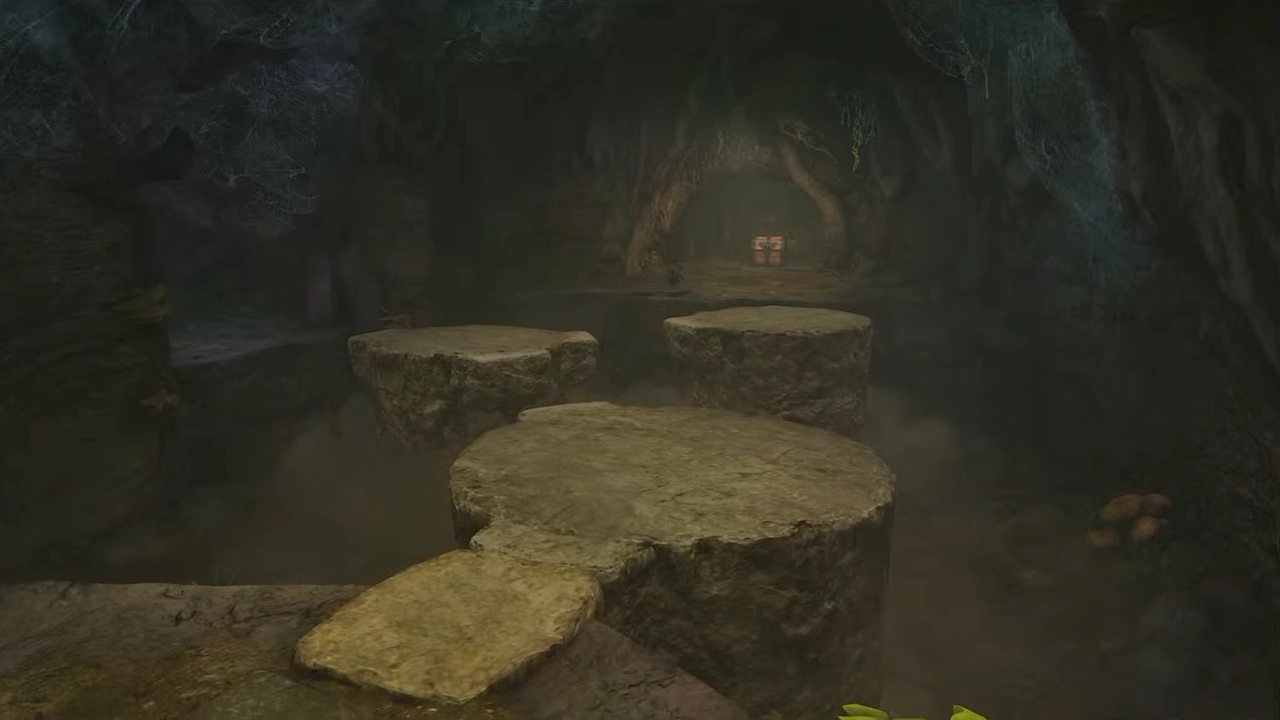
Pressing it will temporarily raise some platforms, letting us cross to the back of the roomPressing it will temporarily raise some platforms, letting us cross to the back of the room (screenshot 68)

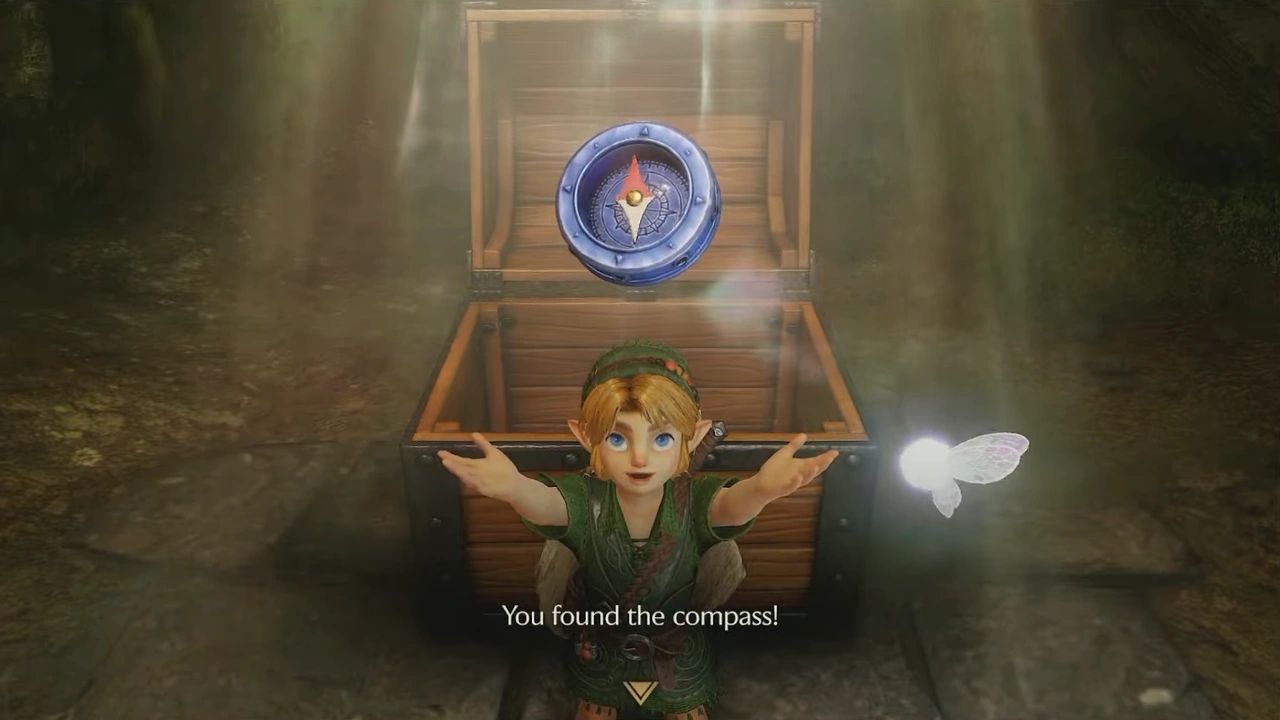
We'll go straight for the chest in front of us; it contains the Compass.
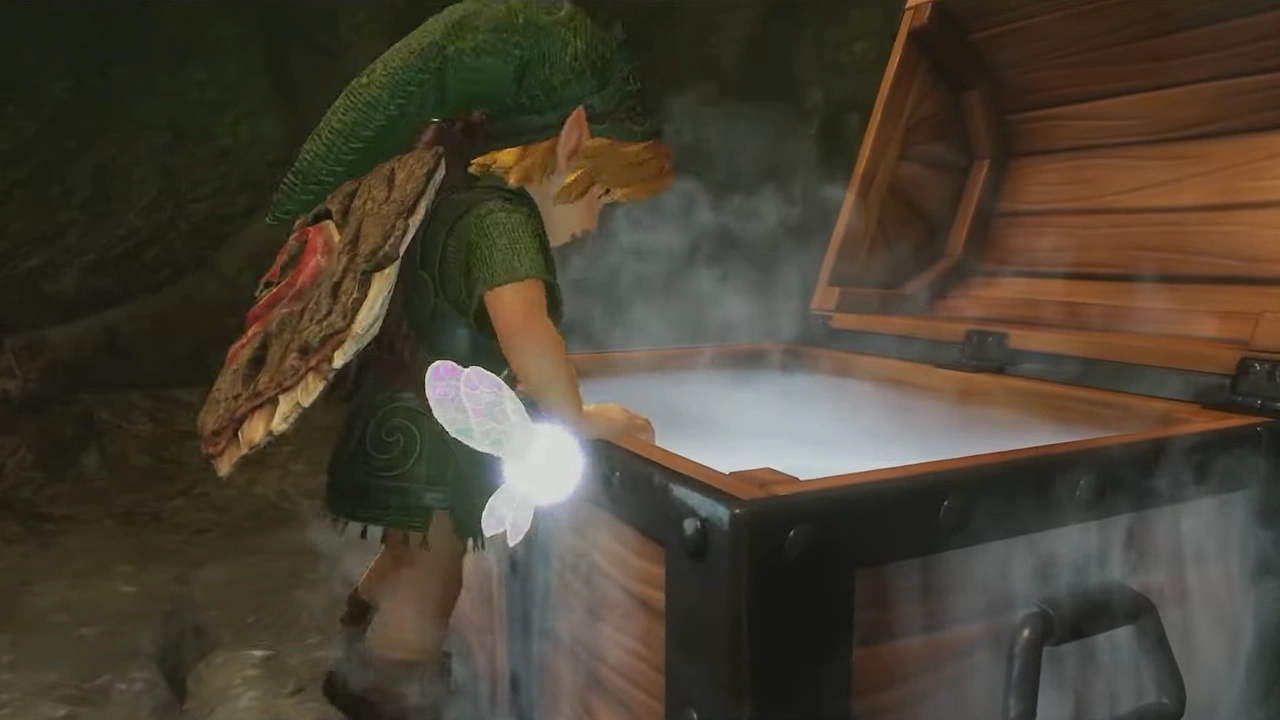
We'll go straight for the chest in front of us; it contains the CompassWe'll go straight for the chest in front of us; it contains the Compass (screenshot 70)

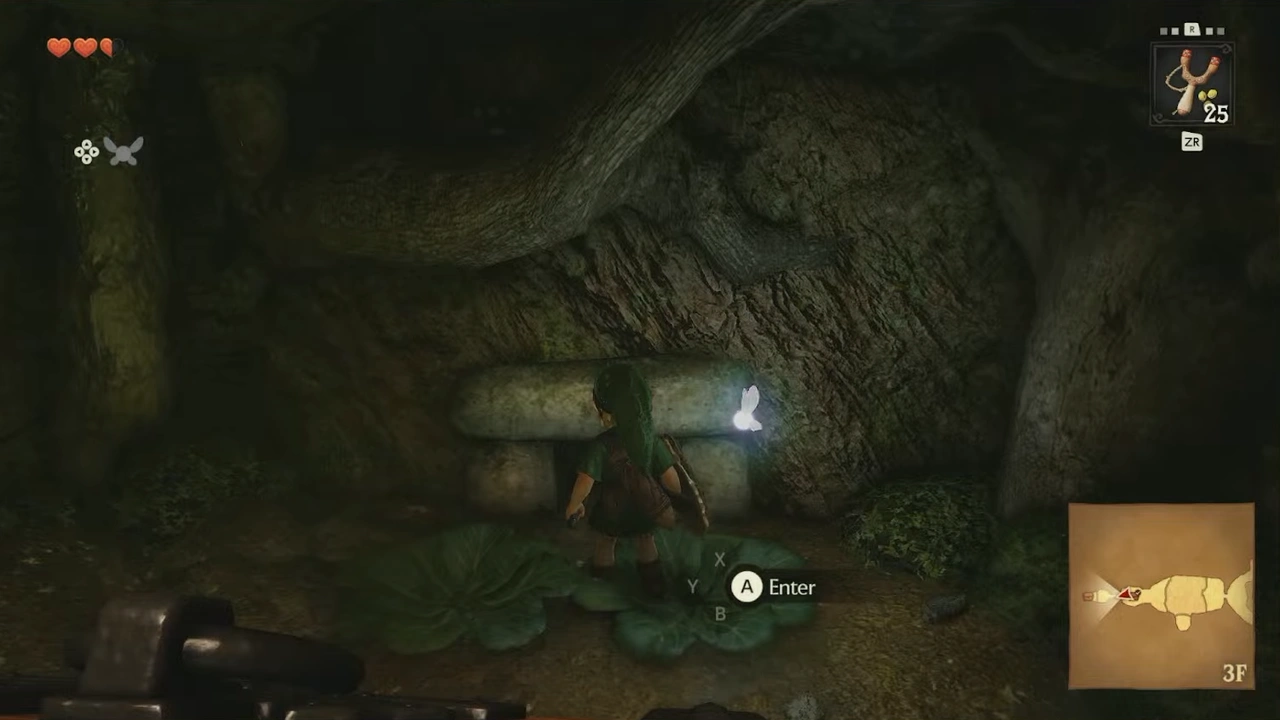
Behind the chest we'll see some bushes; we'll cut them to reveal the entrance to another room.
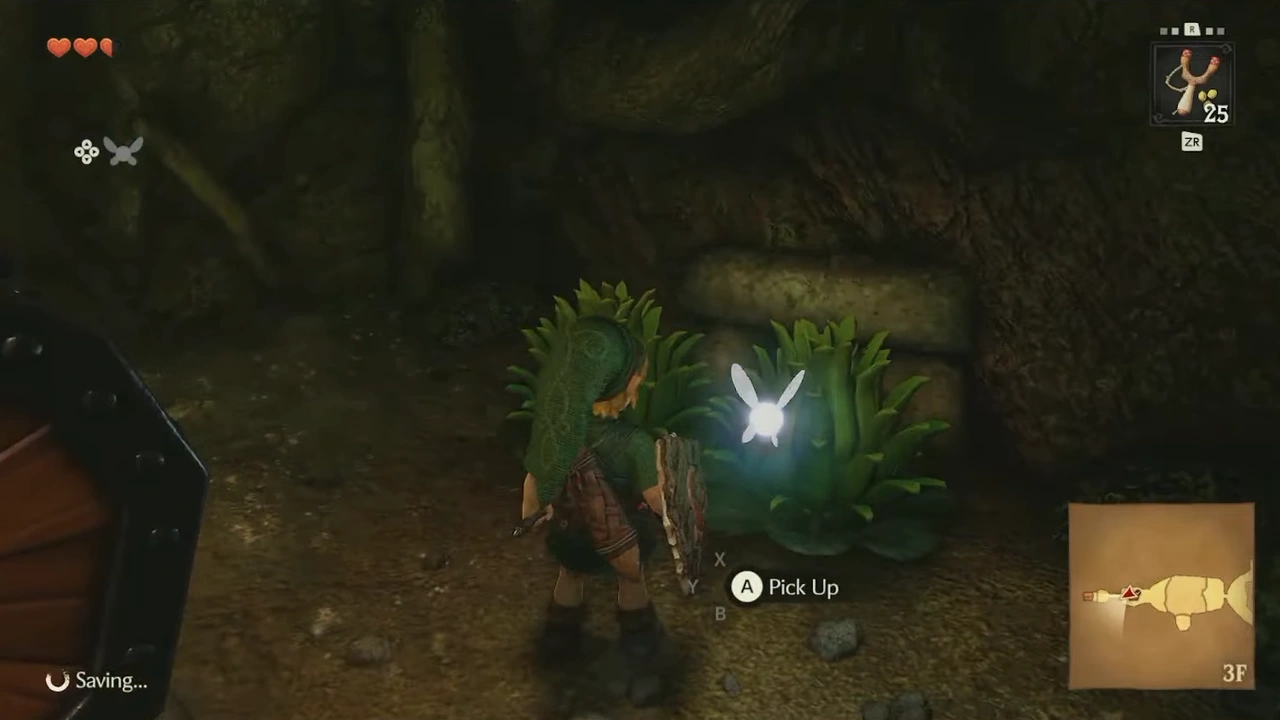
Behind the chest we'll see some bushes; we'll cut them to reveal the entrance to another roomBehind the chest we'll see some bushes; we'll cut them to reveal the entrance to another room (screenshot 72)

Inside we'll reach a room with vines. We'll climb up to find another chest with Deku Nuts, then go back the way we came or follow the path above.
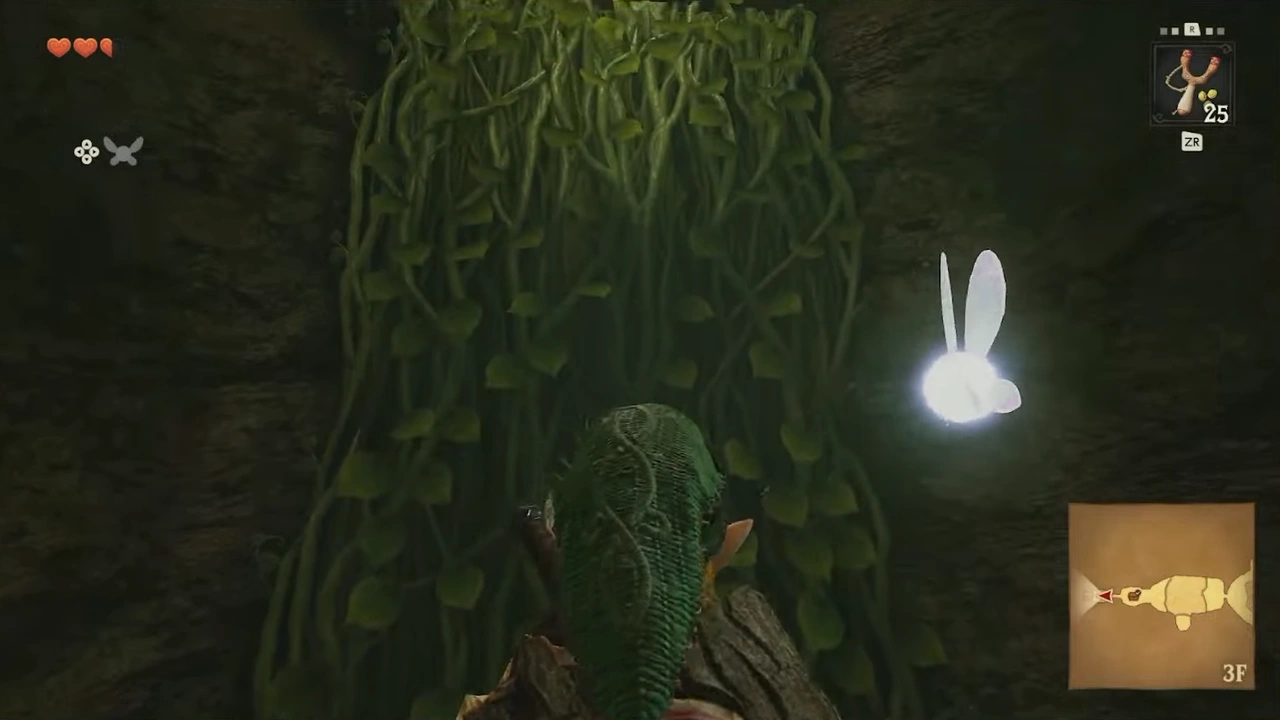
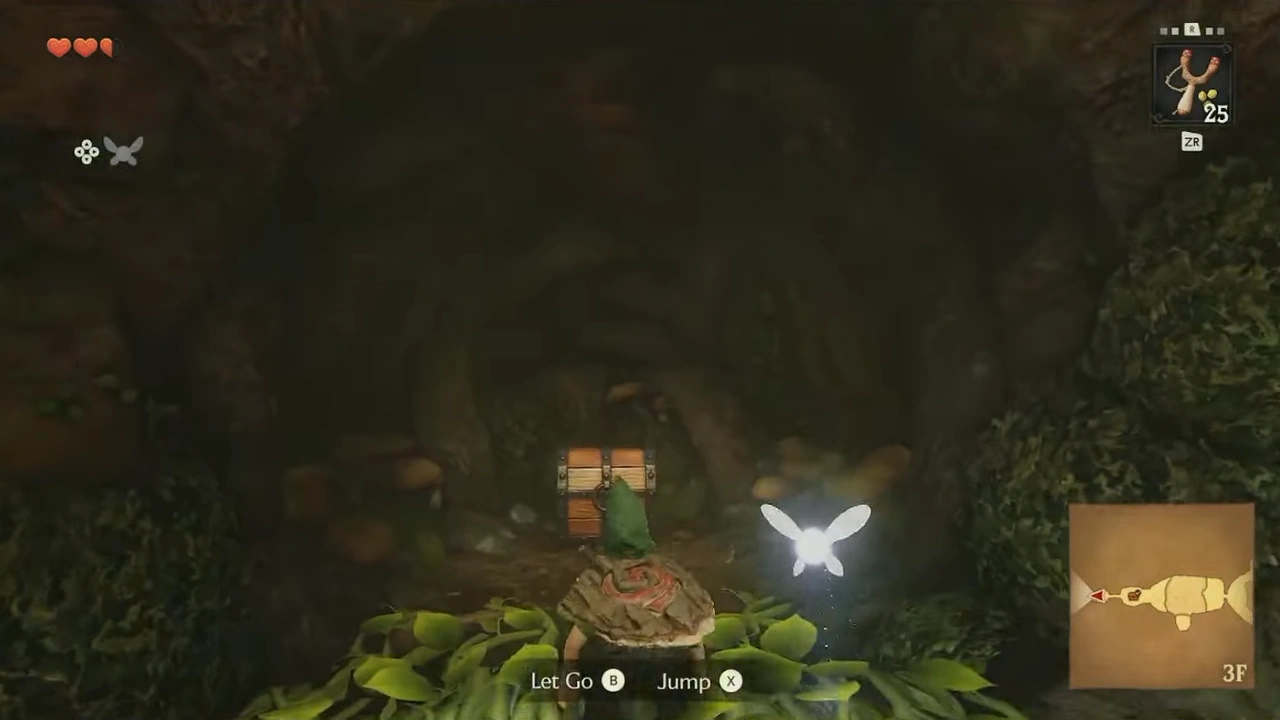
We'll climb up to find another chest with Deku Nuts, then go back the way we came or follow theInside we'll reach a room with vines

We'll return to the rising platforms and use the vines to get back to the switch.
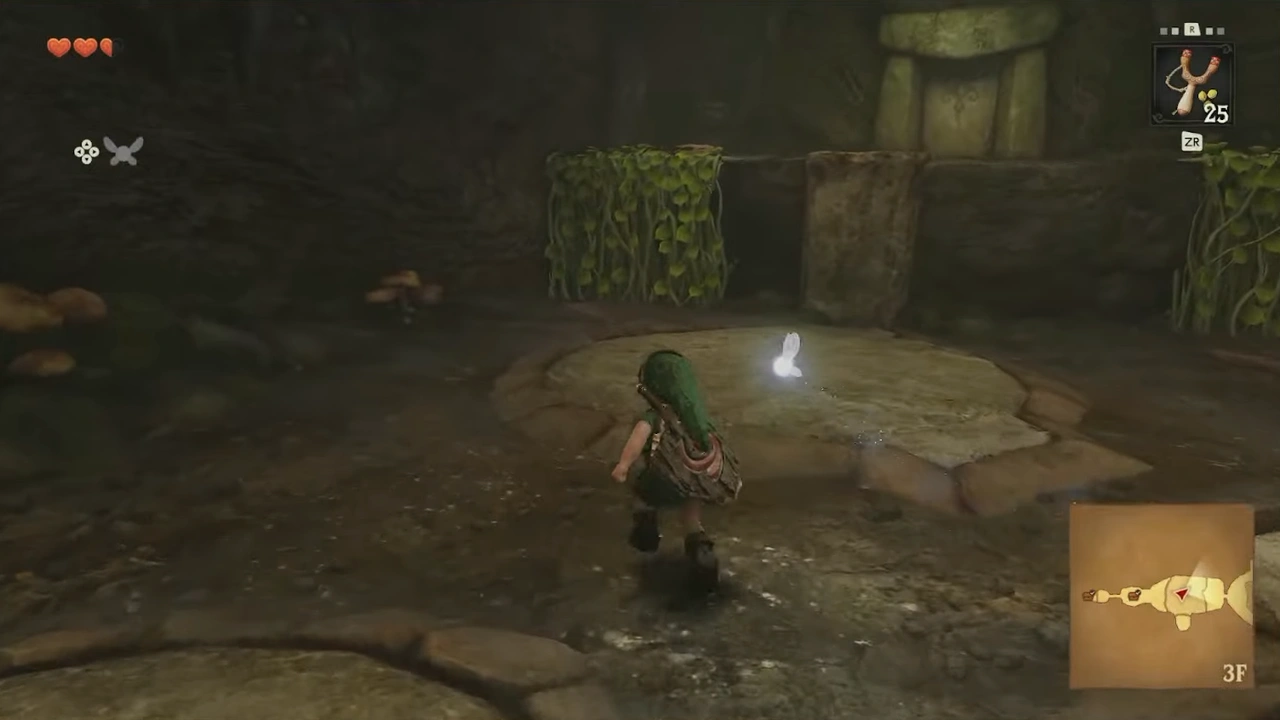
We'll return to the rising platforms and use the vines to get back to the switchWe'll return to the rising platforms and use the vines to get back to the switch (screenshot 76)

This time we'll climb onto the platform and take the path on our left, where a Big Skulltula will drop down.
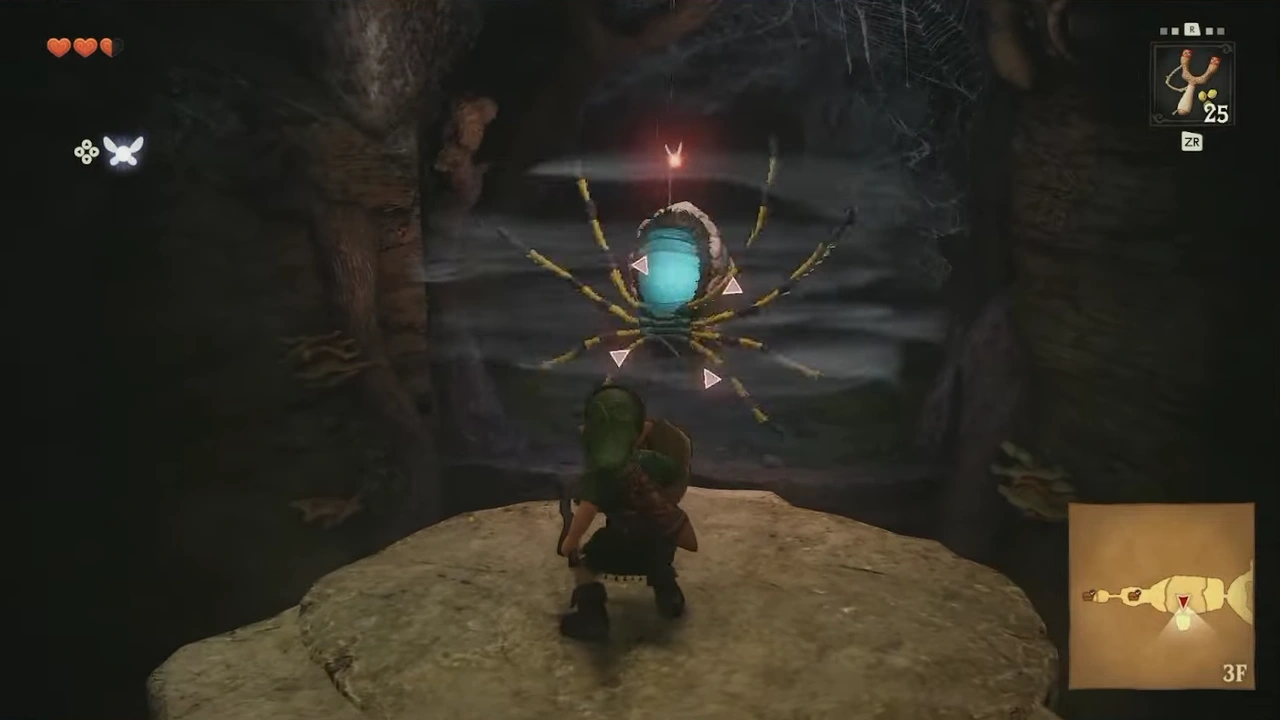
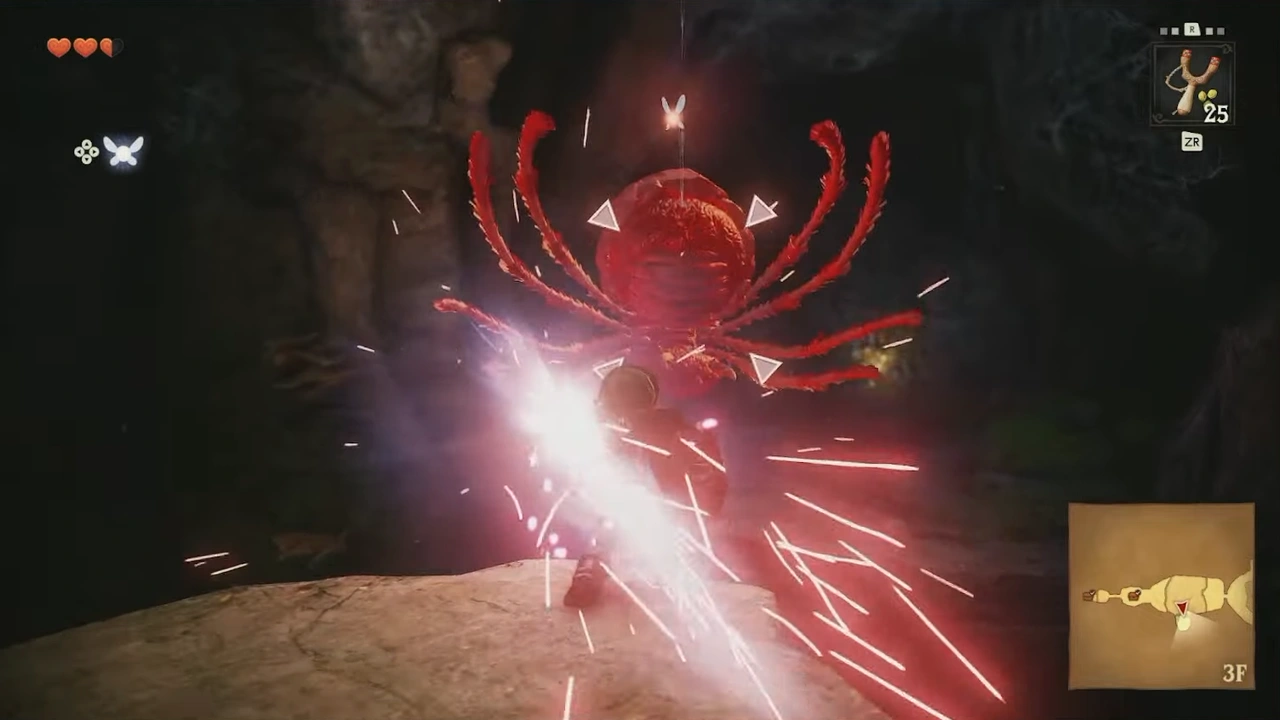
This time we'll climb onto the platform and take the path on our left, where a Big Skulltula willThis time we'll climb onto the platform and take the path on our left, where a Big Skulltula will (screenshot 78)

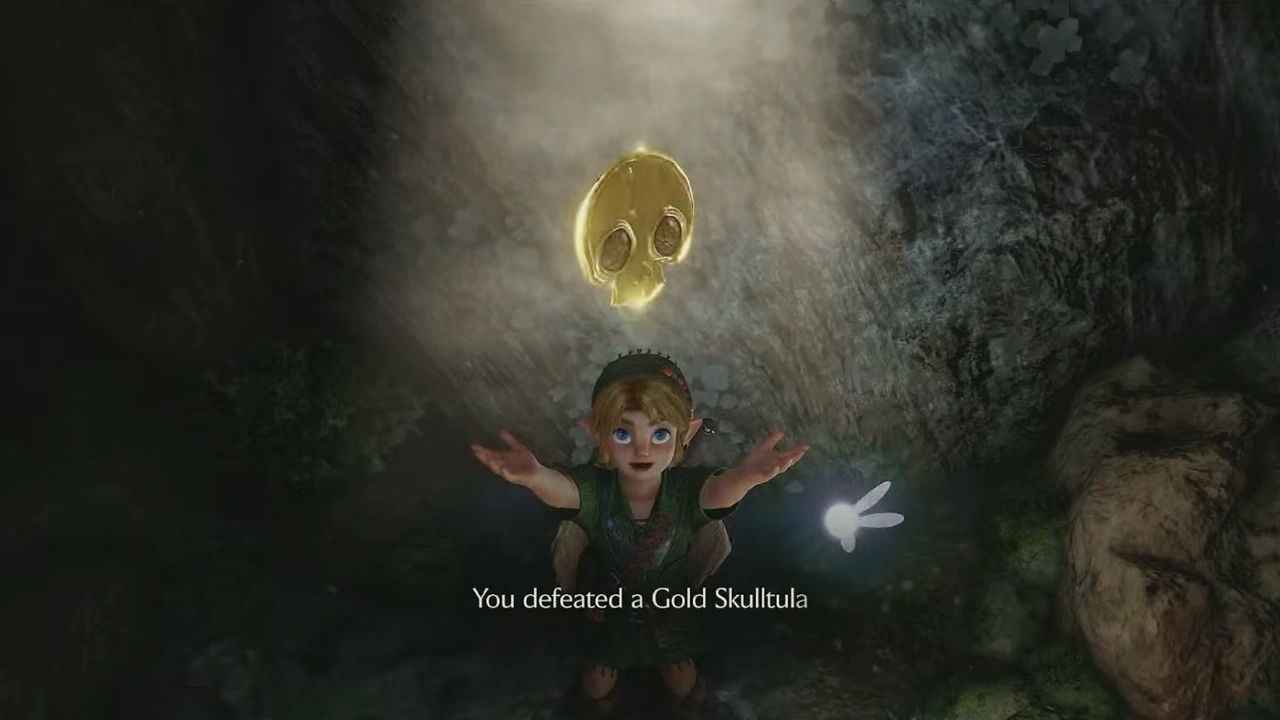
Behind it we'll find our first Gold Skulltula.
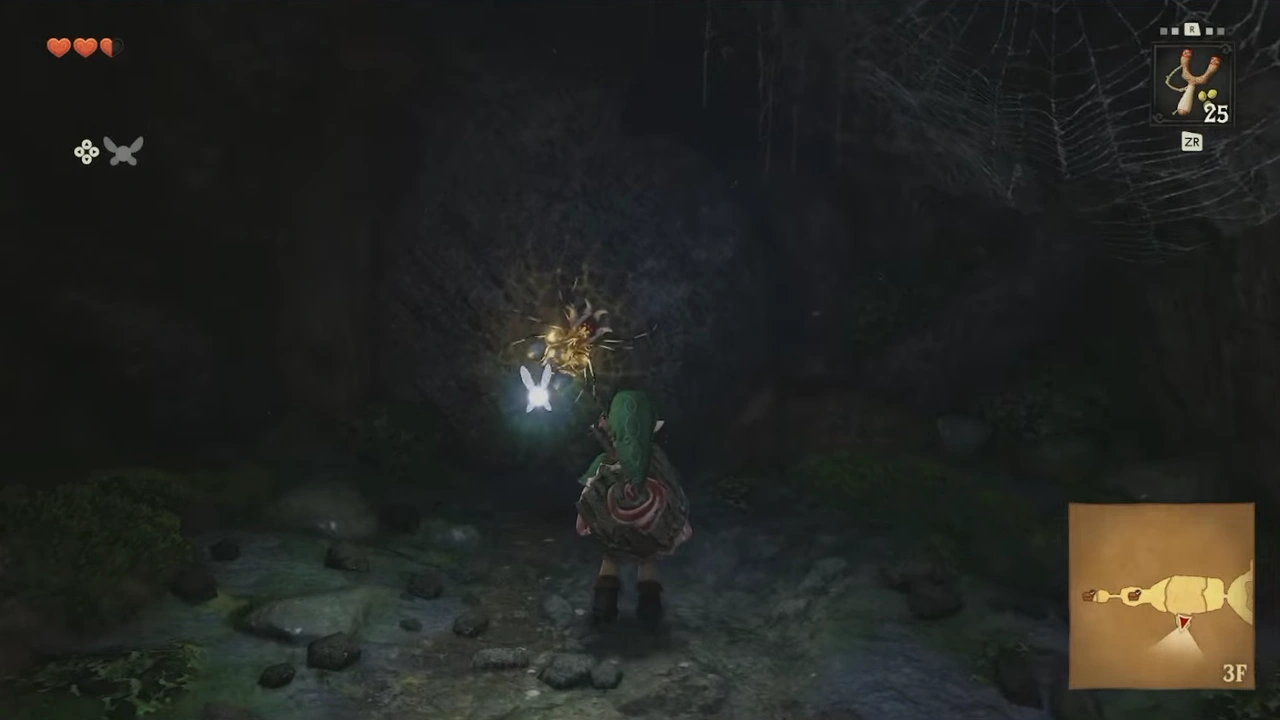
Behind it we'll find our first Gold SkulltulaBehind it we'll find our first Gold Skulltula (screenshot 80)

We'll use the vines to return to the main room.
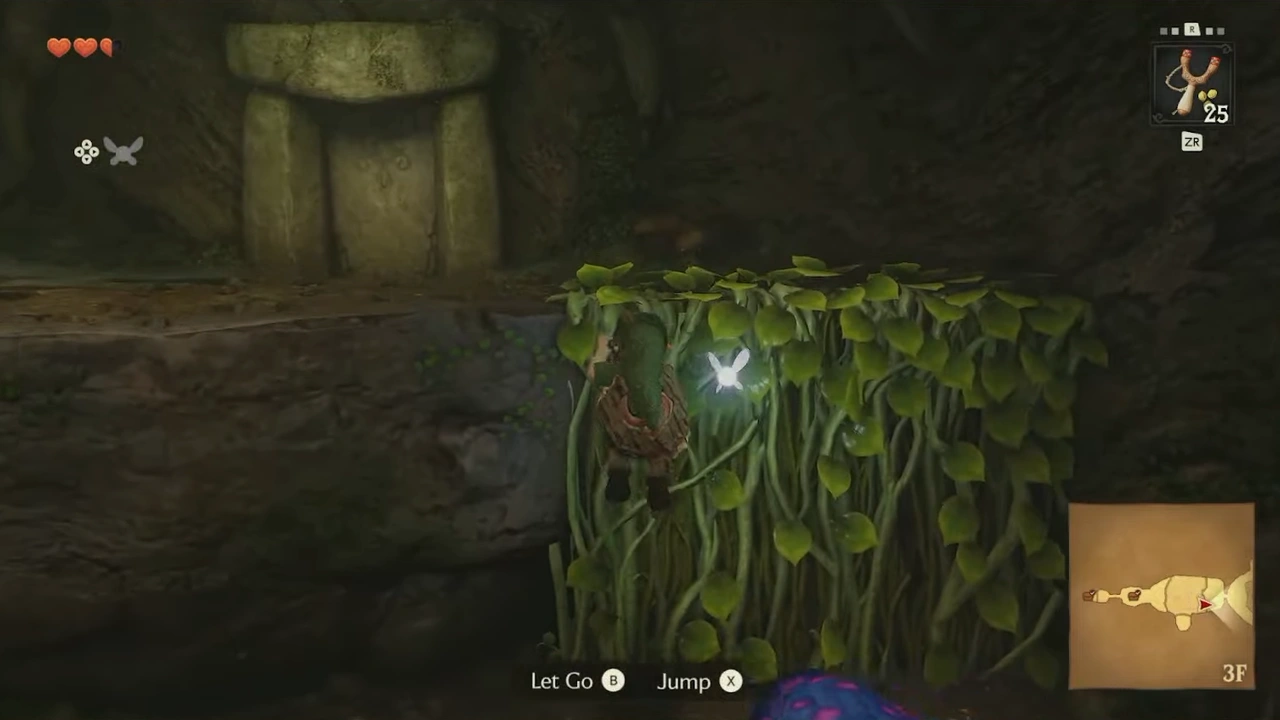
We'll use the vines to return to the main roomWe'll use the vines to return to the main room (screenshot 82)

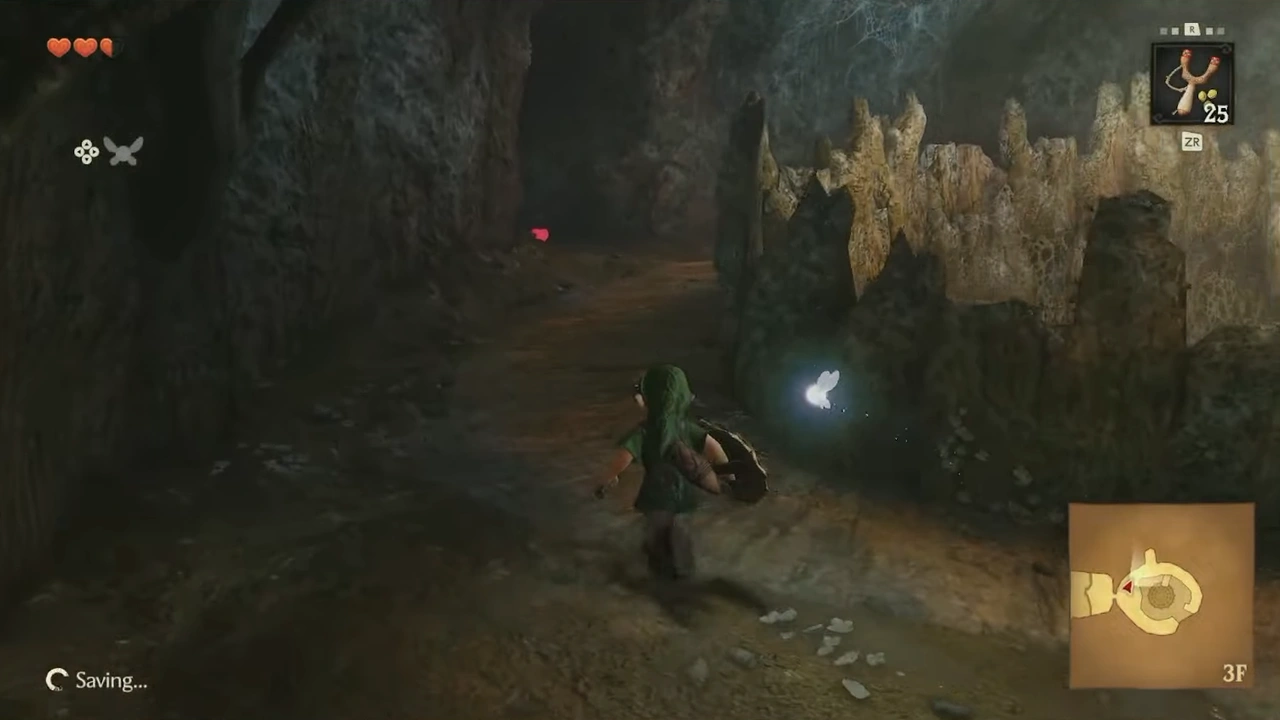
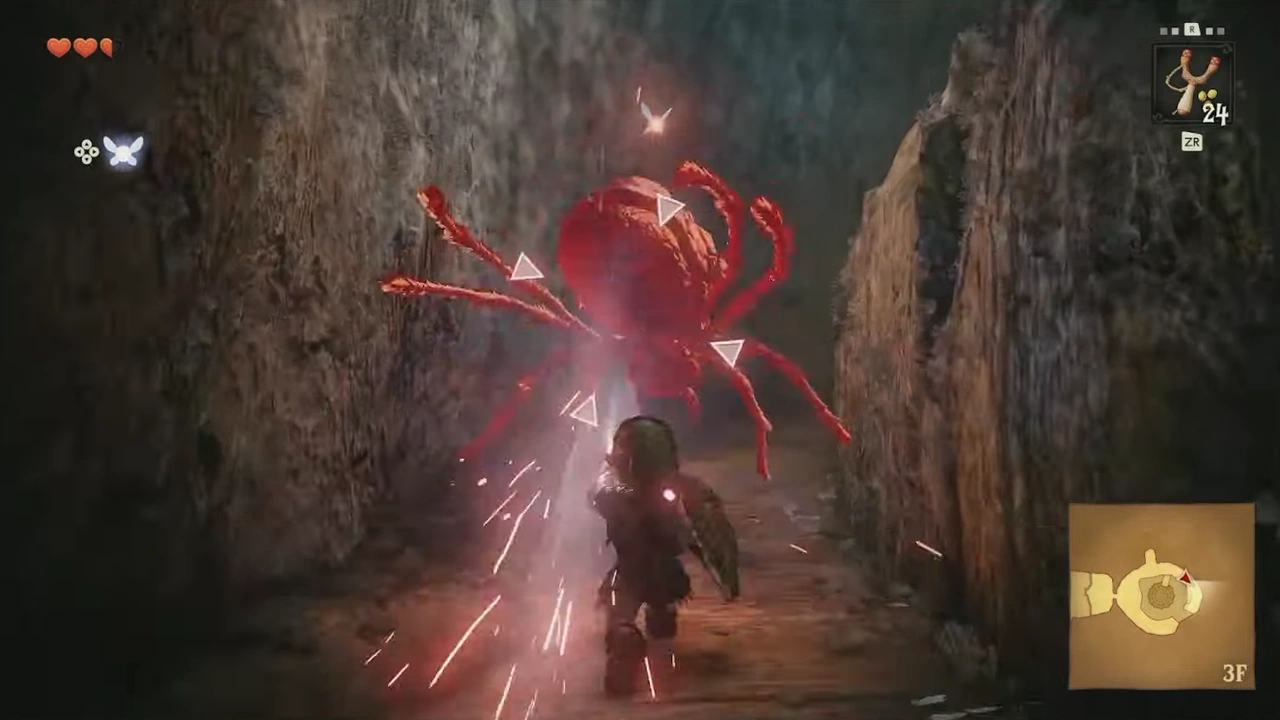
We'll keep climbing and find two Big Skulltulas along the way.
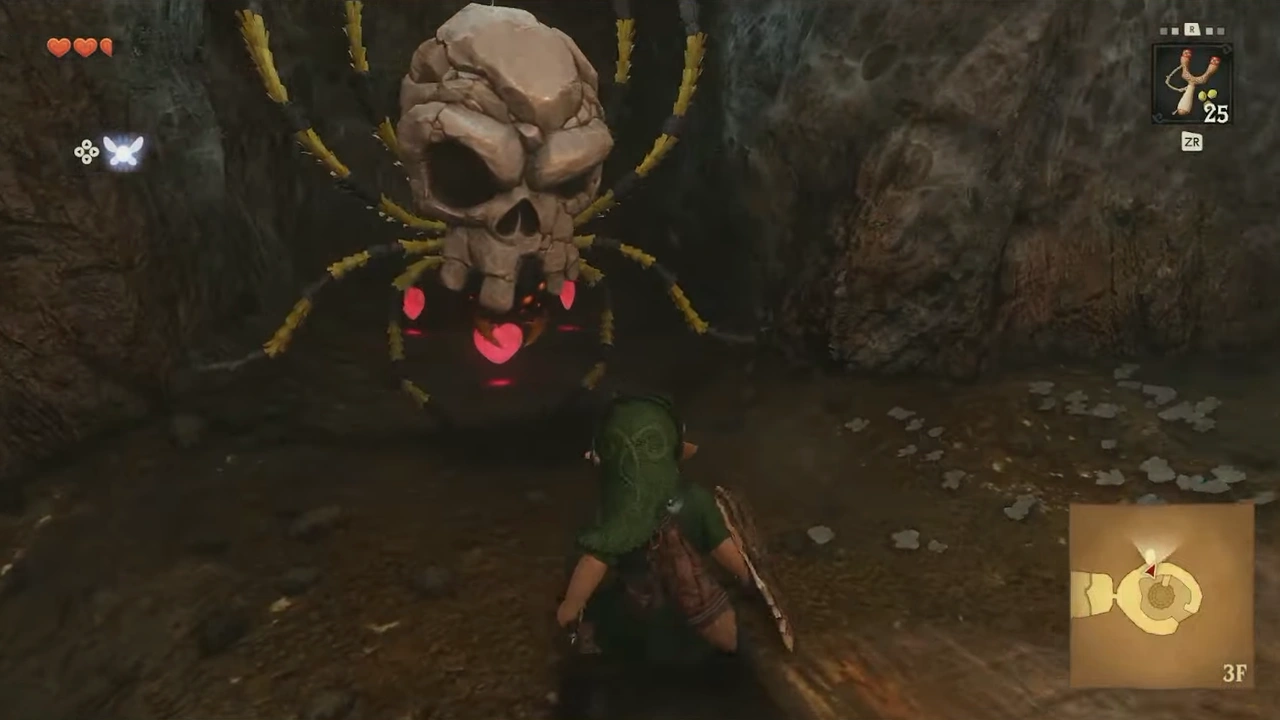
We'll keep climbing and find two Big Skulltulas along the wayWe'll keep climbing and find two Big Skulltulas along the way (screenshot 84)

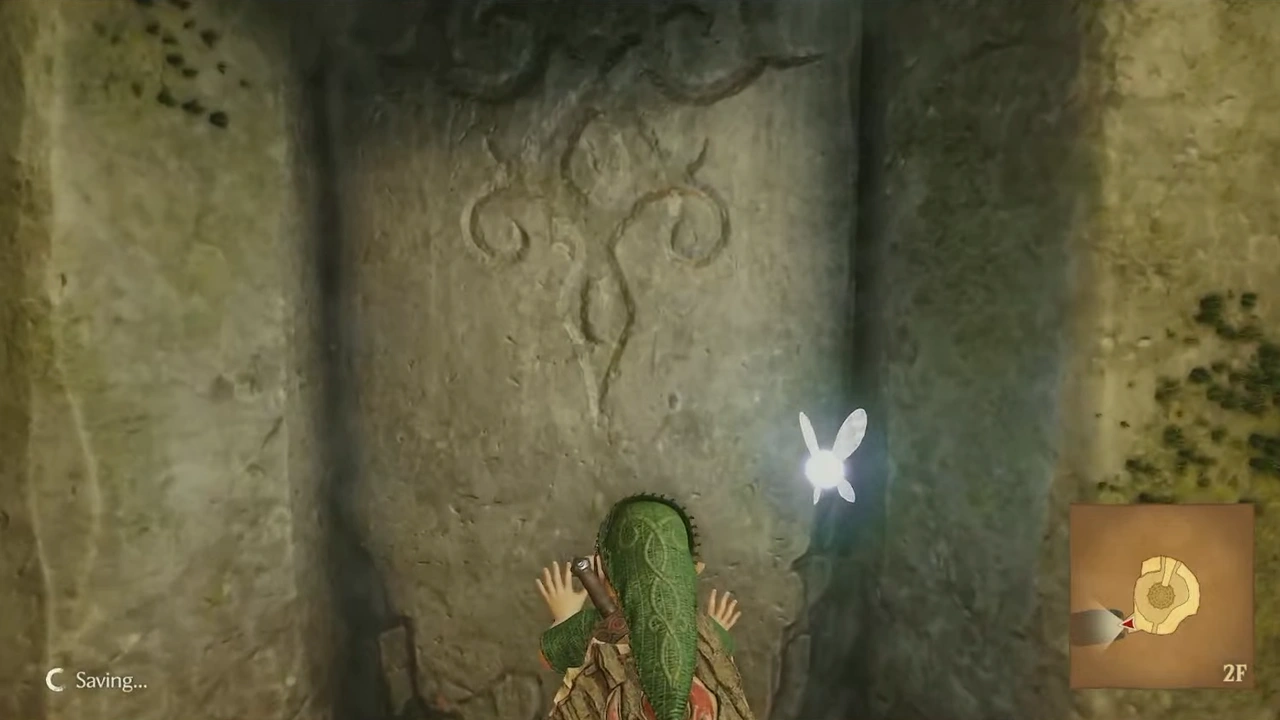
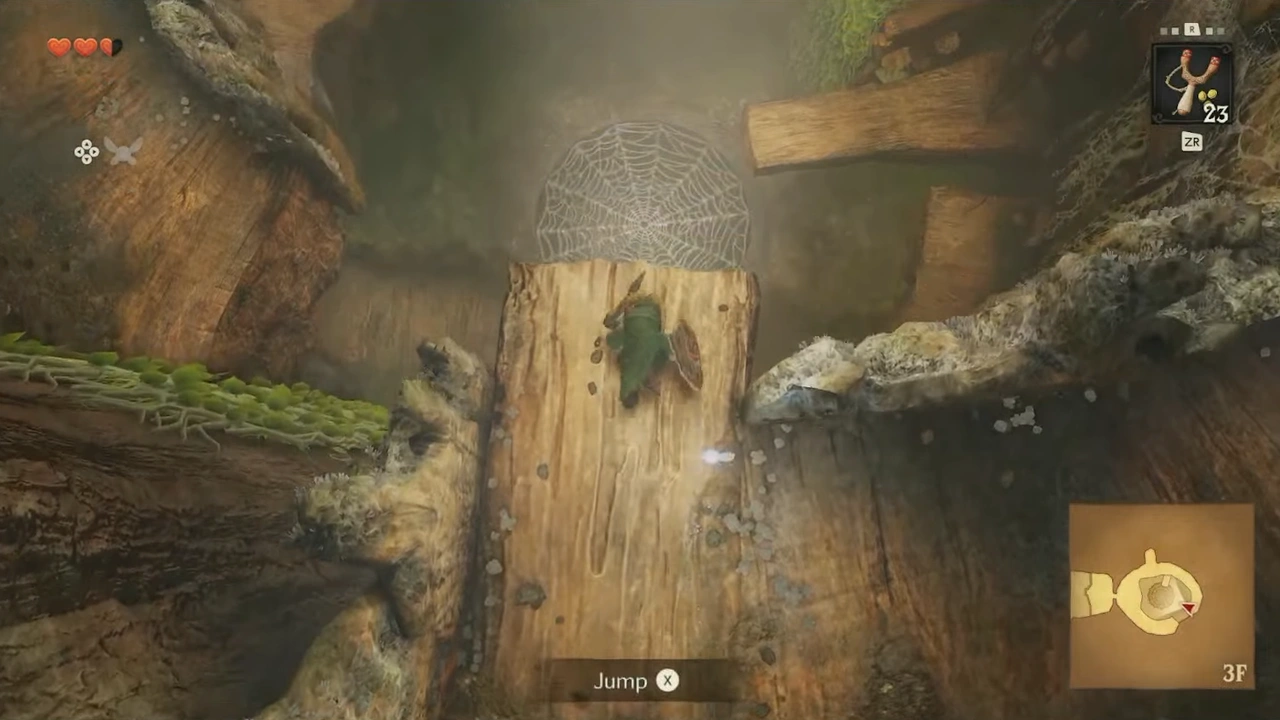
We'll reach the very top of the Deku Tree, where we'll jump from the edge of the platform.
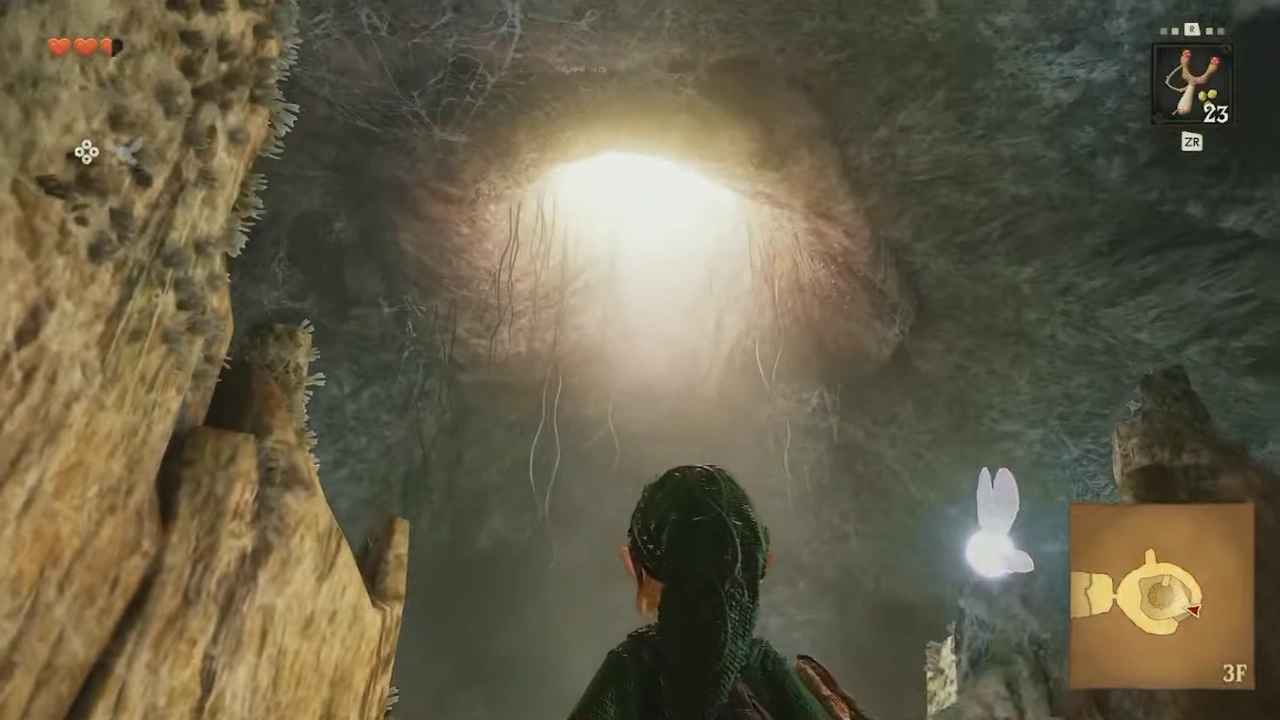
We'll reach the very top of the Deku Tree, where we'll jump from the edge of the platformWe'll reach the very top of the Deku Tree, where we'll jump from the edge of the platform (screenshot 86)
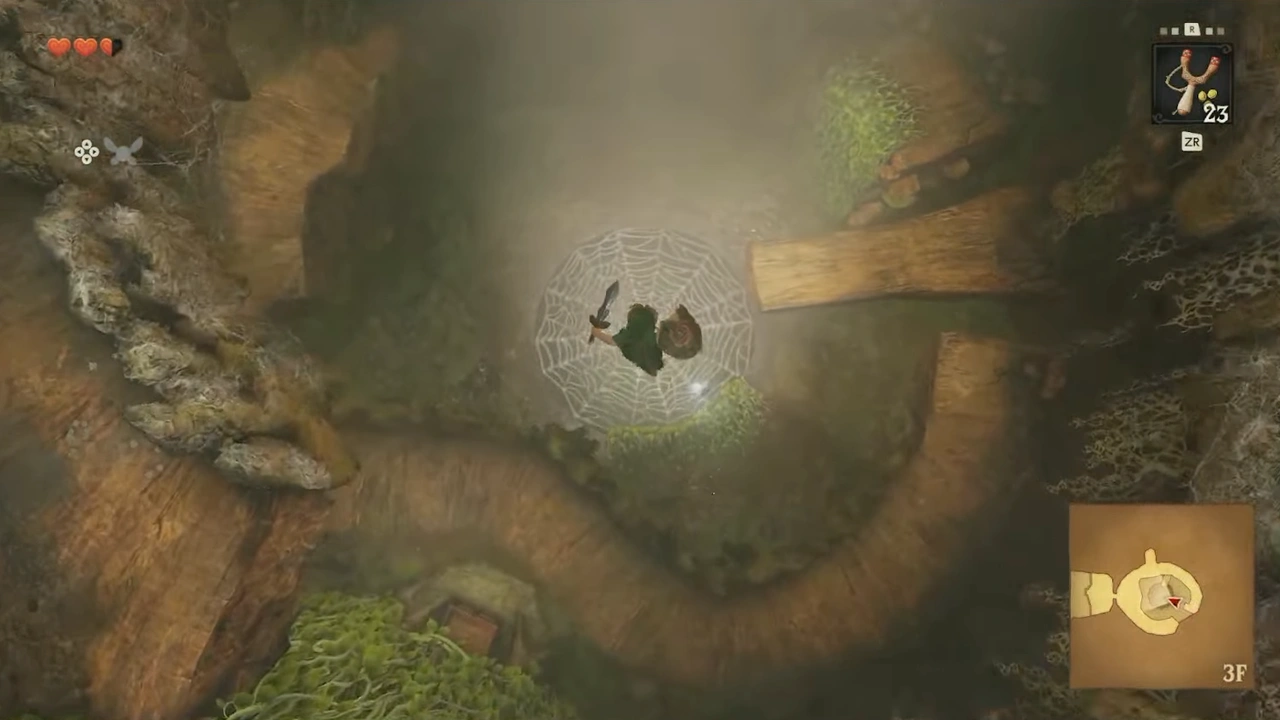
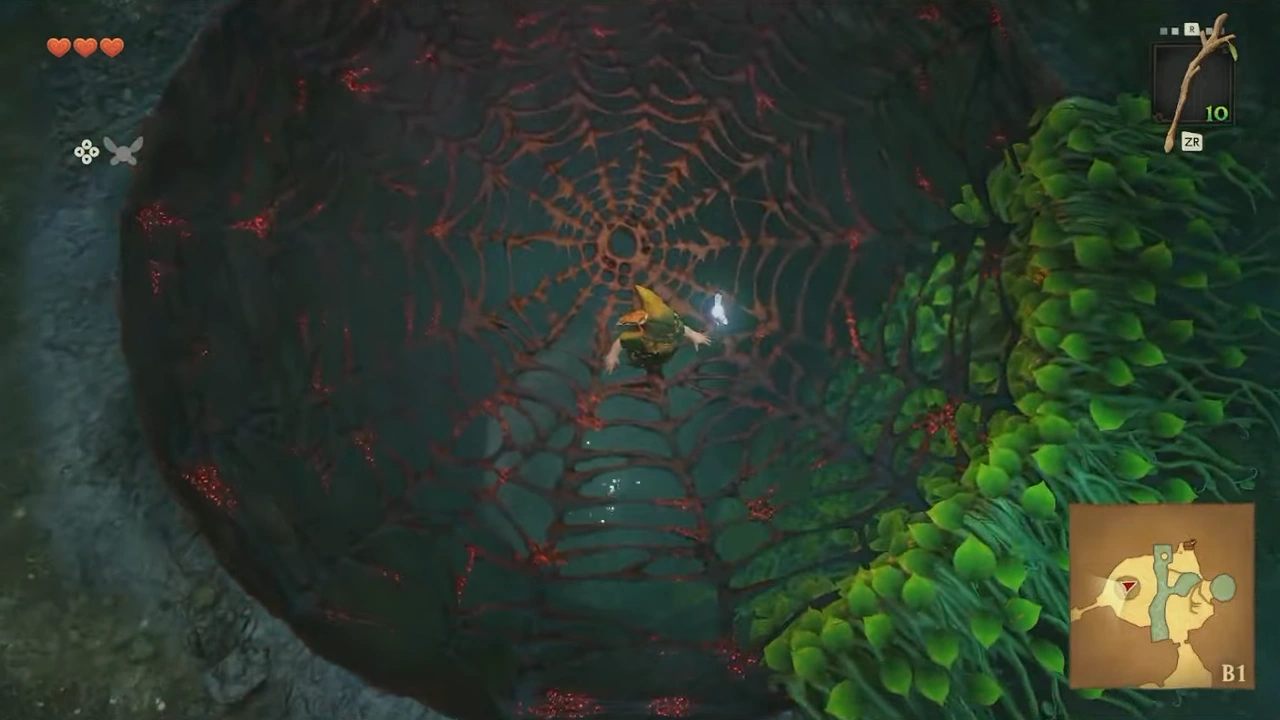
Link falls through the broken web at the top of the Deku Tree

When we land, the spider web will break and we'll drop into another area of the dungeon.
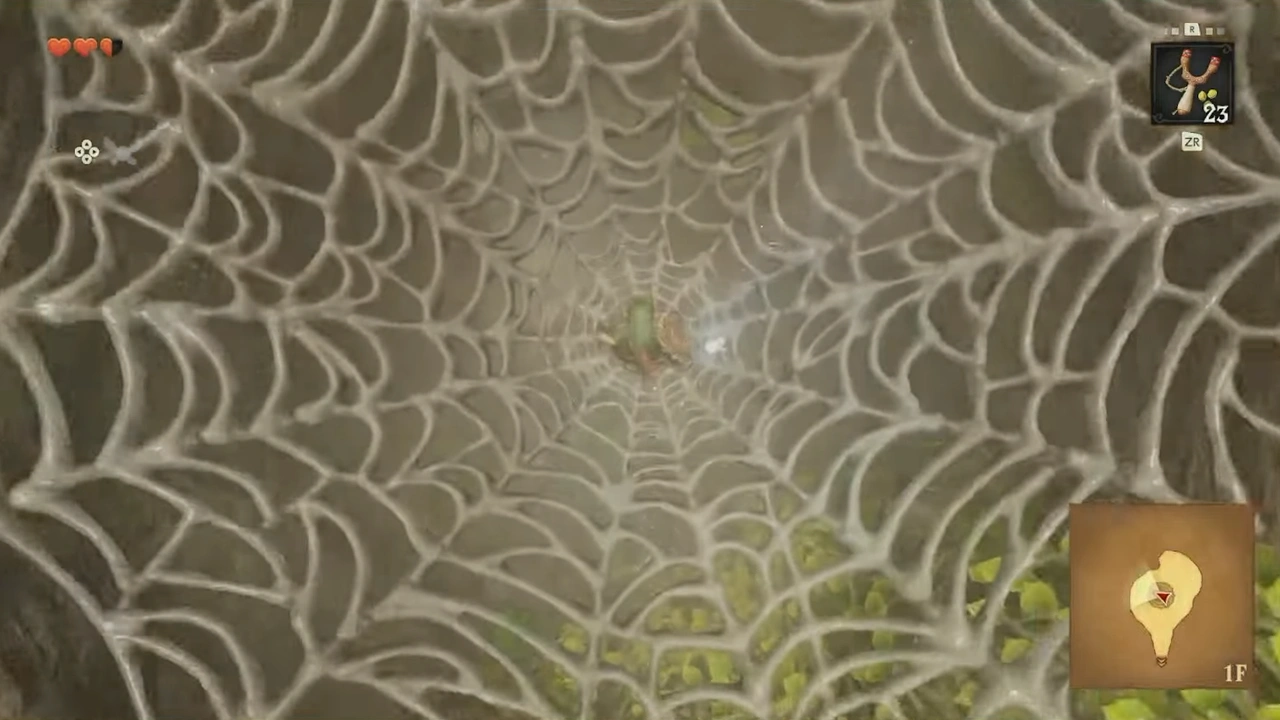
When we land, the spider web will break and we'll drop into another area of the dungeonWhen we land, the spider web will break and we'll drop into another area of the dungeon (screenshot 89)

If we look toward the giant vines behind us, we'll find another Gold Skulltula.

We'll continue west into a large room.
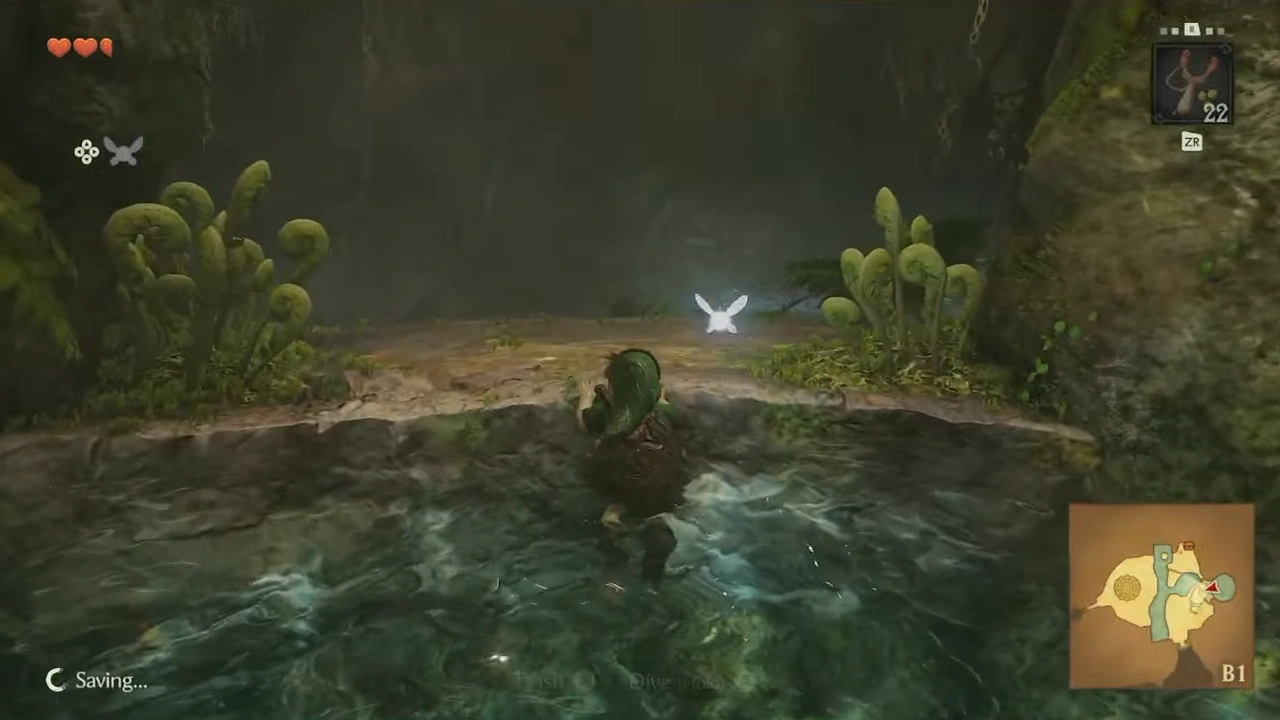
We'll continue west into a large roomIf we look toward the giant vines behind us, we'll find another Gold Skulltula

On our right, behind some bars, we'll find the third Gold Skulltula.
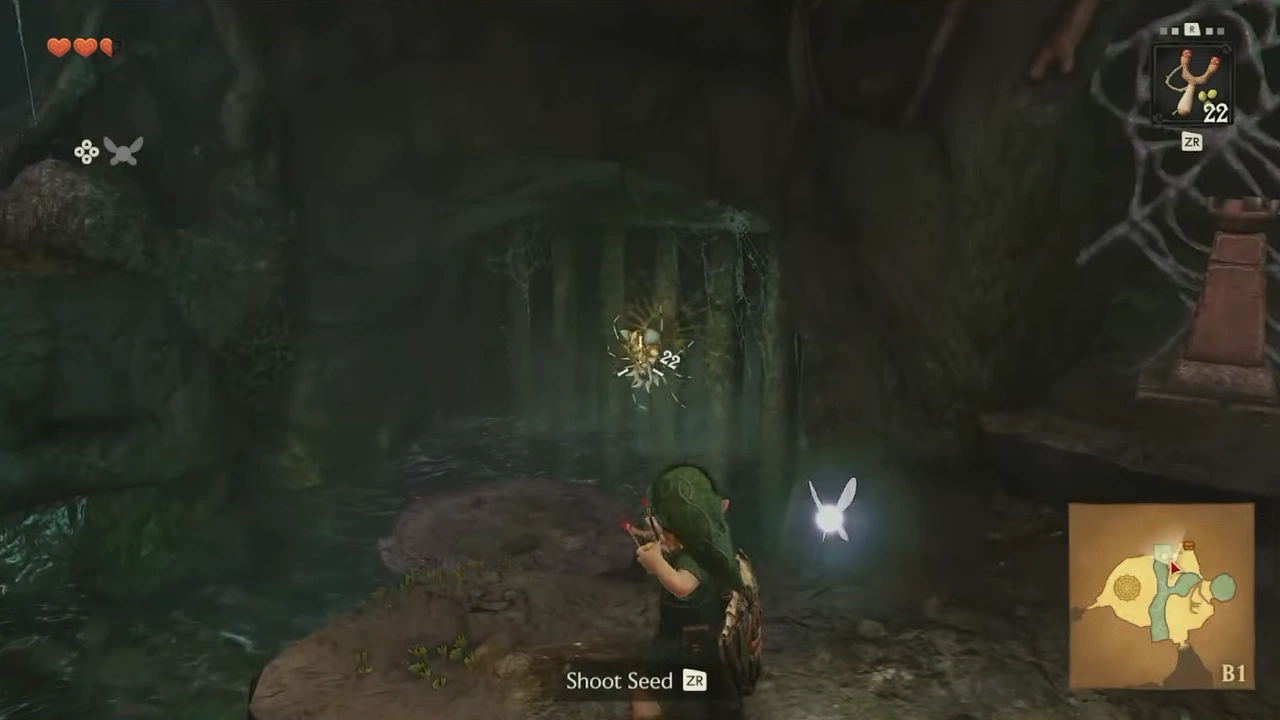
On our right, behind some bars, we'll find the third Gold SkulltulaOn our right, behind some bars, we'll find the third Gold Skulltula (screenshot 93)

To one side we'll find a switch; activating it will light a flame.
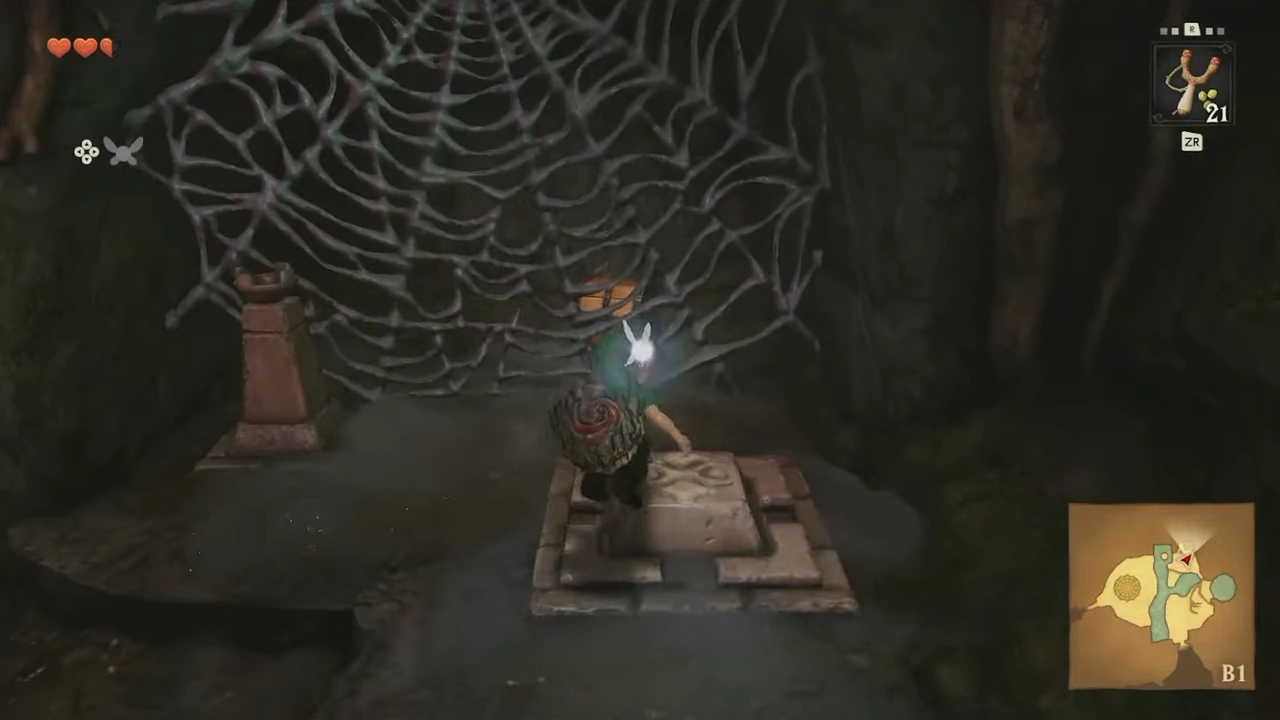
To one side we'll find a switch; activating it will light a flameTo one side we'll find a switch; activating it will light a flame (screenshot 95)

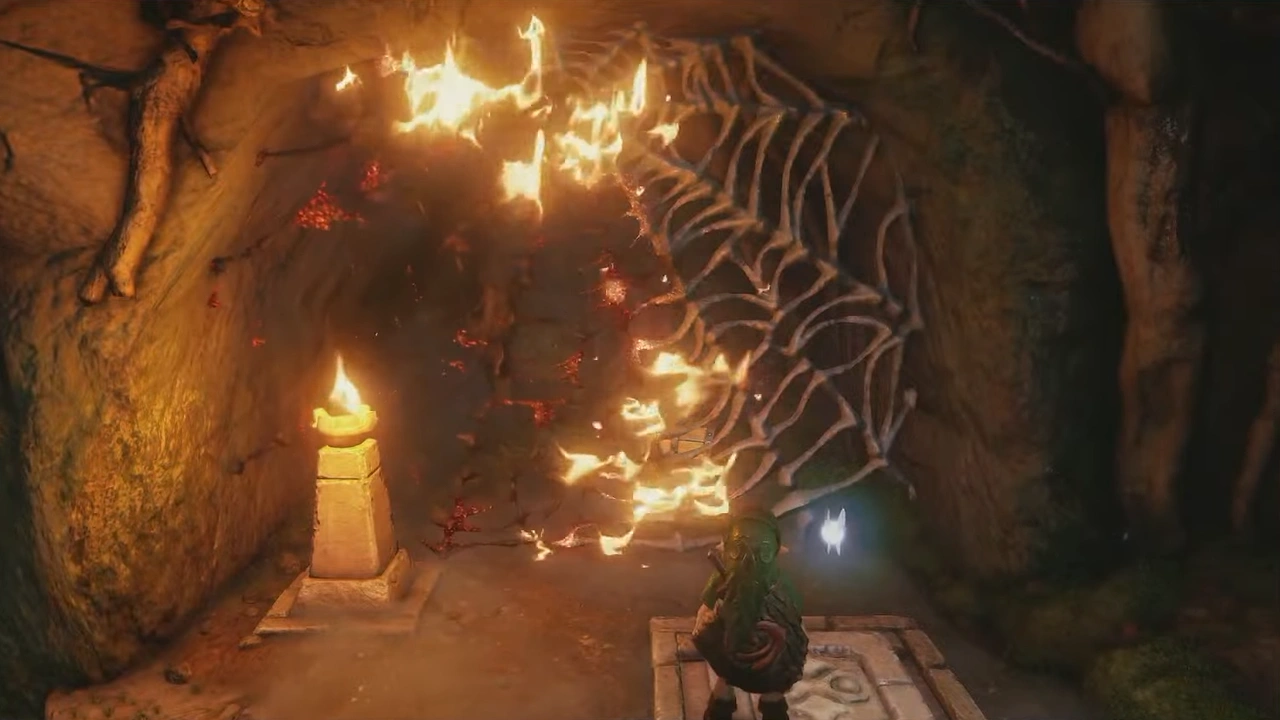
We'll use a Deku Stick, light it with the torch, and carry it to the spider web on the other side of the room.
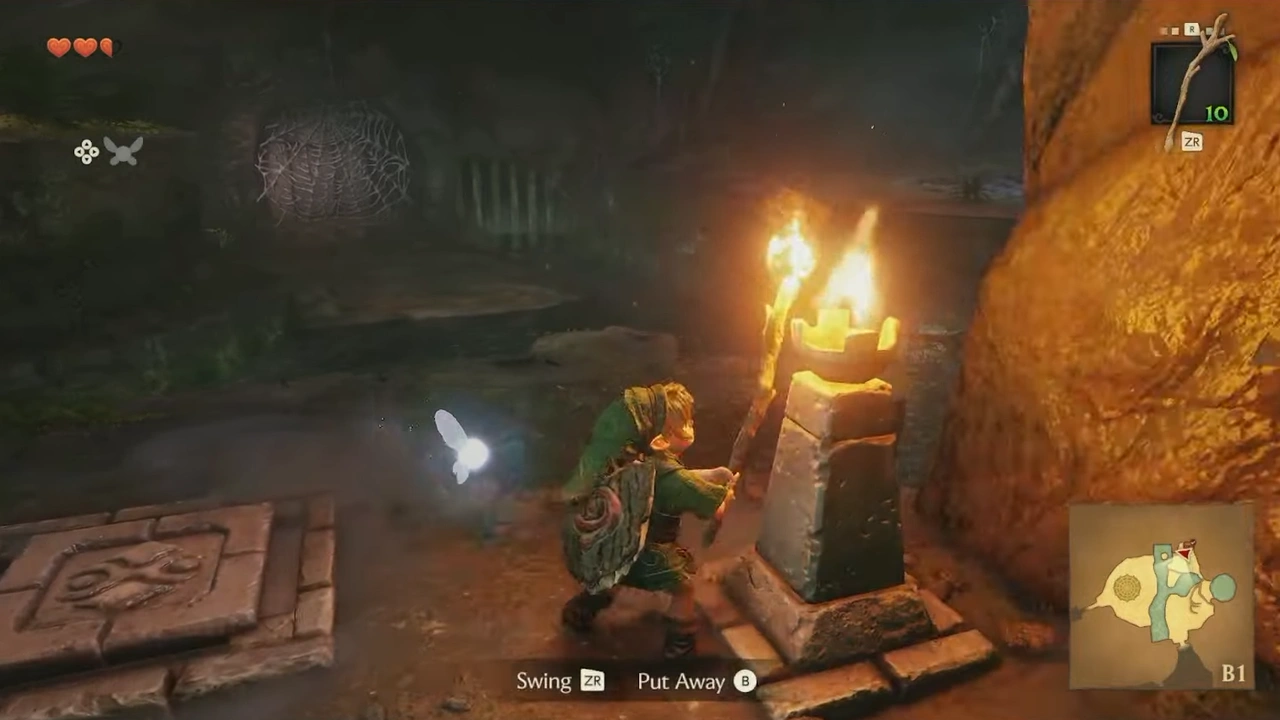
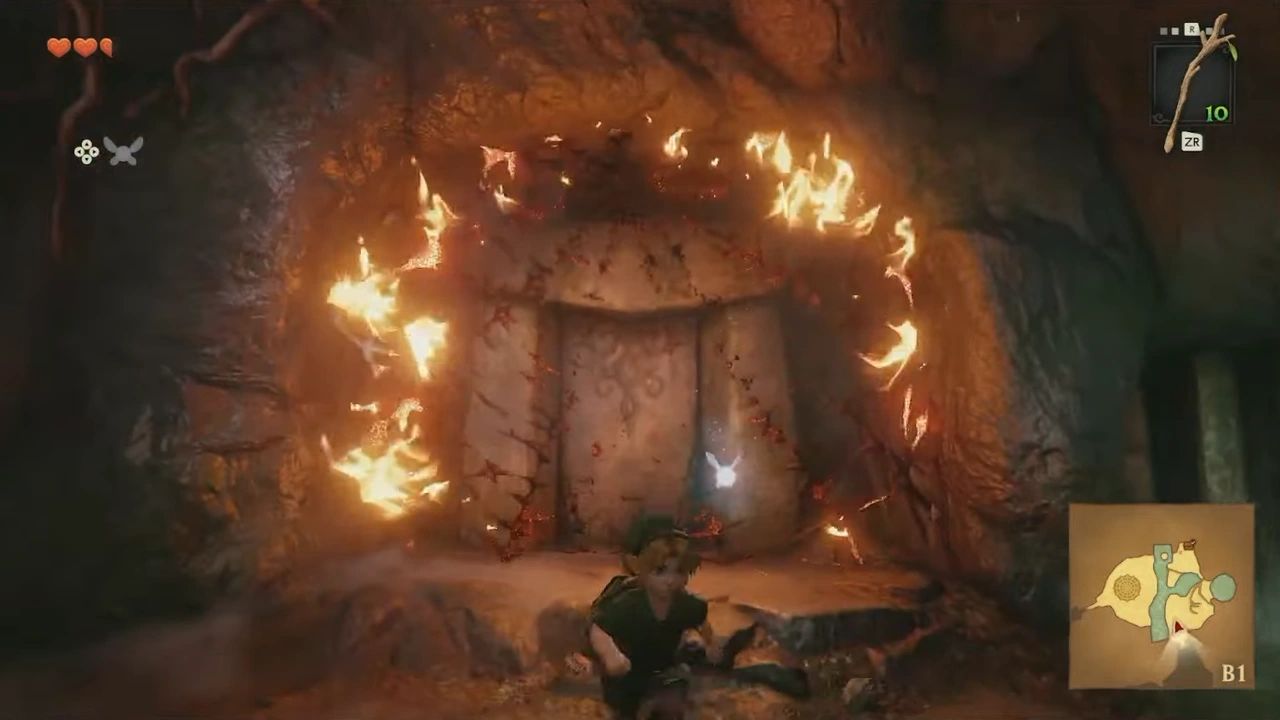
We'll use a Deku Stick, light it with the torch, and carry it to the spider web on the other sideWe'll use a Deku Stick, light it with the torch, and carry it to the spider web on the other side (screenshot 97)

Inside we'll find a Deku Scrub. After defeating it, we'll shoot the eye above the door to open it.
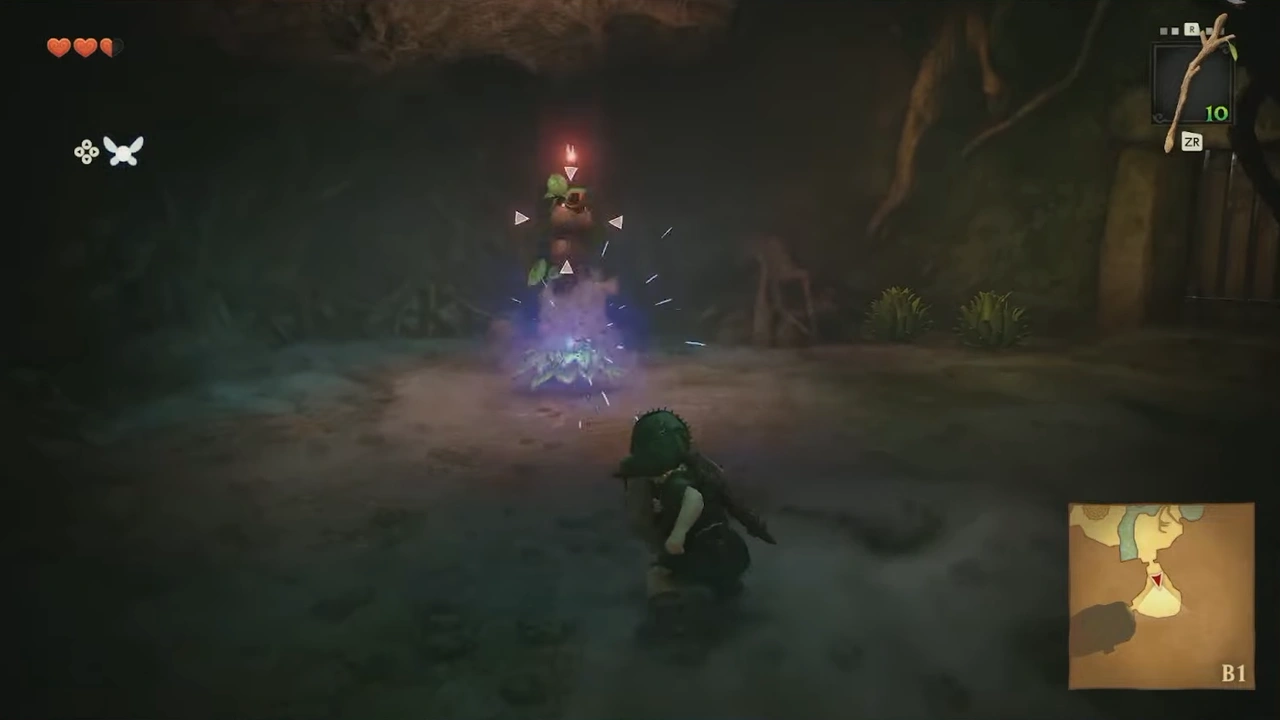
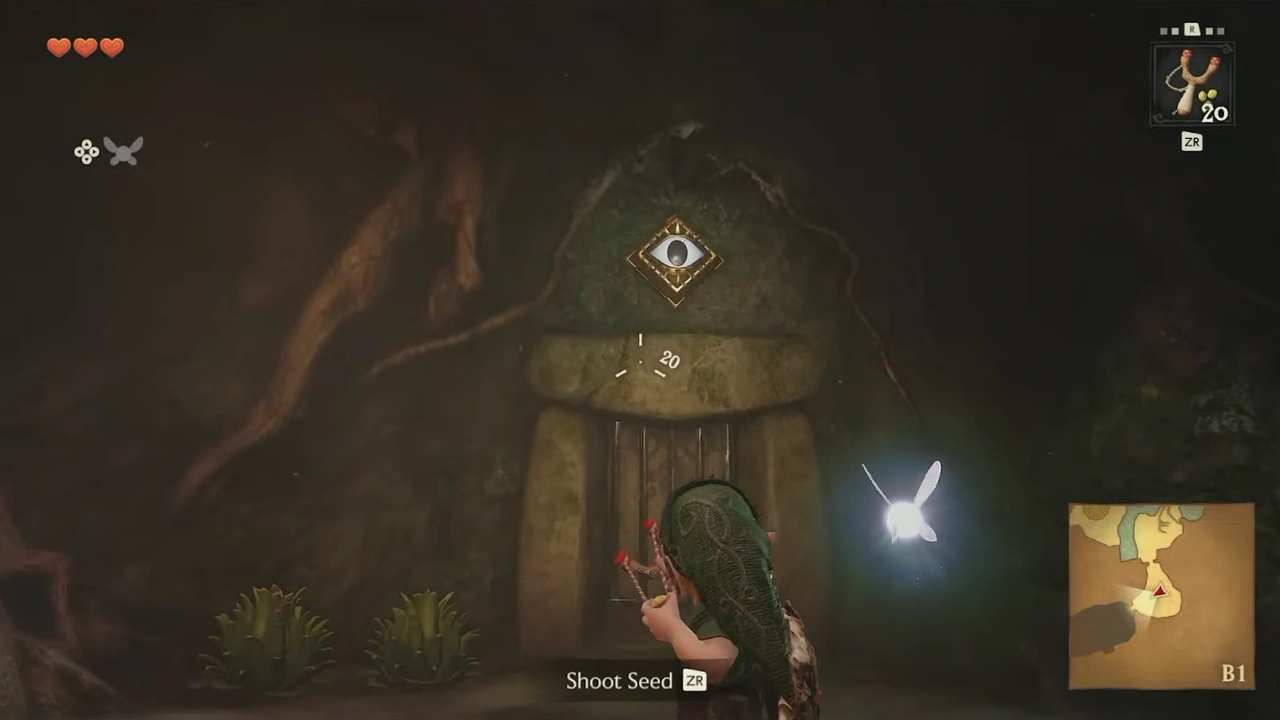
After defeating it, we'll shoot the eye above the door to open itInside we'll find a Deku Scrub

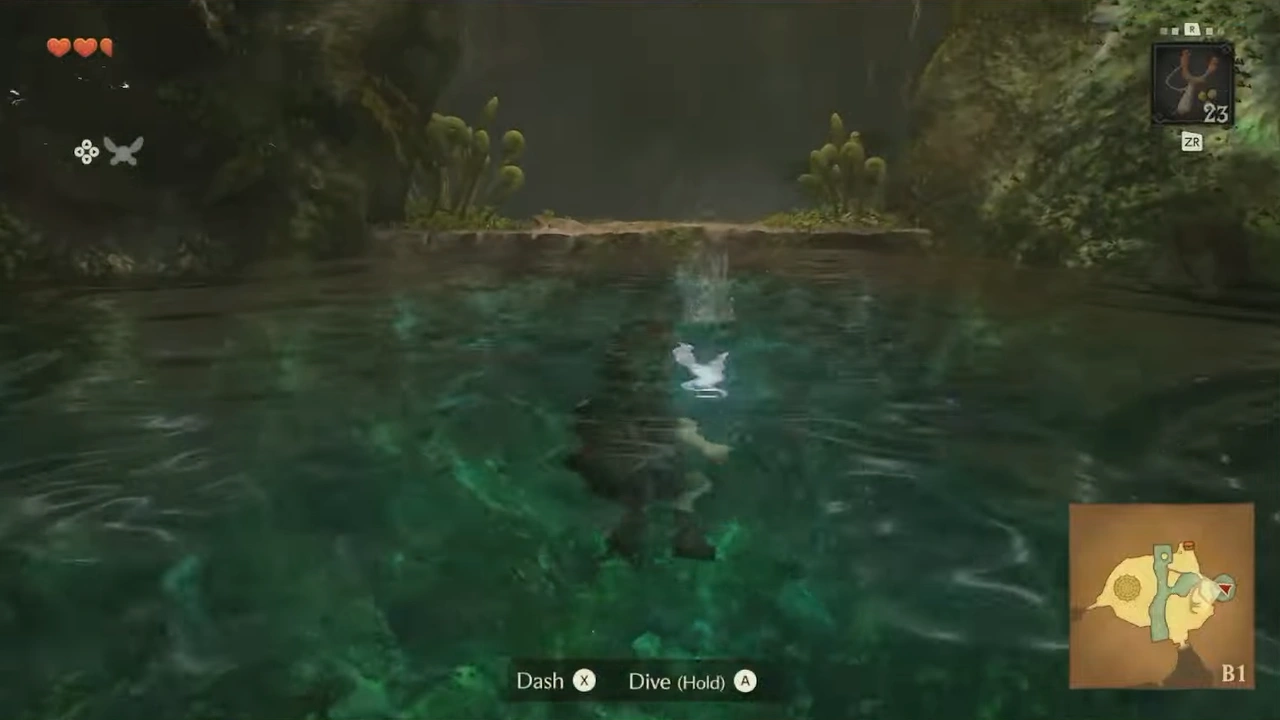
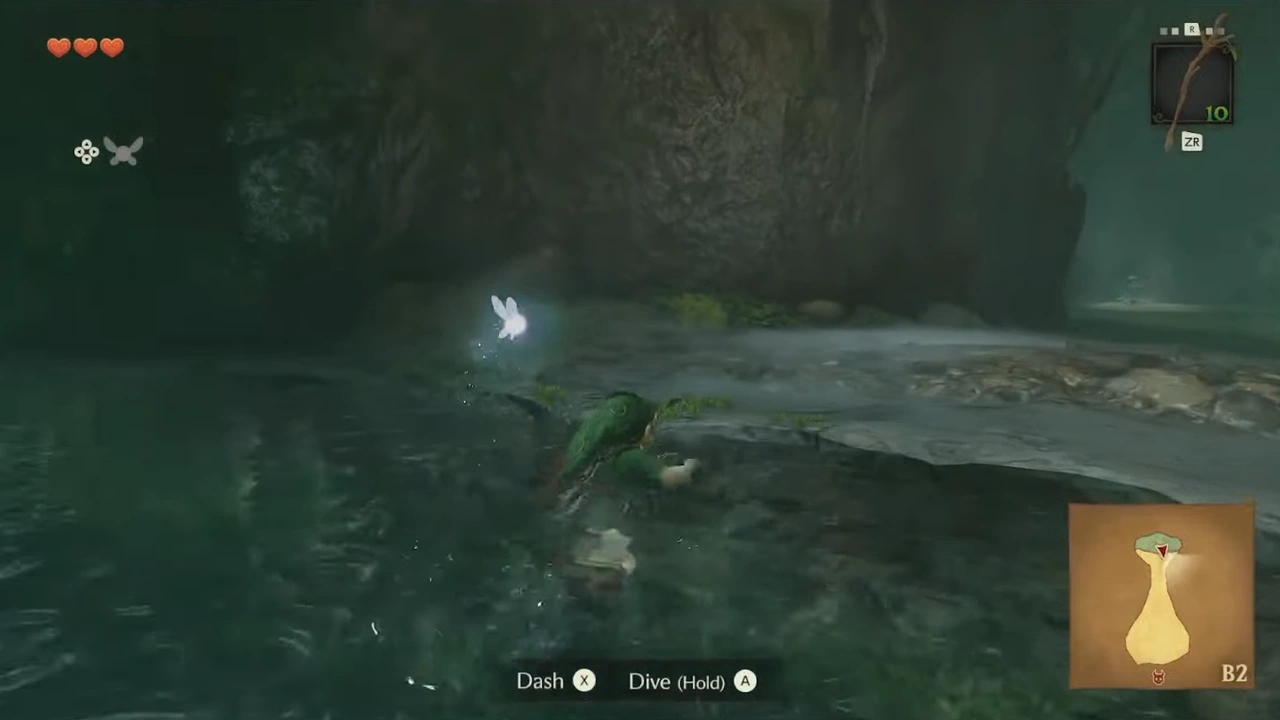
In the next room, the first thing we'll do is head left to reach the water, then dive to press the switch.
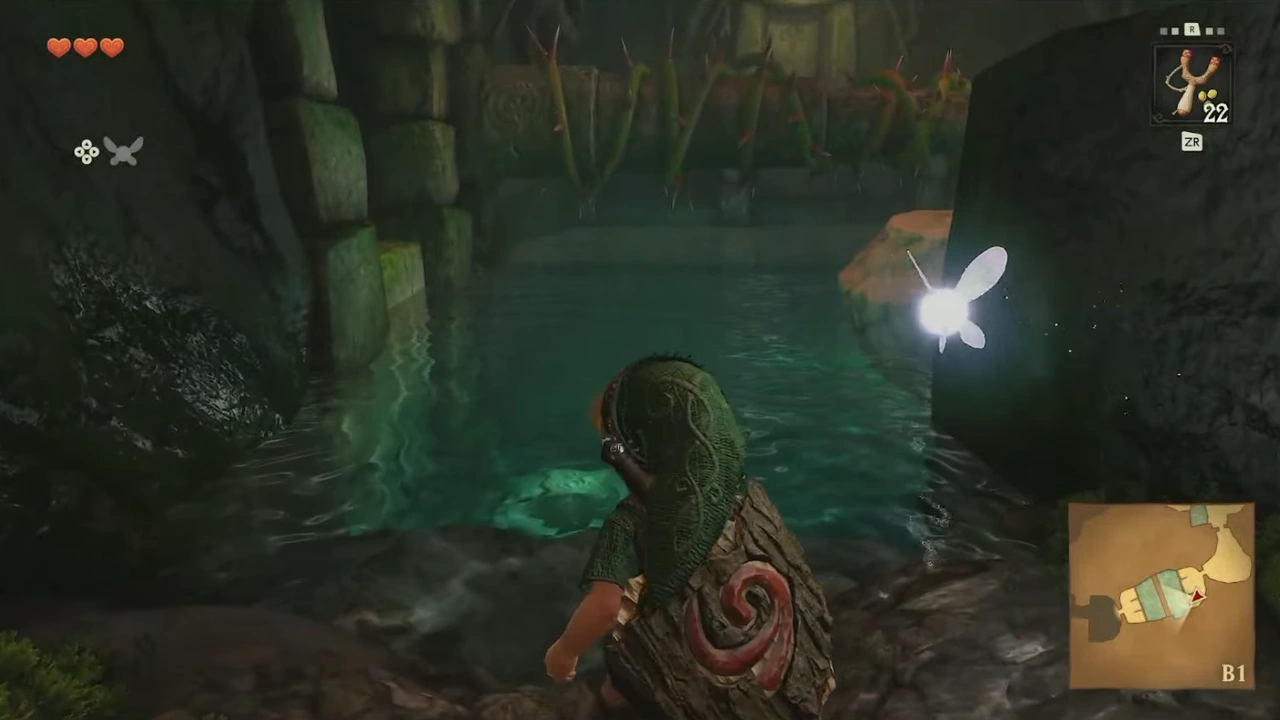
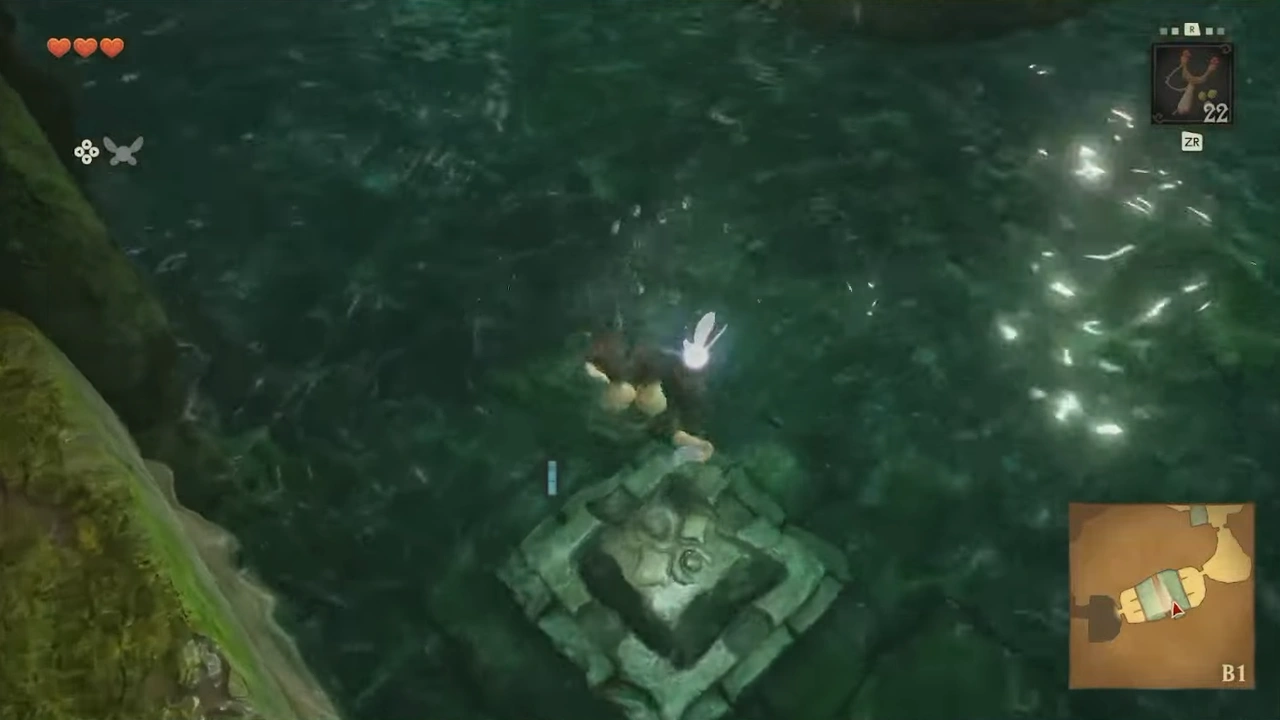
In the next room, the first thing we'll do is head left to reach the water, then dive to press theIn the next room, the first thing we'll do is head left to reach the water, then dive to press the (screenshot 101)

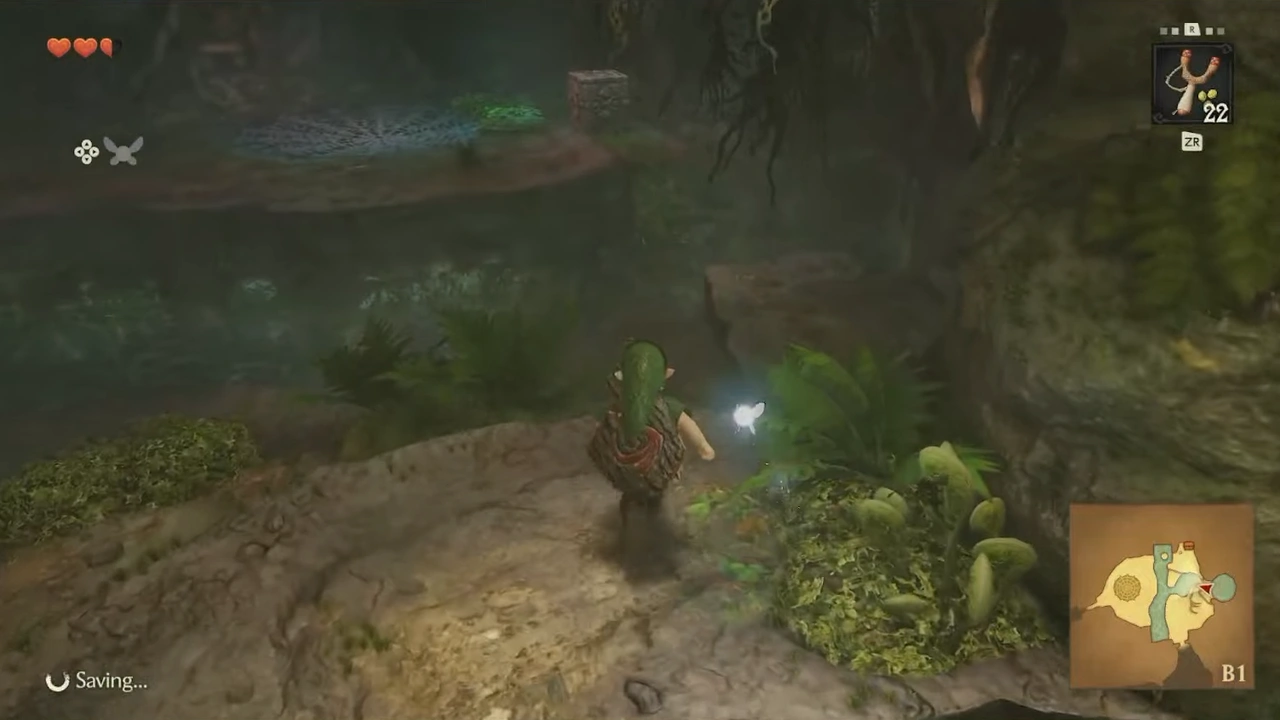
Once the water level drops, we can take the platform and reach the other side.
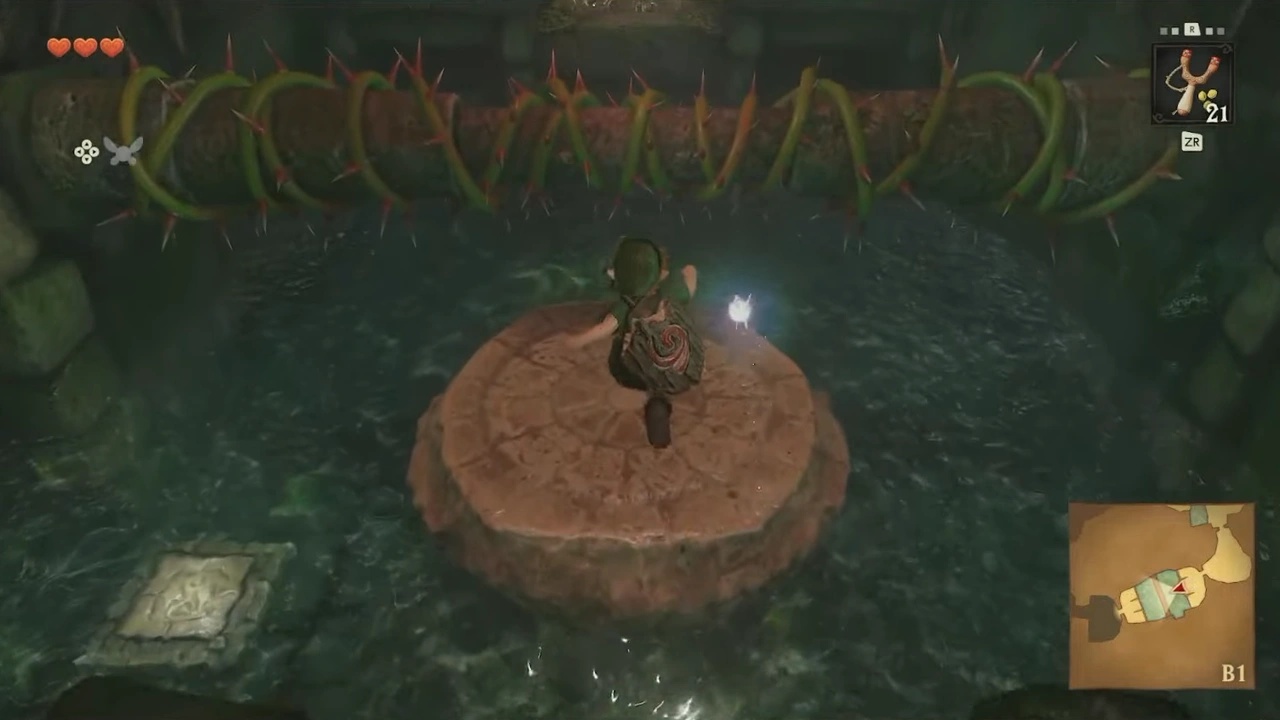
Once the water level drops, we can take the platform and reach the other sideOnce the water level drops, we can take the platform and reach the other side (screenshot 103)

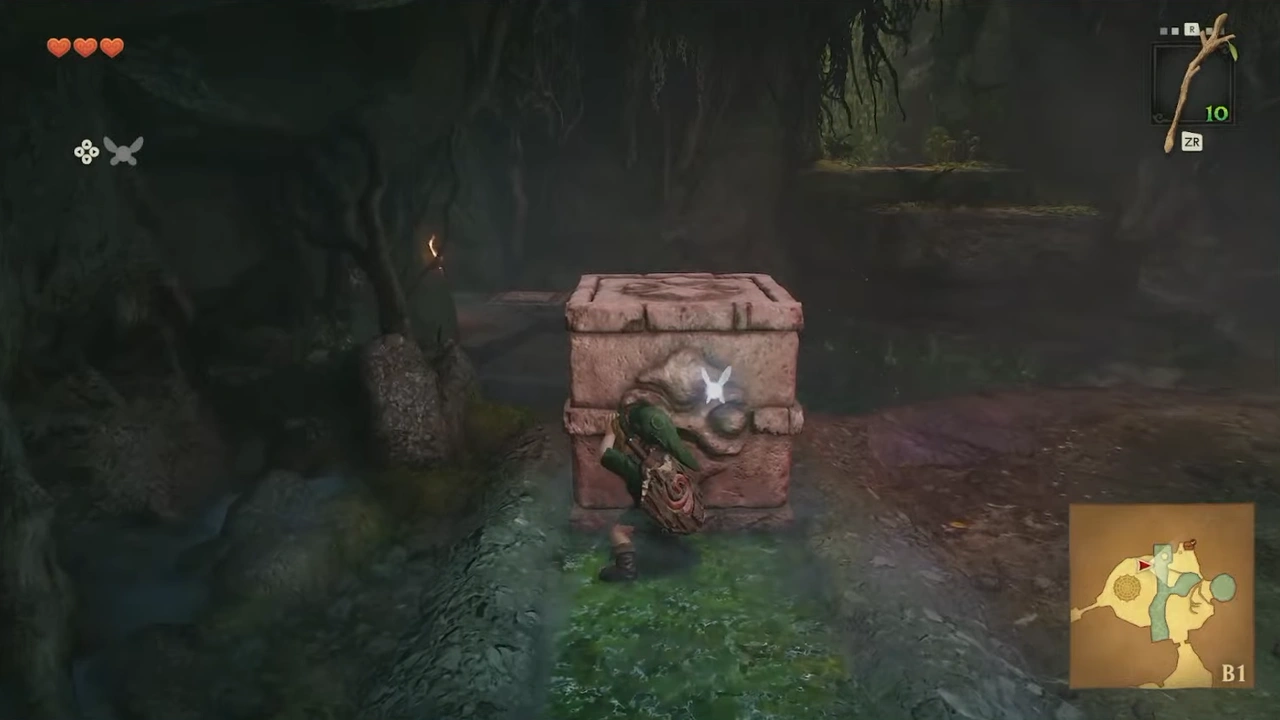
In the next room we'll find a Big Skulltula blocking the way. We'll kill it and push the block to use it as a platform and continue.
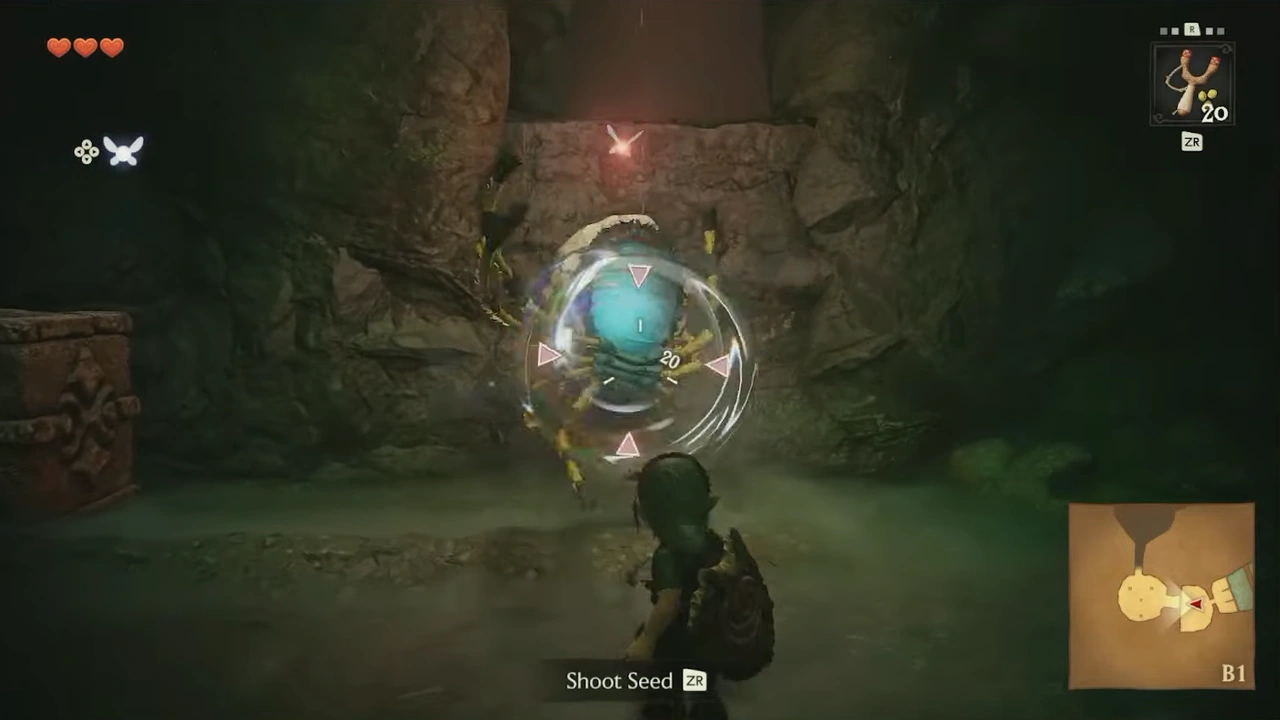
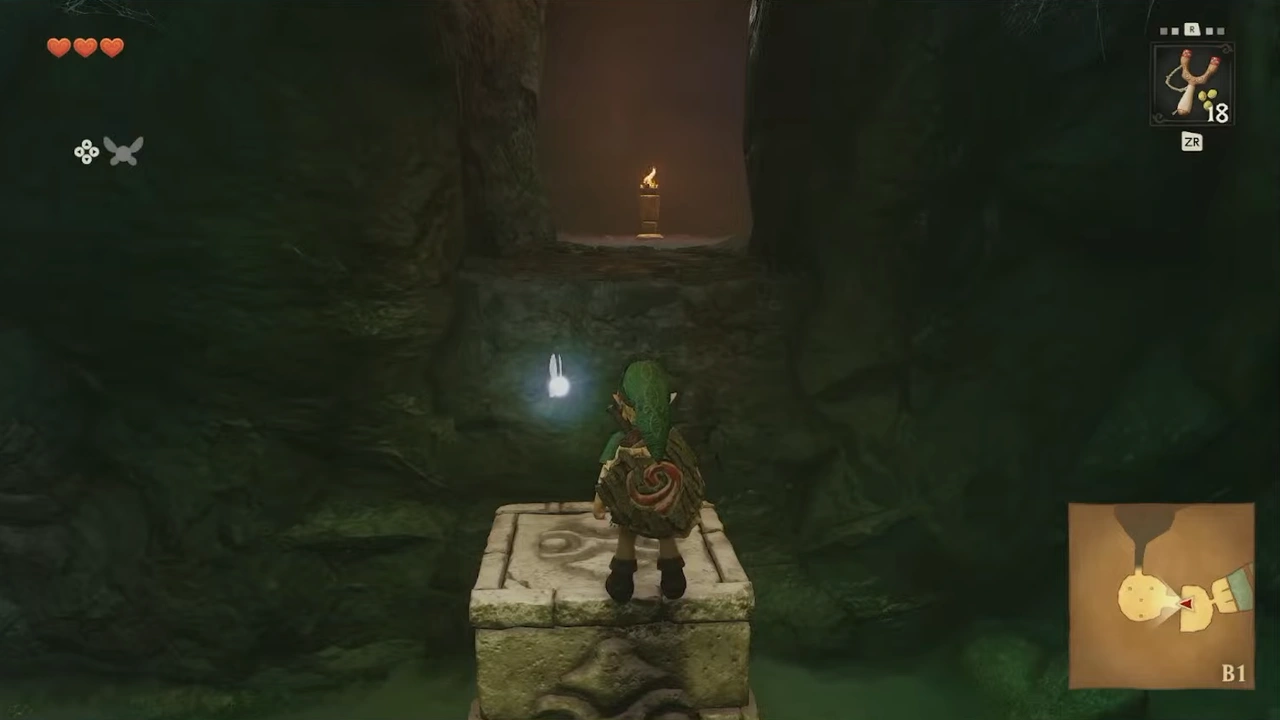
We'll kill it and push the block to use it as a platform and continueIn the next room we'll find a Big Skulltula blocking the way

Inside we'll find a Deku Baba, and we'll use a Deku Stick to light all the torches.
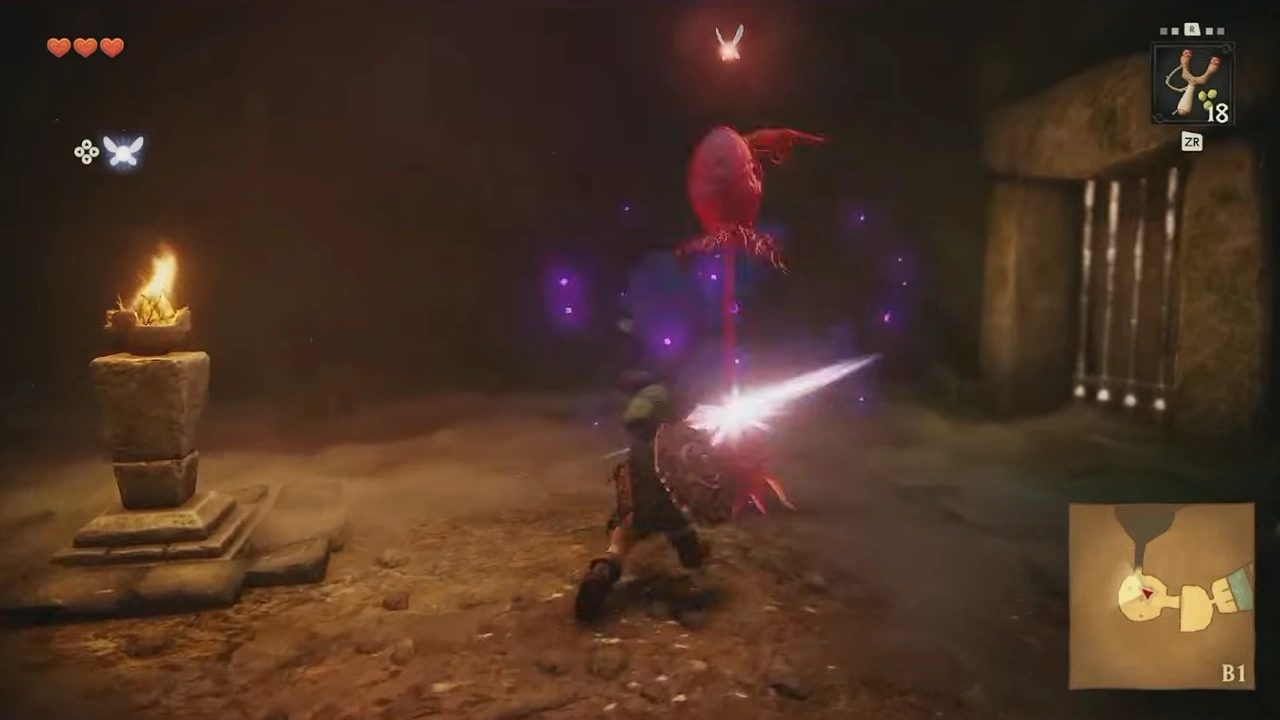
Inside we'll find a Deku Baba, and we'll use a Deku Stick to light all the torchesInside we'll find a Deku Baba, and we'll use a Deku Stick to light all the torches (screenshot 107)

In the next room we'll find a Big Skulltula, a Deku Baba, and some new enemies: Gohma Larvae.
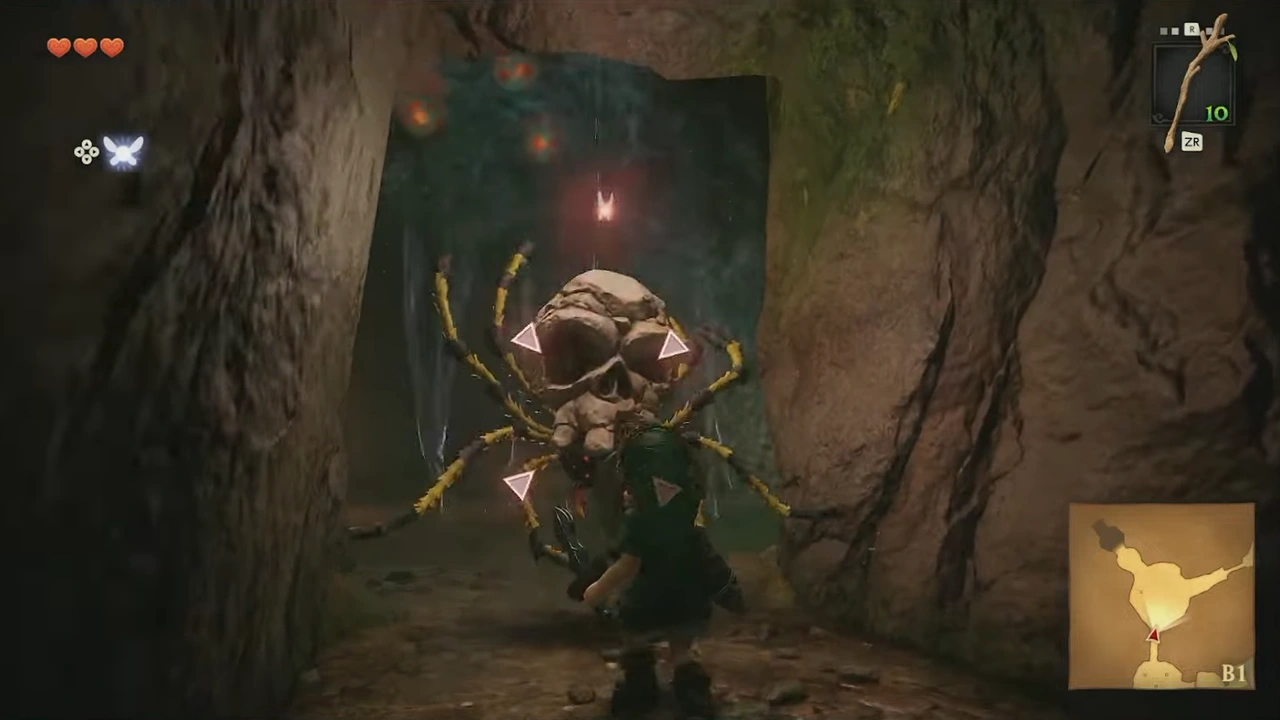
In the next room we'll find a Big Skulltula, a Deku Baba, and some new enemies: Gohma LarvaeIn the next room we'll find a Big Skulltula, a Deku Baba, and some new enemies: Gohma Larvae (screenshot 109)

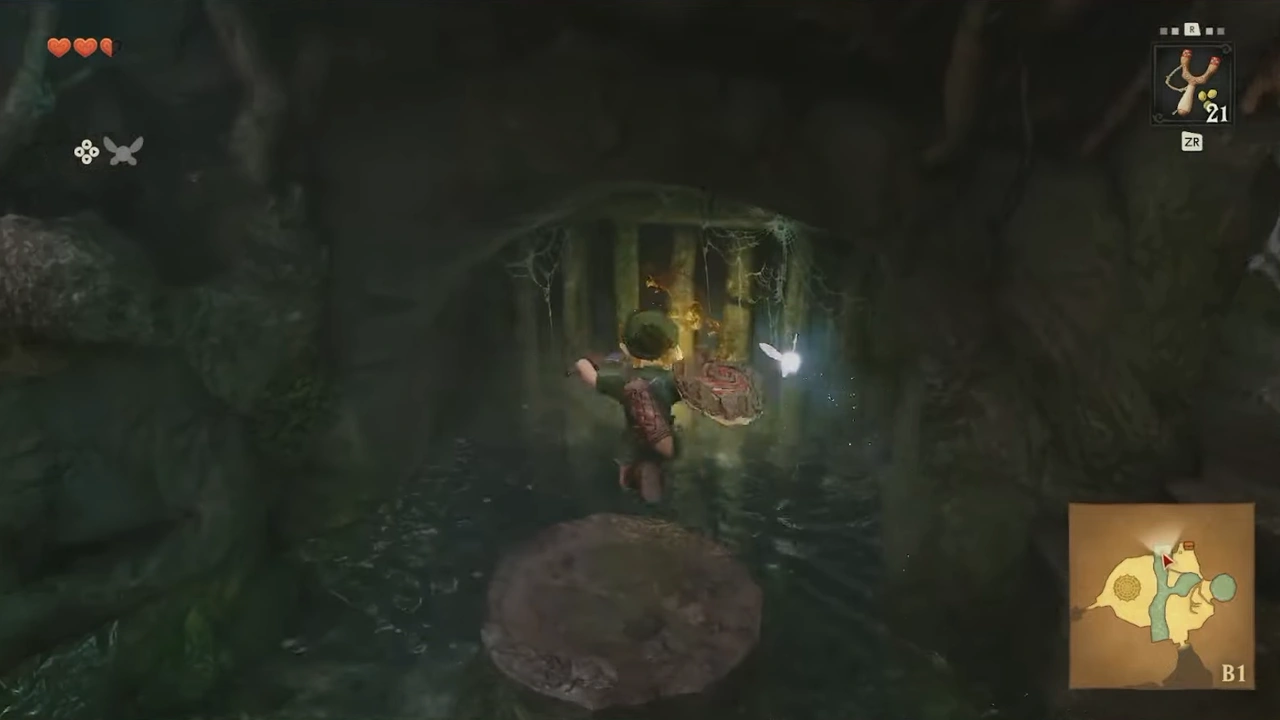
Then we'll use a Deku Stick to burn the web in the northwest. Inside we'll find the fourth and final Gold Skulltula of the dungeon.
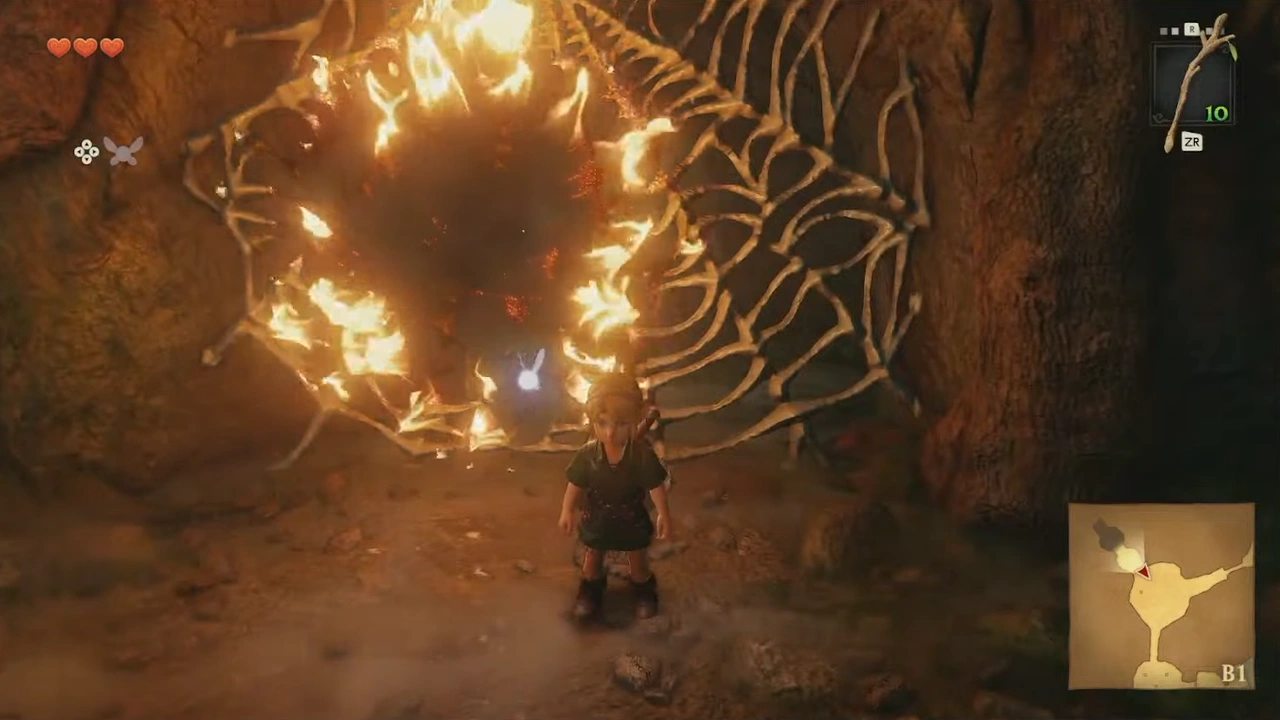
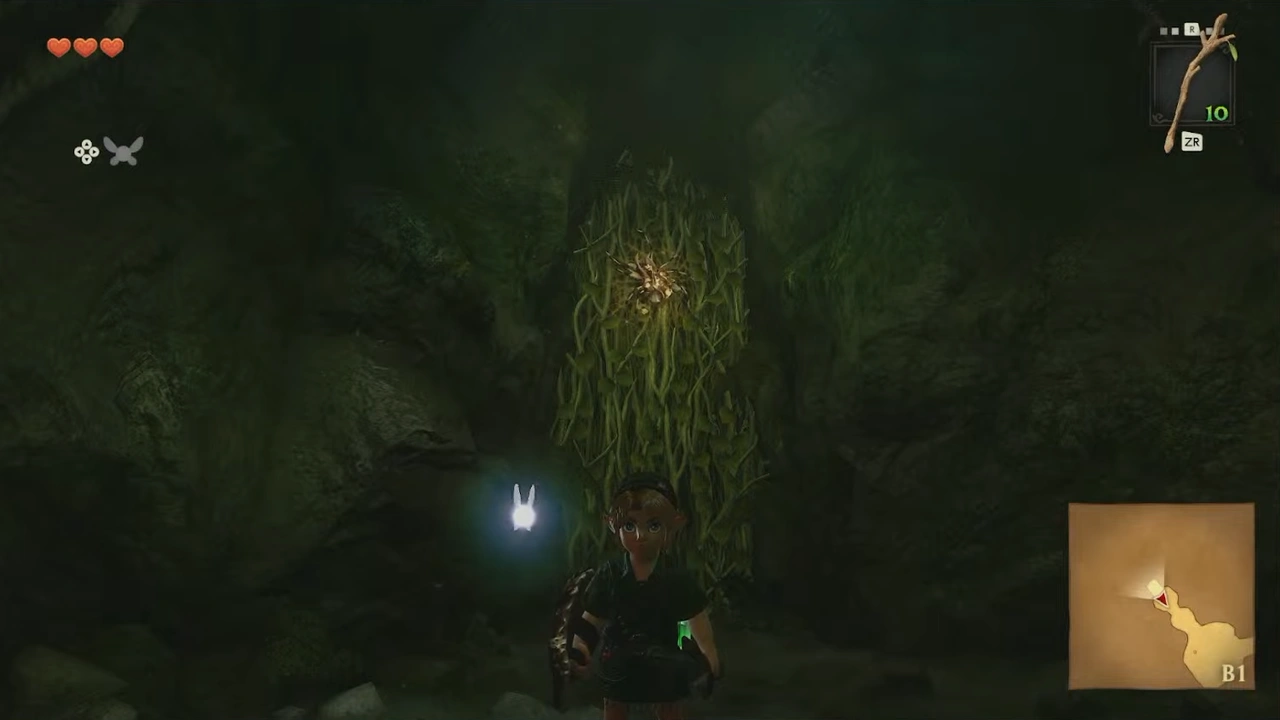
Inside we'll find the fourth and final Gold Skulltula of the dungeonThen we'll use a Deku Stick to burn the web in the northwest

We'll continue by burning the web to the east; inside we'll find a small opening.
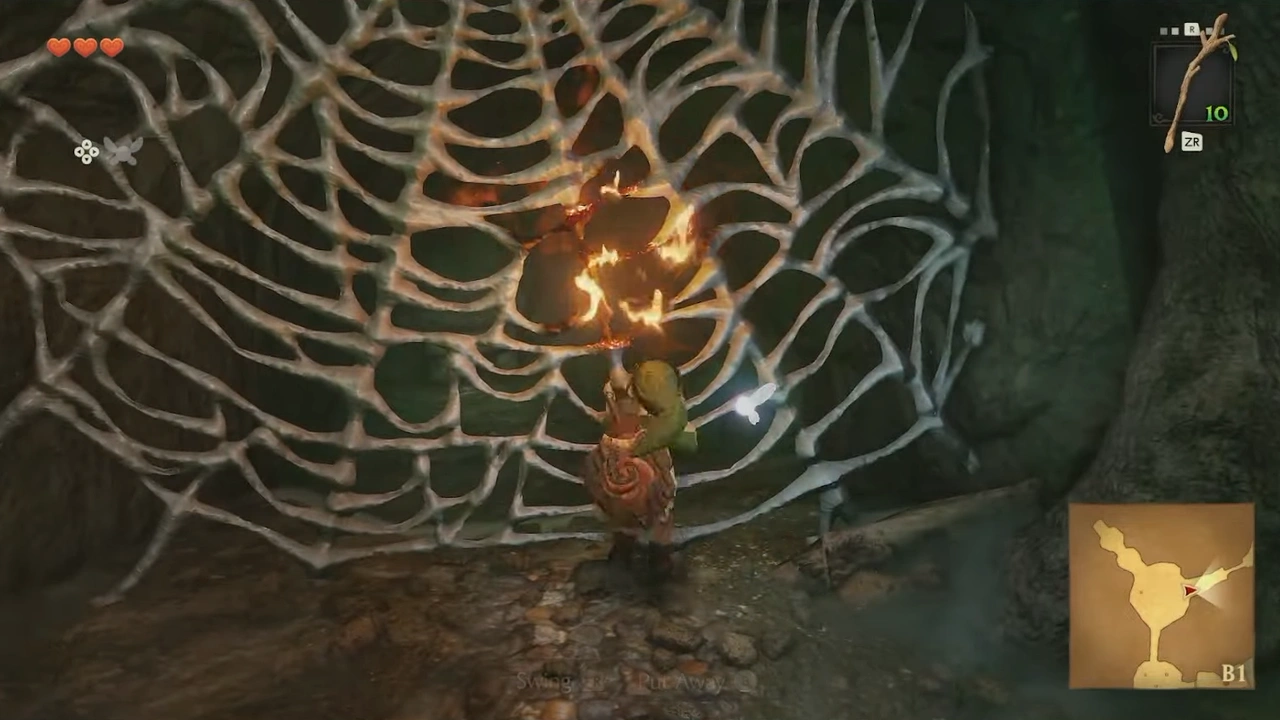
We'll continue by burning the web to the east; inside we'll find a small openingWe'll continue by burning the web to the east; inside we'll find a small opening (screenshot 113)

We'll return to the main large room and push the block to unlock the shortcut.
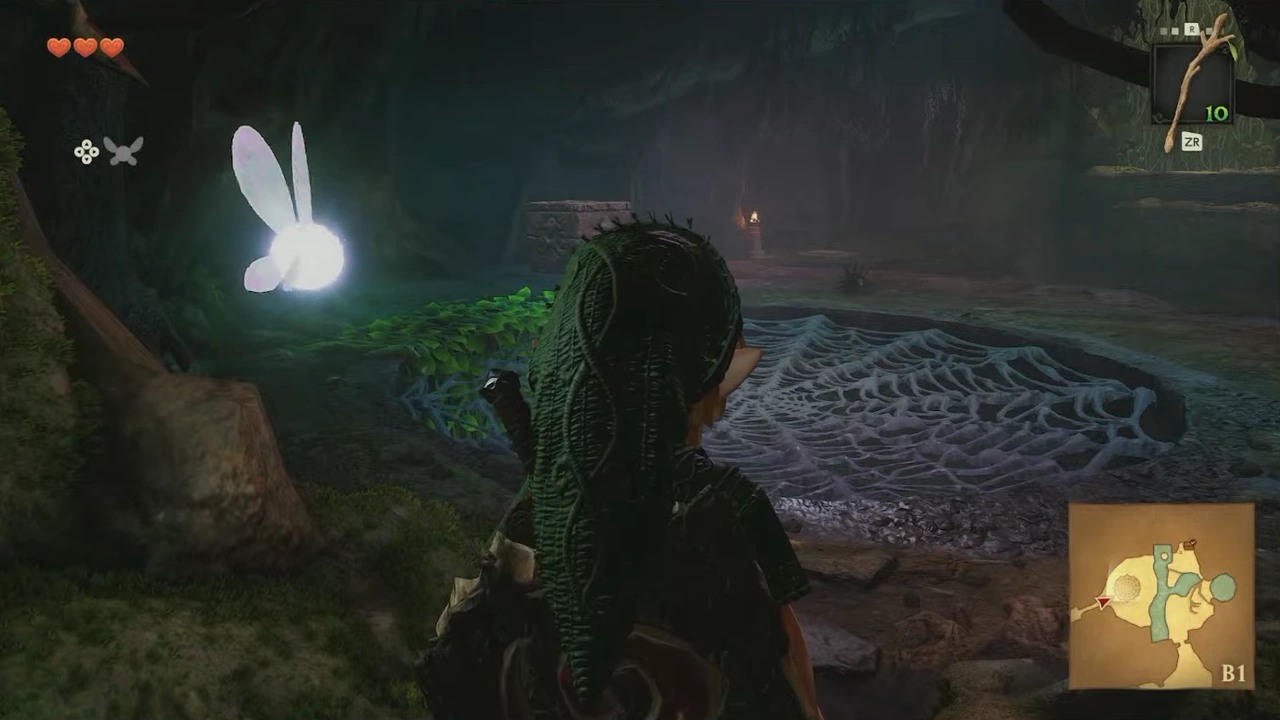
We'll return to the main large room and push the block to unlock the shortcutWe'll return to the main large room and push the block to unlock the shortcut (screenshot 115)

We'll go down so we can light a Deku Stick on fire and burn the web.
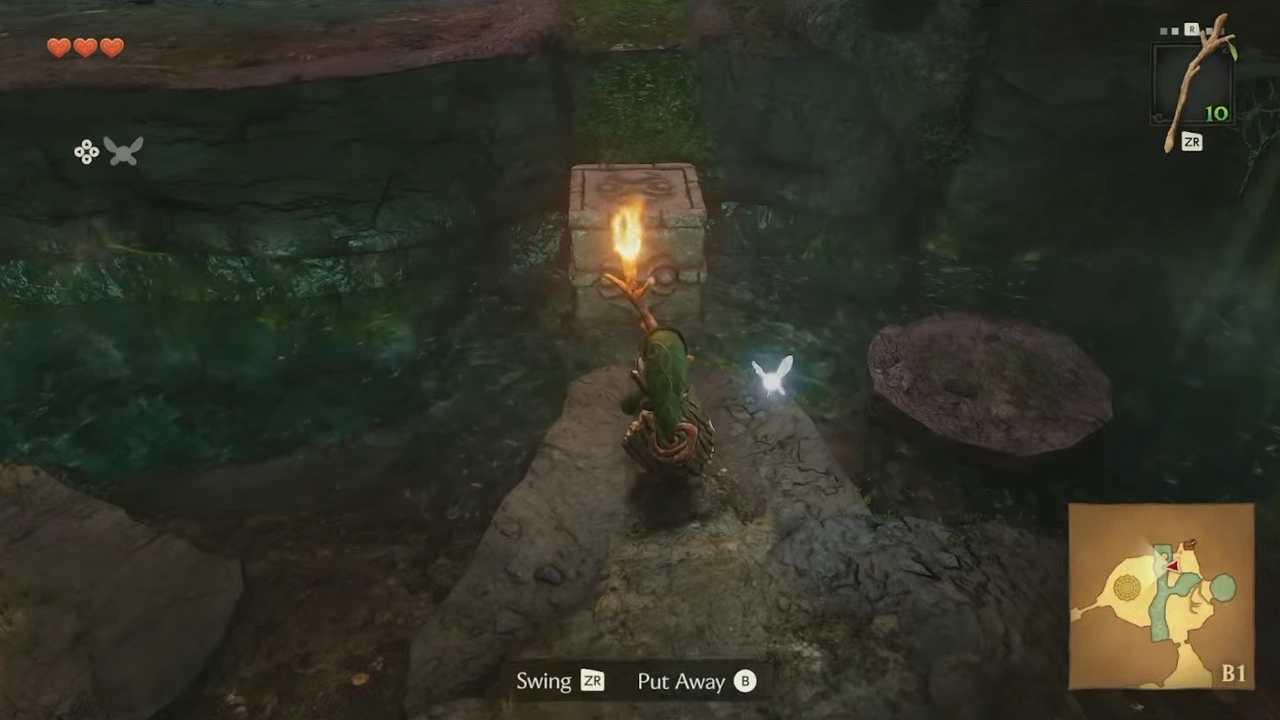
We'll go down so we can light a Deku Stick on fire and burn the webWe'll go down so we can light a Deku Stick on fire and burn the web (screenshot 117)

We'll drop down and continue south.
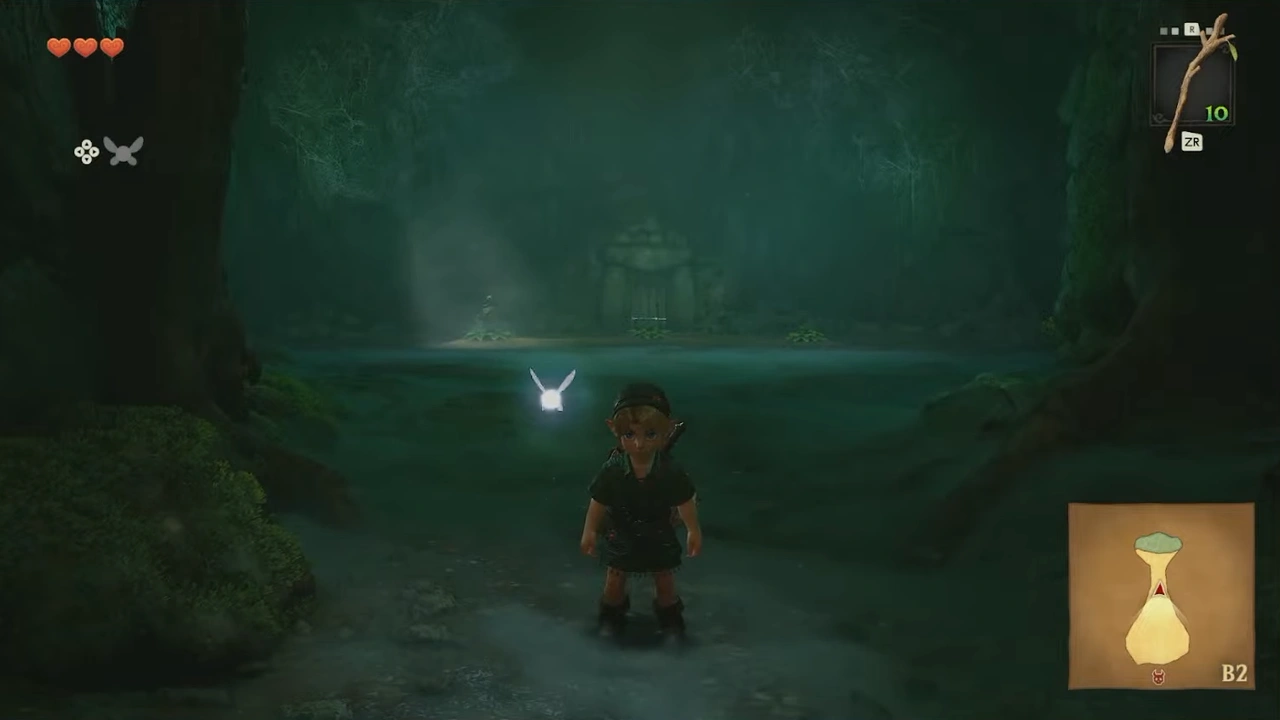
We'll drop down and continue southWe'll drop down and continue south (screenshot 119)

We'll find 3 Deku Scrubs and have to hit them in the order 2-3-1. After hitting and talking to the last one, we can go through the door.
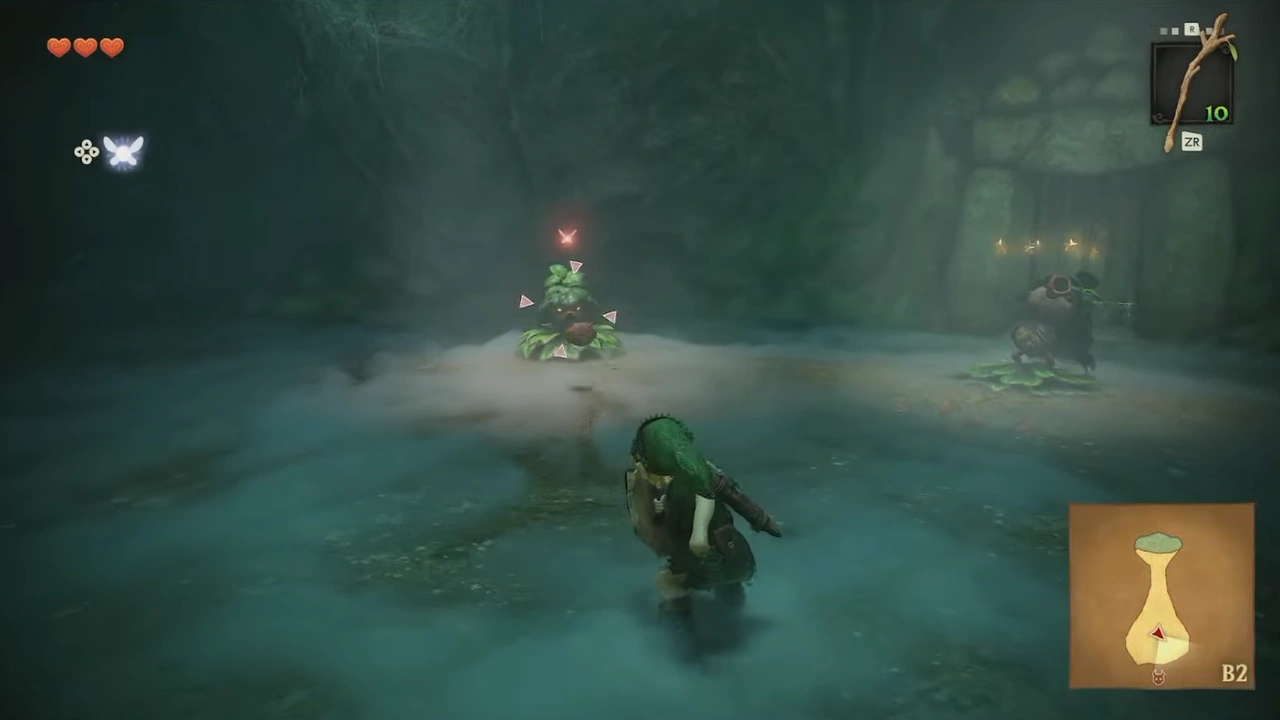
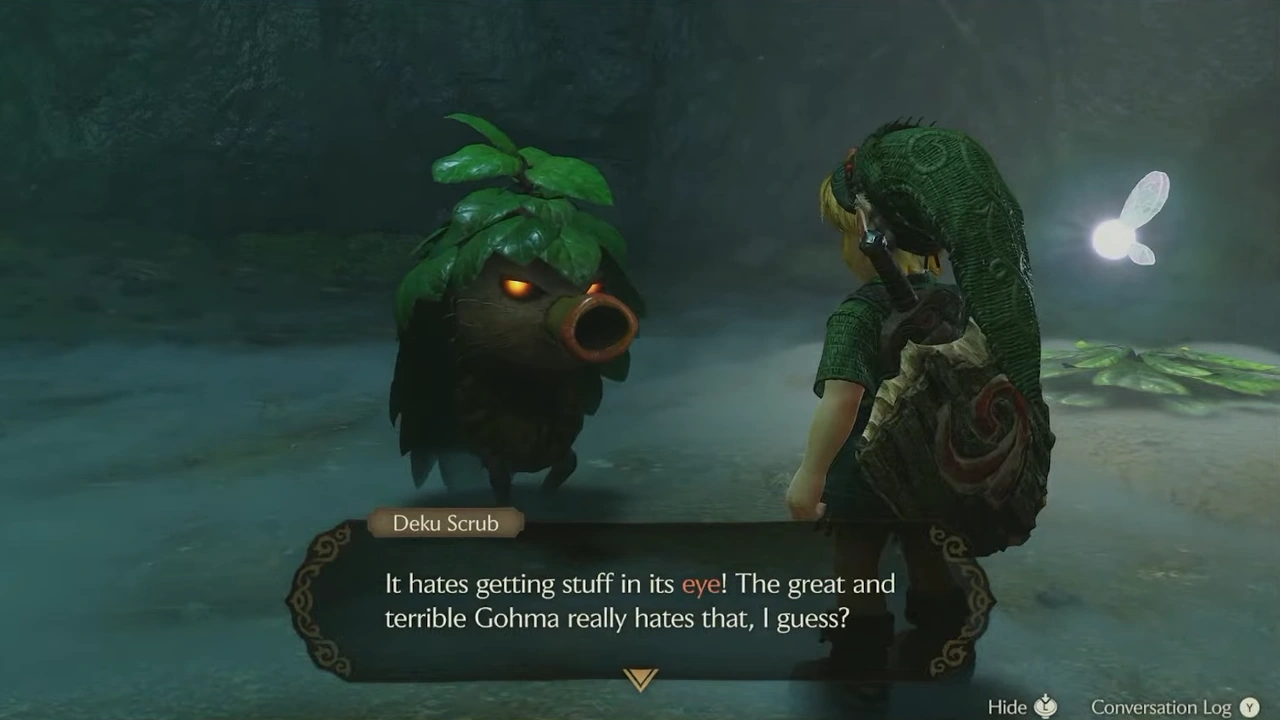
After hitting and talking to the last one, we can go through the doorWe'll find 3 Deku Scrubs and have to hit them in the order 2-3-1

We'll go in to meet our first boss, Gohma.
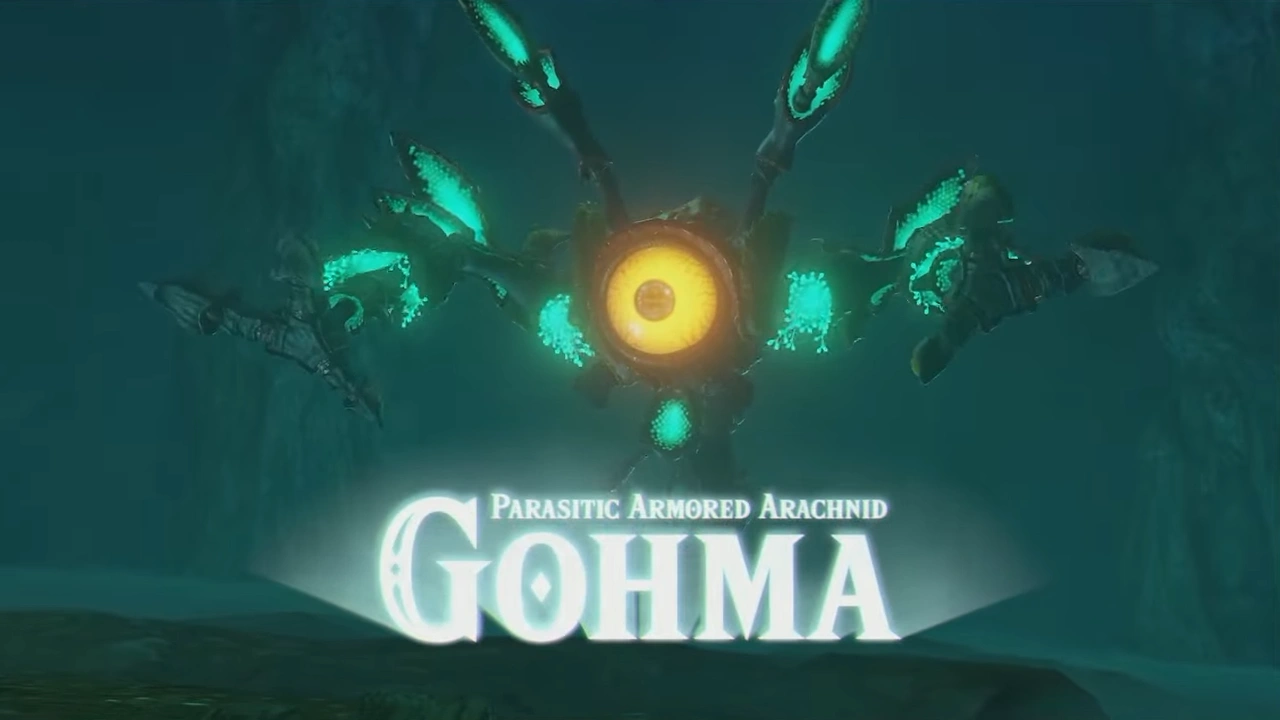
We'll go in to meet our first boss, Gohma

Gohma has a very clear attack pattern on the ground: its eye turns red and it lunges at us. We can interrupt this attack because, when it exposes its eye to attack, a Deku Nut will stun it, giving us a chance to strike.
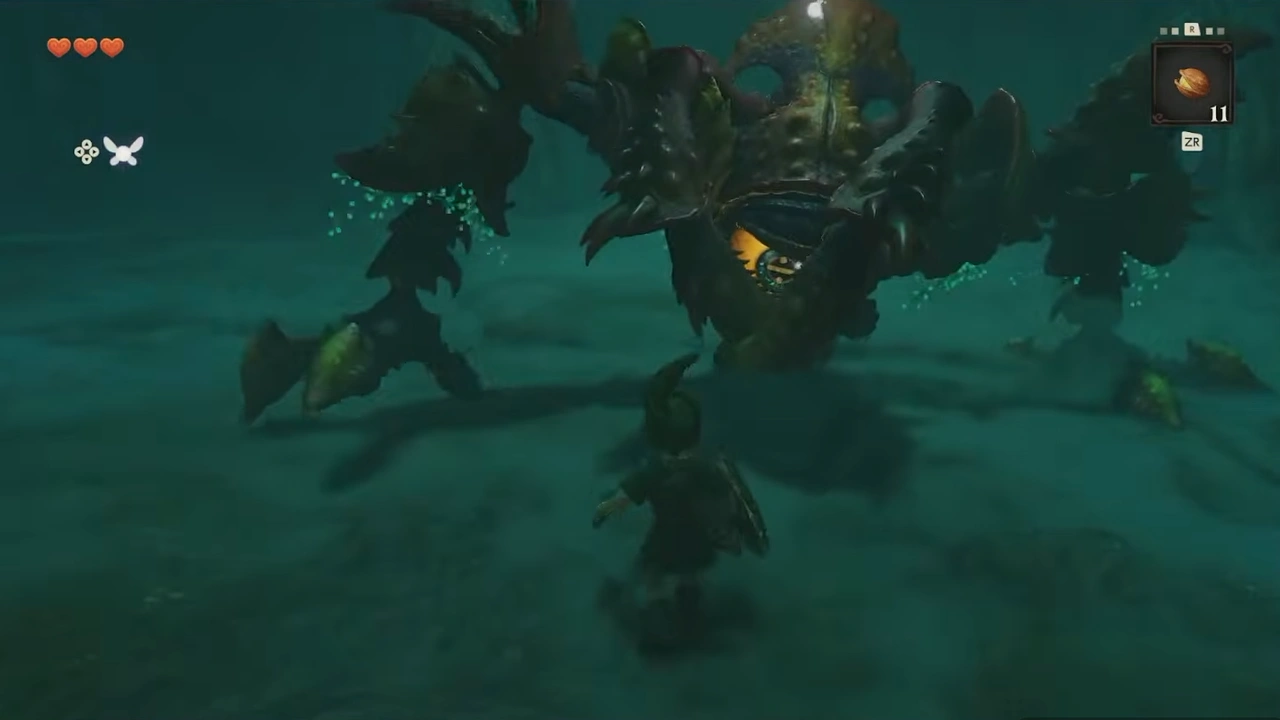
Gohma appears in the boss room in front of Link
1 / 264

When Gohma climbs onto the ceiling, we'll have to use the Slingshot to shoot it and make it fall, leaving it vulnerable to attacks on its eye.
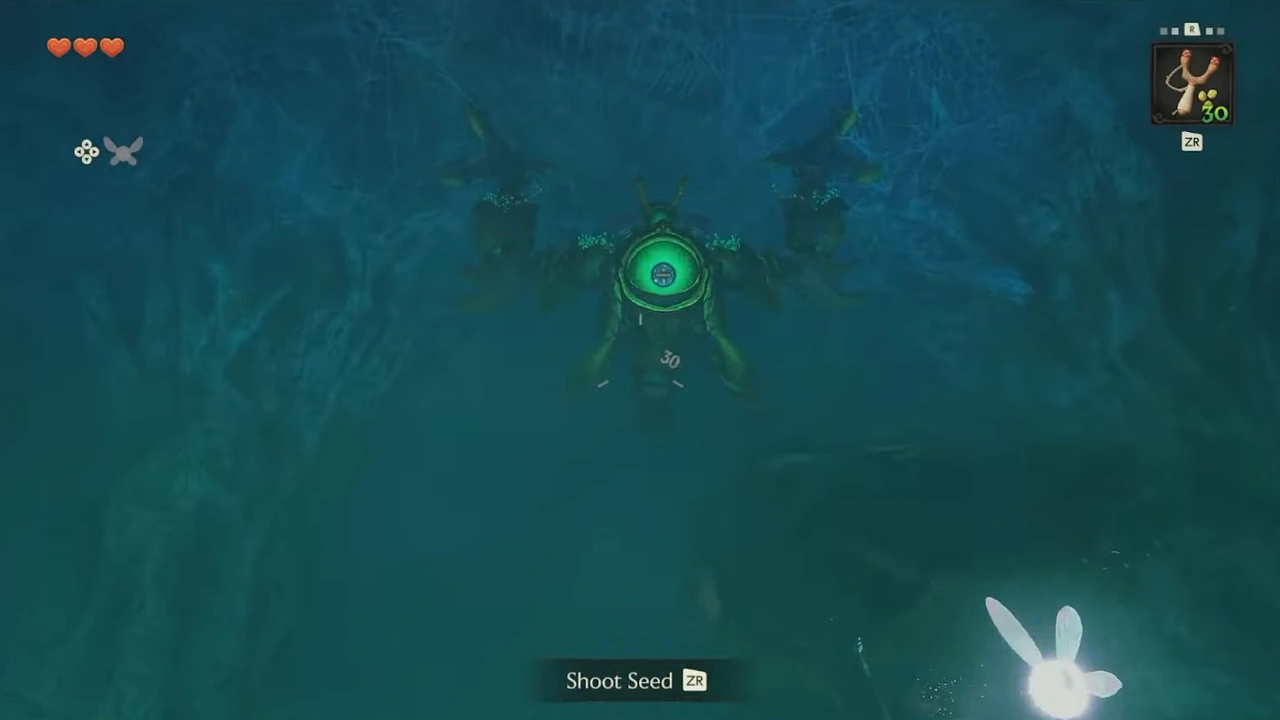
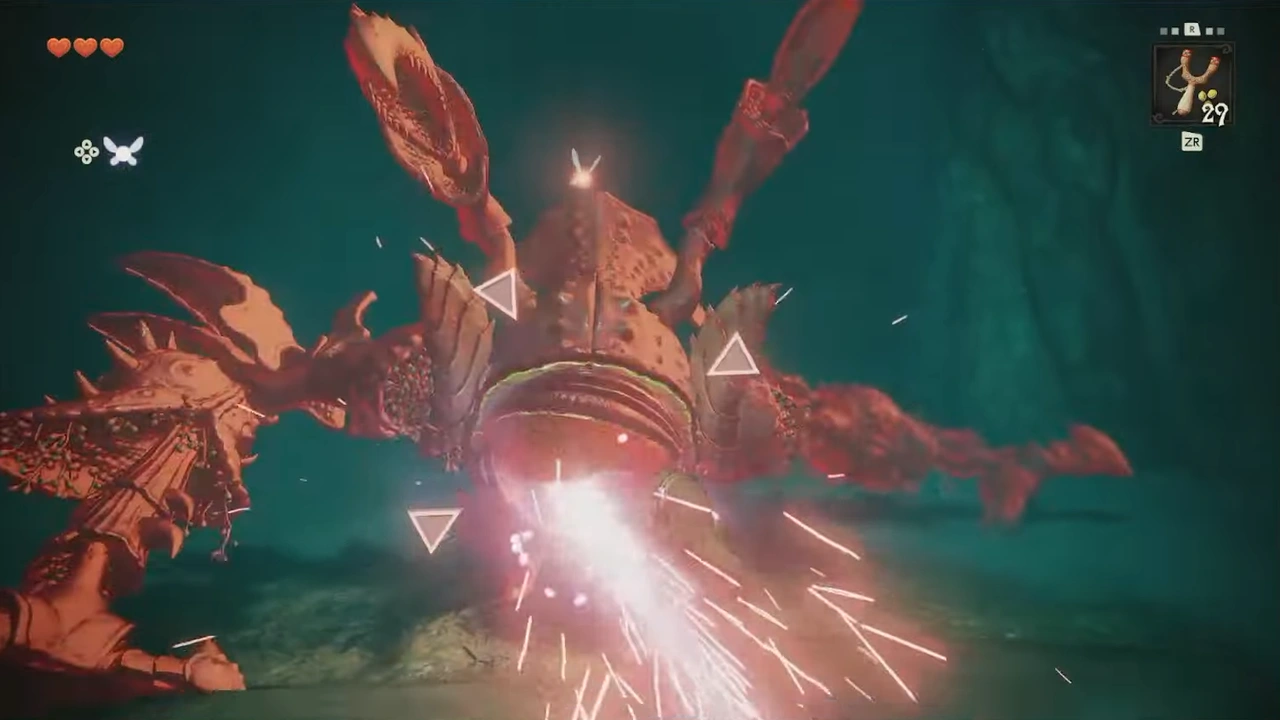
When Gohma climbs onto the ceiling, we'll have to use the Slingshot to shoot it and make it fall,When Gohma climbs onto the ceiling, we'll have to use the Slingshot to shoot it and make it fall, (screenshot 125)

Sometimes, when it goes up, it will drop eggs. If we destroy them before they hatch, we can get Deku Nuts.
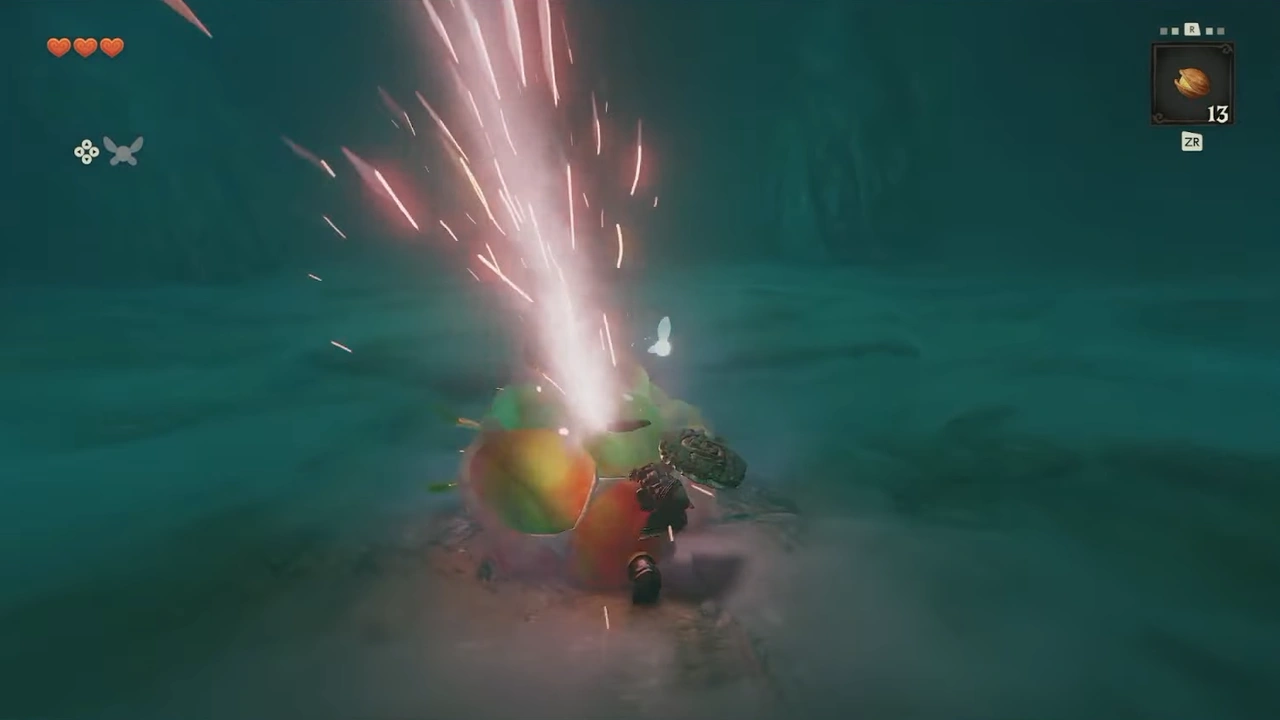
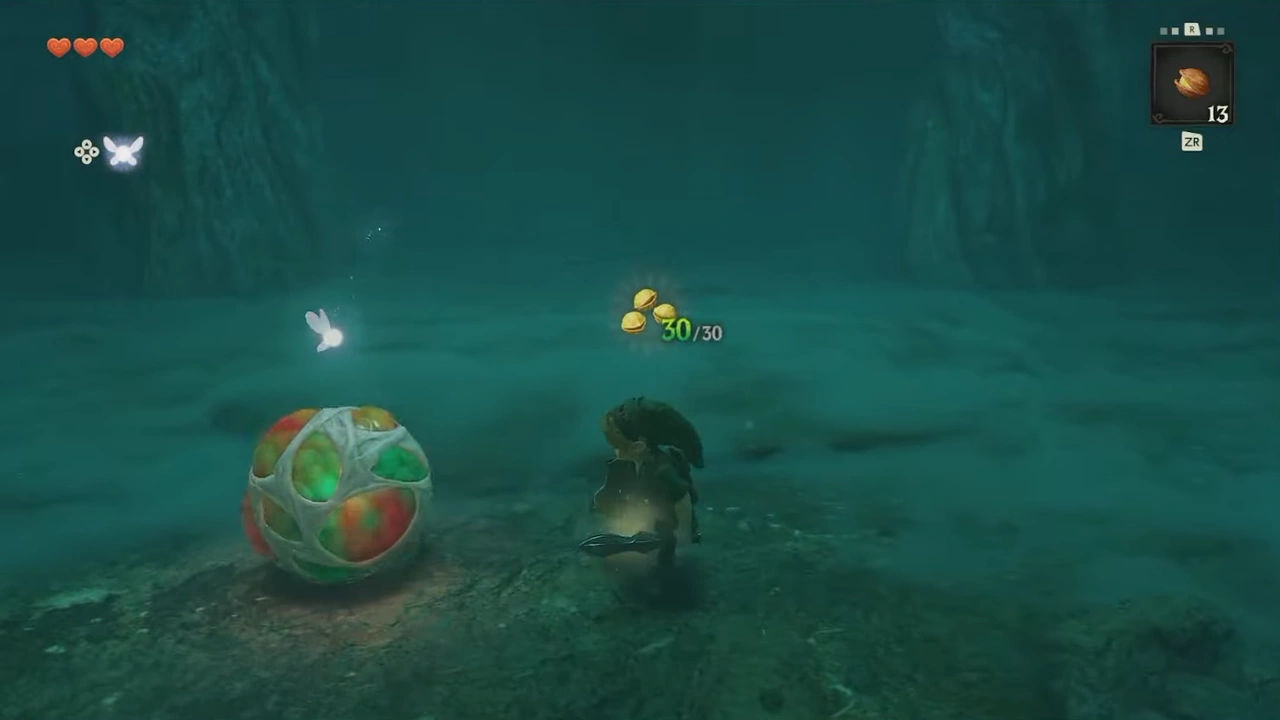
If we destroy them before they hatch, we can get Deku NutsSometimes, when it goes up, it will drop eggs

After several hits to the eye, we'll eventually finish it off.
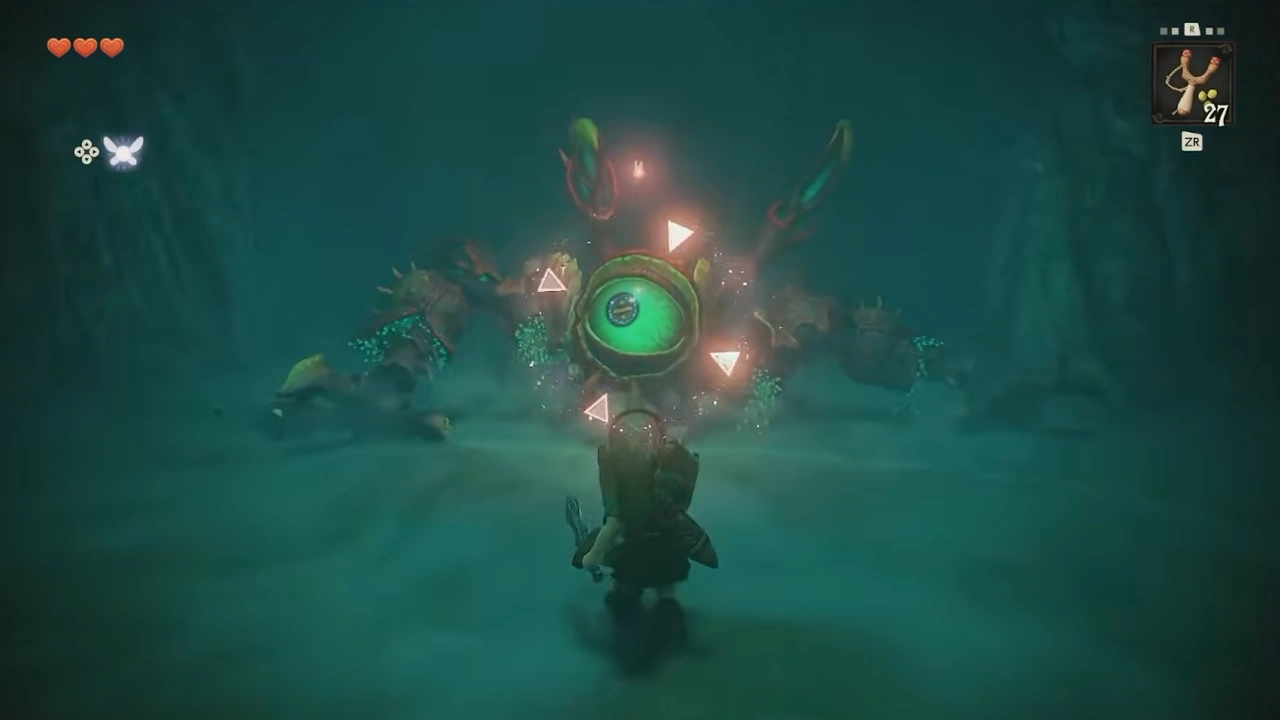
Gohma with its eye exposed and stunned, ready to be hit
1 / 150

We'll take the Heart Container and leave the dungeon.
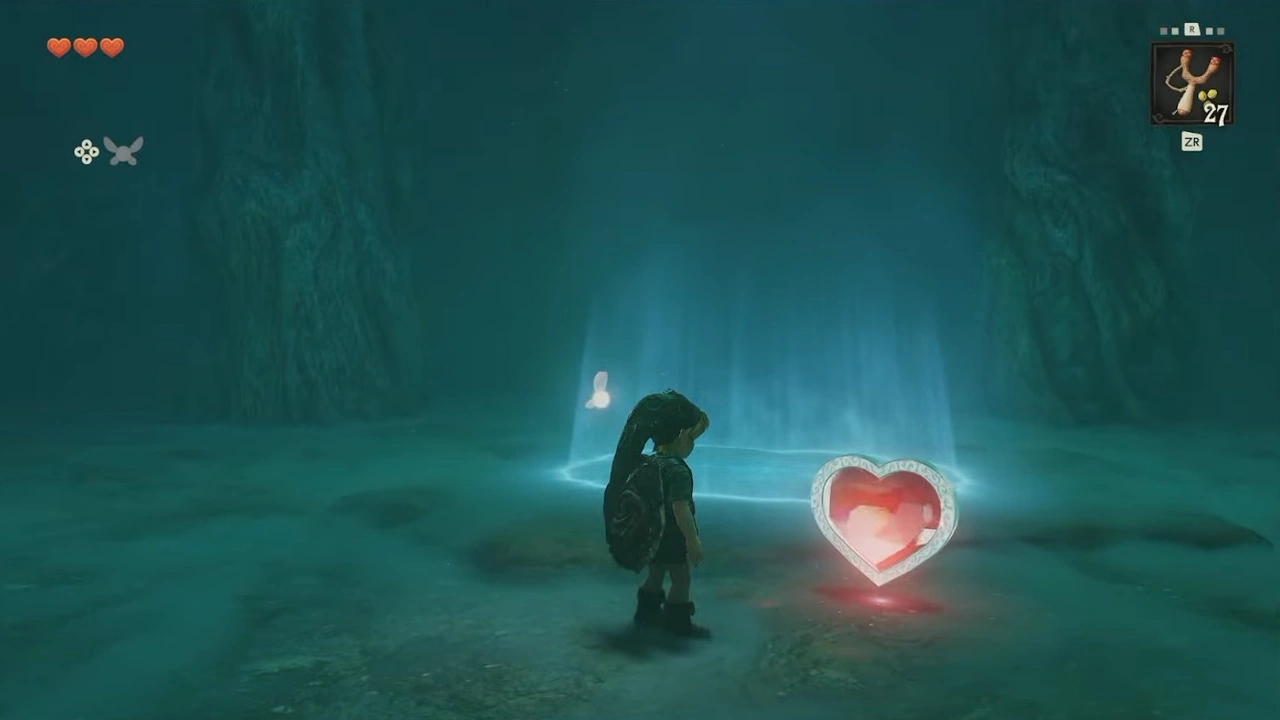
We'll take the Heart Container and leave the dungeonWe'll take the Heart Container and leave the dungeon (screenshot 130)

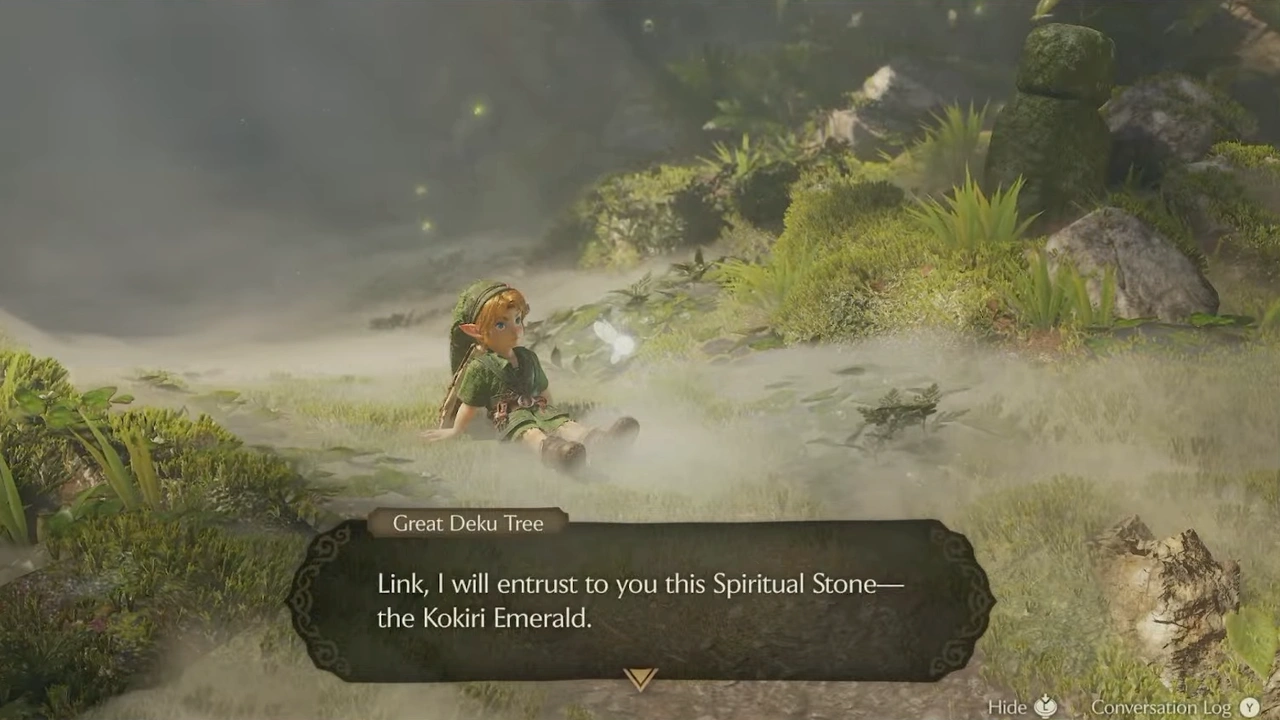
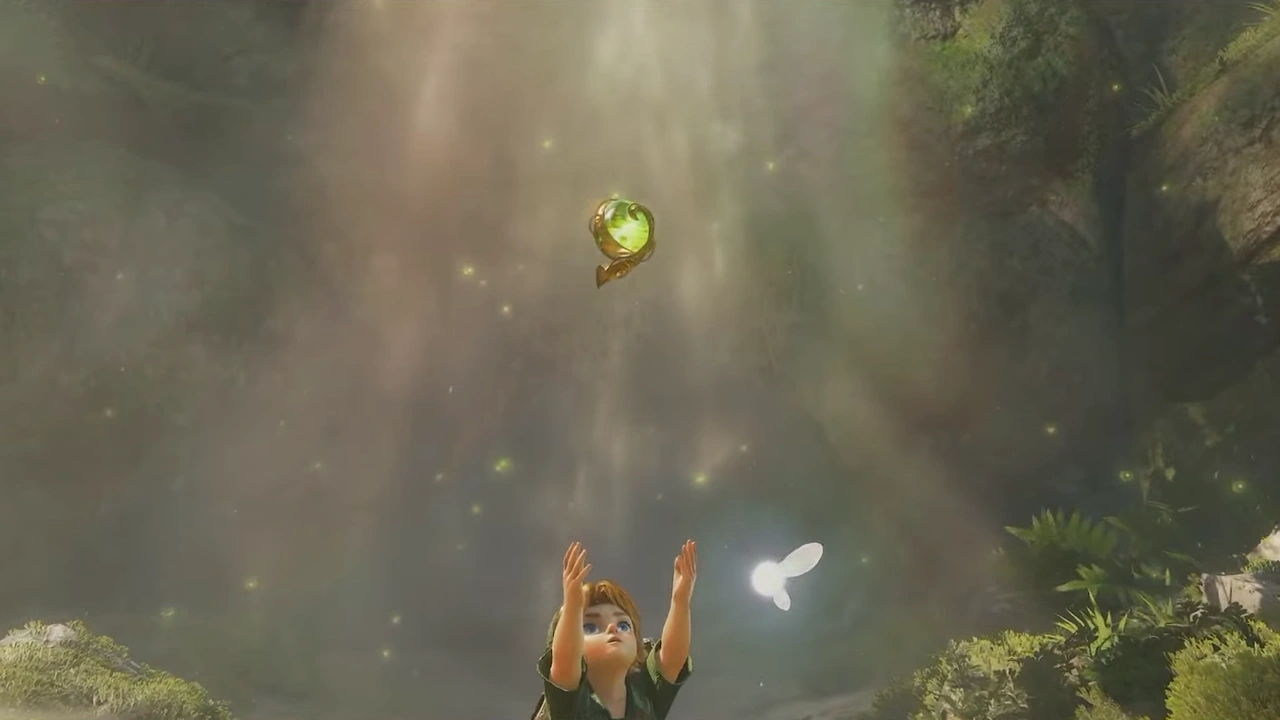
A cutscene will start, and at the end we'll get the Kokiri's Emerald.
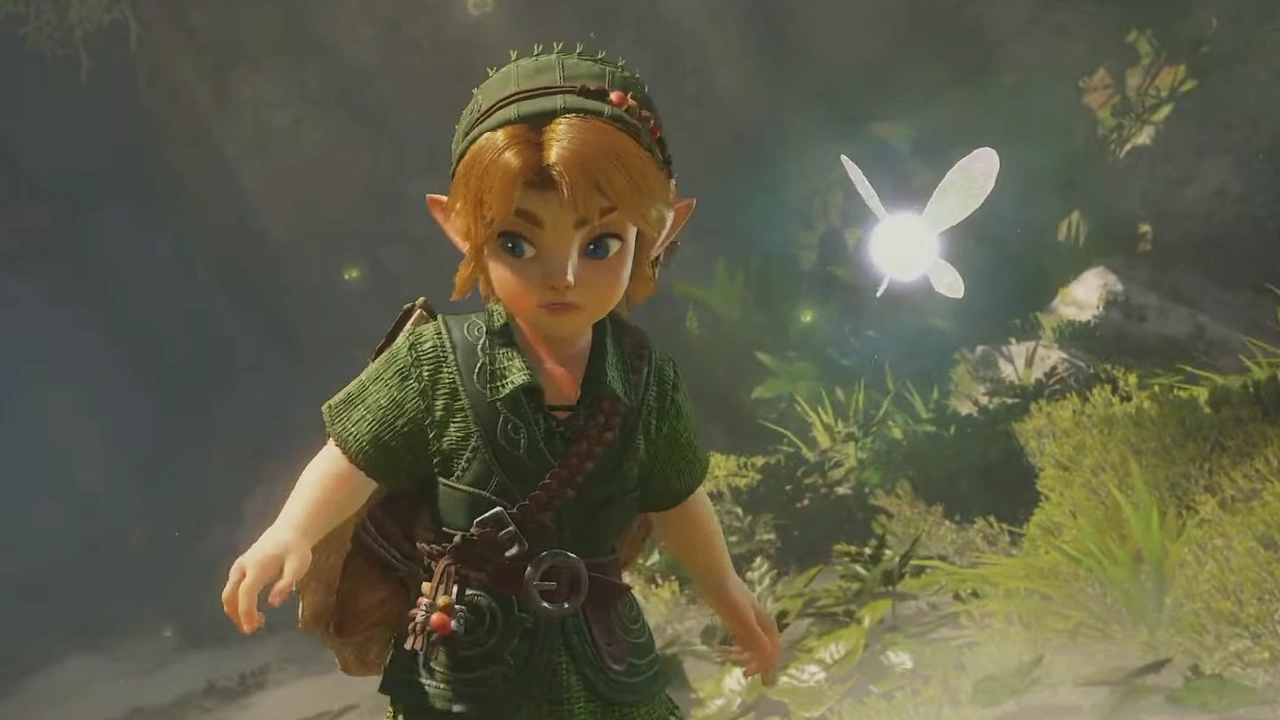
A cutscene will start, and at the end we'll get the Kokiri's EmeraldA cutscene will start, and at the end we'll get the Kokiri's Emerald (screenshot 132)
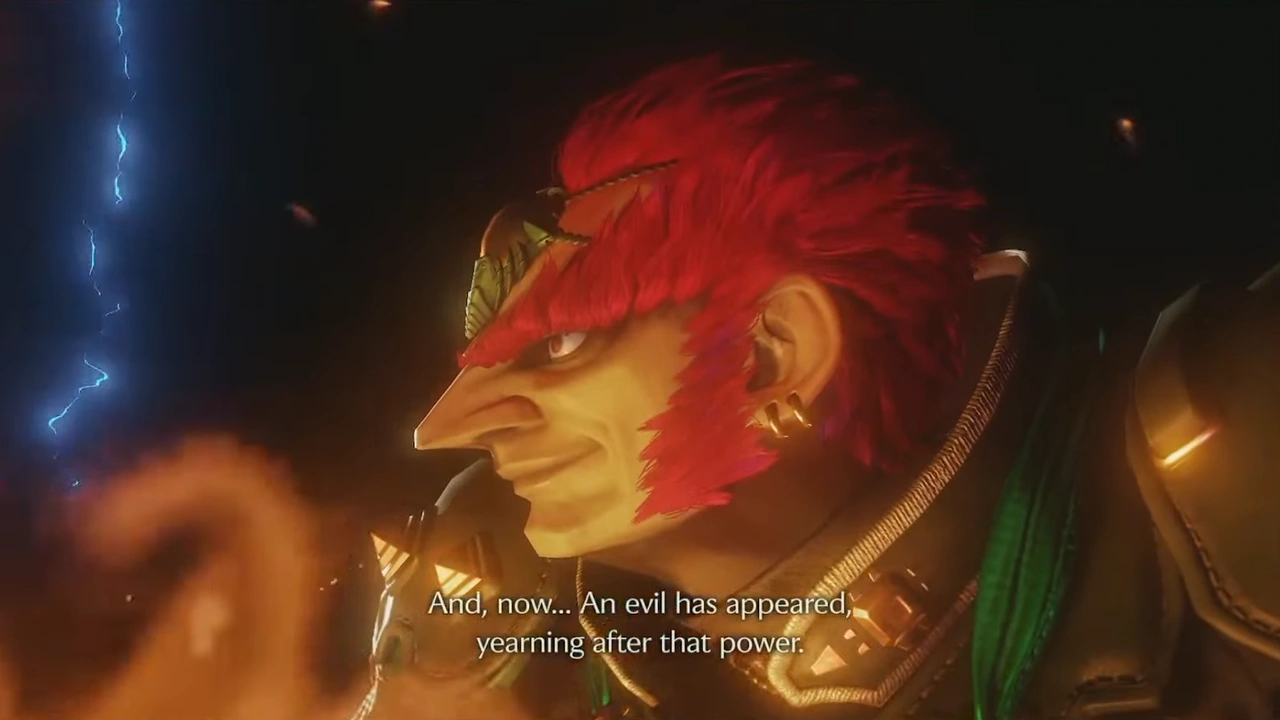
Close-up of Ganondorf in the final cutsceneThe Great Deku Tree entrusts the Kokiri Emerald to Link
Link receives the Kokiri Emerald with his hands raised

Once we have control of Link again, we'll make our way east and leave the village; as we go, Saria will give us the Fairy Ocarina.
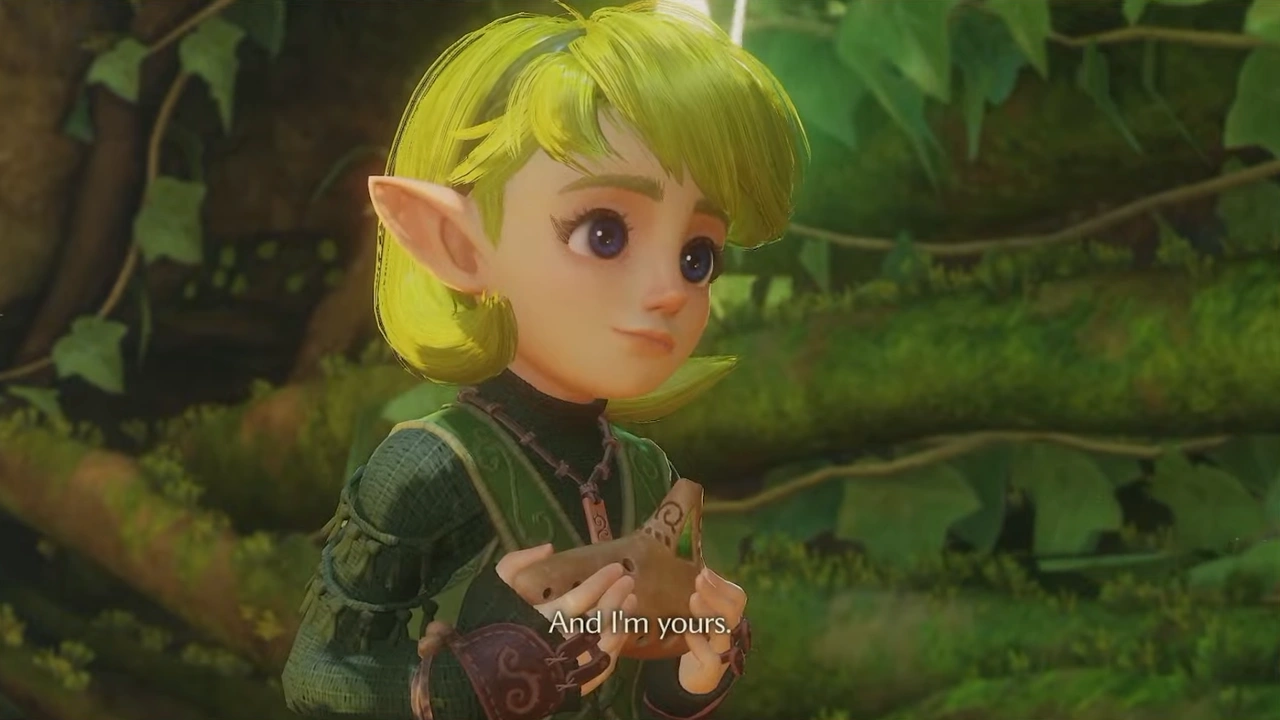
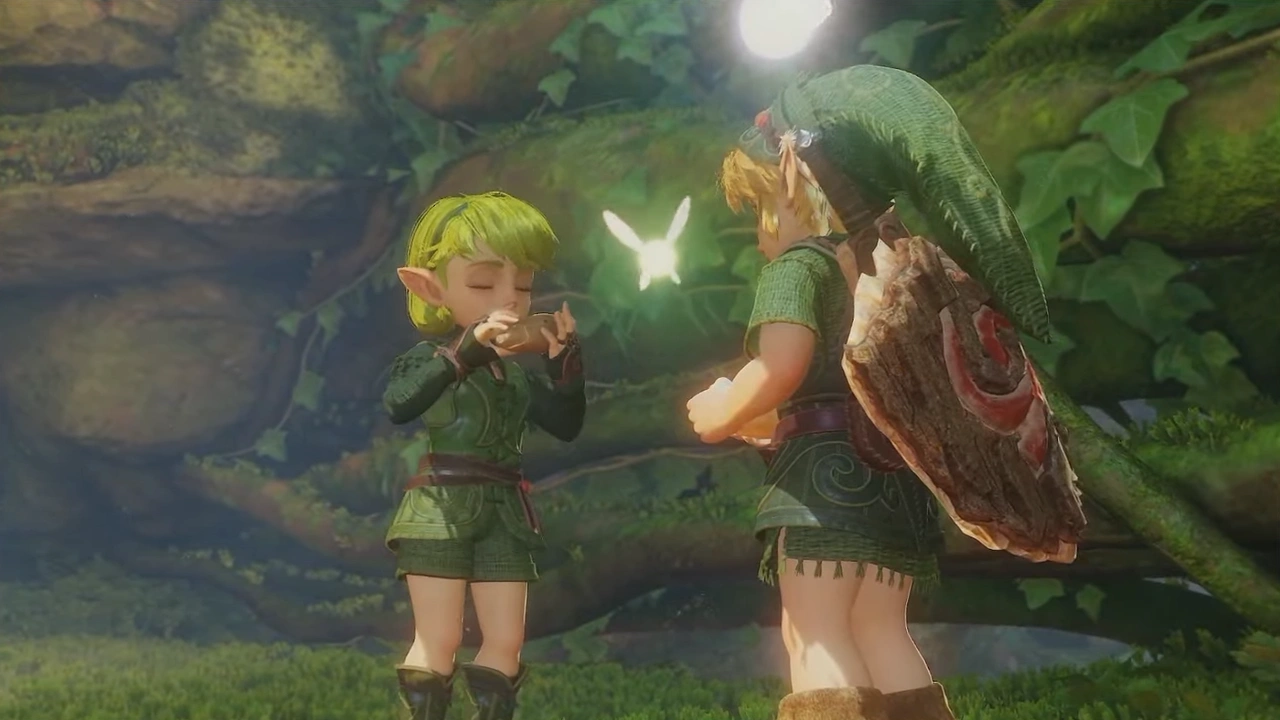
Once we have control of Link again, we'll make our way east and leave the village; as we go, SariaOnce we have control of Link again, we'll make our way east and leave the village; as we go, Saria (screenshot 137)
Something wrong on this page?