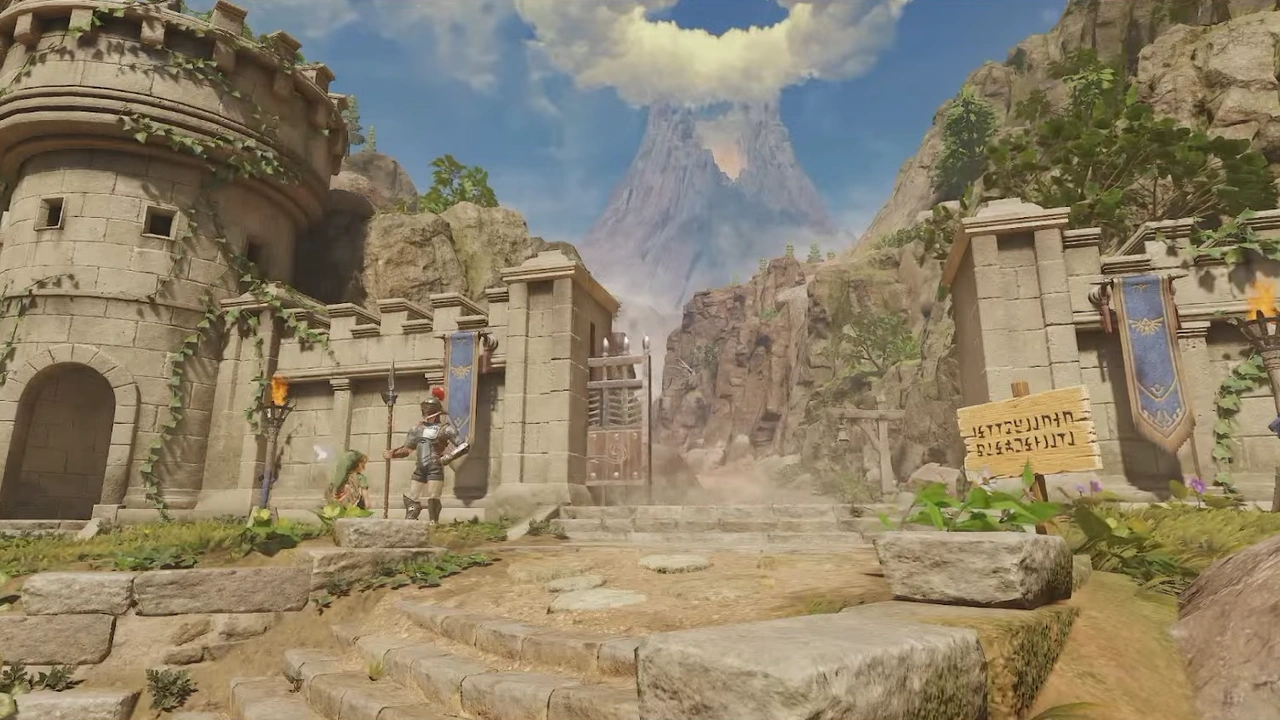
We'll head north to reach Death Mountain Trail and climb until we find the sign pointing to Goron City.
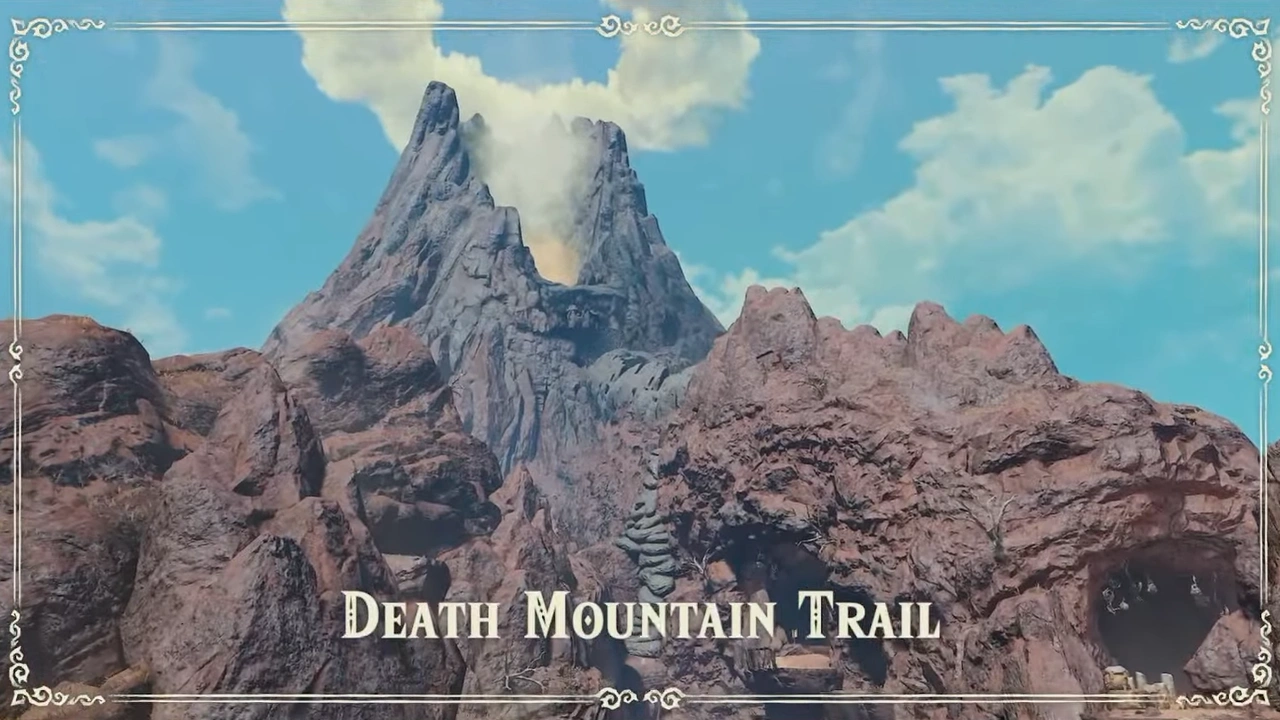
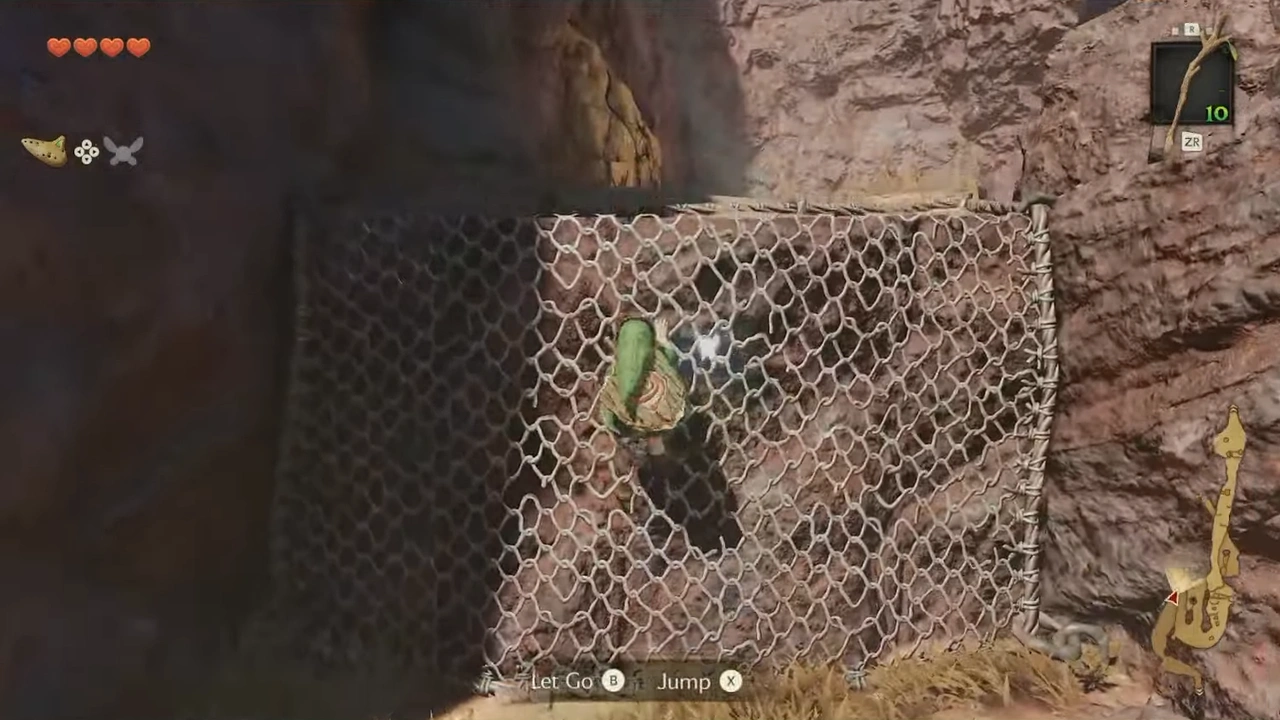
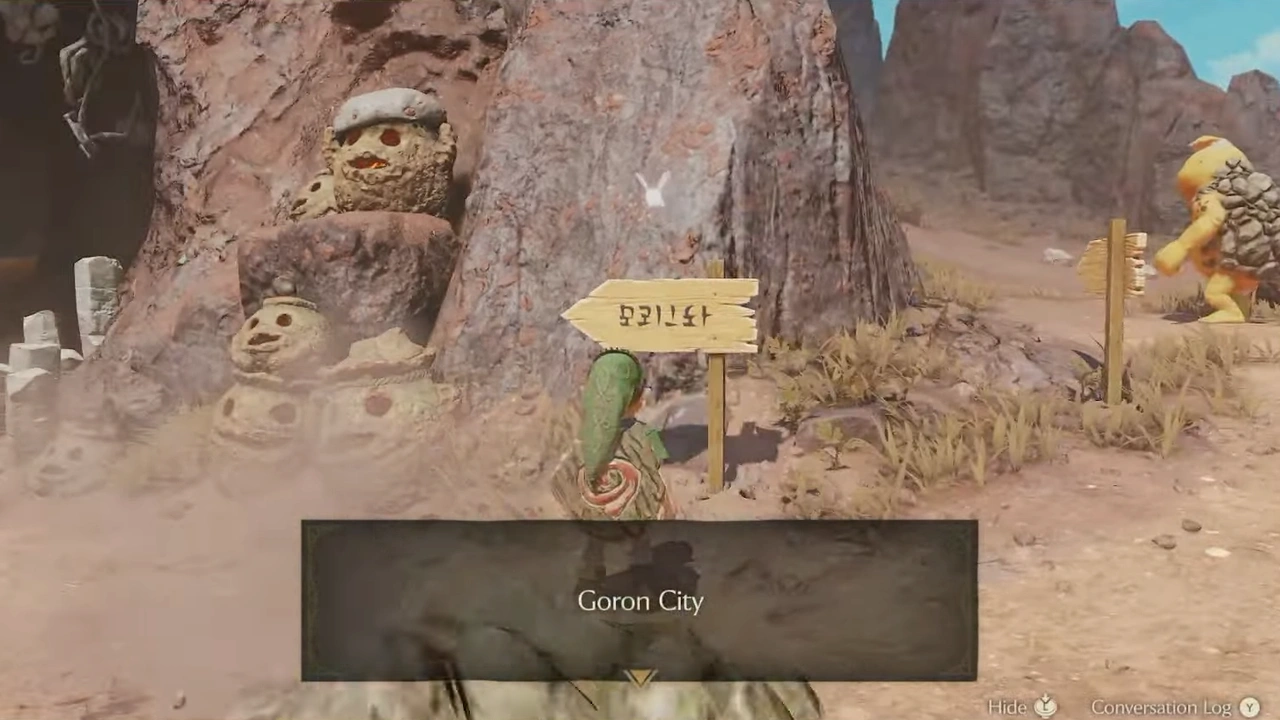
We'll take the path to Goron City.
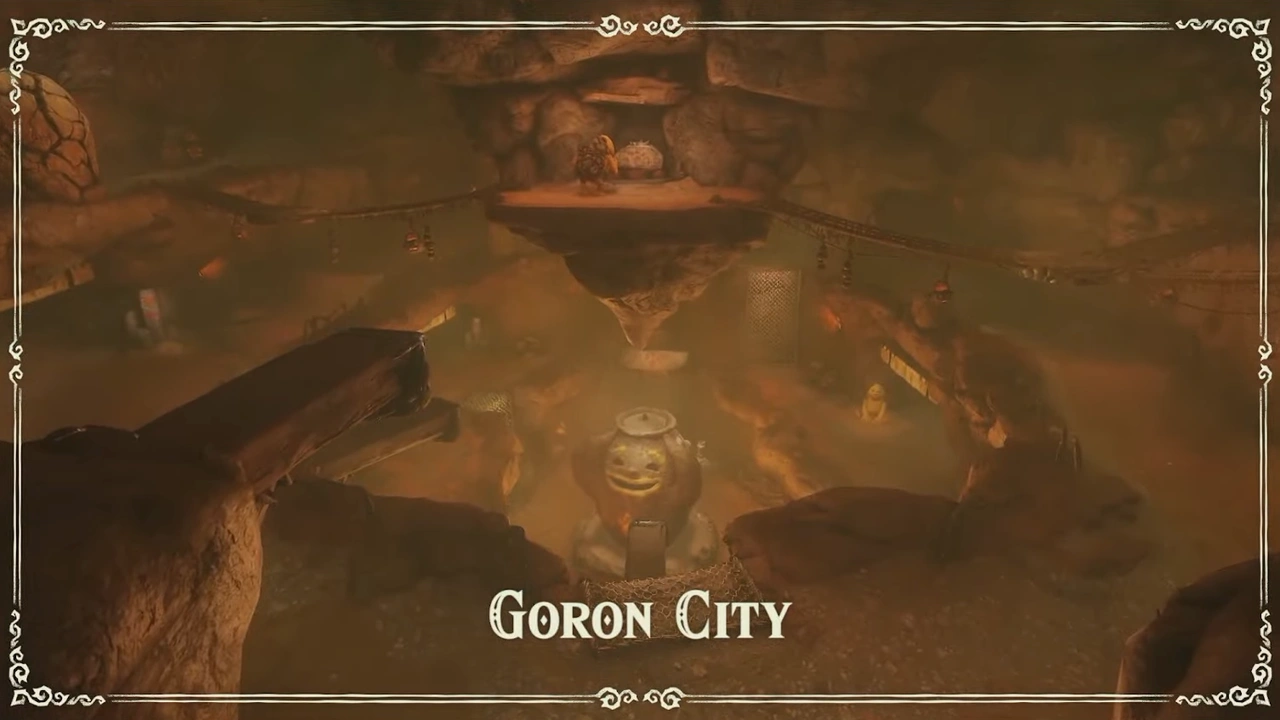
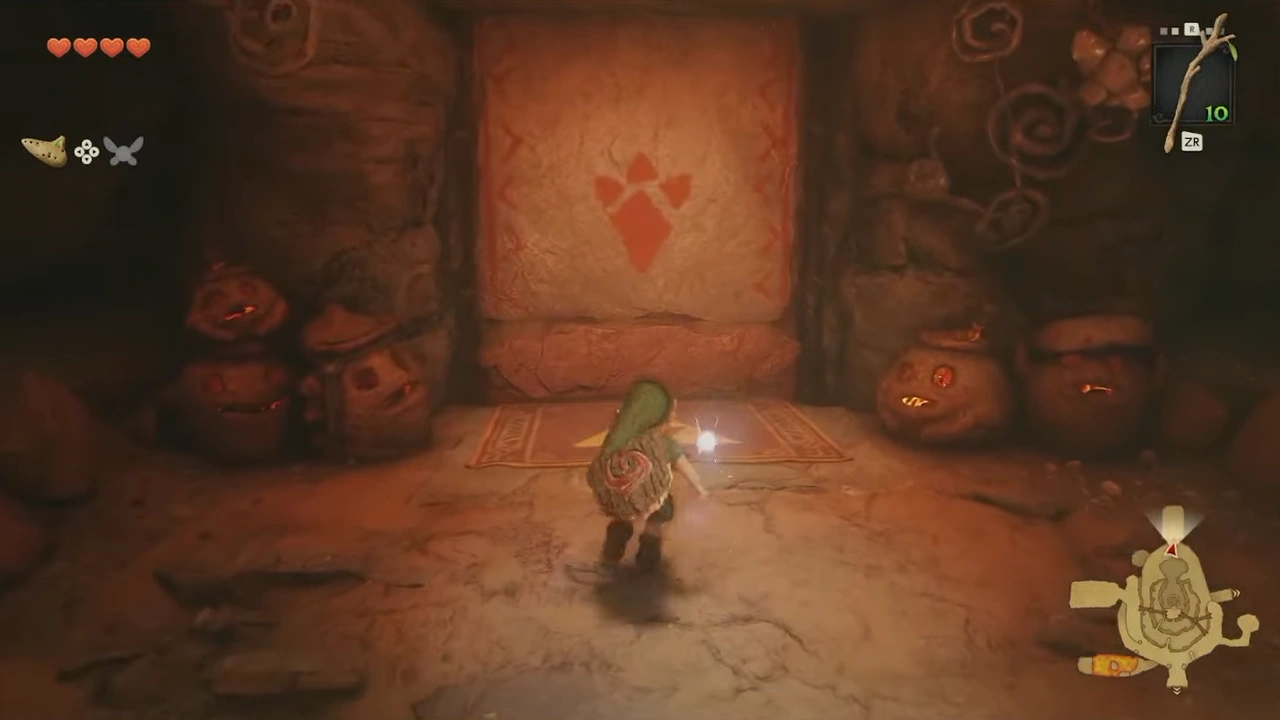
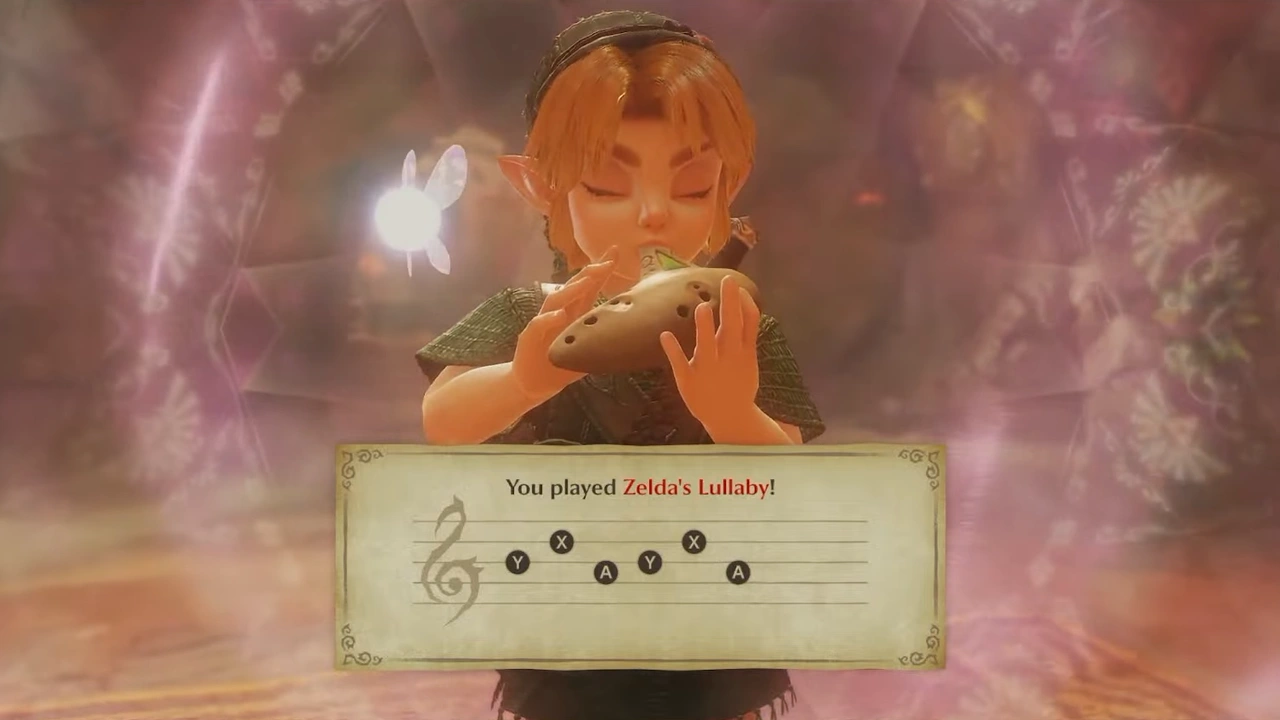
We'll go down to the lowest floor, where we'll find a door with a Triforce symbol on the carpet. We'll play Zelda's Lullaby on it.
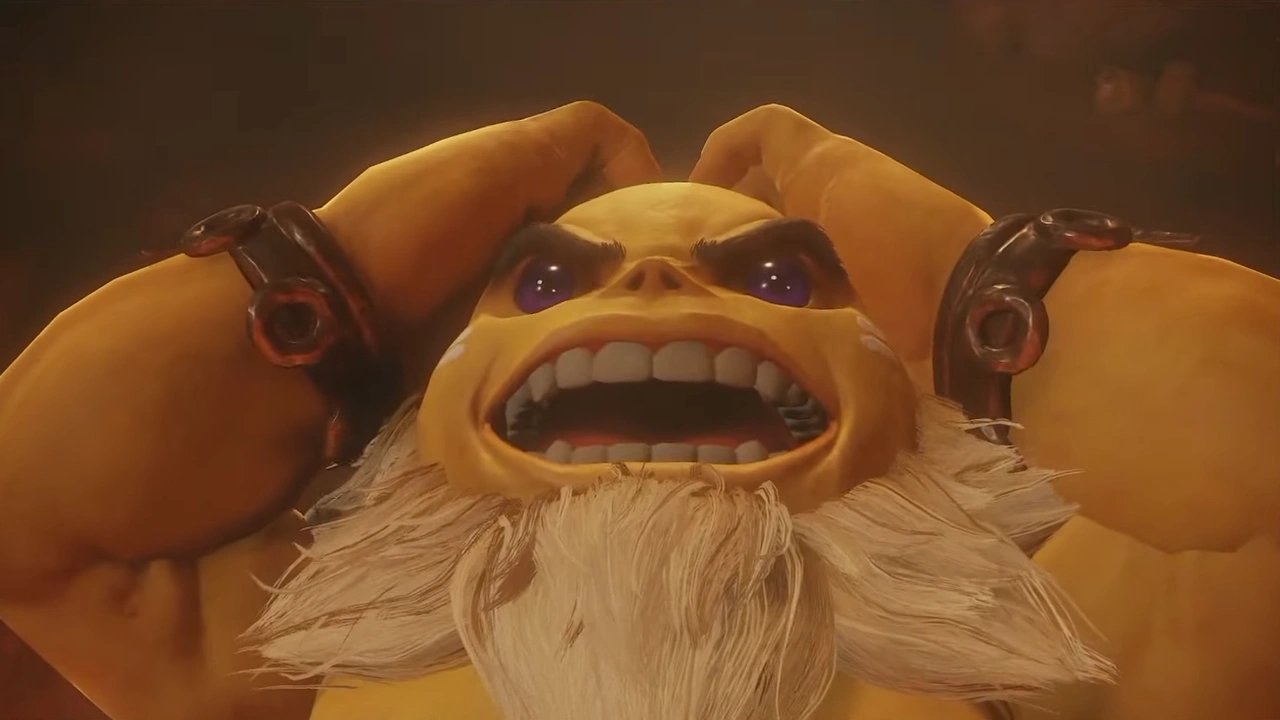
Inside we'll talk to Darunia. To improve his mood we'll need to learn a new song; to do that, we'll light a Deku Stick using one of the torches in his room.
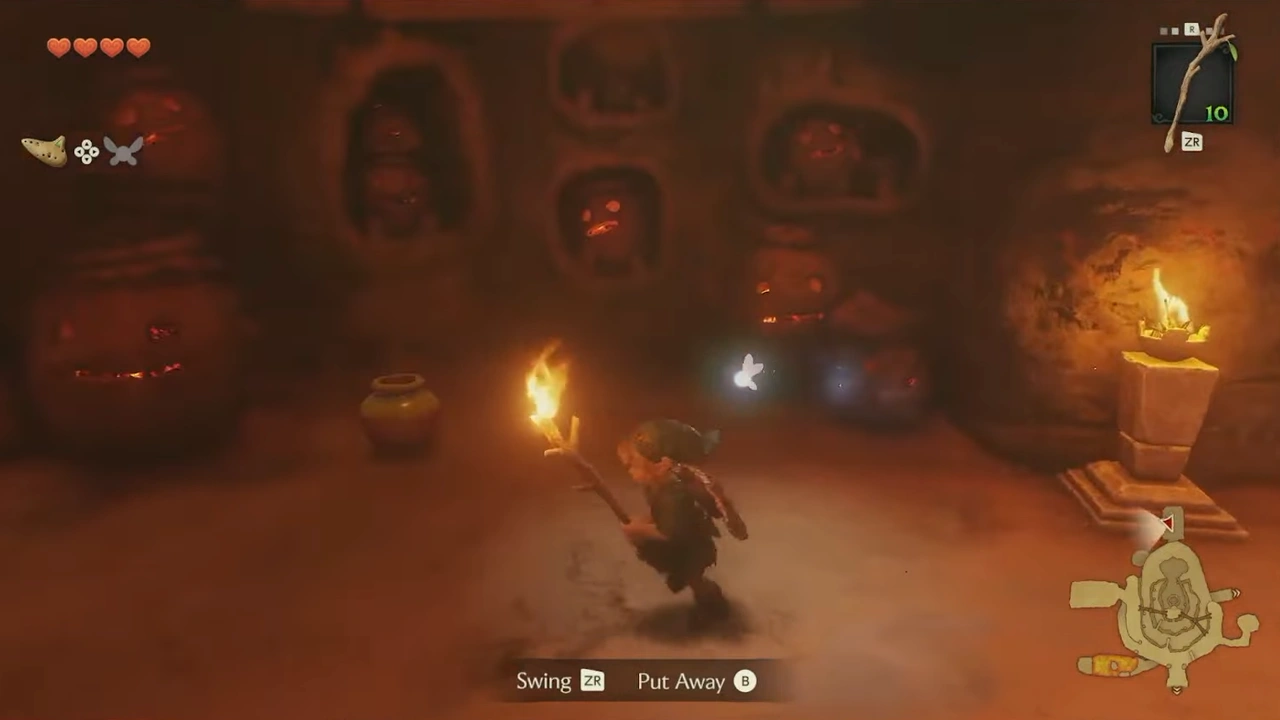
We'll light the Bomb Flowers to the right as we leave to gain access to the shop.
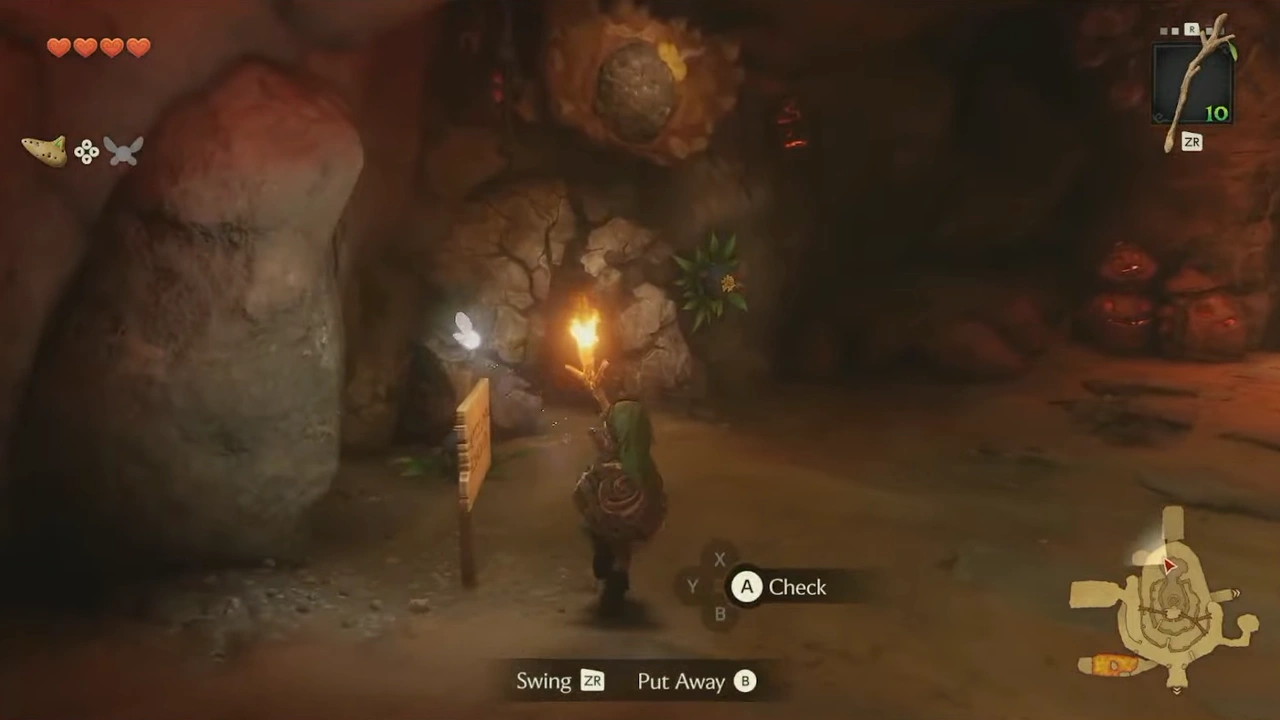
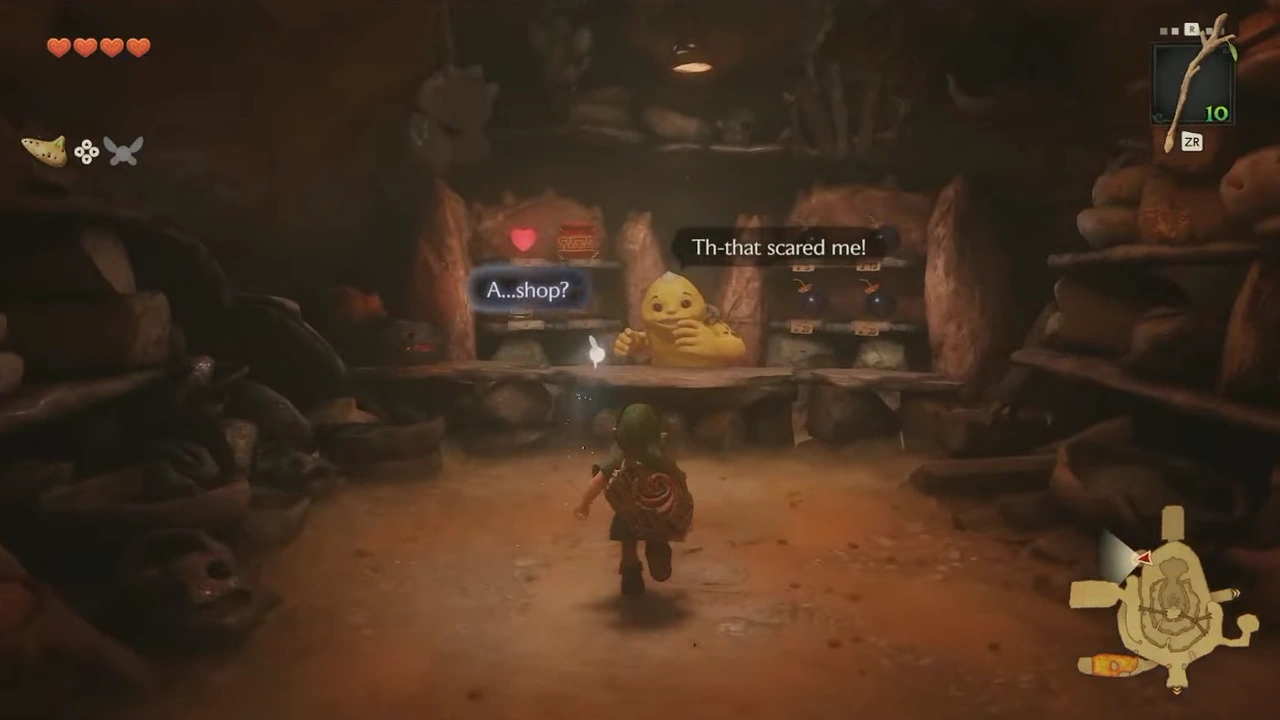
We'll go out and start lighting the torches on the lower floor so the statue begins to turn.
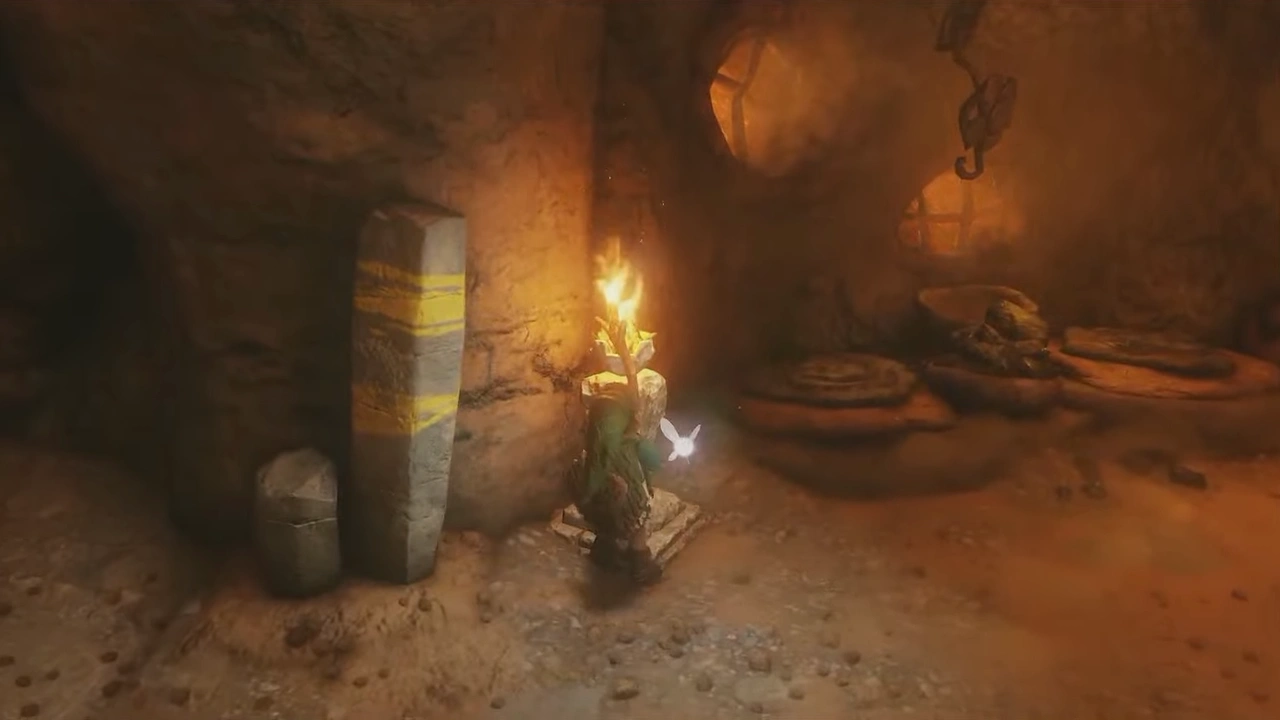
We'll continue along the south side of the room and find an entrance to the next room. We'll carry the lit Deku Stick until we find two Bomb Flowers near a cracked wall.
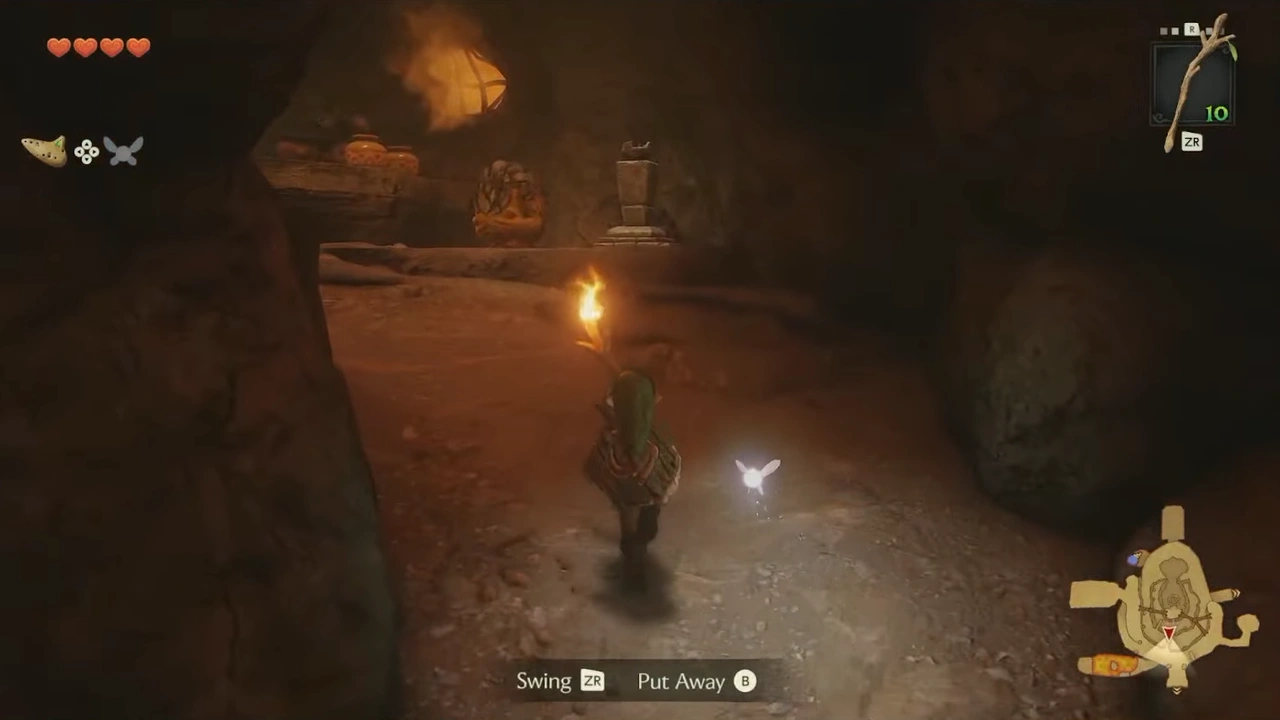
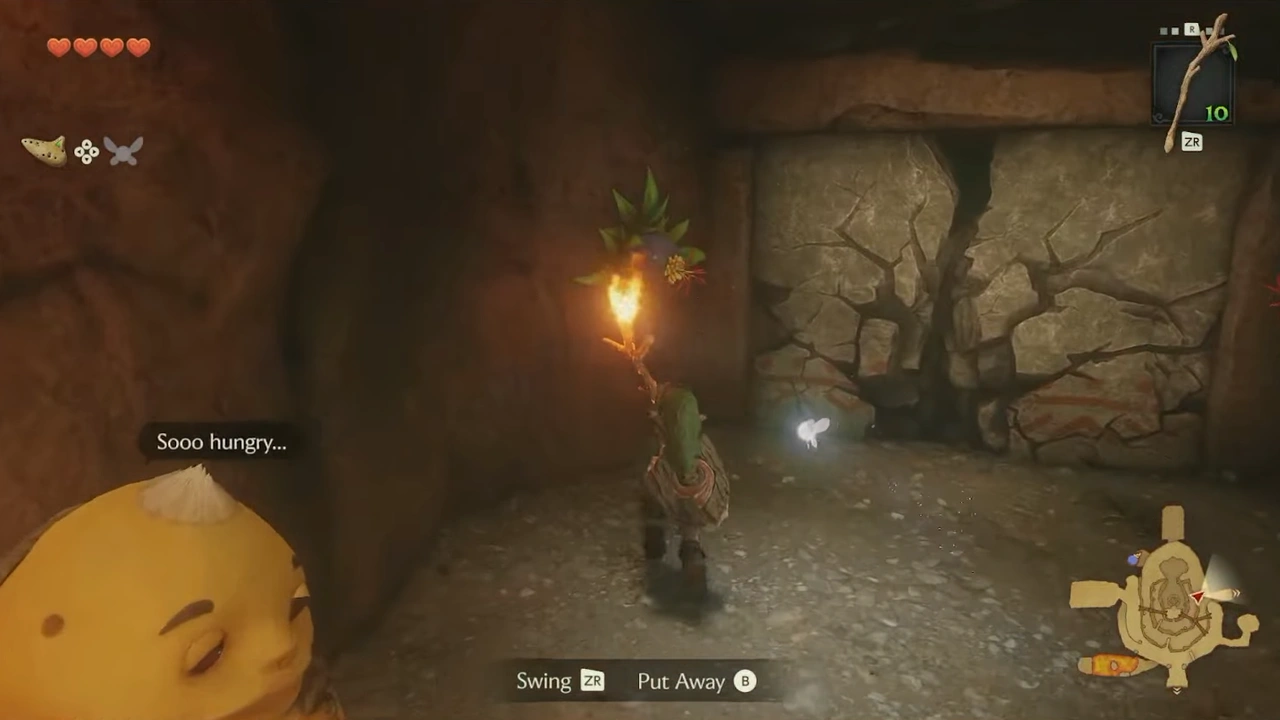
We'll go in to reach the Lost Woods, then continue to the left from where we entered.
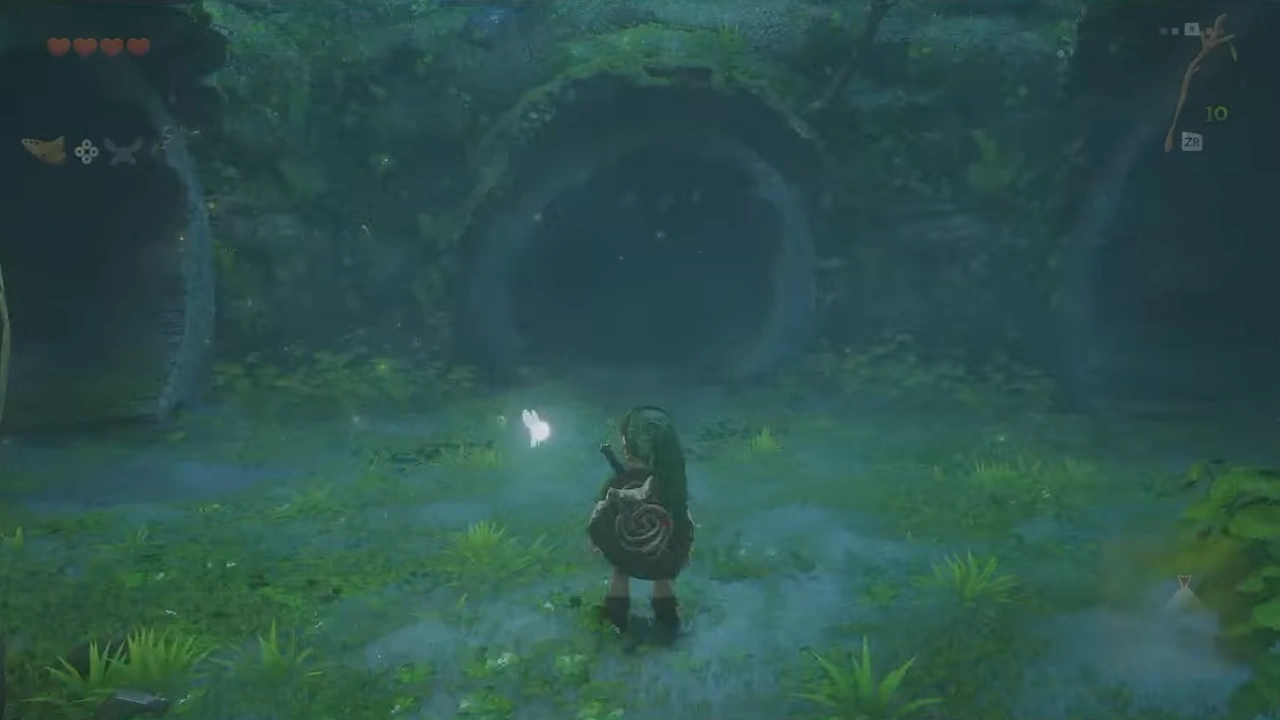
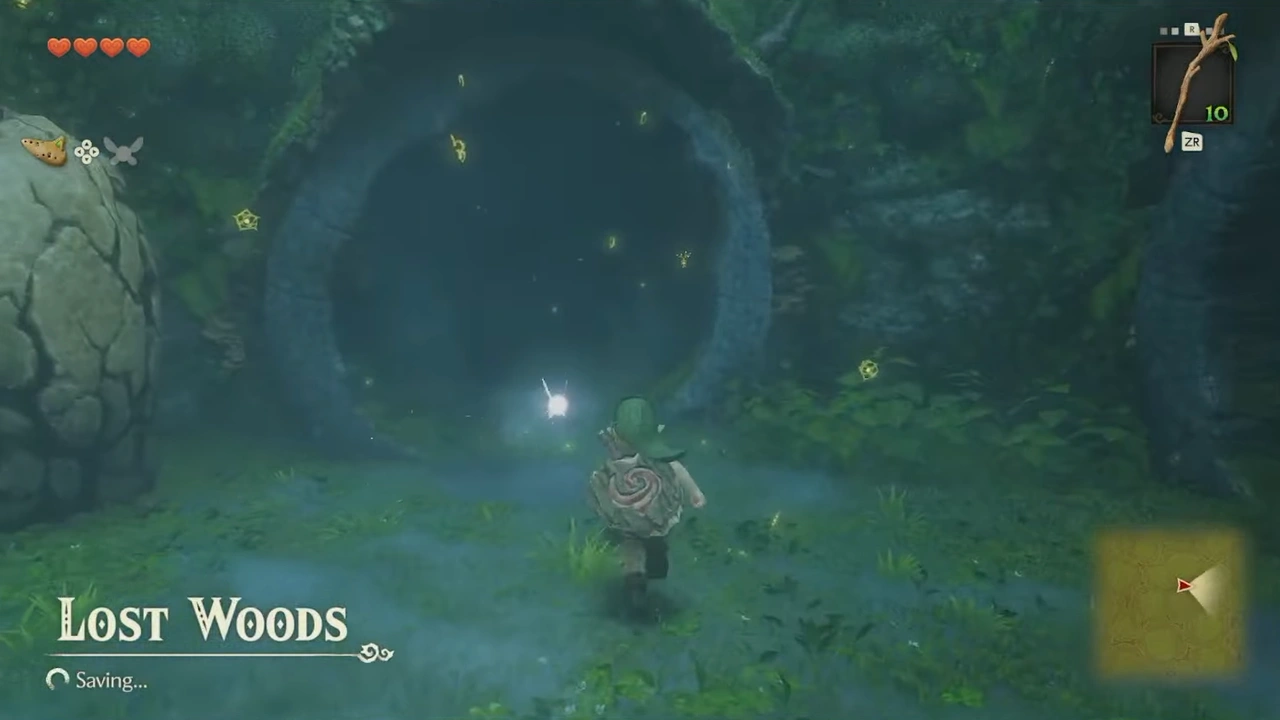
We'll take the left path again, then continue straight into another room.
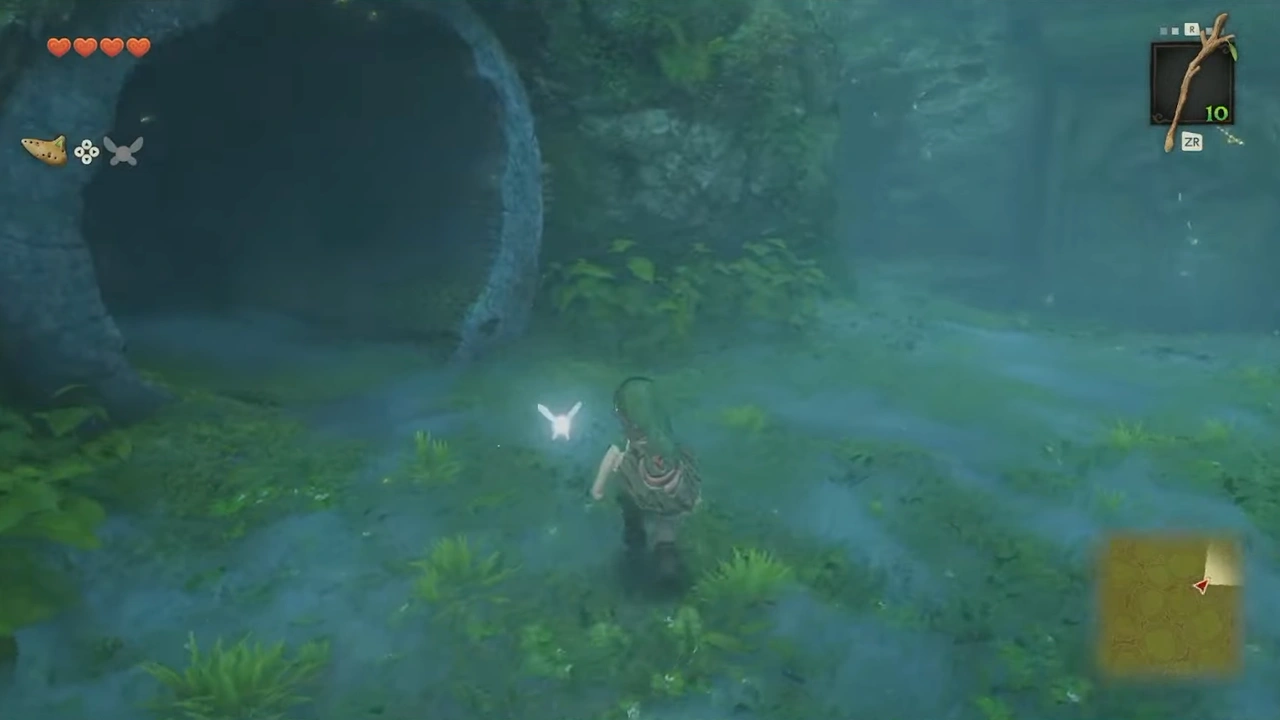
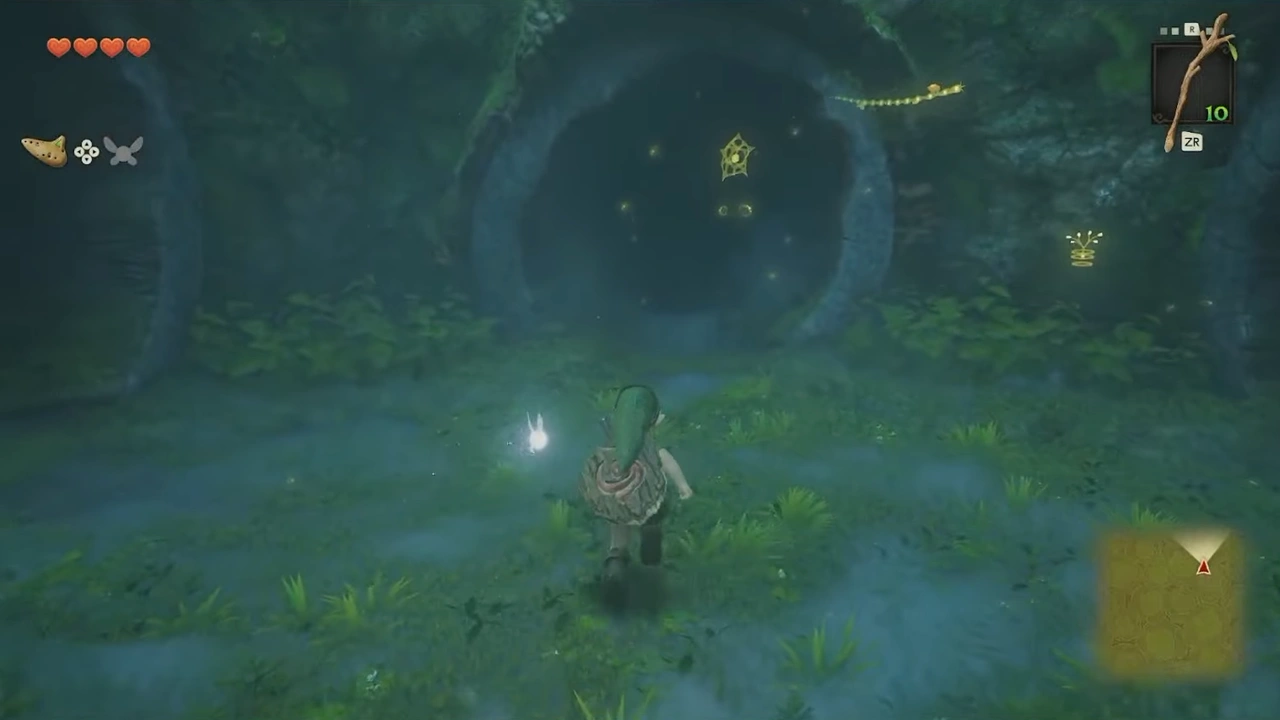
Then we'll turn left and finally right.
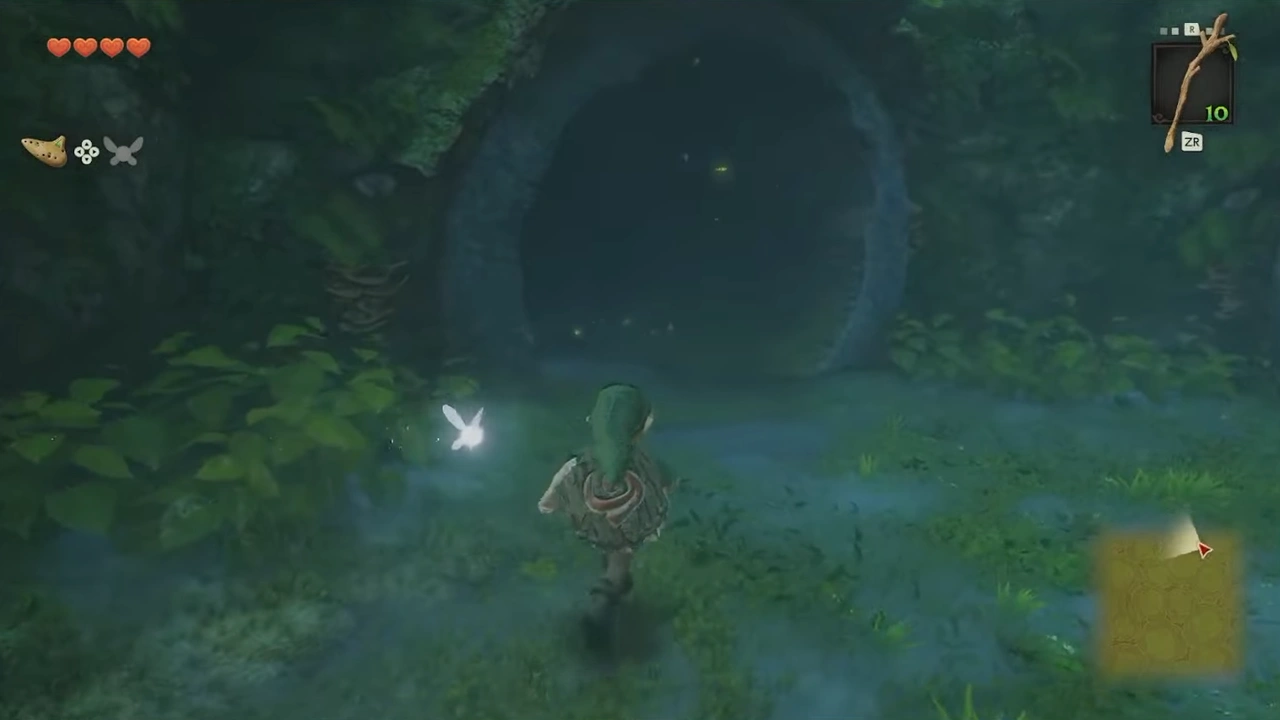
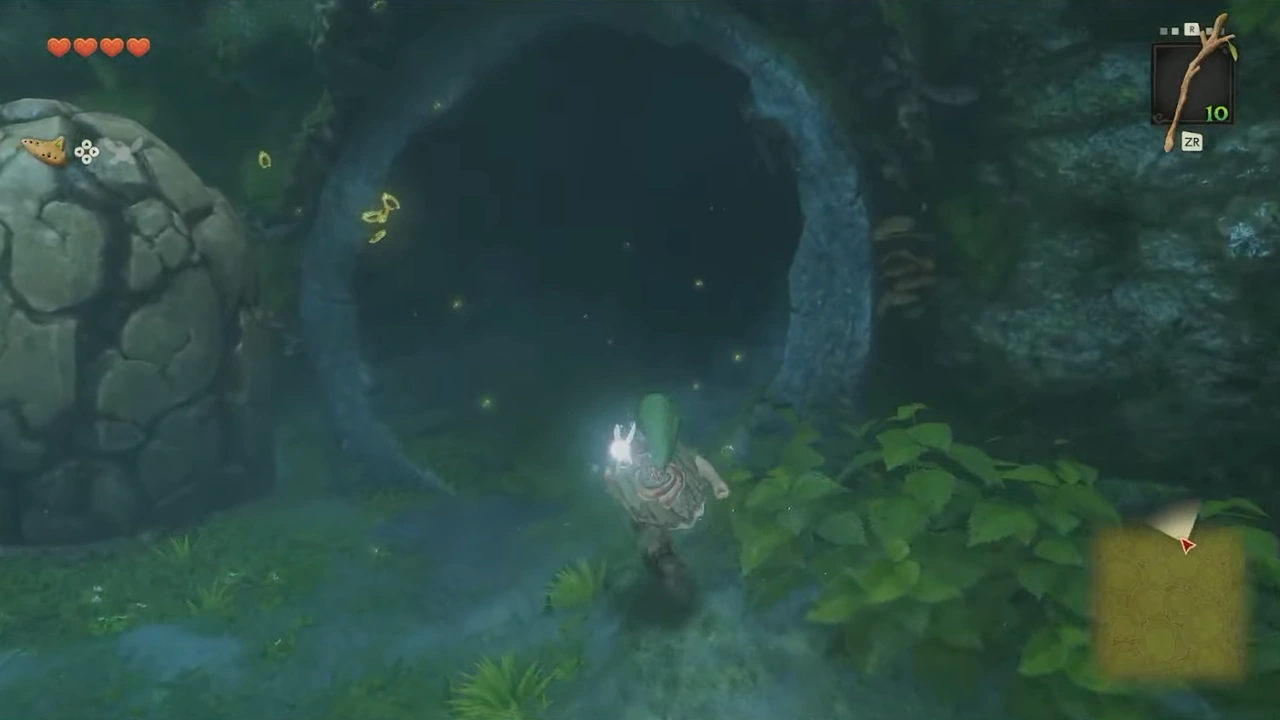
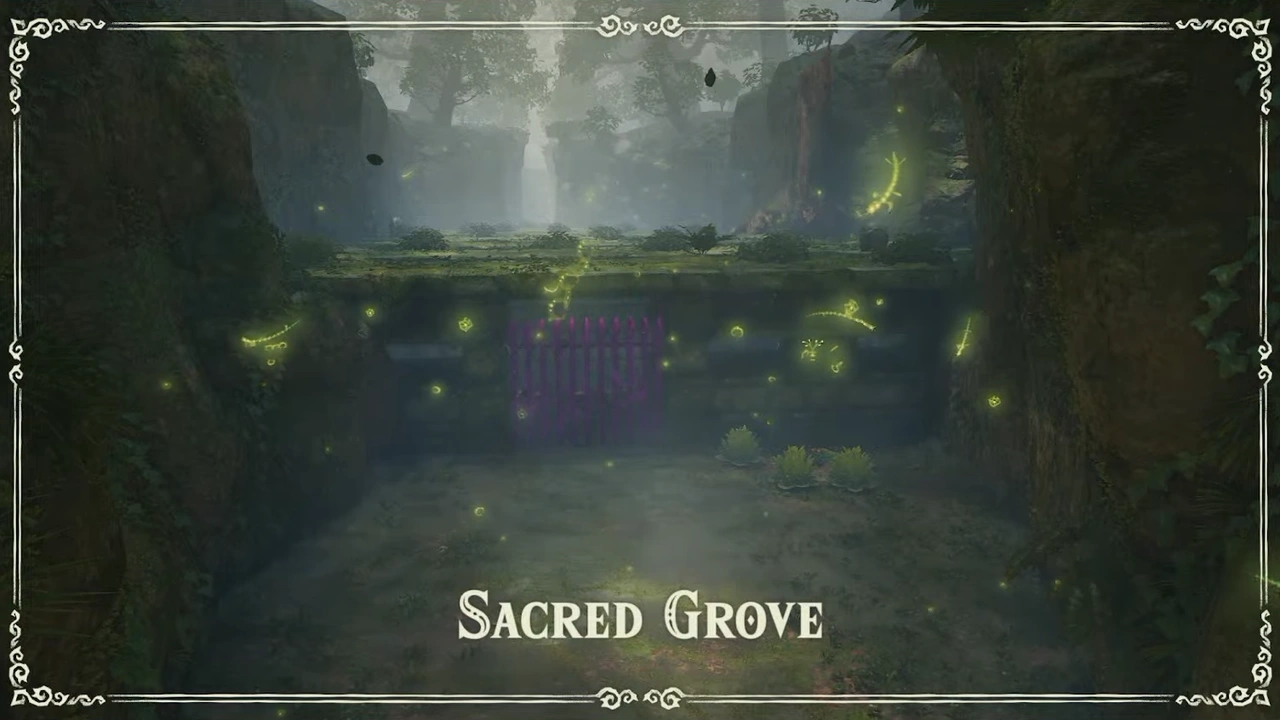
Inside, a Wolfos will be guarding the gate. We'll have to attack it from behind to damage it; we can wait for an opening or stun it with a Deku Nut.
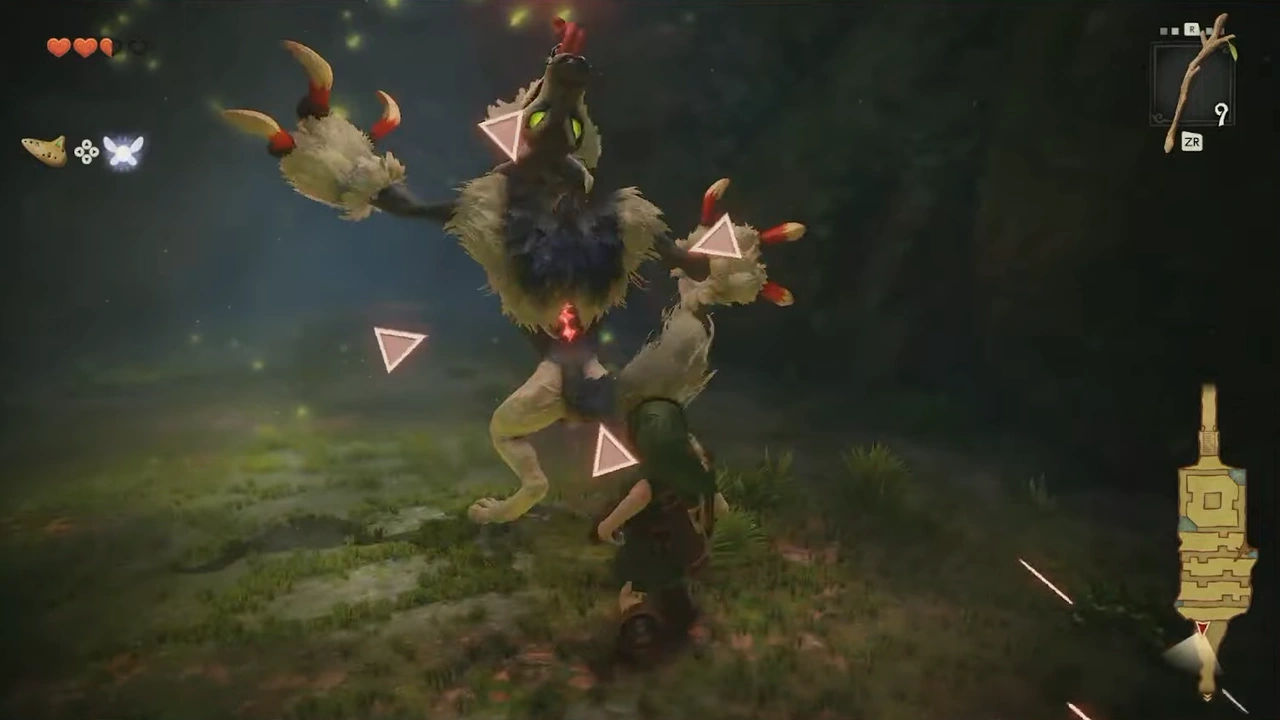
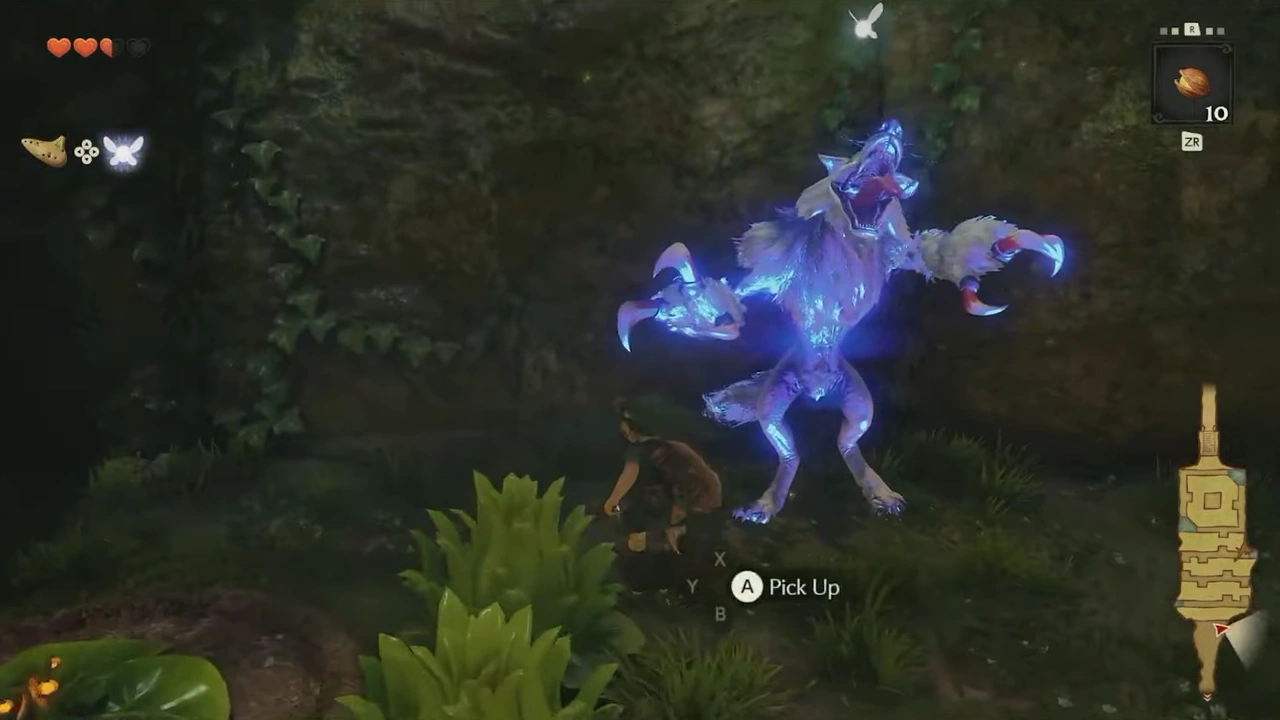
We'll enter the maze and follow it all the way, defeating the Deku Scrubs and following the only available path until we reach some stairs.
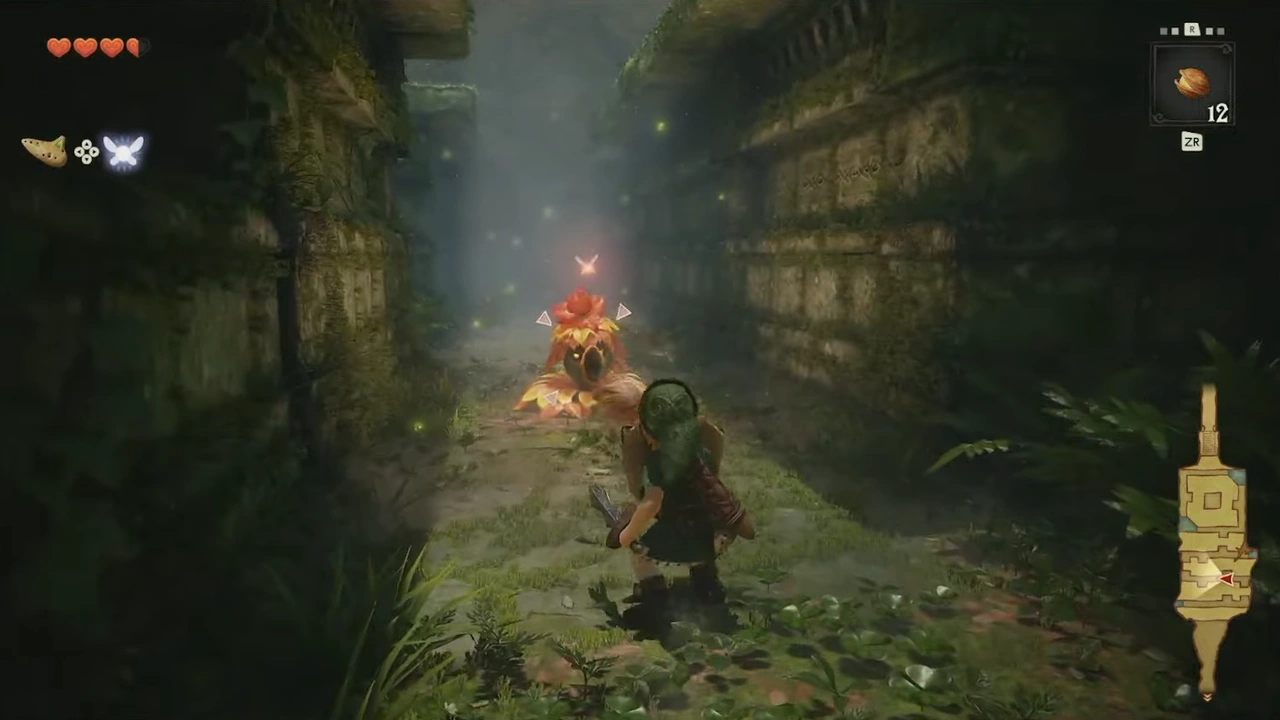
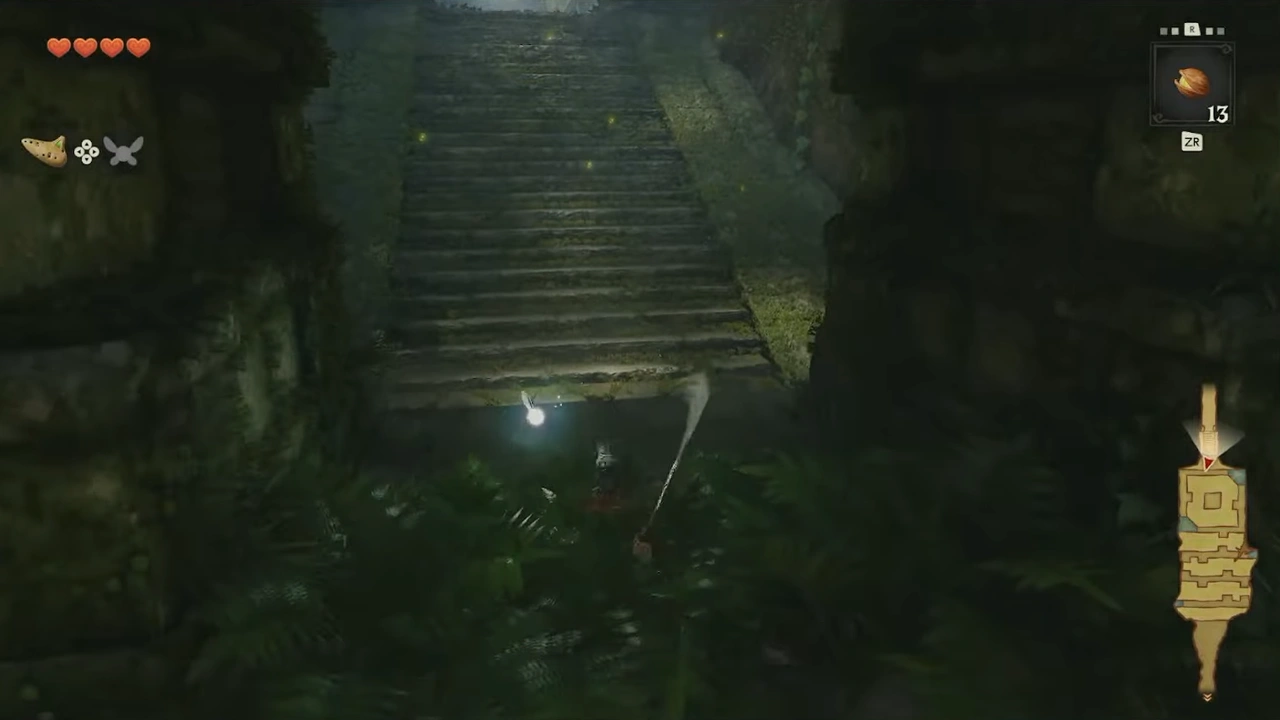
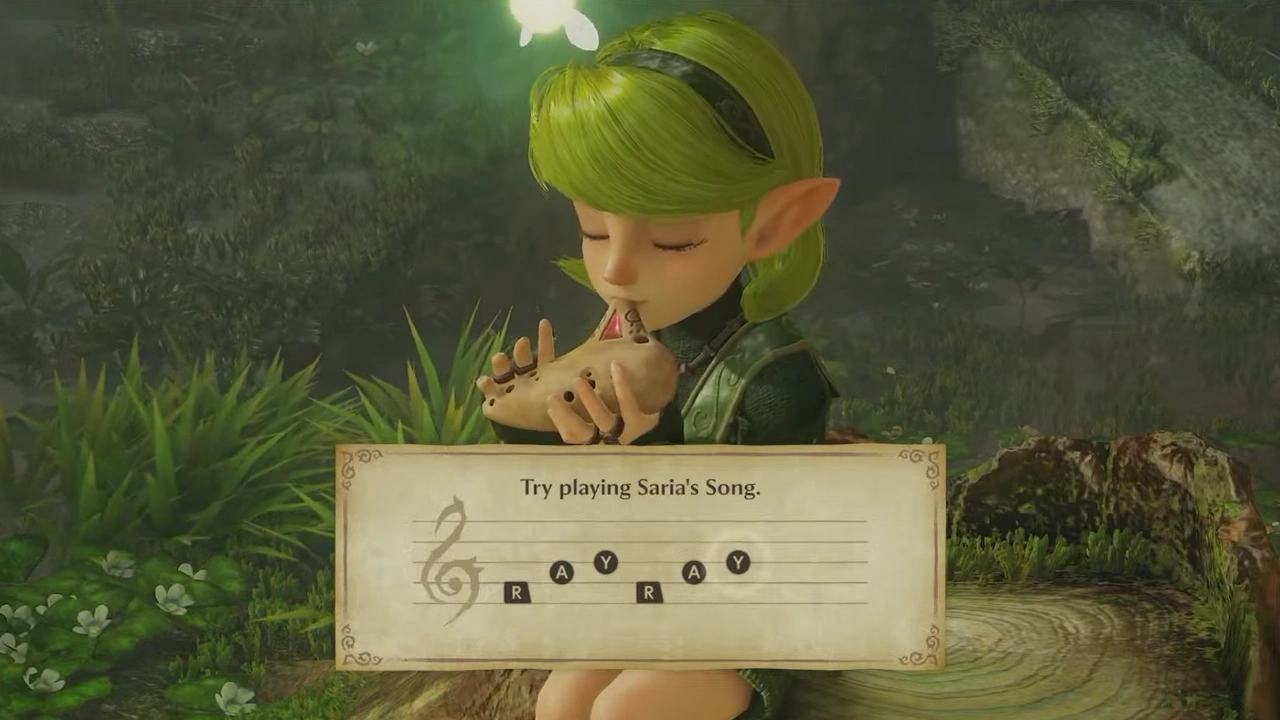
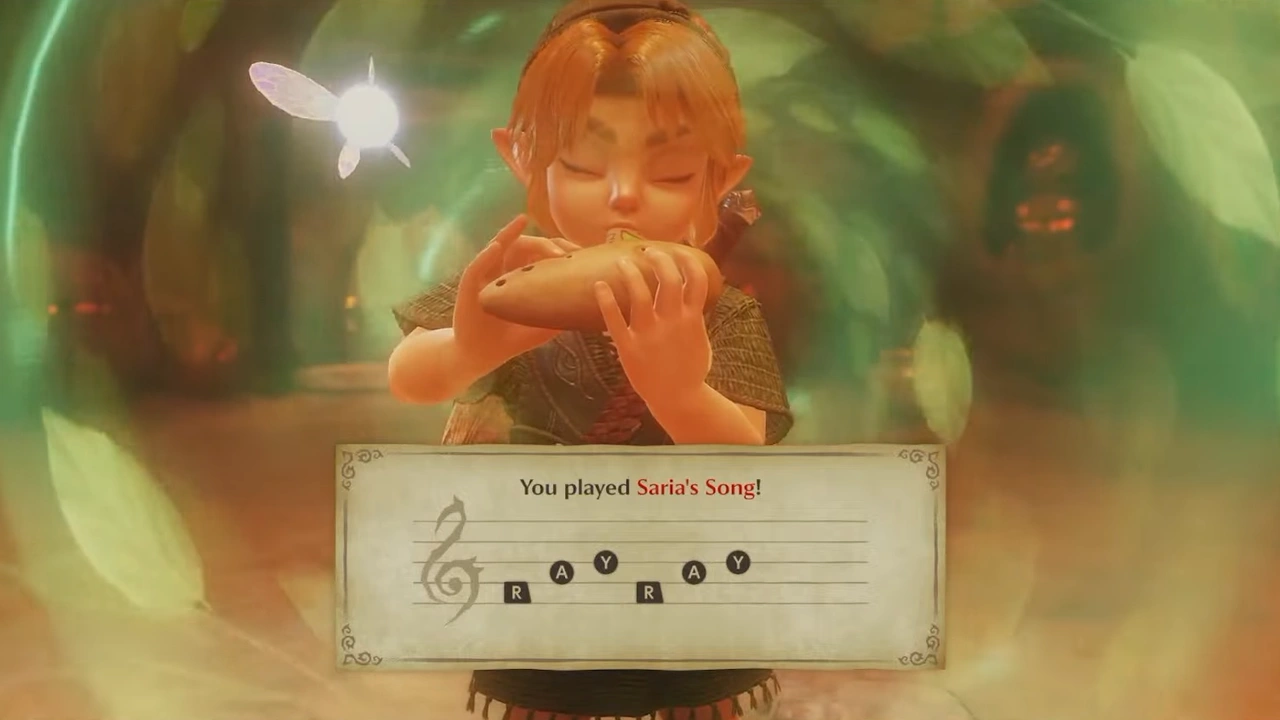
We'll continue until we find Saria; she'll teach us Saria's Song, and then we'll return to the maze.
We'll continue straight, where we'll see a ladder and a hole in the ground. We can go in to get a Fairy, then come back.
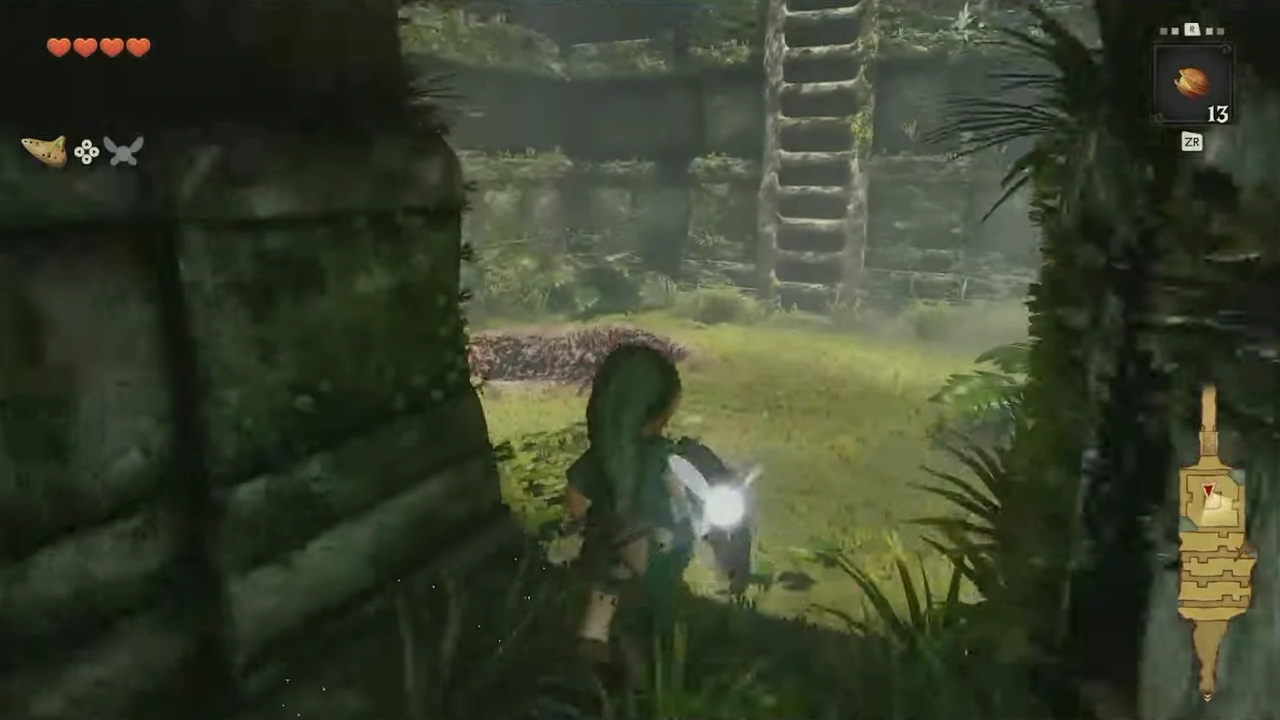
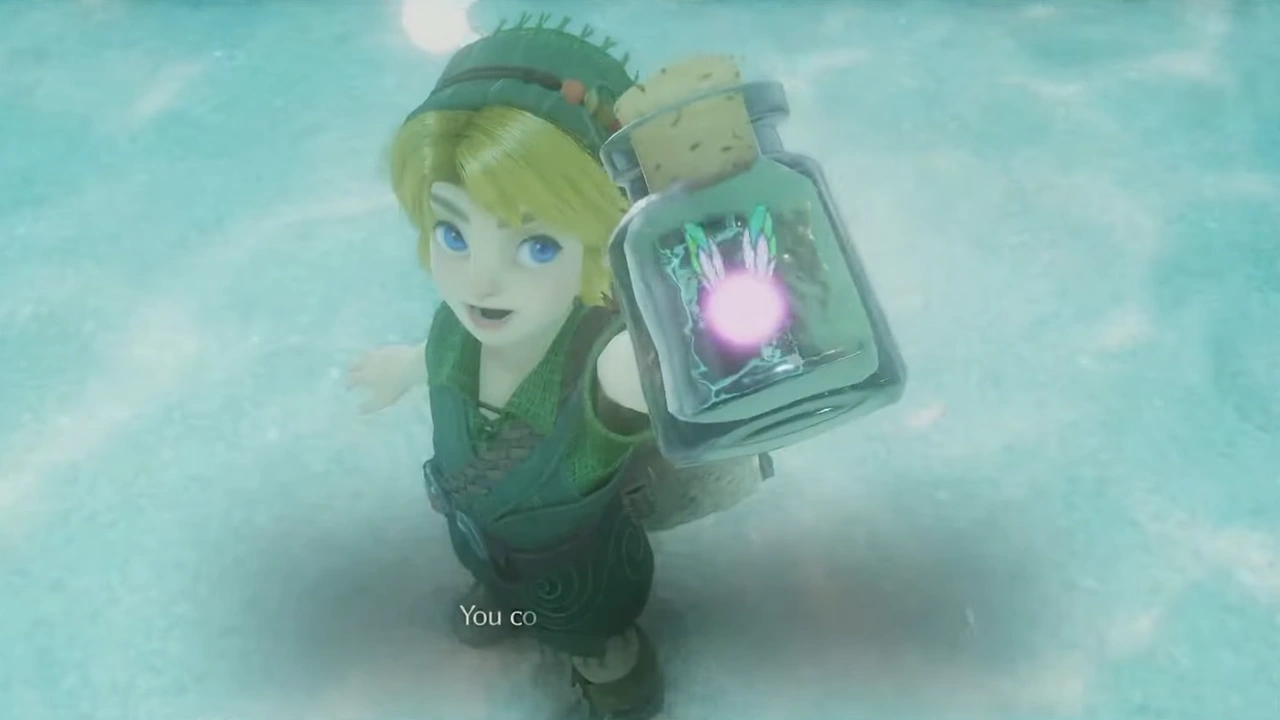
We'll take the ladder up so we can return through the upper part more quickly, then head back to the Lost Woods.
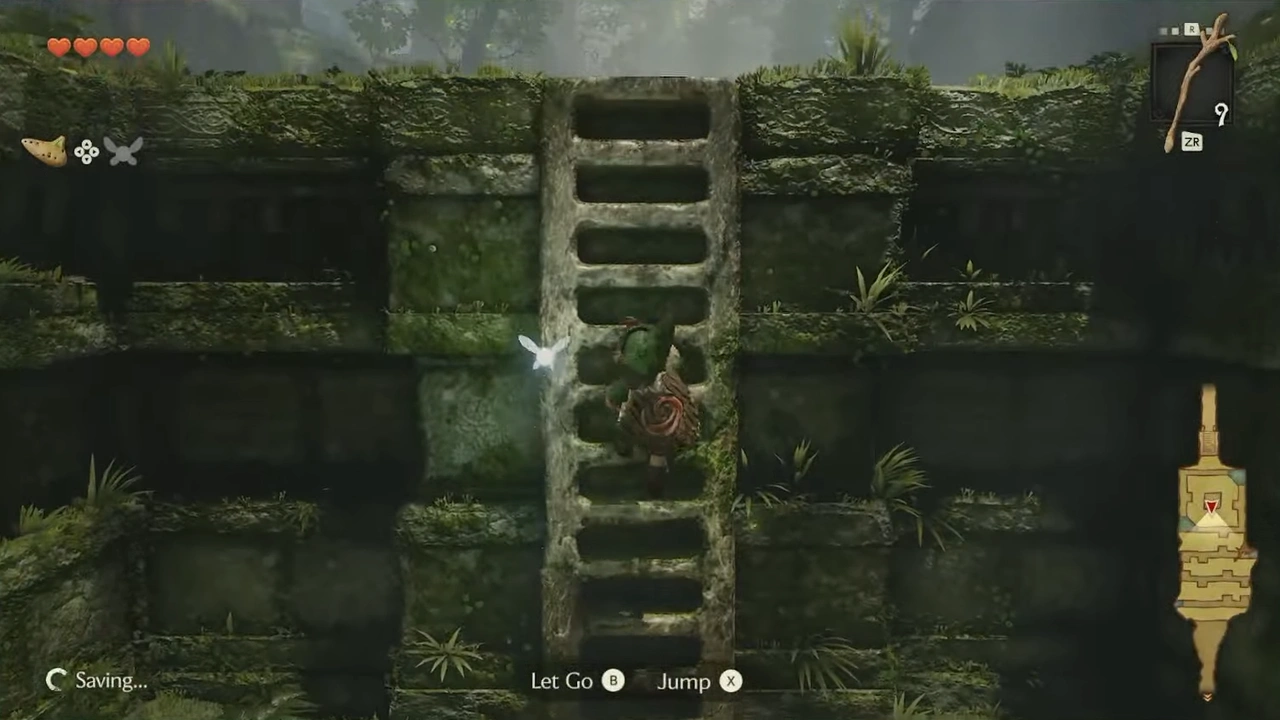
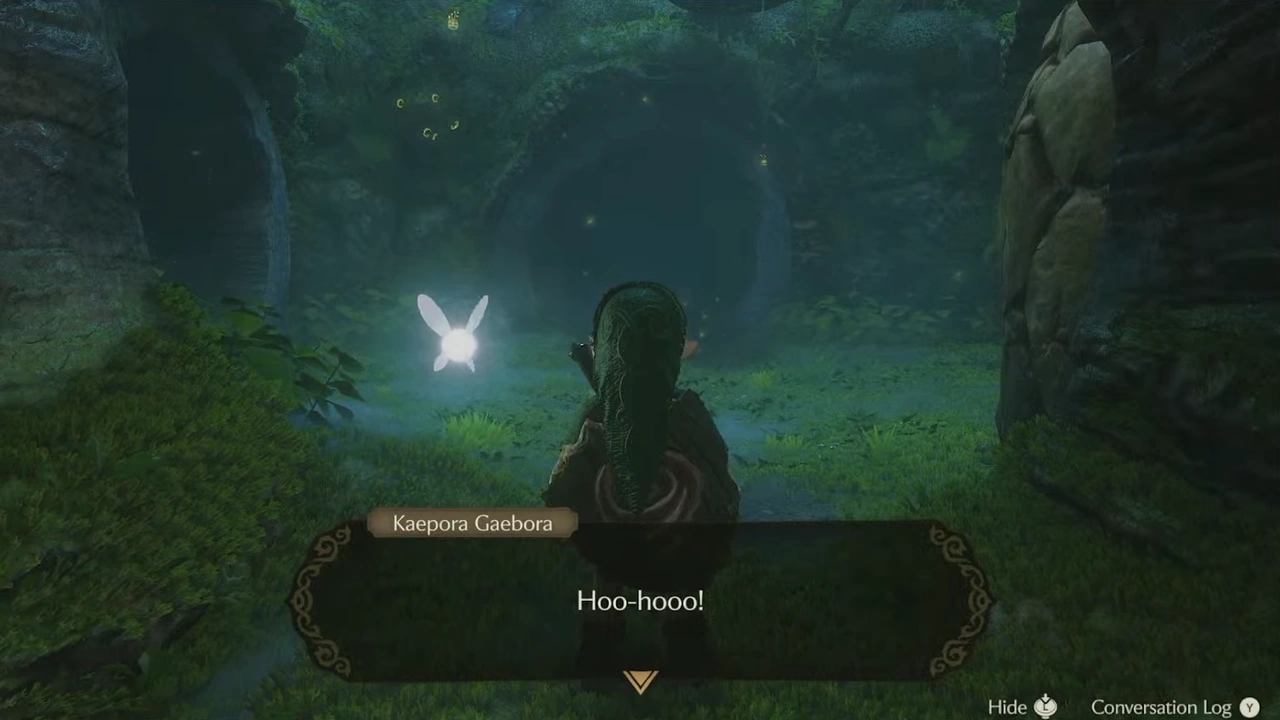
To get back to Goron City, we'll go: left, right, straight, right, right.
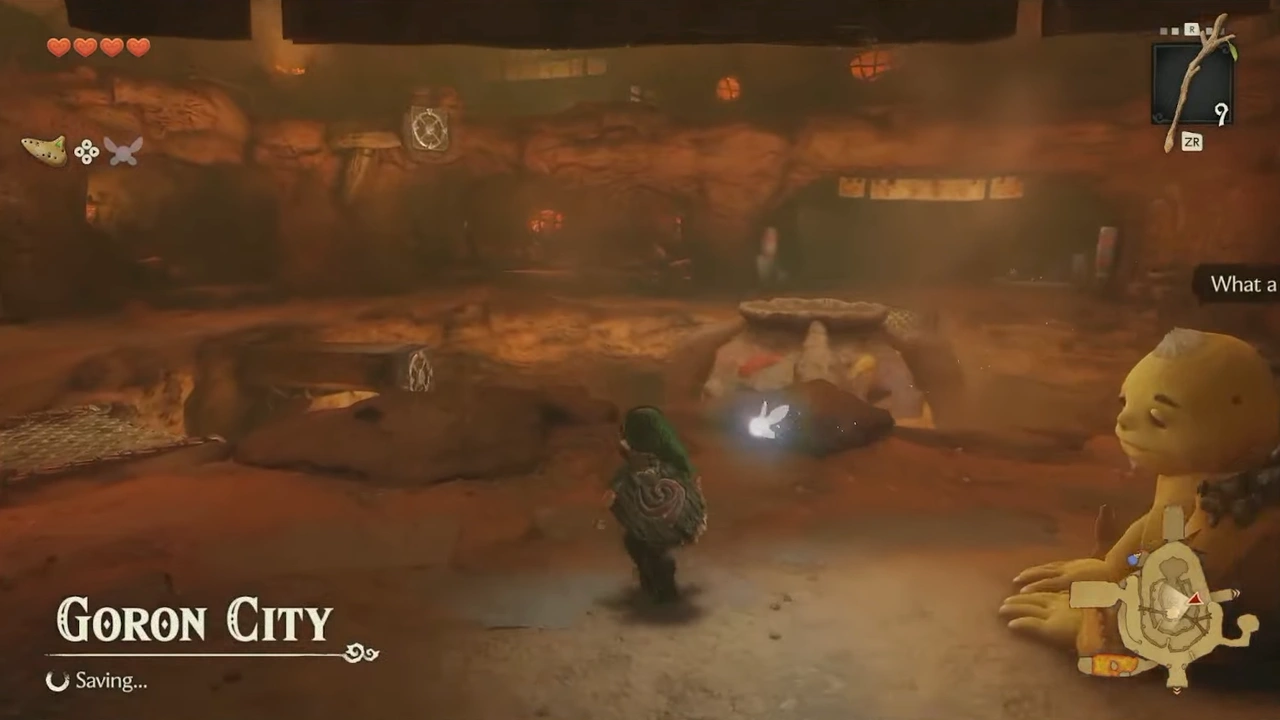
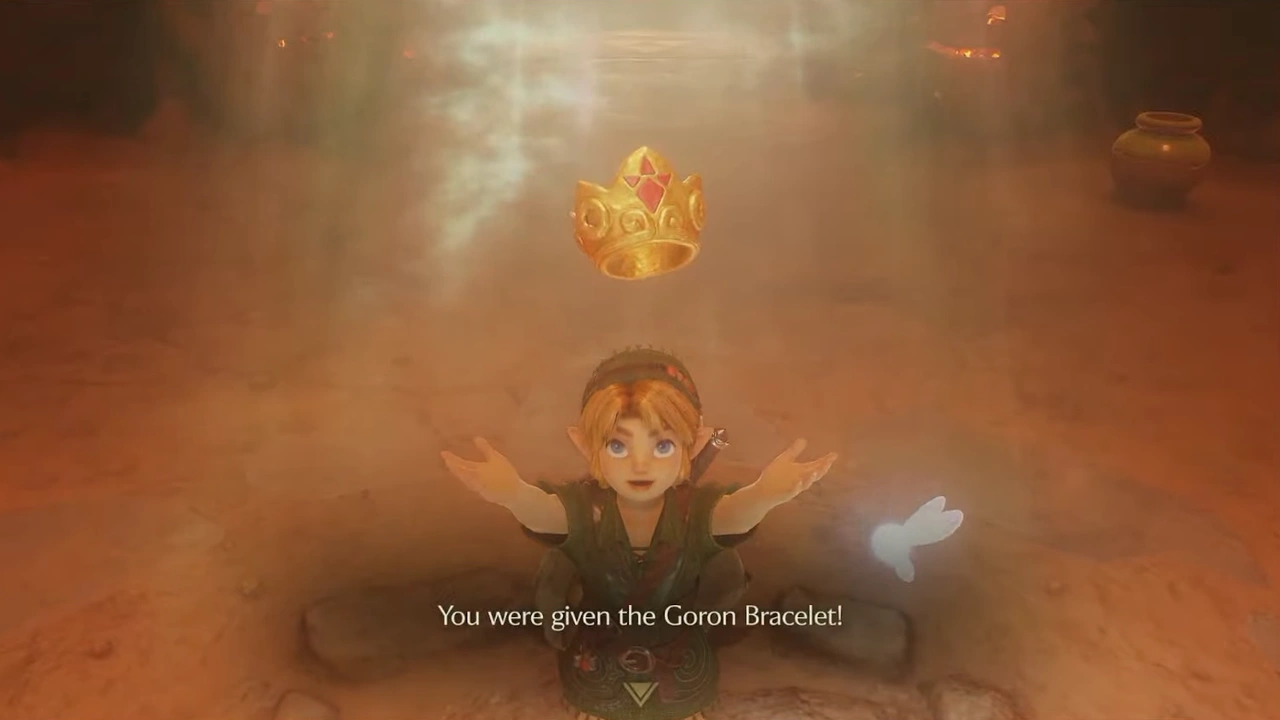
We'll play Saria's Song for Darunia; as a gift we'll get the Goron's Bracelet.
We'll go up to the highest floor of Goron City and head out to Death Mountain Trail, where we can find a Bomb Flower.
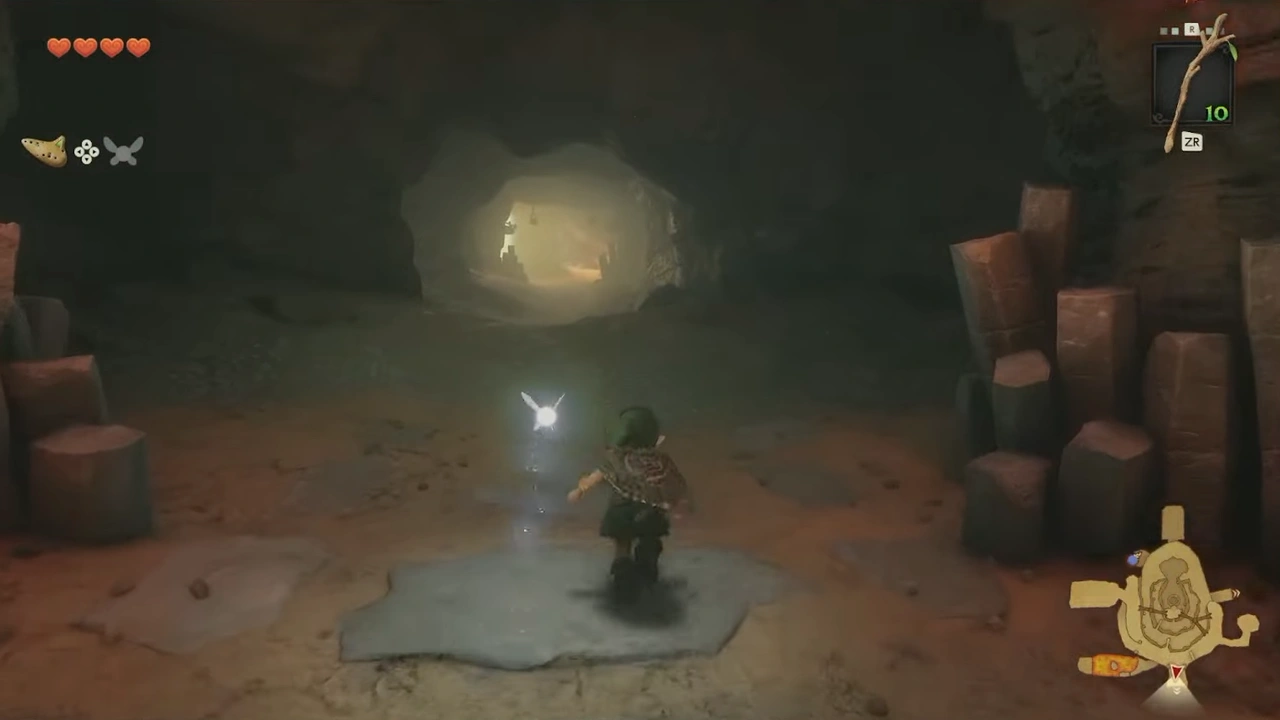
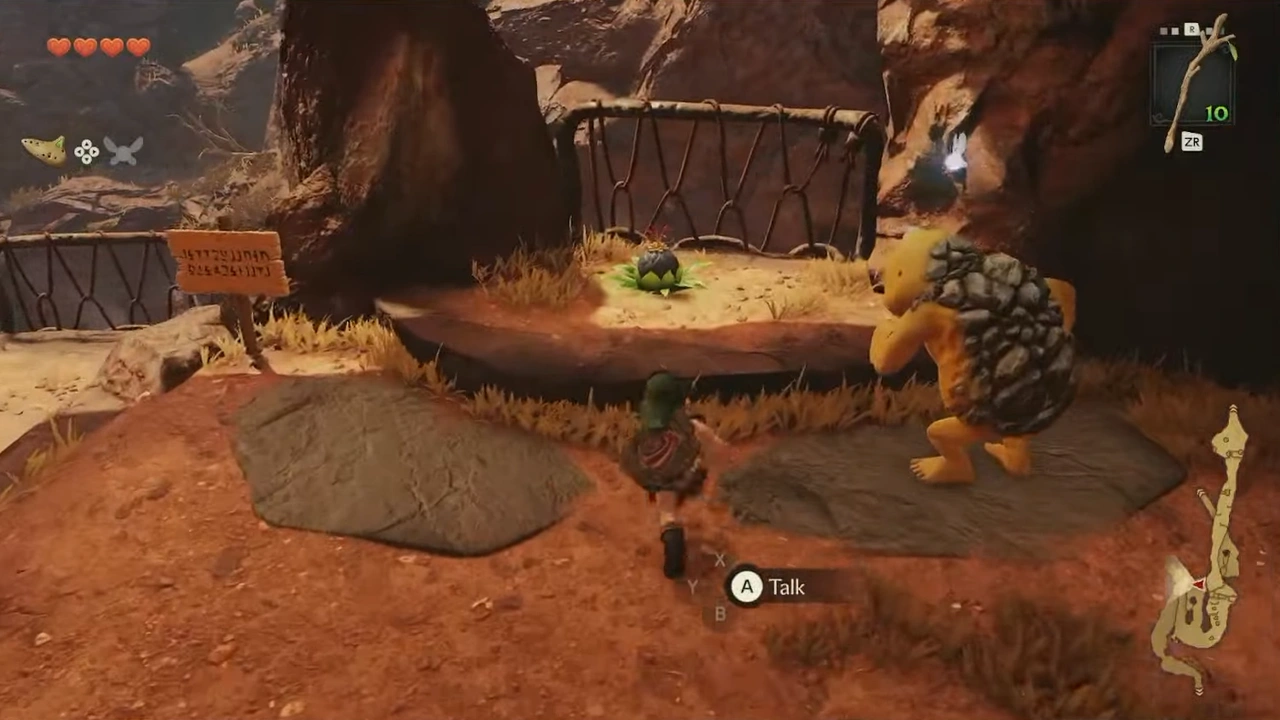
We'll throw it down, aiming at the rocks blocking the entrance to the cavern, then go in to reach Dodongo's Cavern.
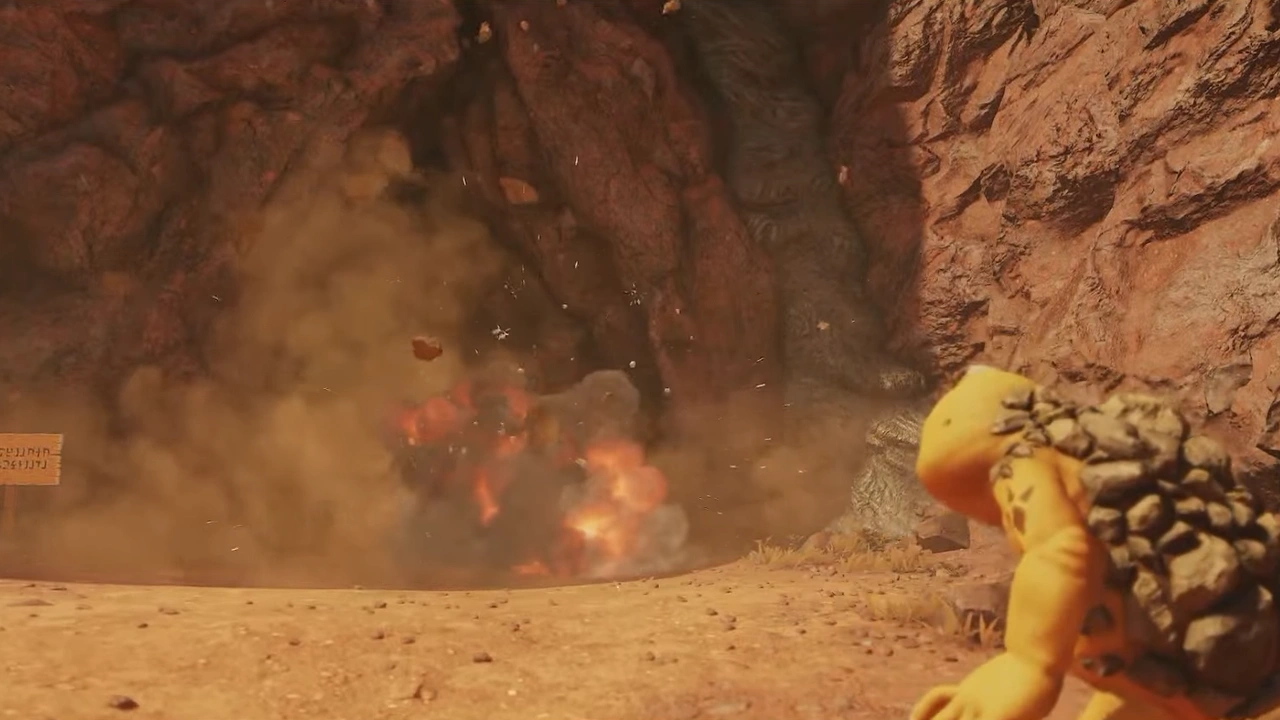
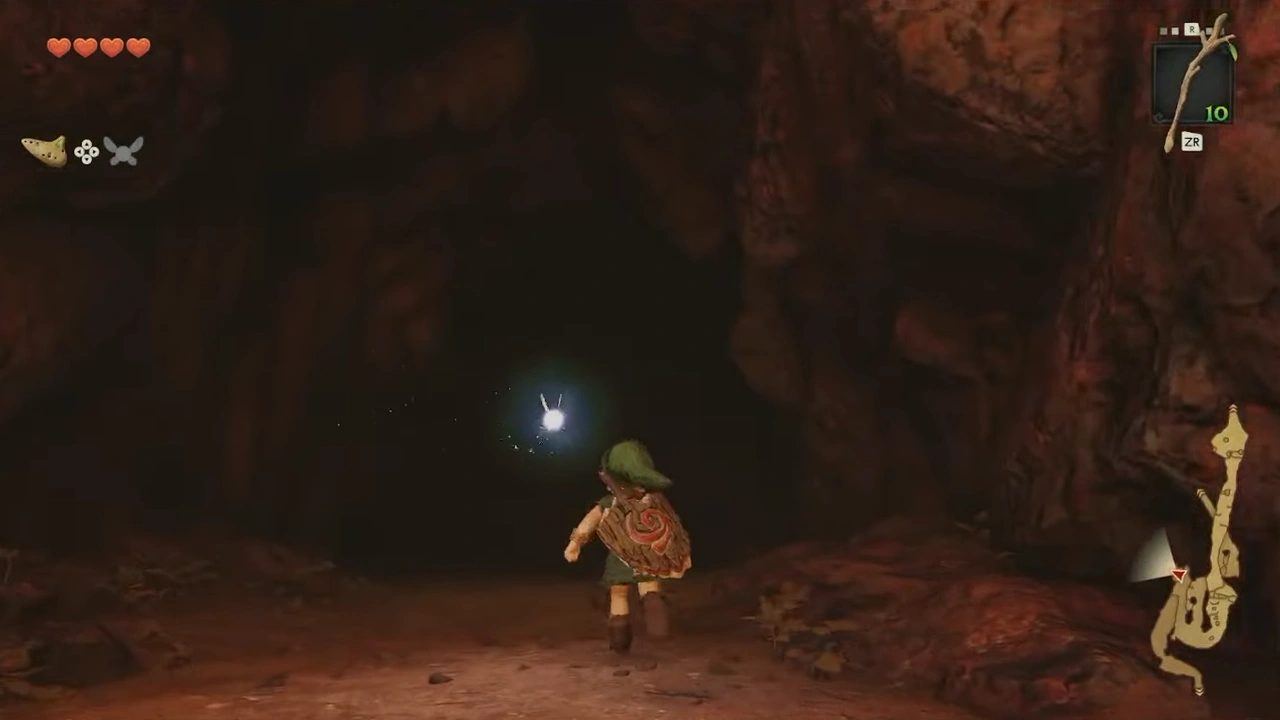
Inside we'll find more Bomb Flowers, which we'll use to destroy the rocks blocking the doors.
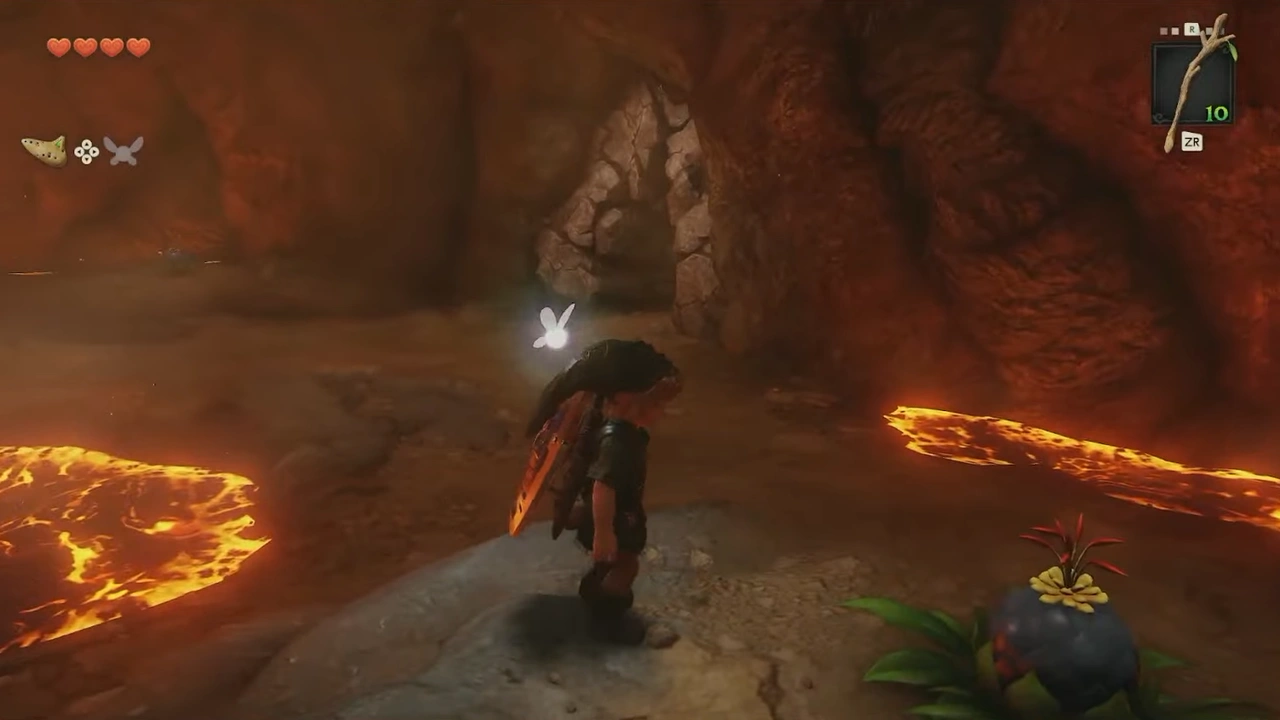
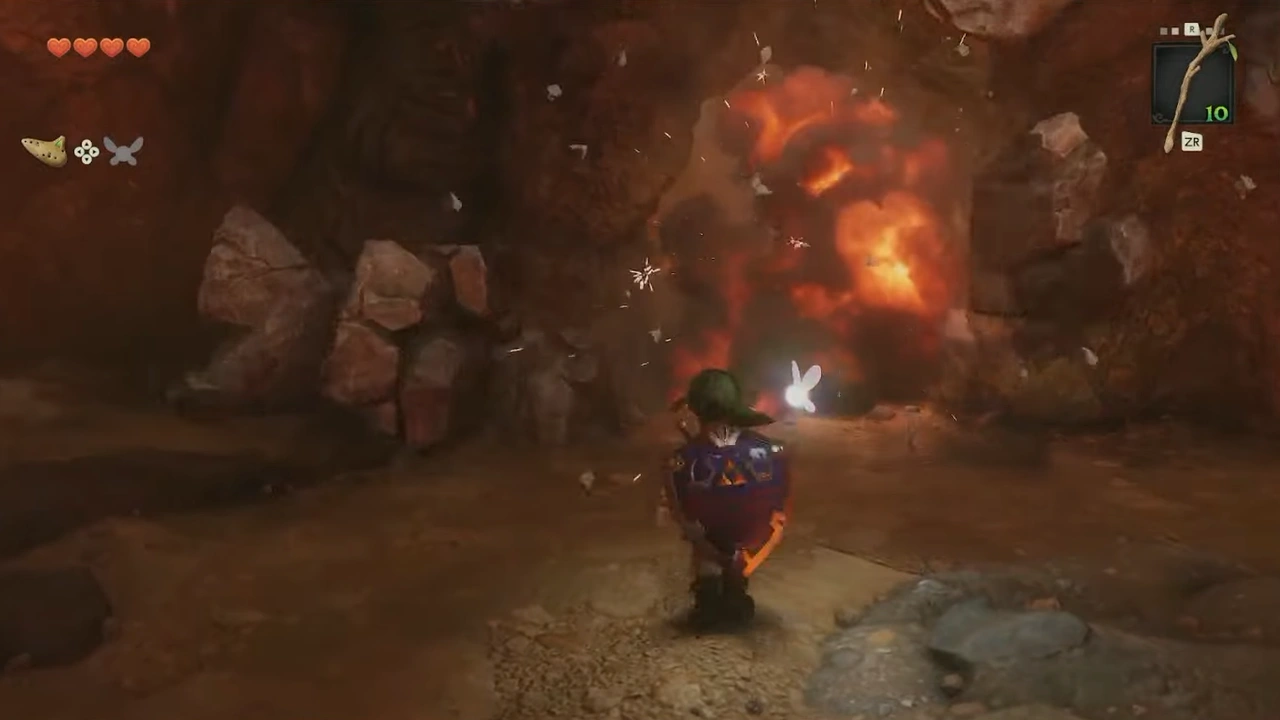
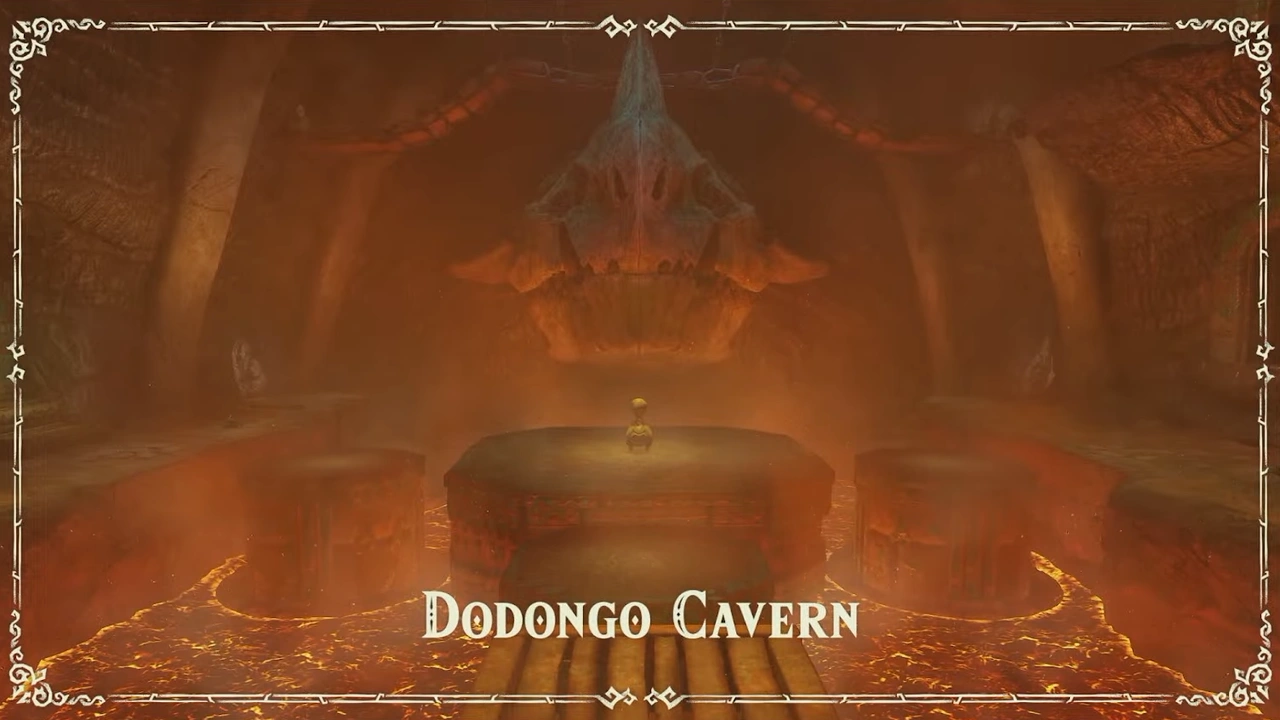
We'll be in the main room of the cavern. We'll continue across the central platform and head east.
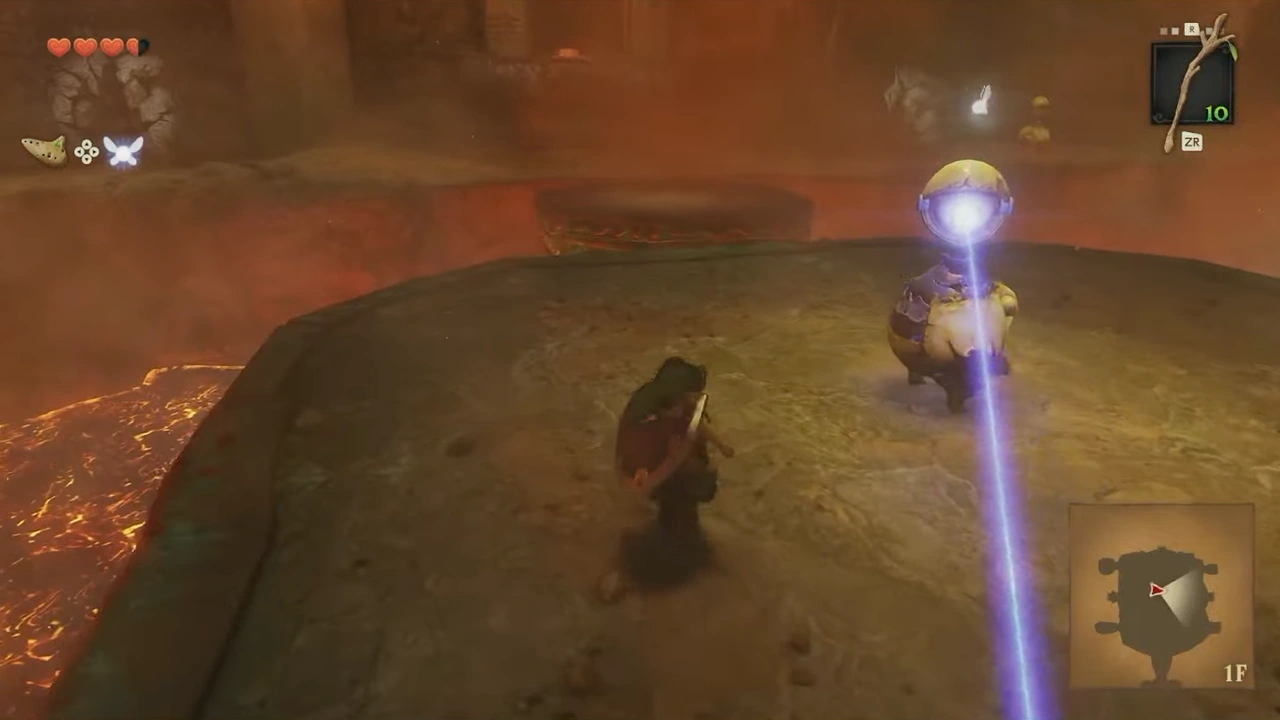
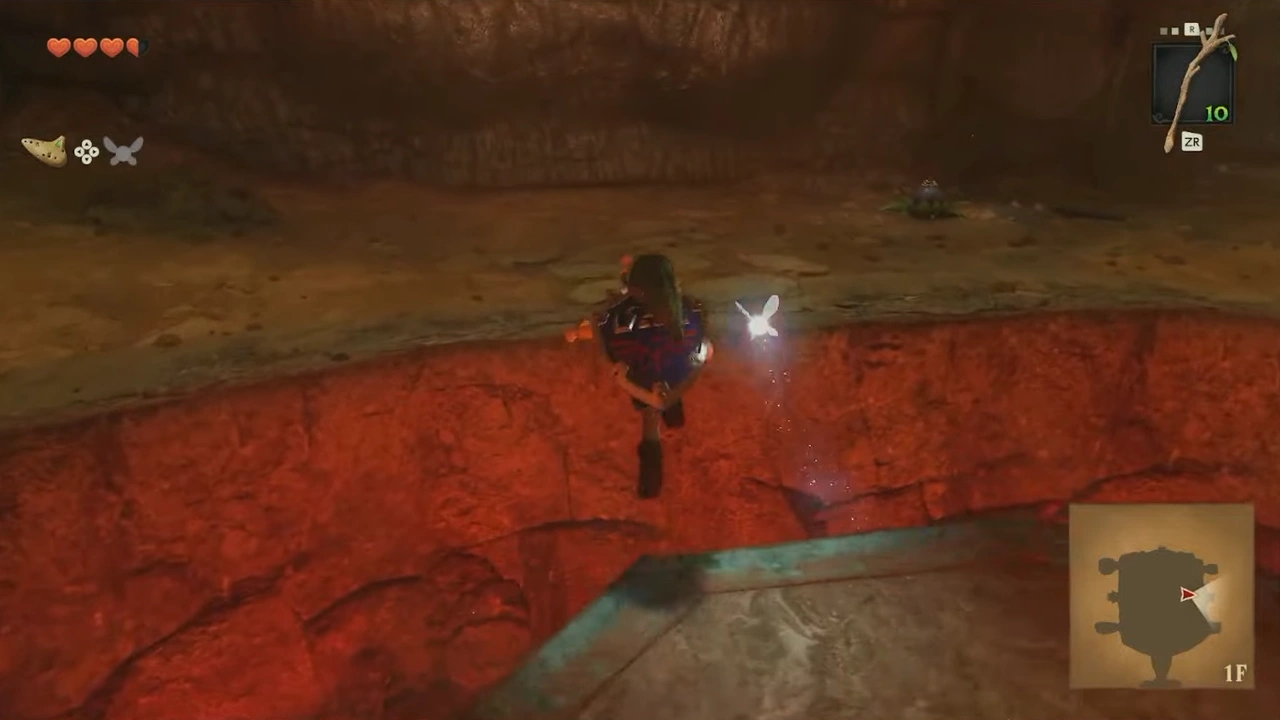
We'll take the Bomb Flower to destroy the Beamos and open the southeast wall.
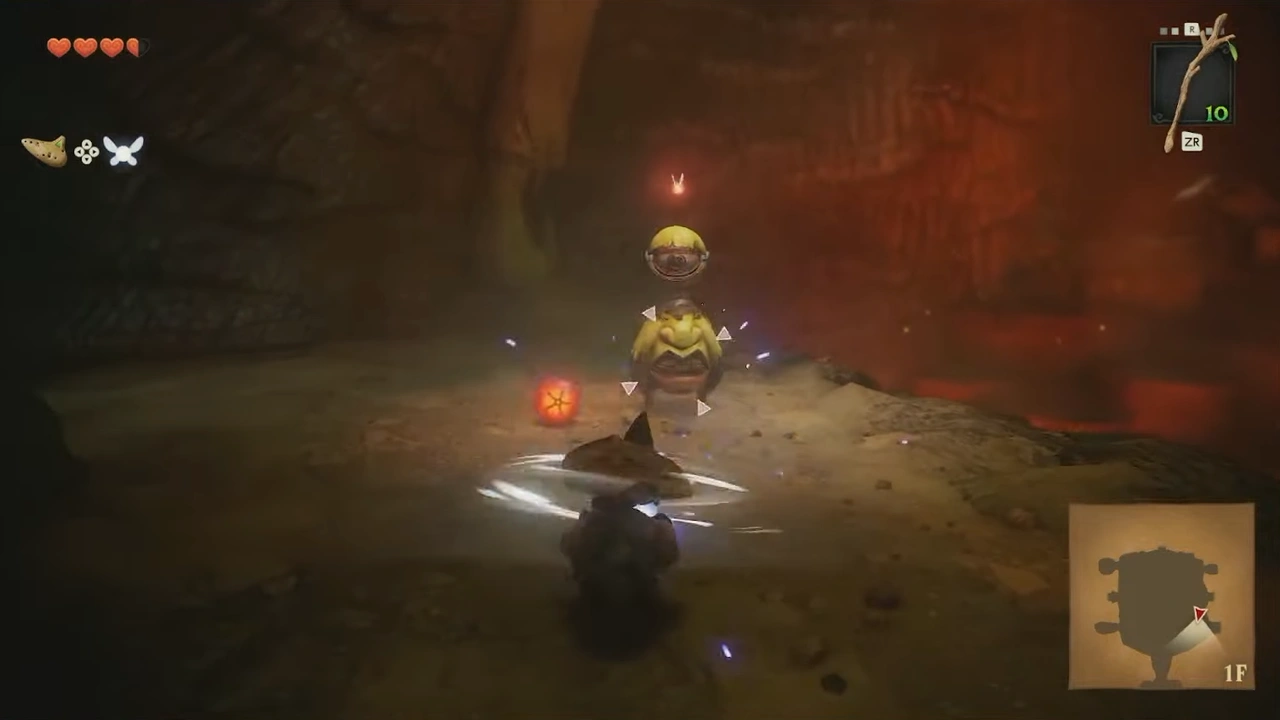
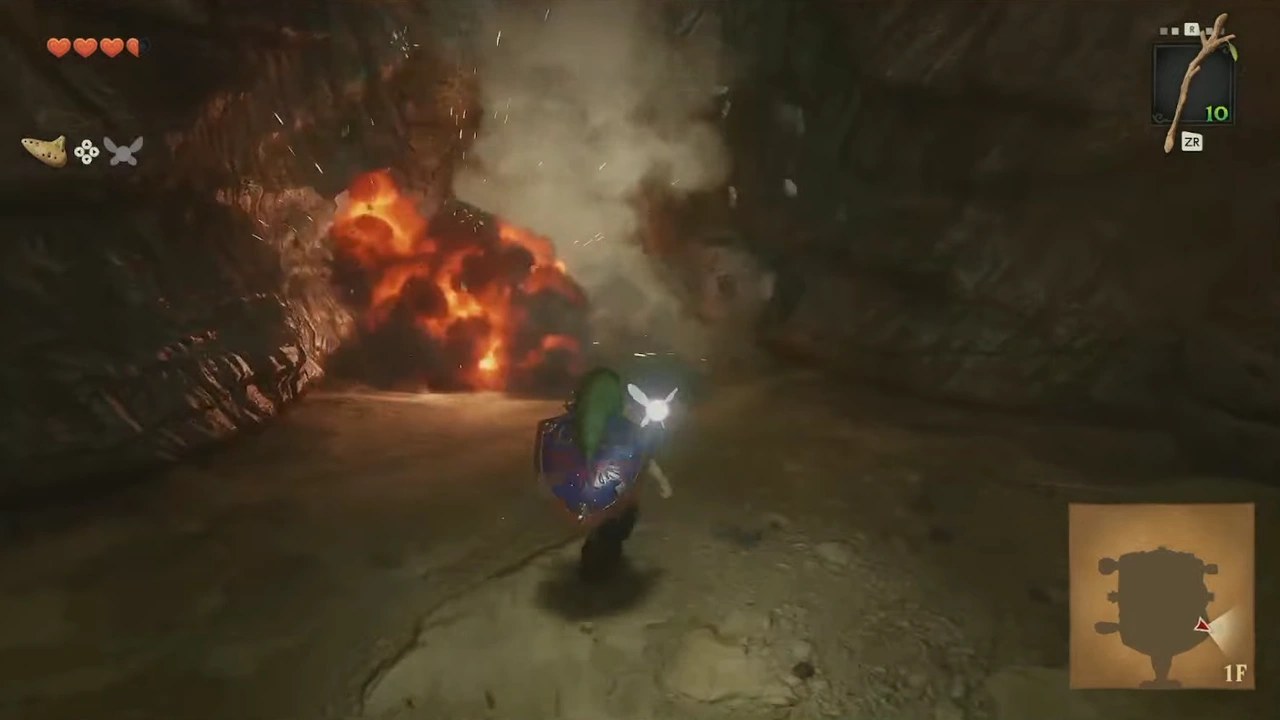
We'll follow the corridor, defeating the Baby Dodongos, until we reach some strange statues.
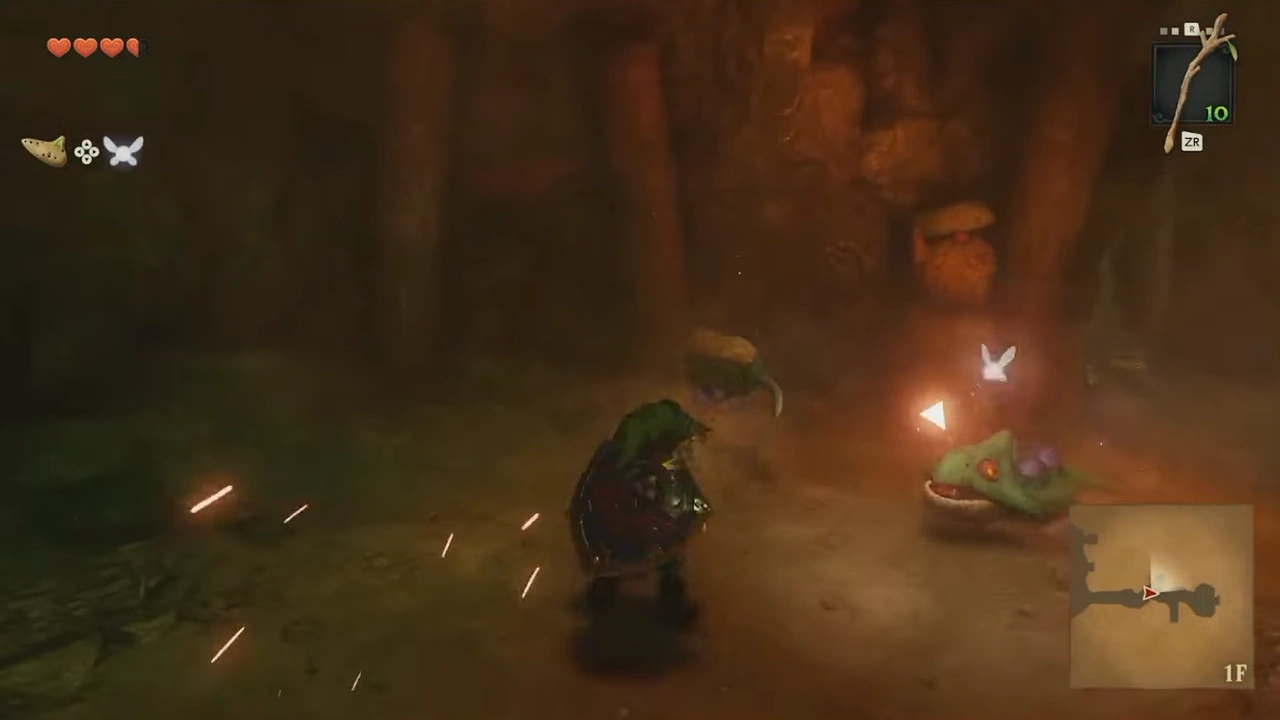
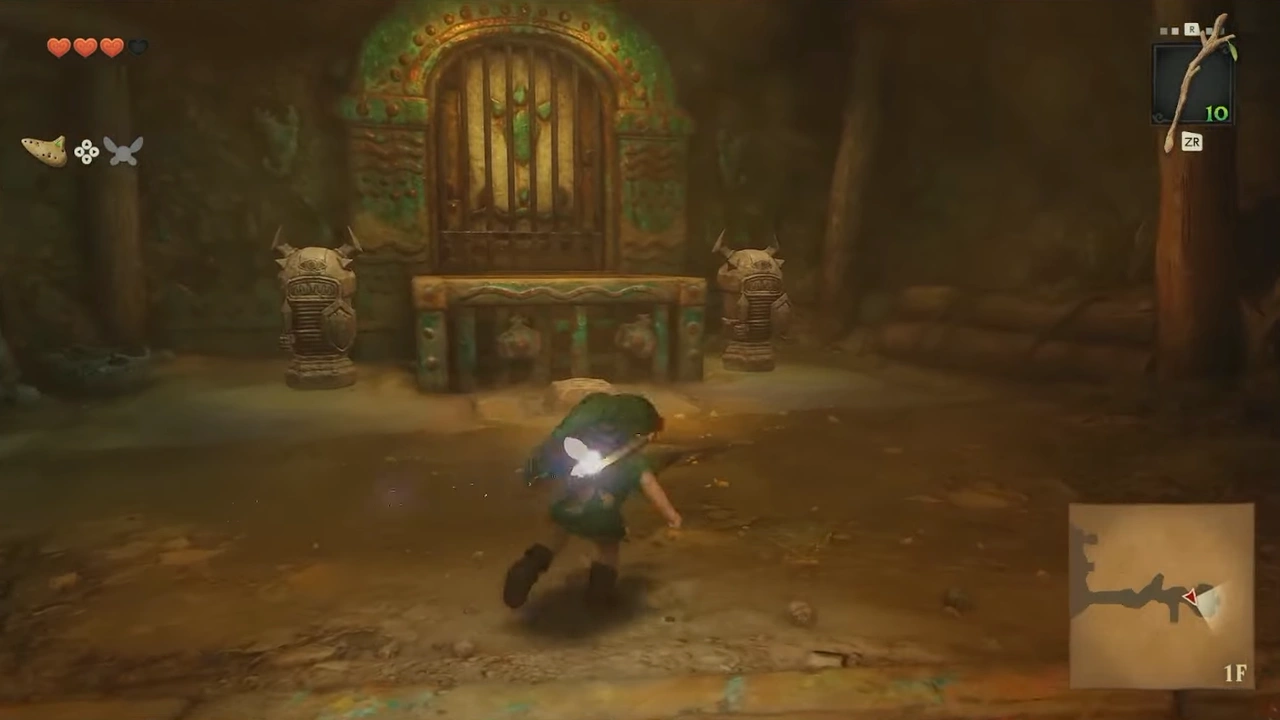
We'll move one of the statues to press the switch, then continue to the next room.
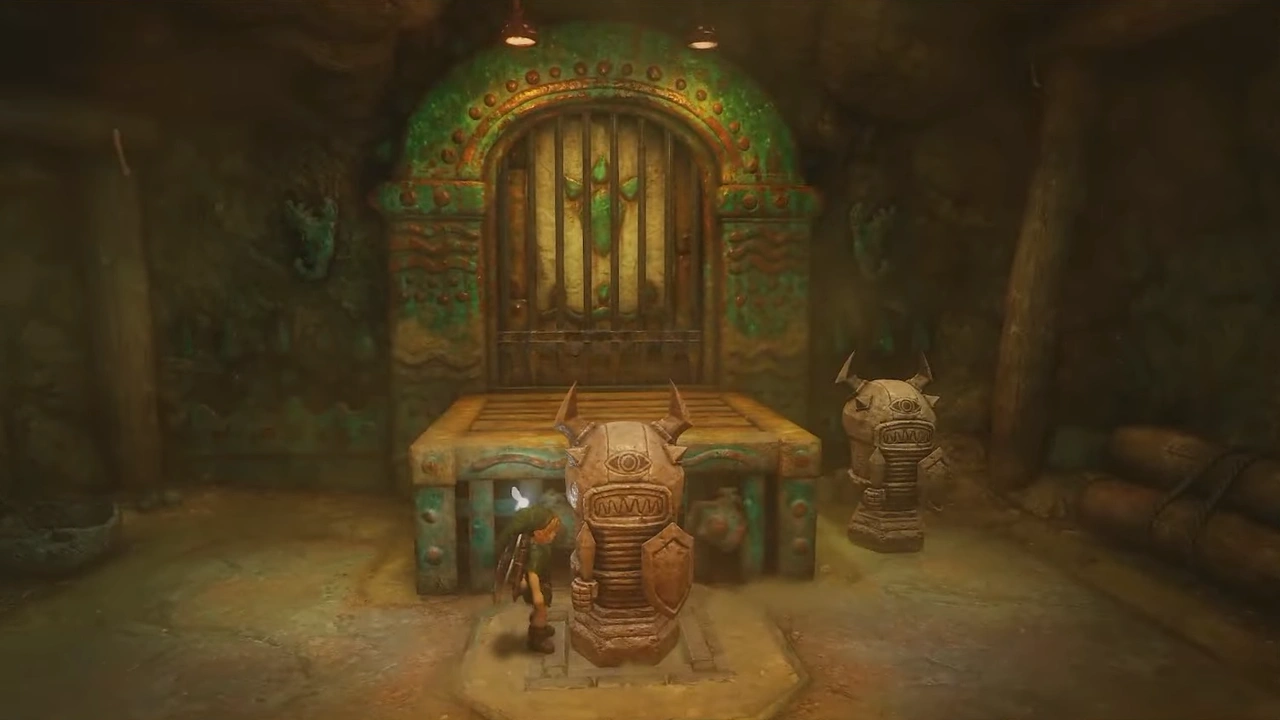
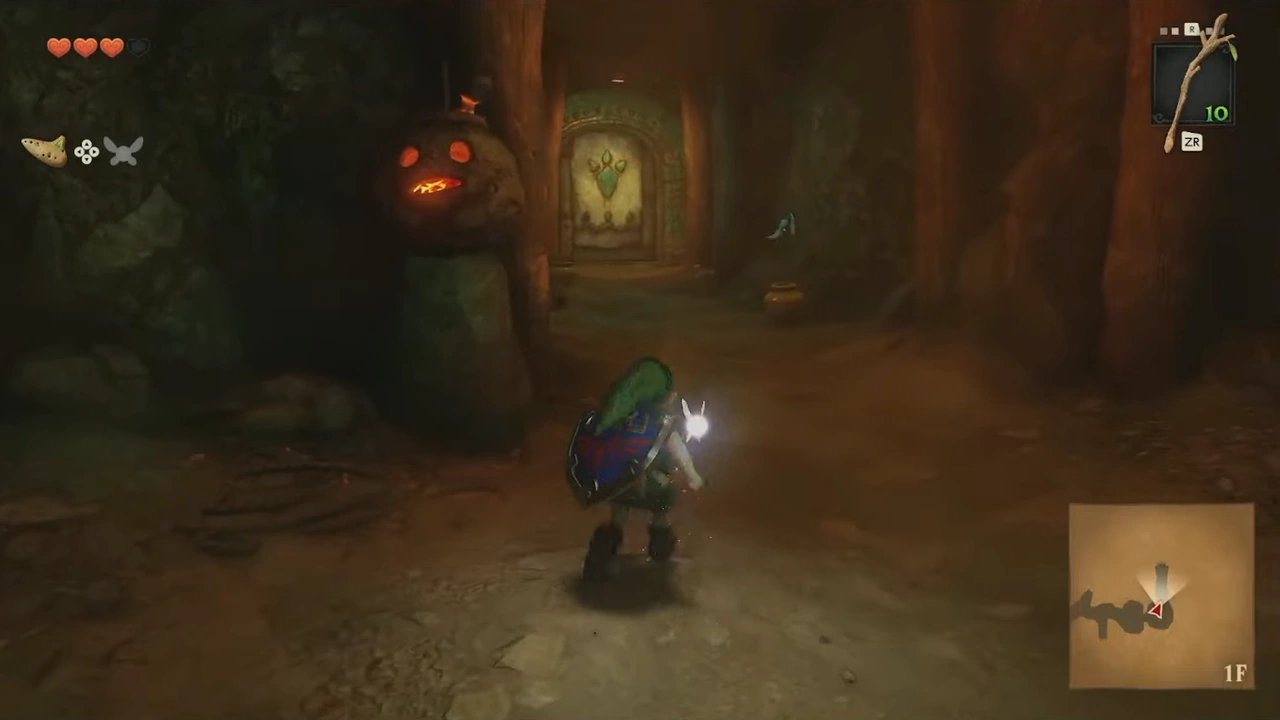
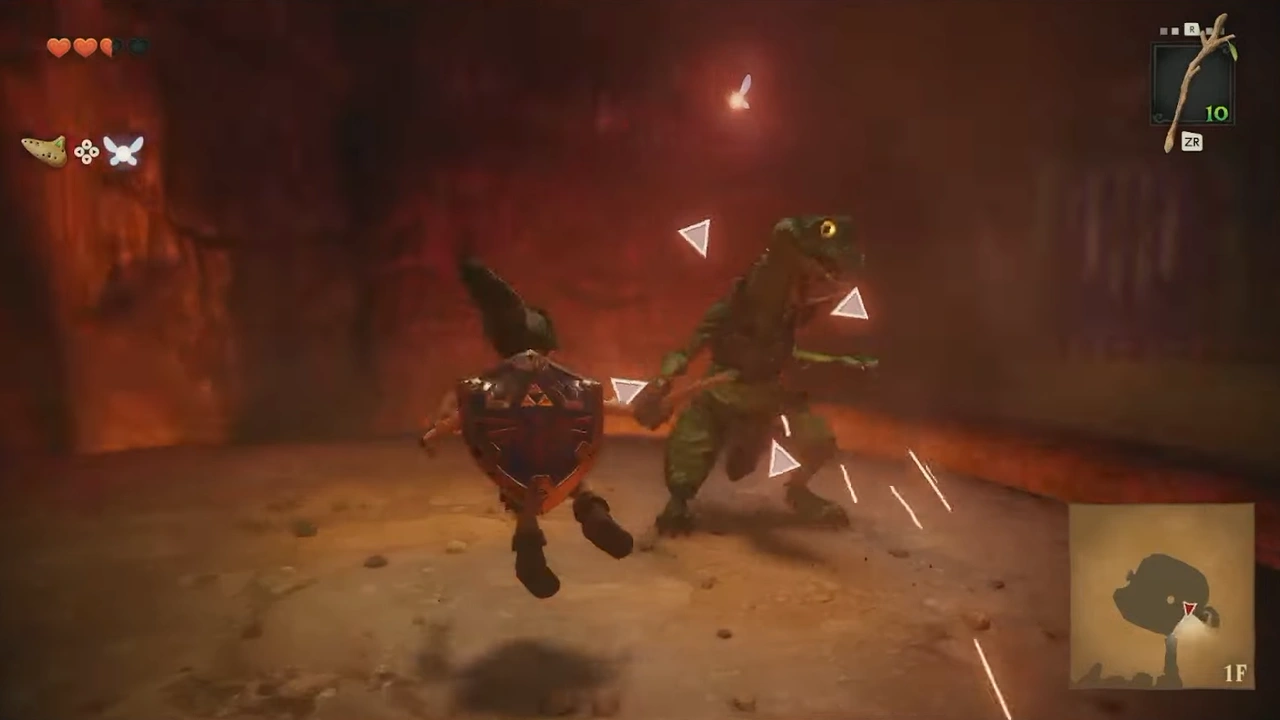
We'll continue through the next door; once inside, the exits will be blocked and we'll have to defeat the Lizalfos.
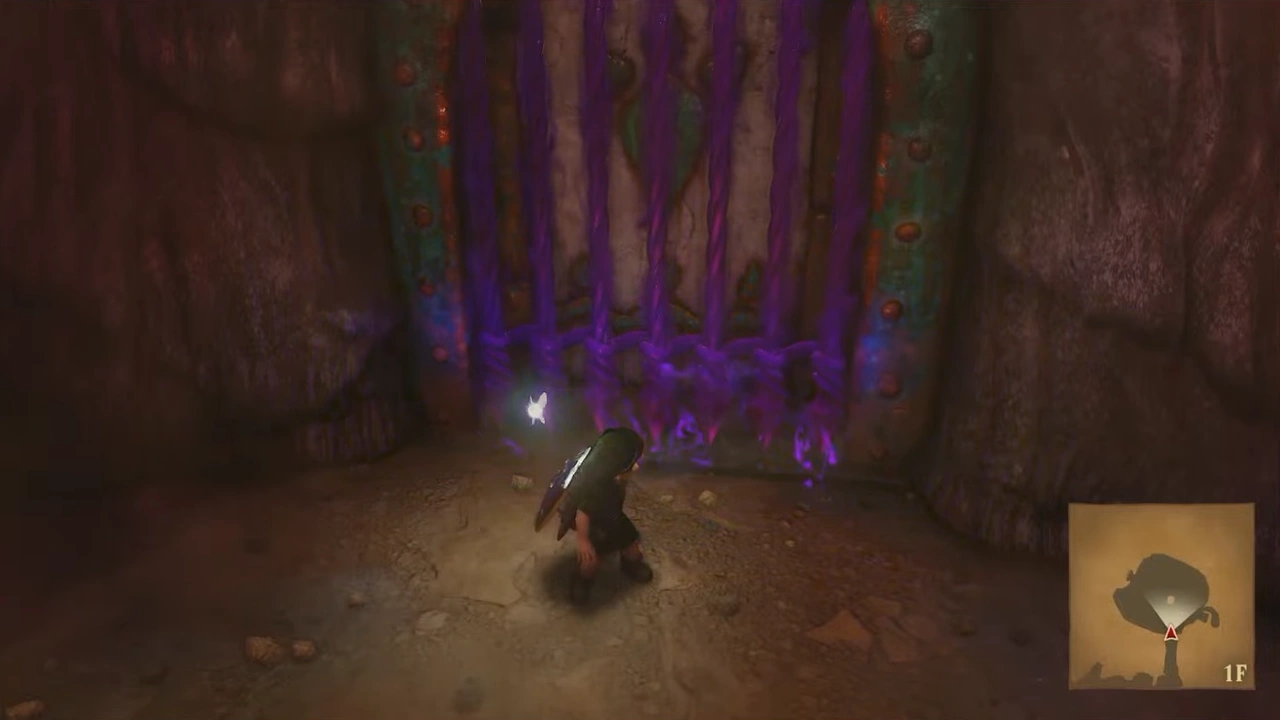
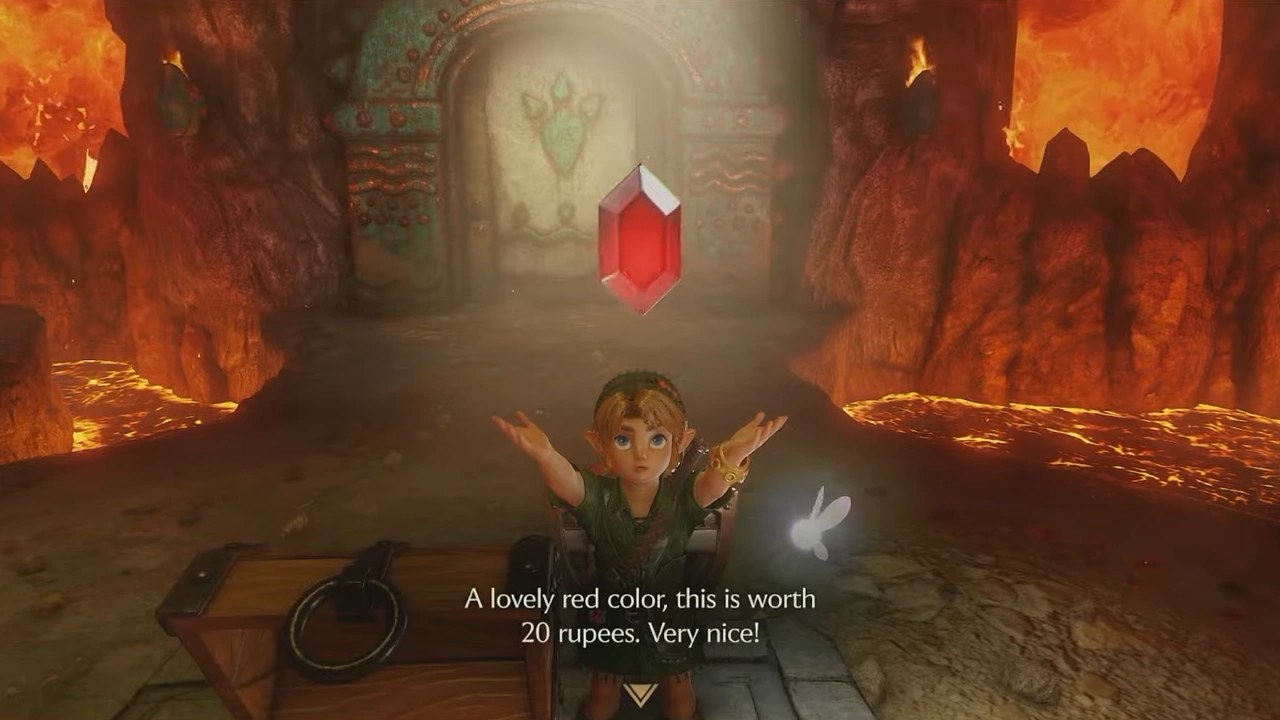
We'll open the chest with a Red Rupee and continue through the door at the end of the room.
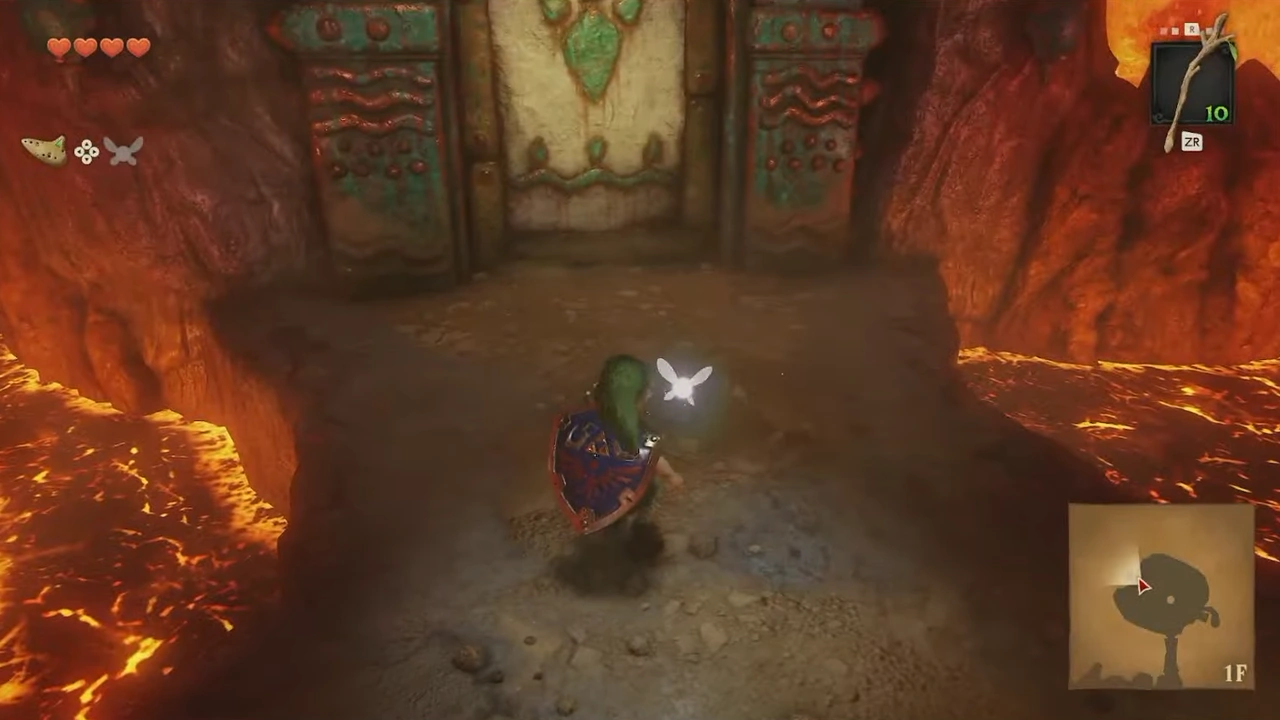
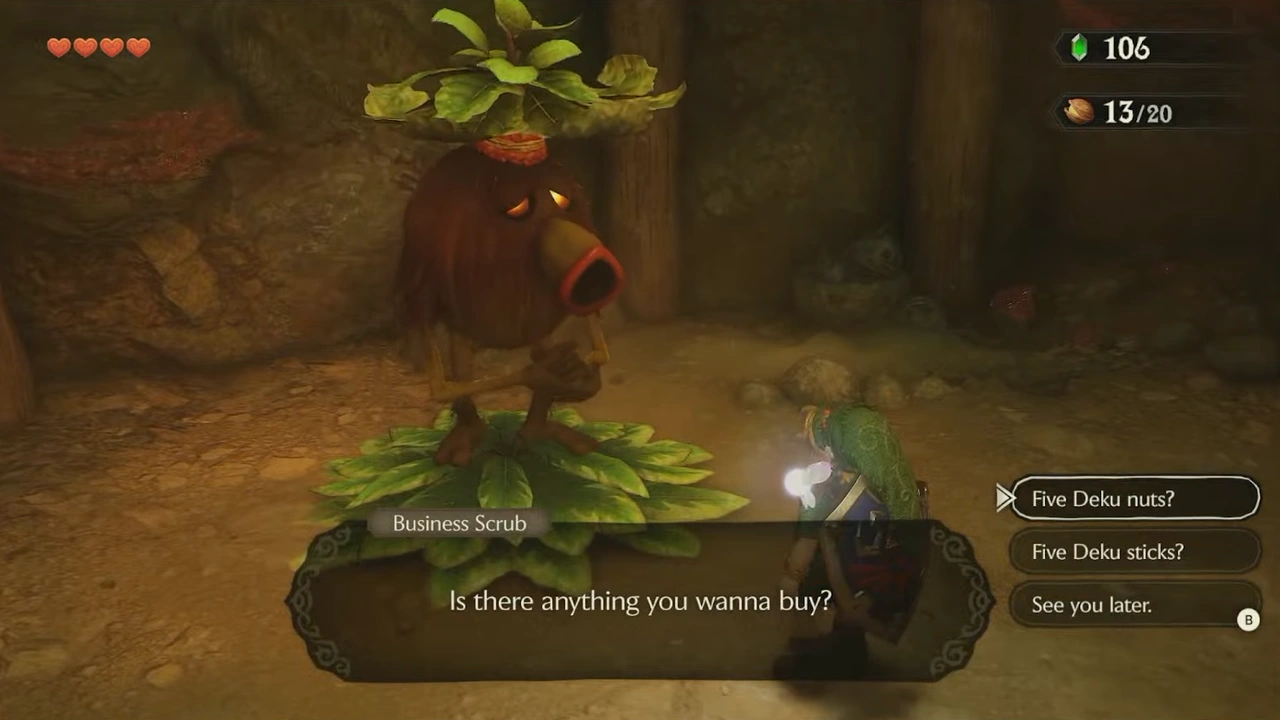
We'll find another rock to blow up north of the room; inside we'll find a Deku Scrub who will sell us Deku Sticks and Deku Nuts.
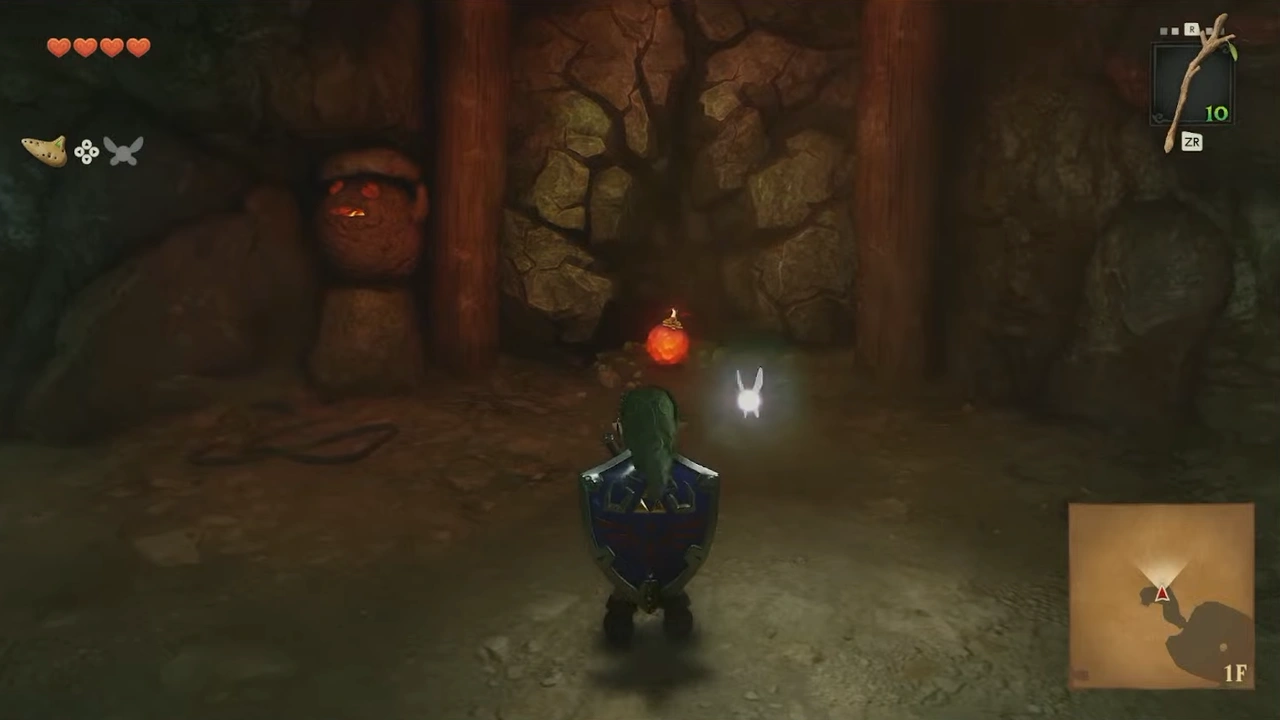
We'll keep exploring the room until we find a new enemy: the Dodongo. To defeat them, we have to attack from behind, where they don't have armored skin.
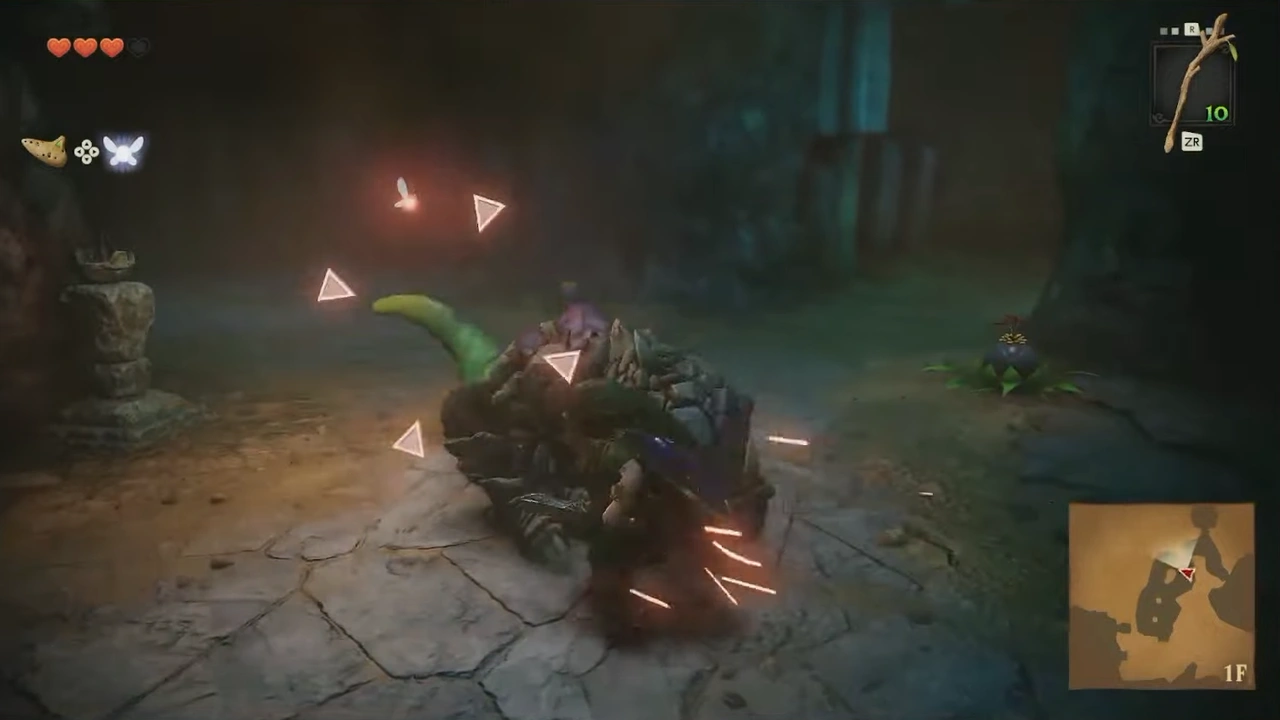
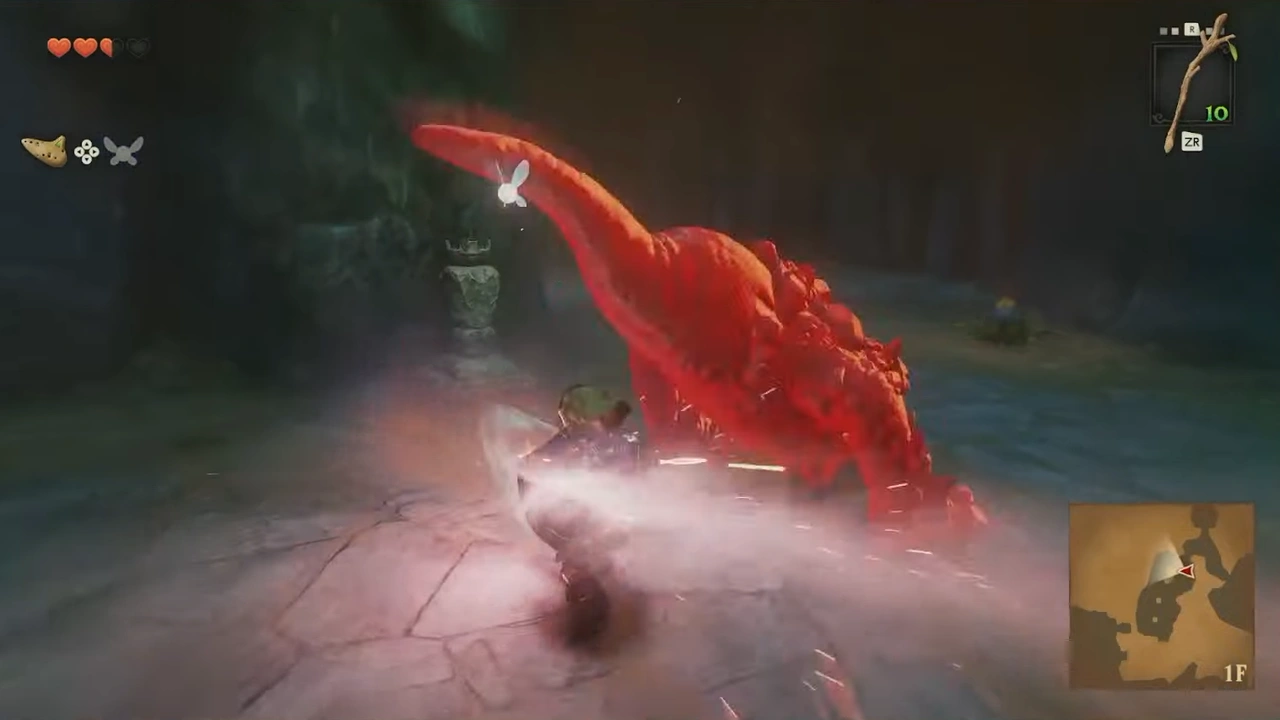
With a Deku Stick, we'll light all the torches in the room to continue to the next room.
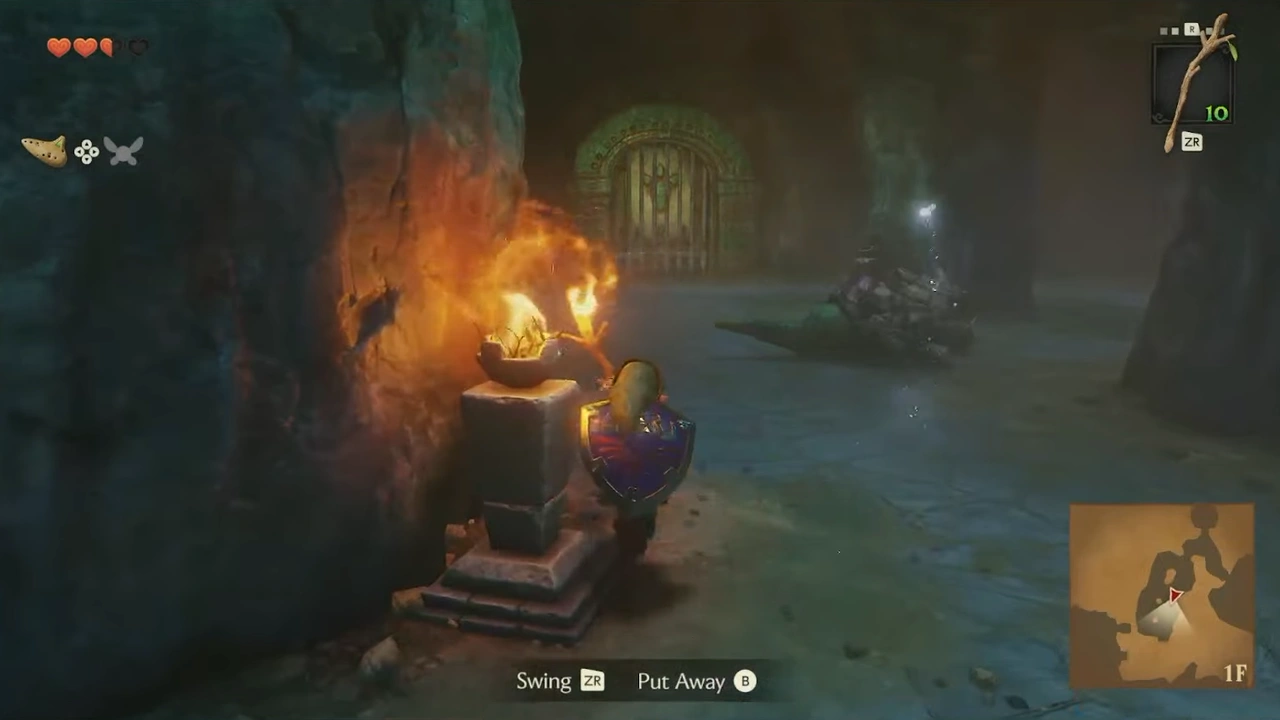
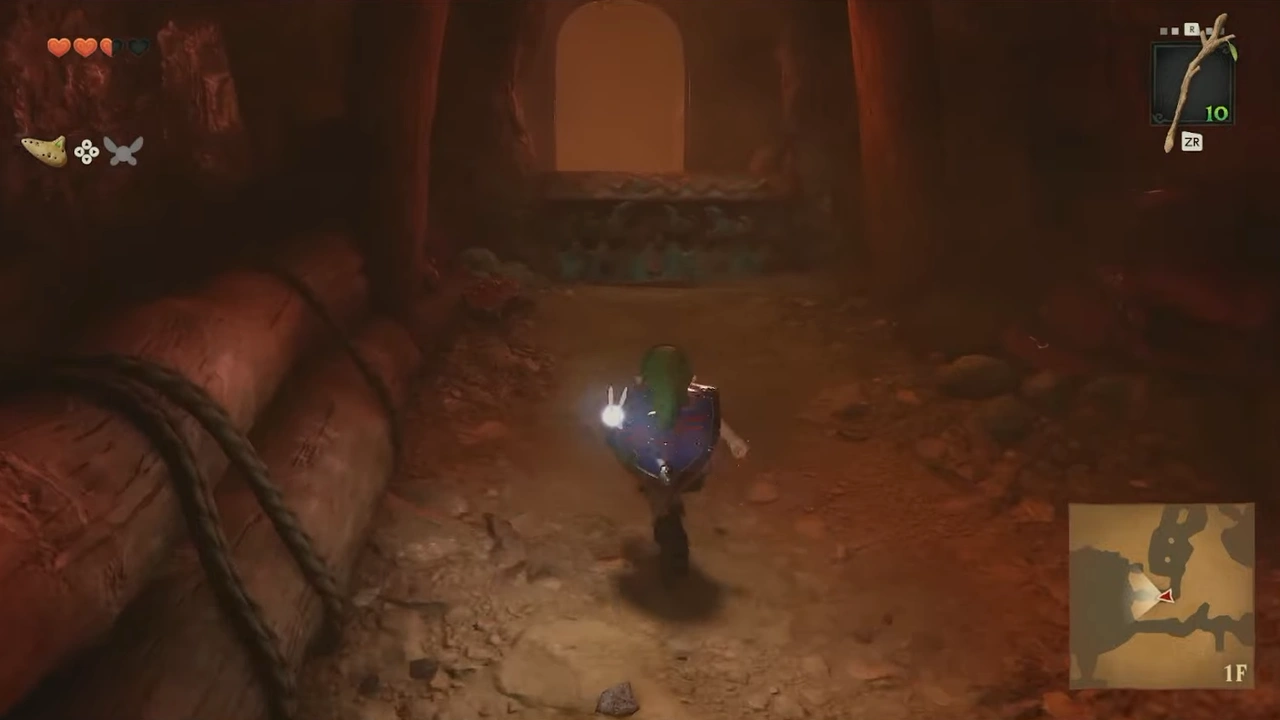
We'll follow the path until we find a switch that opens the door on the opposite side of the main room; we'll cross over to the other side of the main room.
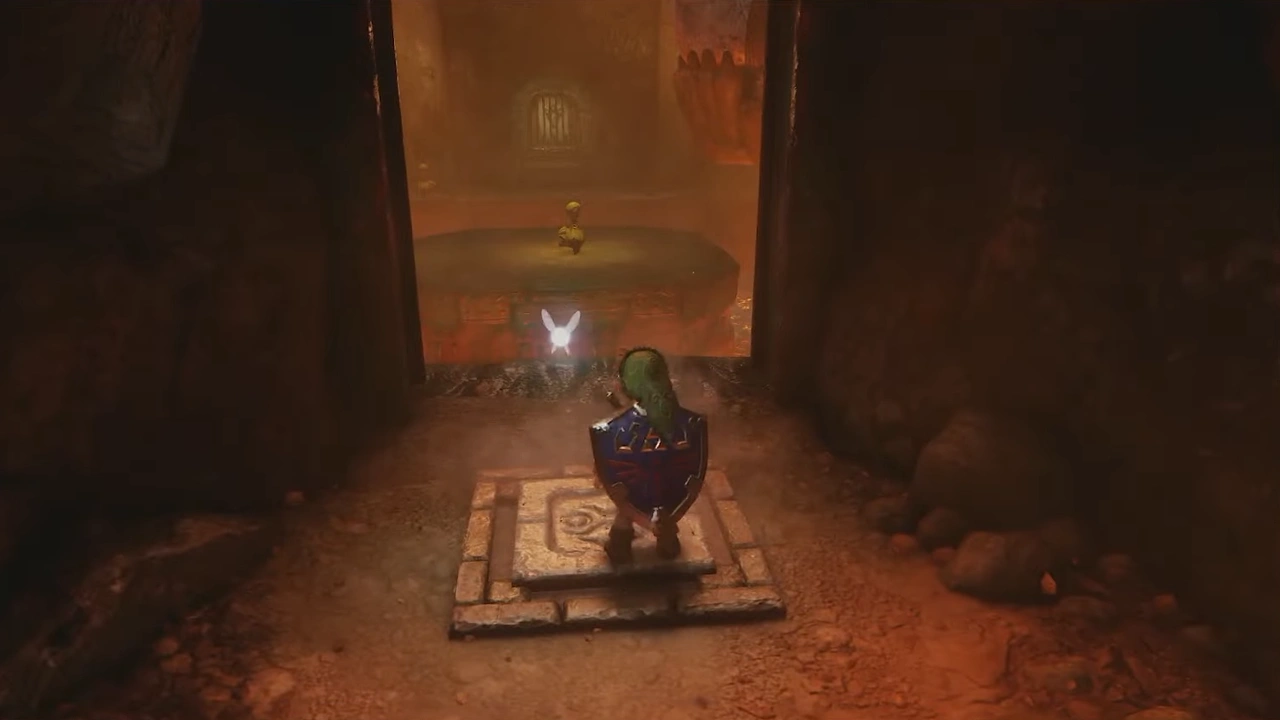
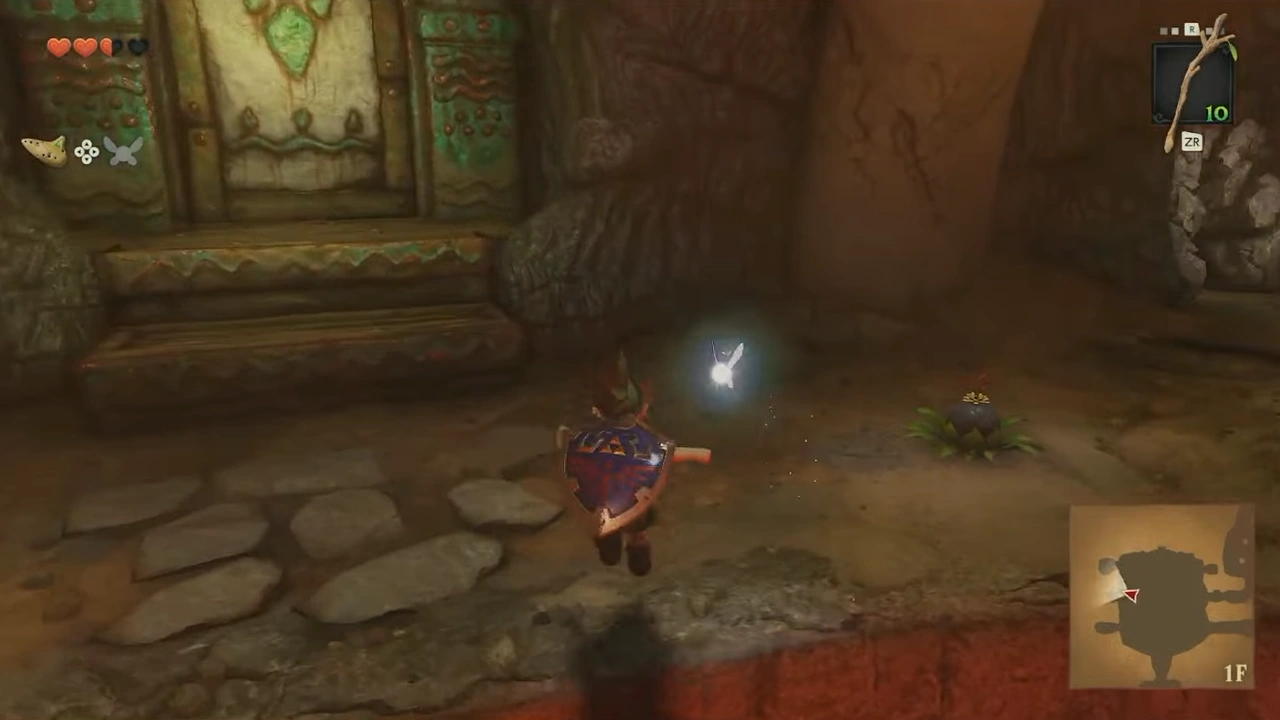
We'll break the northwest wall to find a chest with the Dungeon Map.
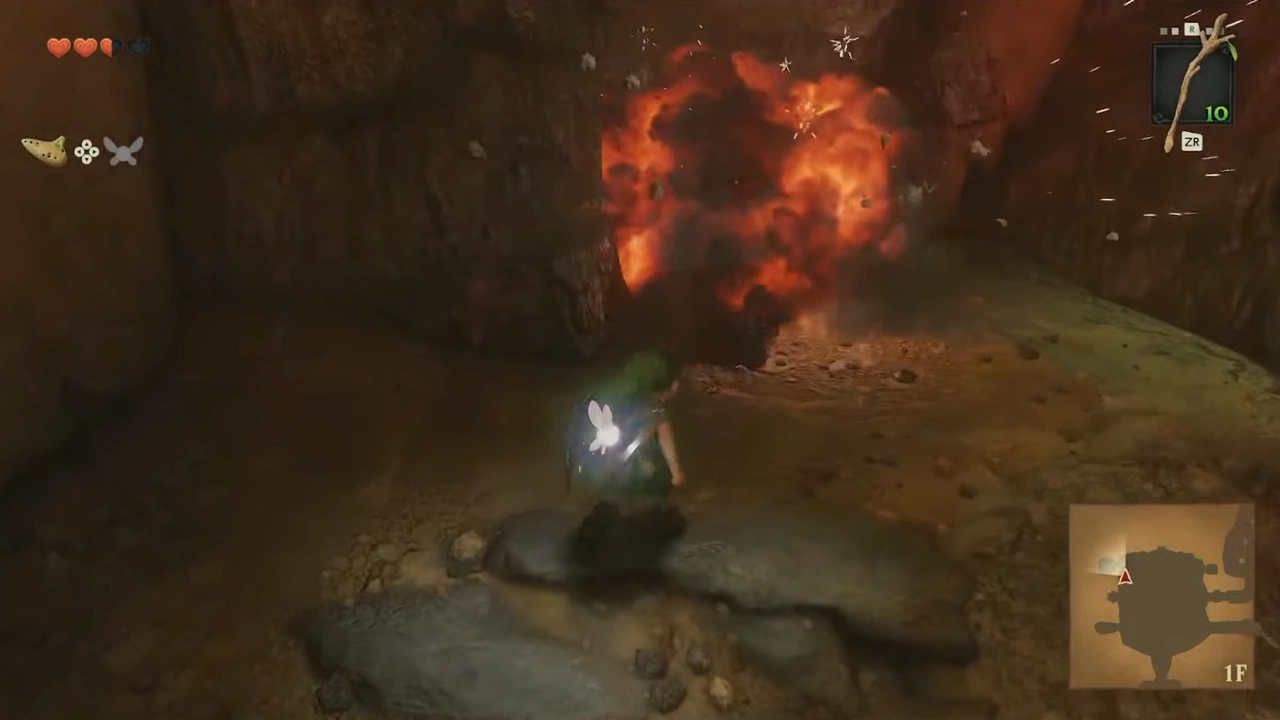
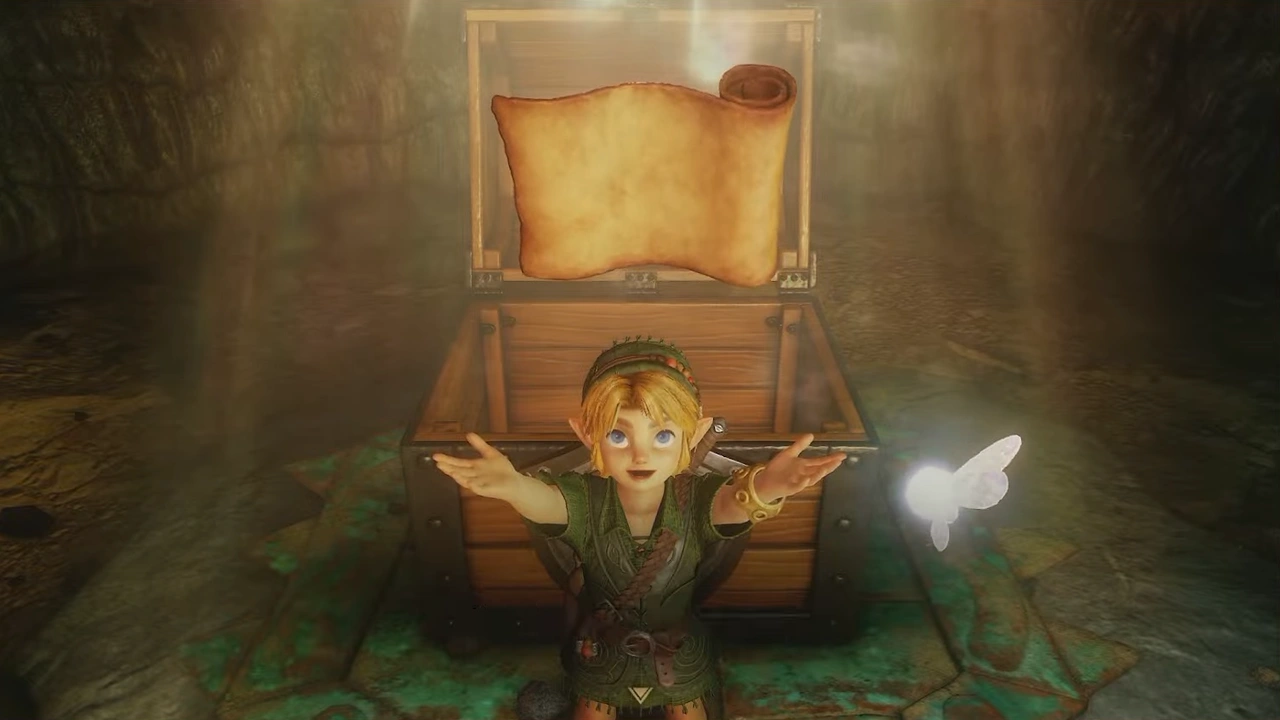
In the destructible southwest wall, we can find a chest with 5 Rupees.
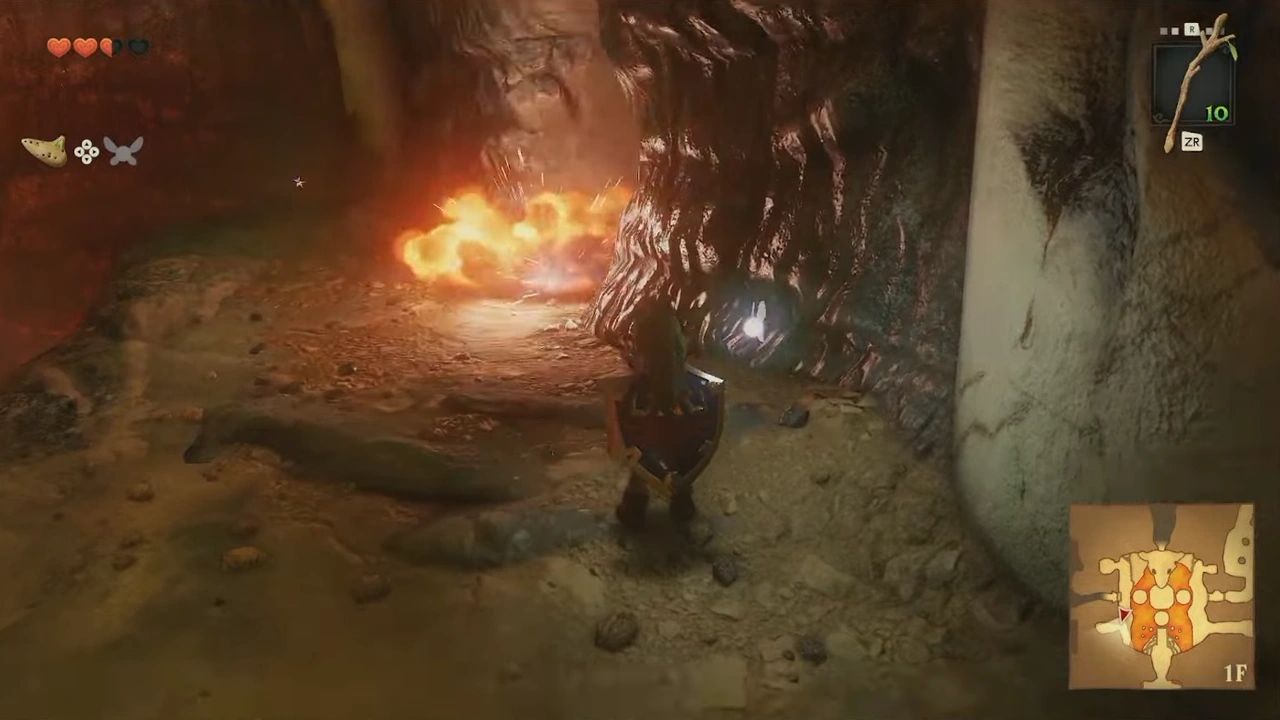
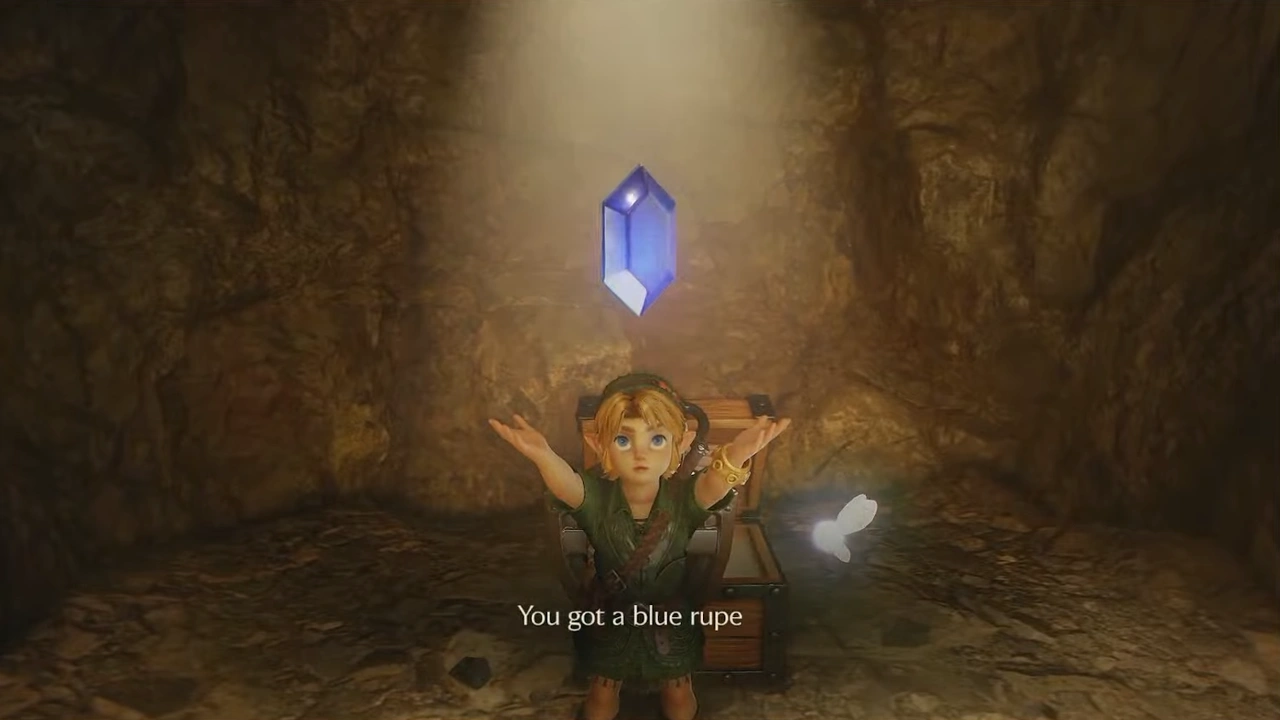
We'll continue through the door and take the Bomb Flower to destroy the south wall of the room.
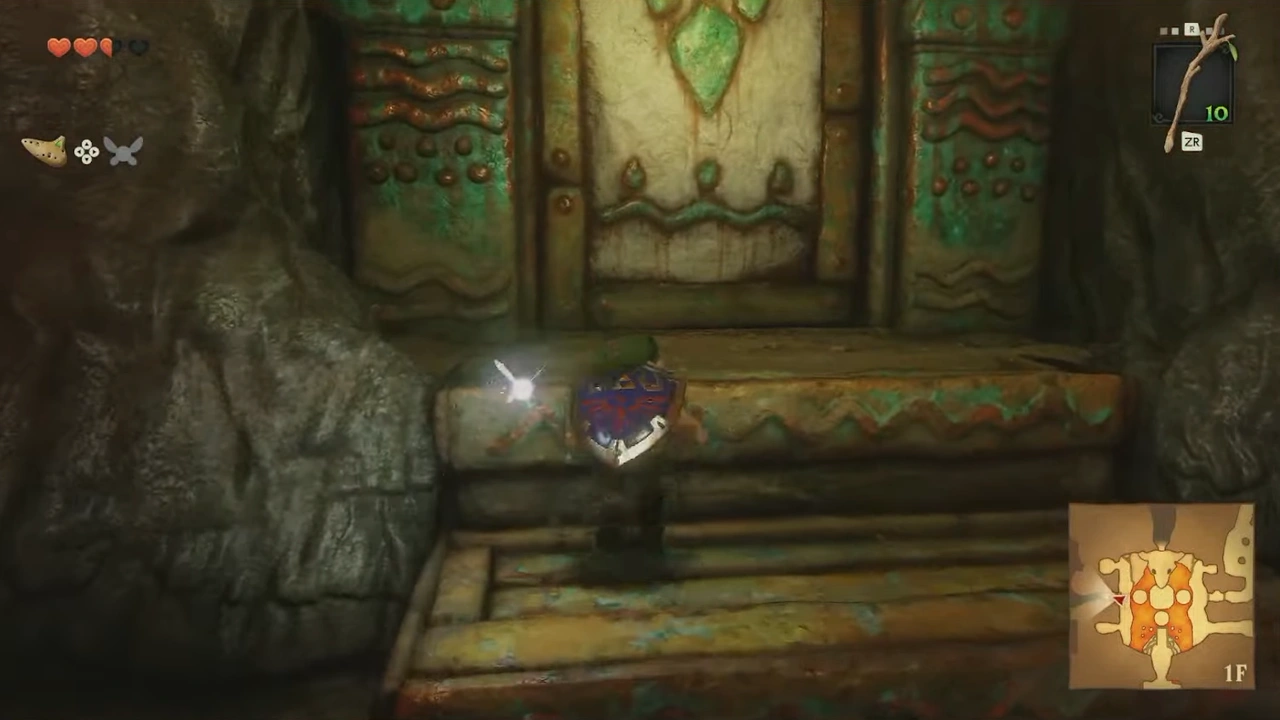
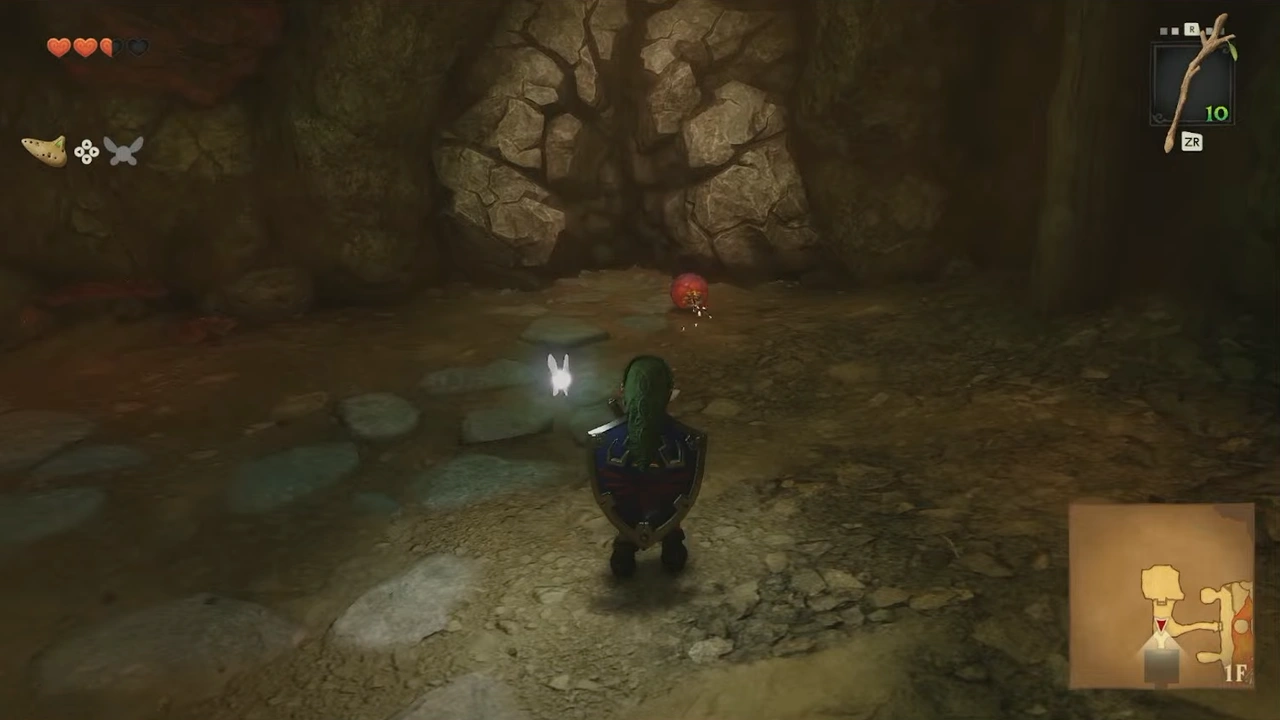
Inside we'll find 3 statues; the farthest one will start moving as we approach. We'll use the Bomb Flower to destroy it, and in the upper part of the room we'll find a chest with the Compass.
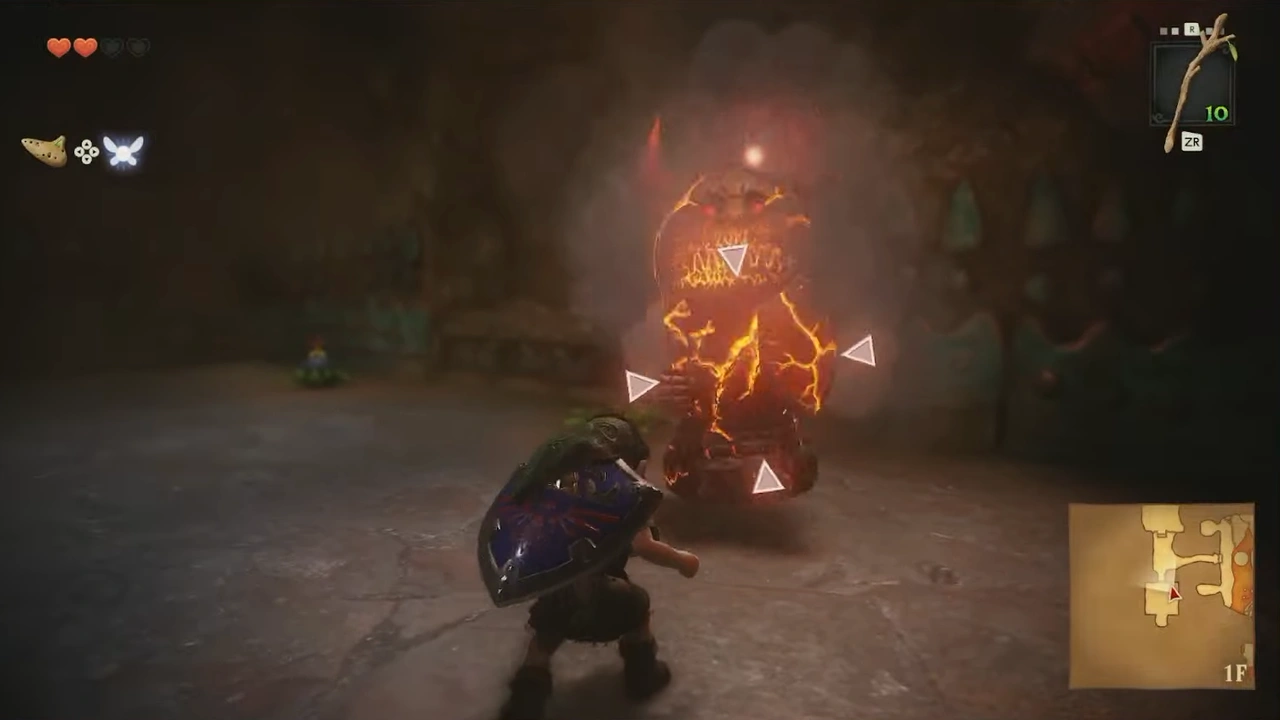
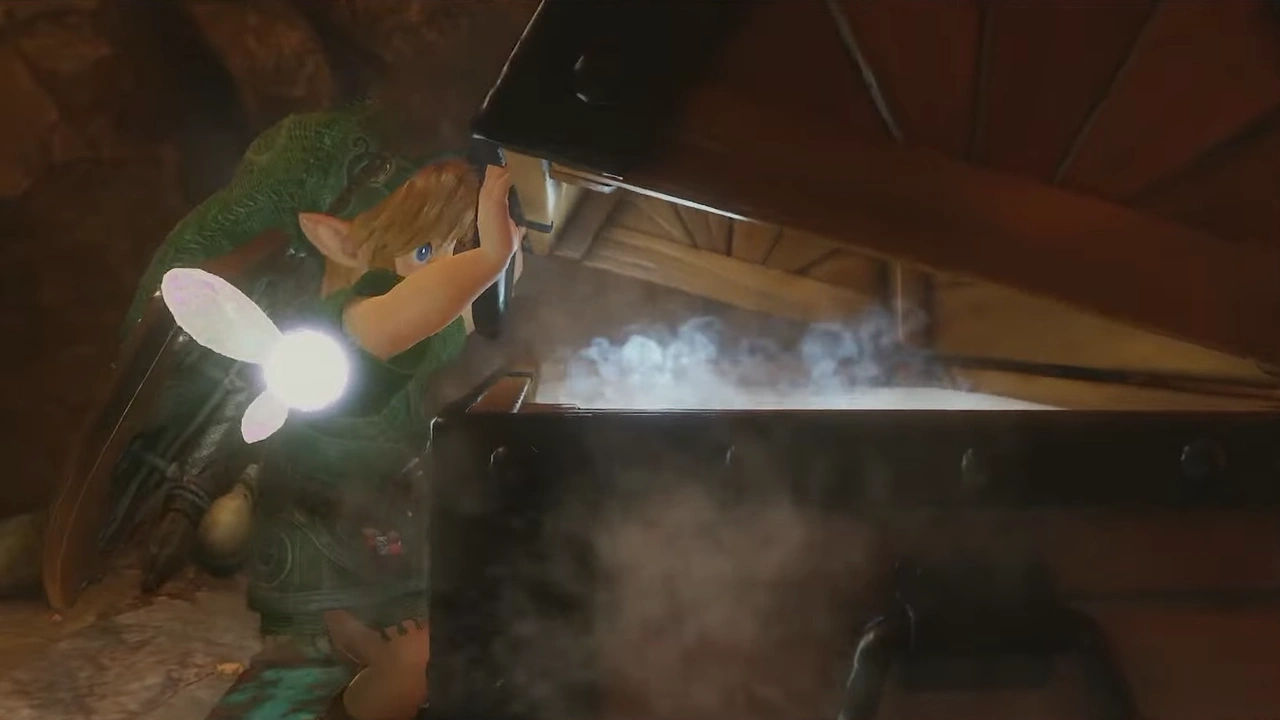
We'll continue north through the room, take the Bomb Flower, and place it in the center to set off the others in a chain and lower the stairs.
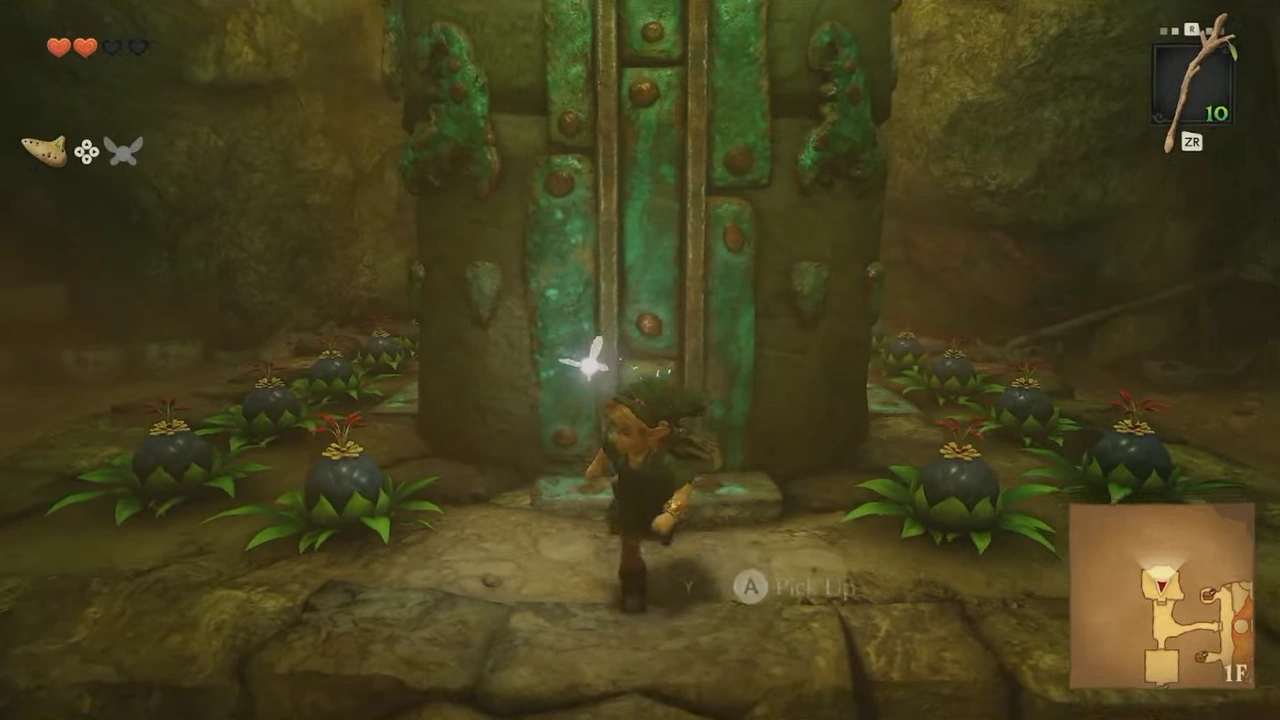
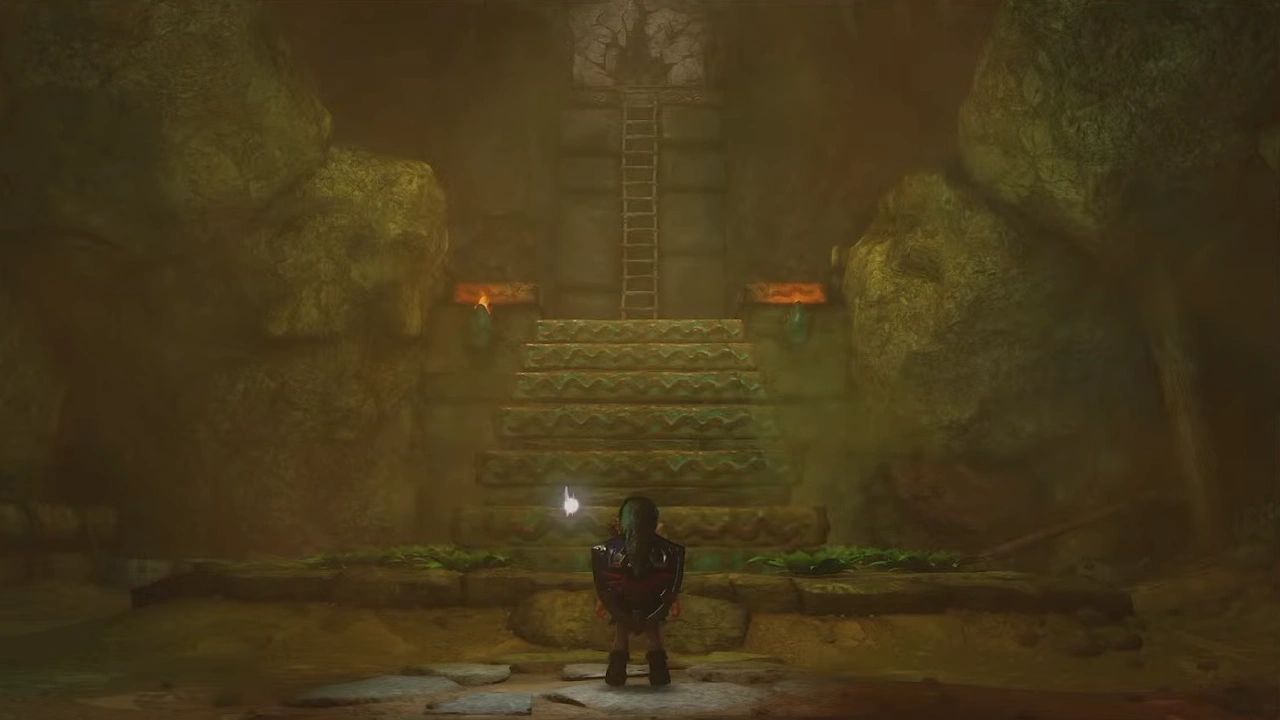
We'll go up the stairs and follow one of the edges of the room to reach the back.
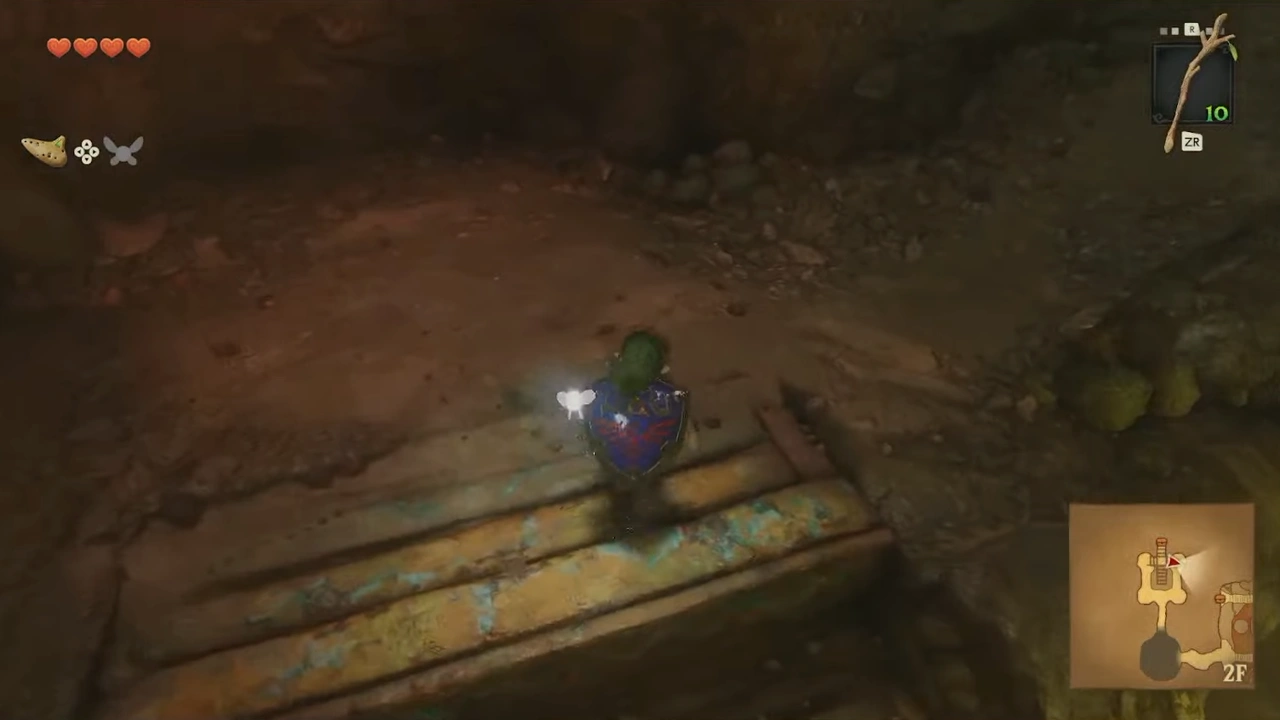
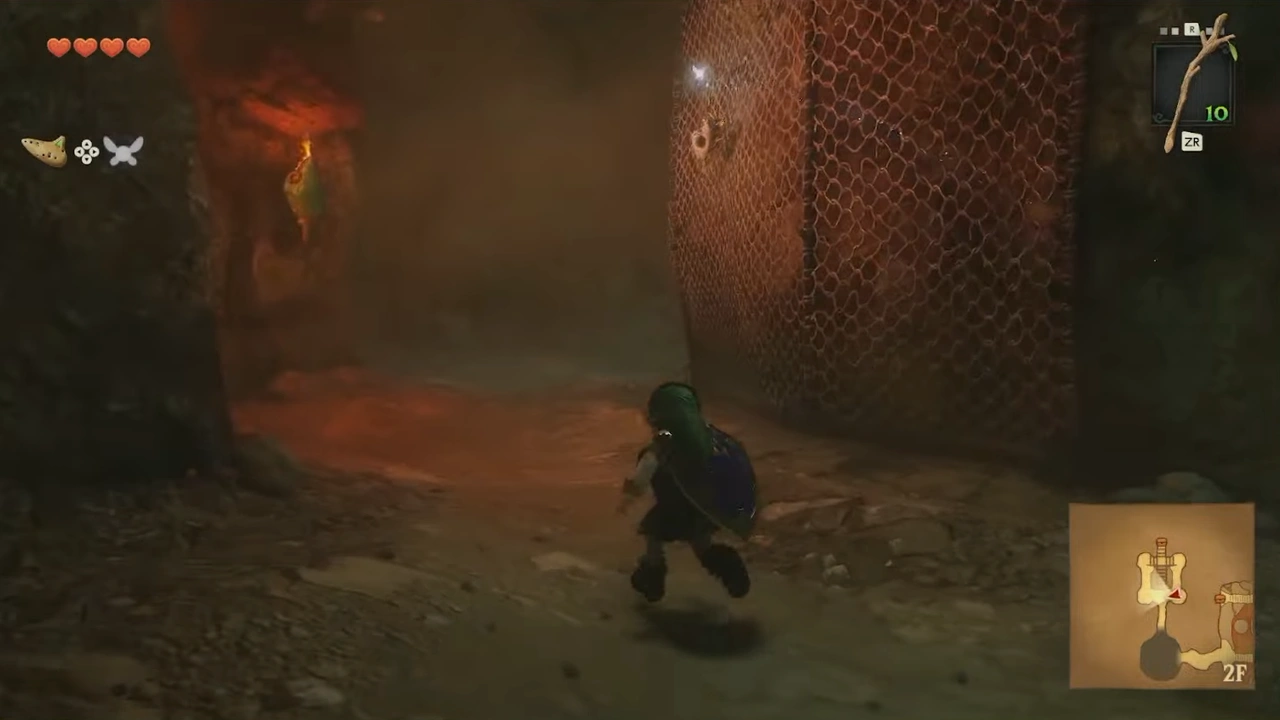
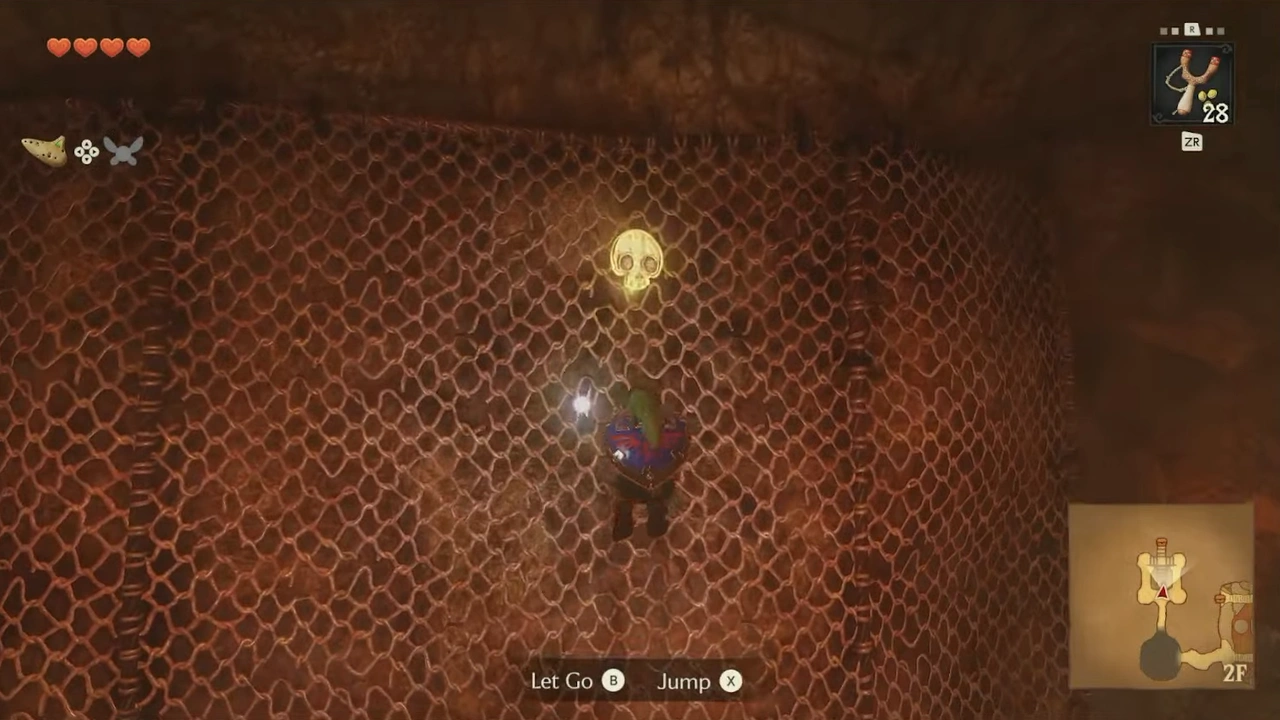
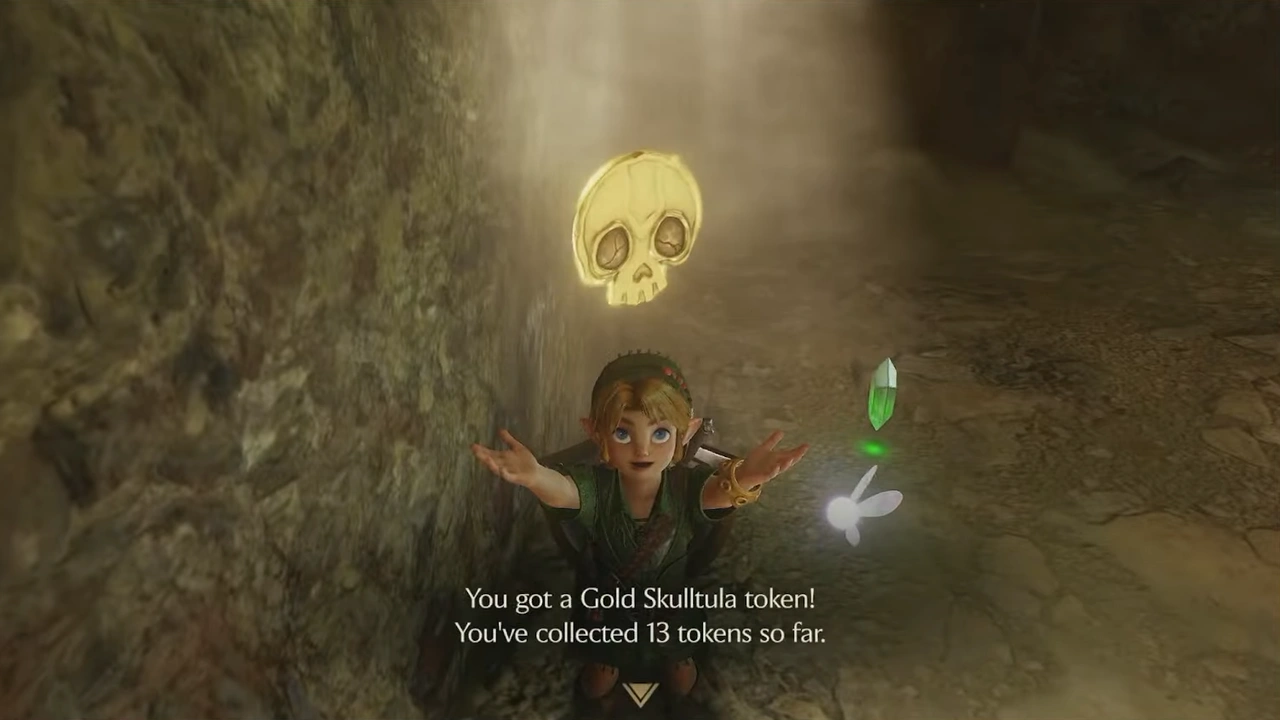
On the mesh we can find a Gold Skulltula.
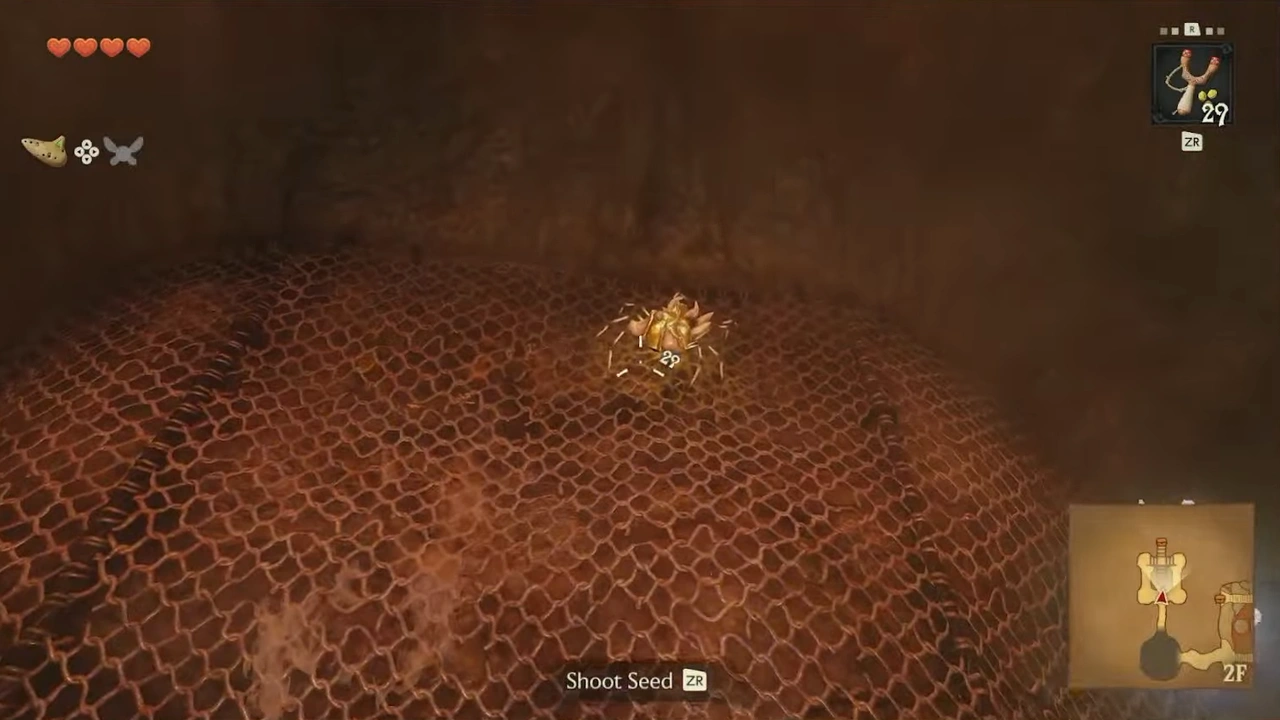
We'll continue south, where we'll find a door that locks behind us. Inside we'll find 2 Fire Keese and several statues.
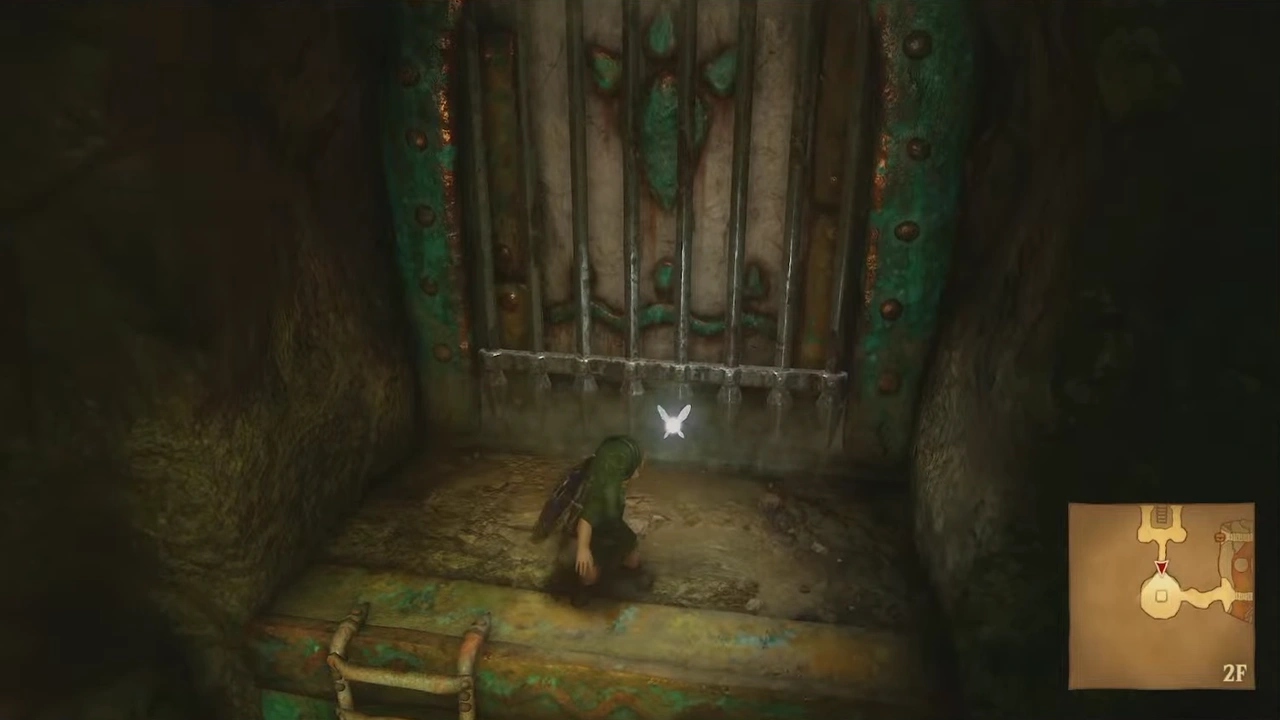
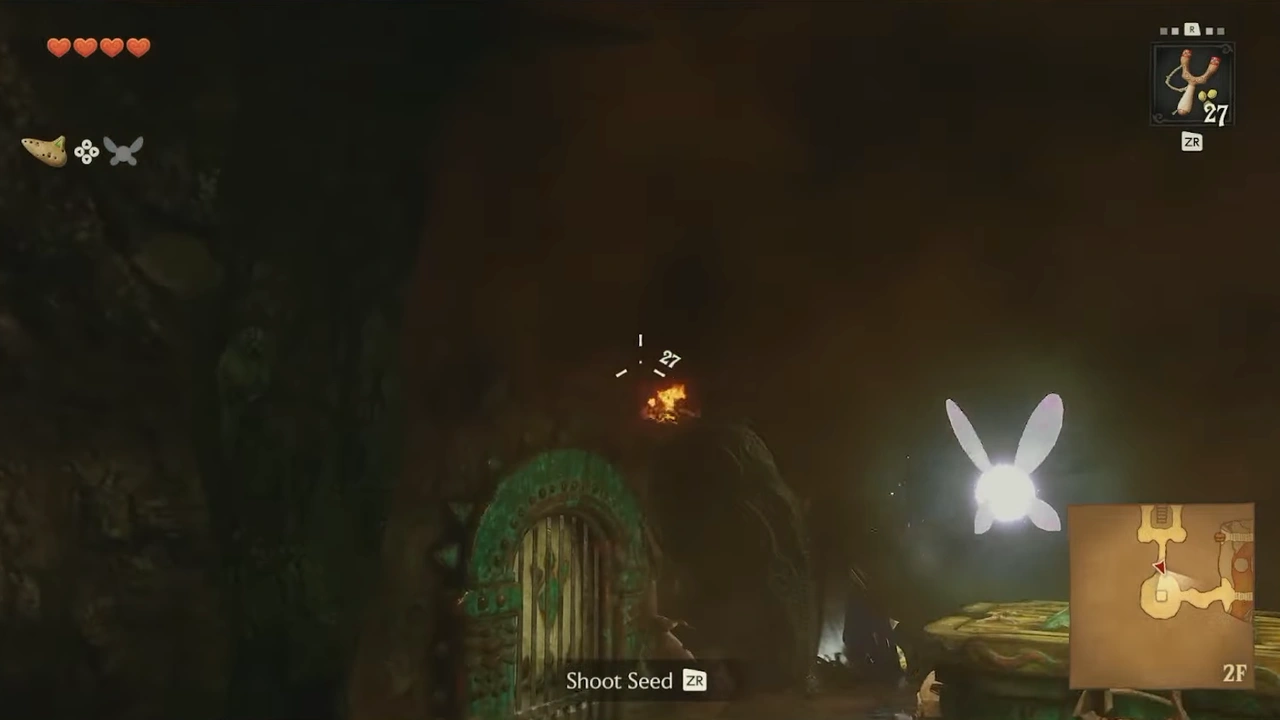
We'll move the southern statue to climb up and press the switch, then leave through the east door.
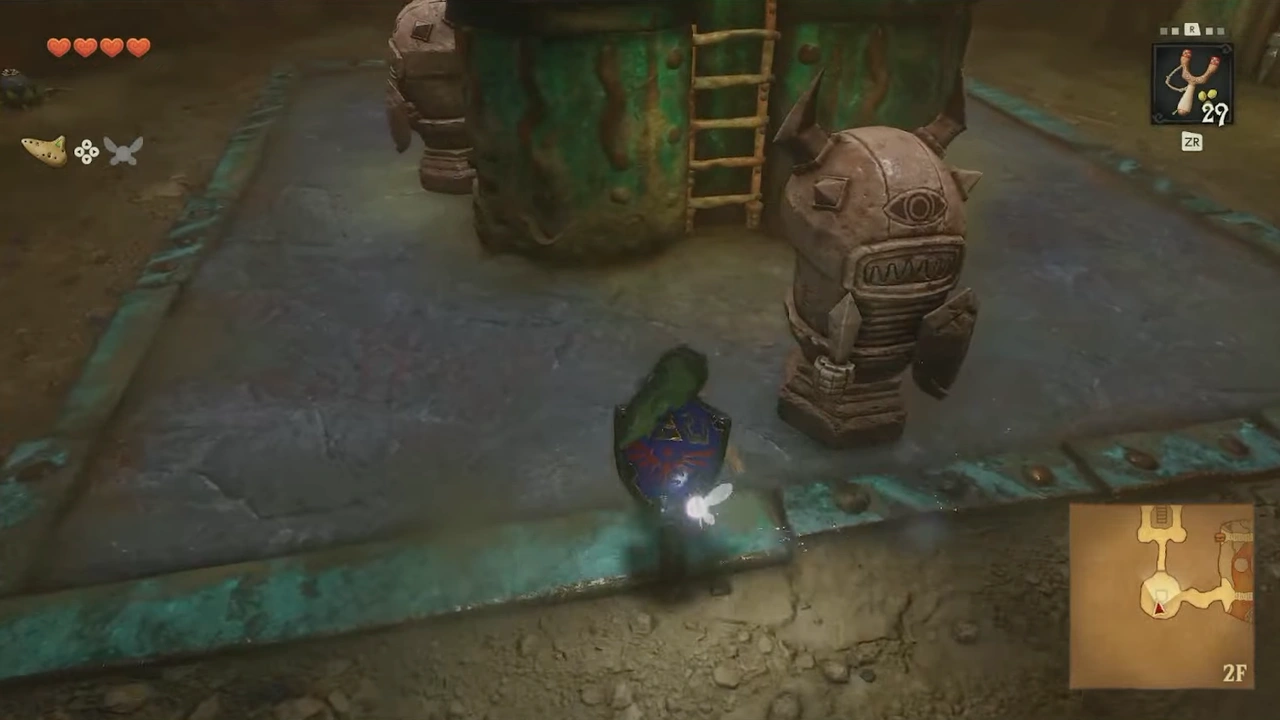
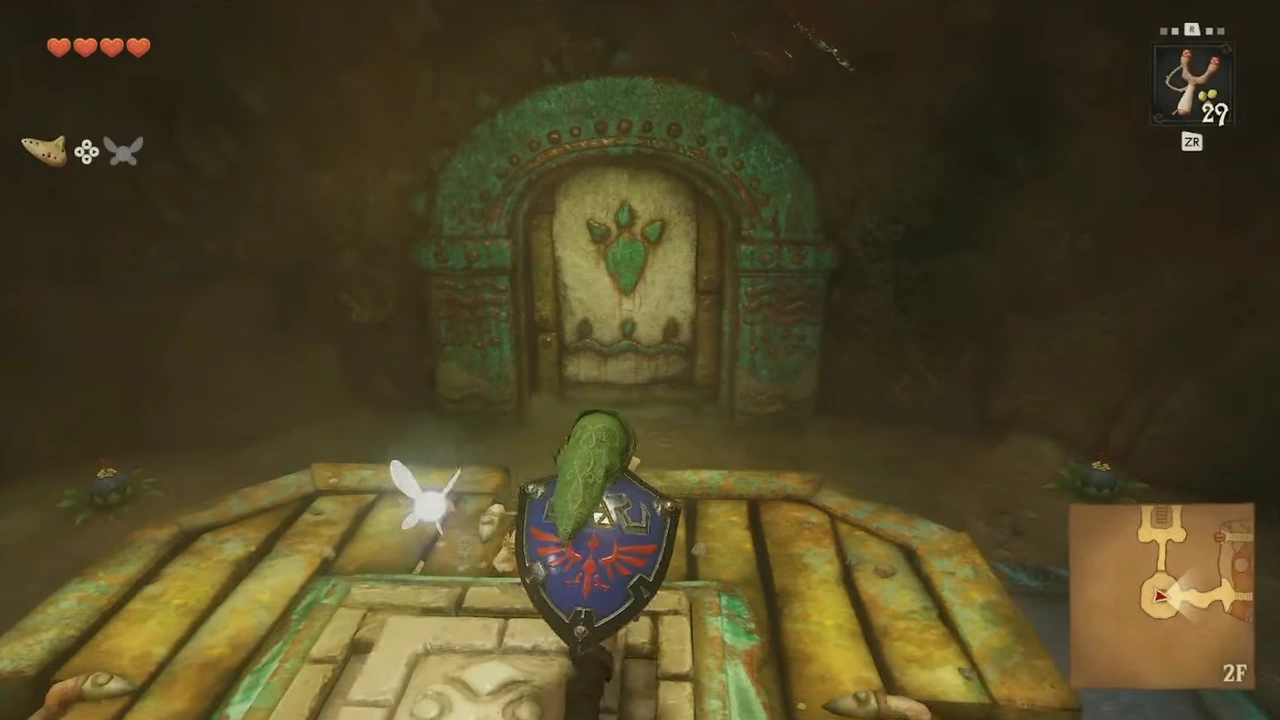
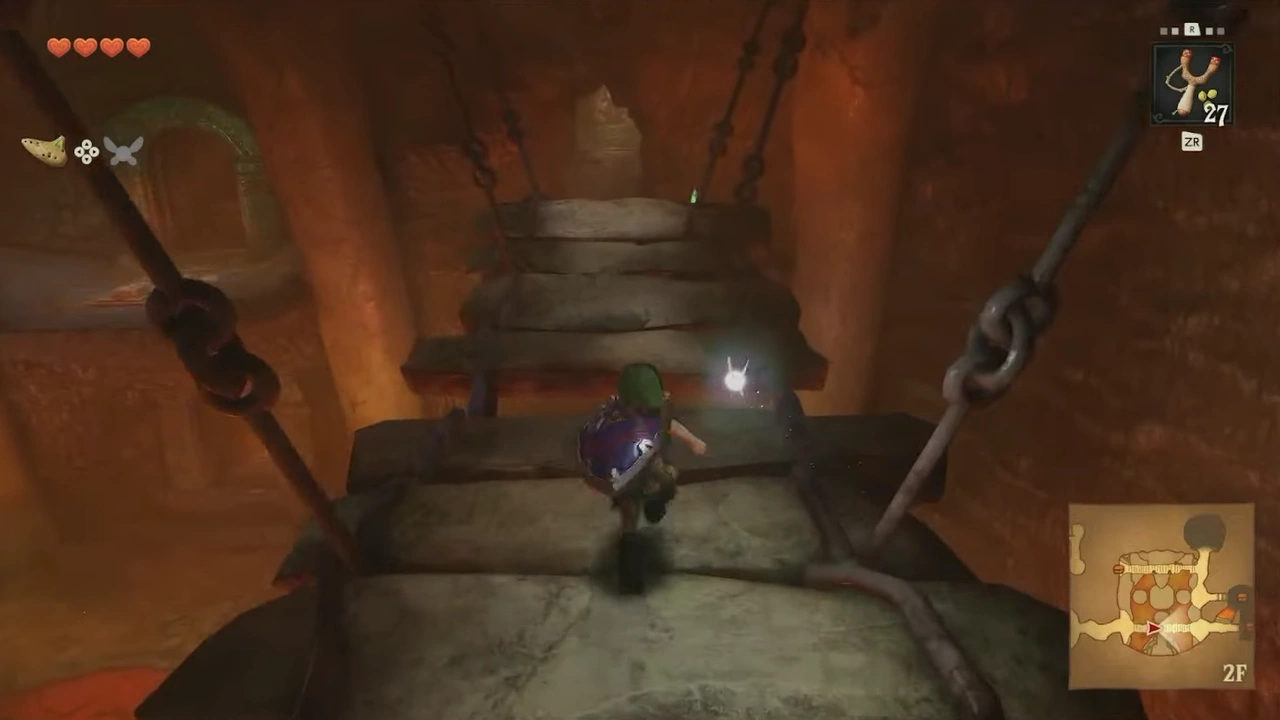
We'll cross the bridge, watching out for the hole in the center, and reach a room with Blade Traps on the floor.
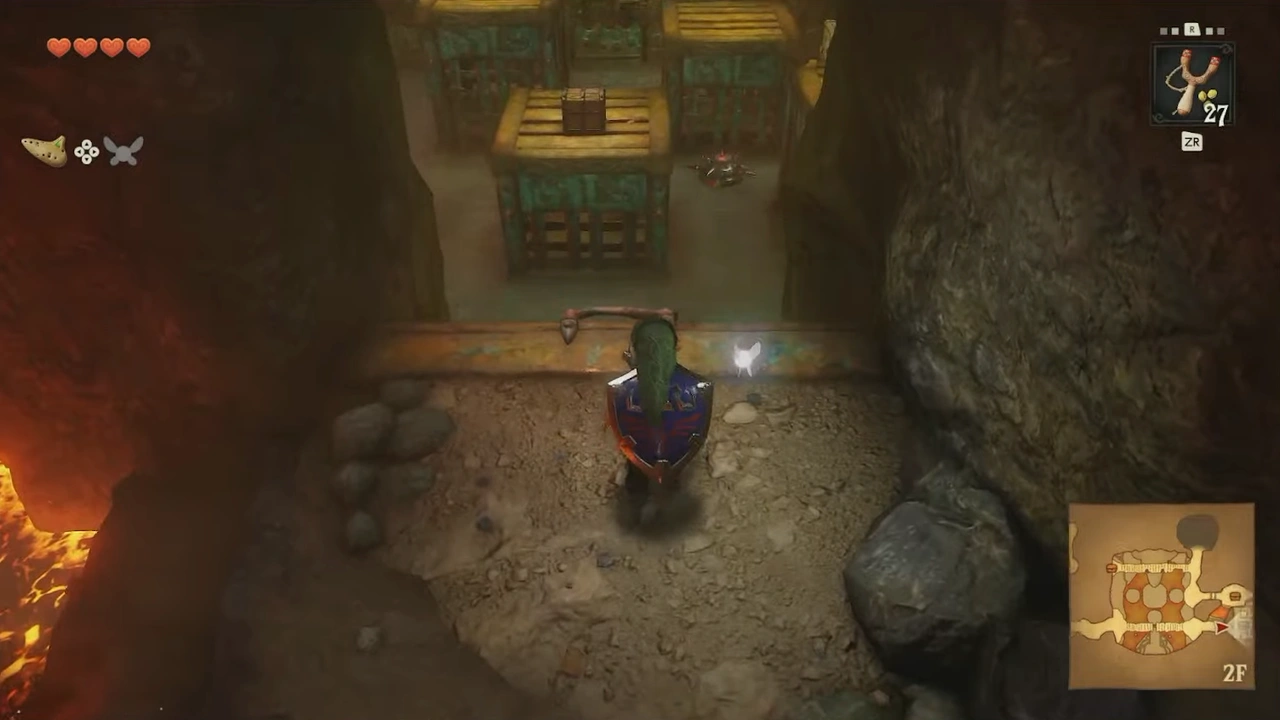
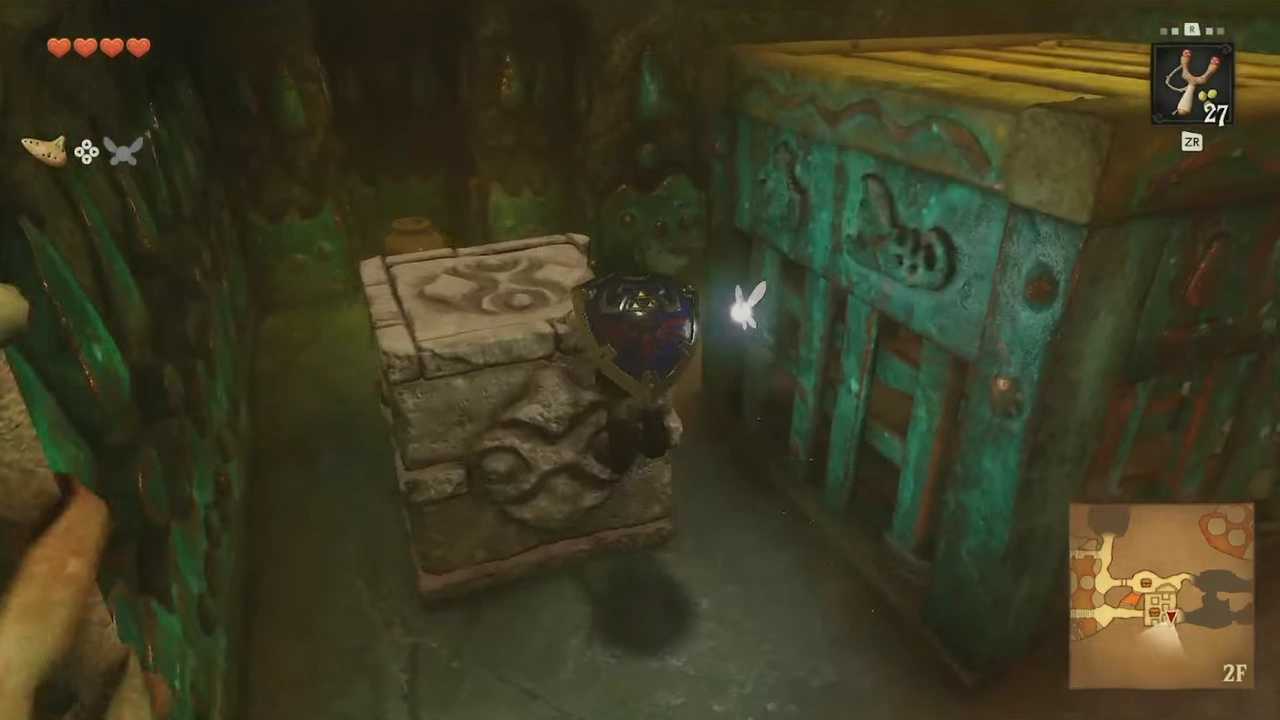
We'll find a block in the southeast of the room and move it so we can climb onto the platforms.
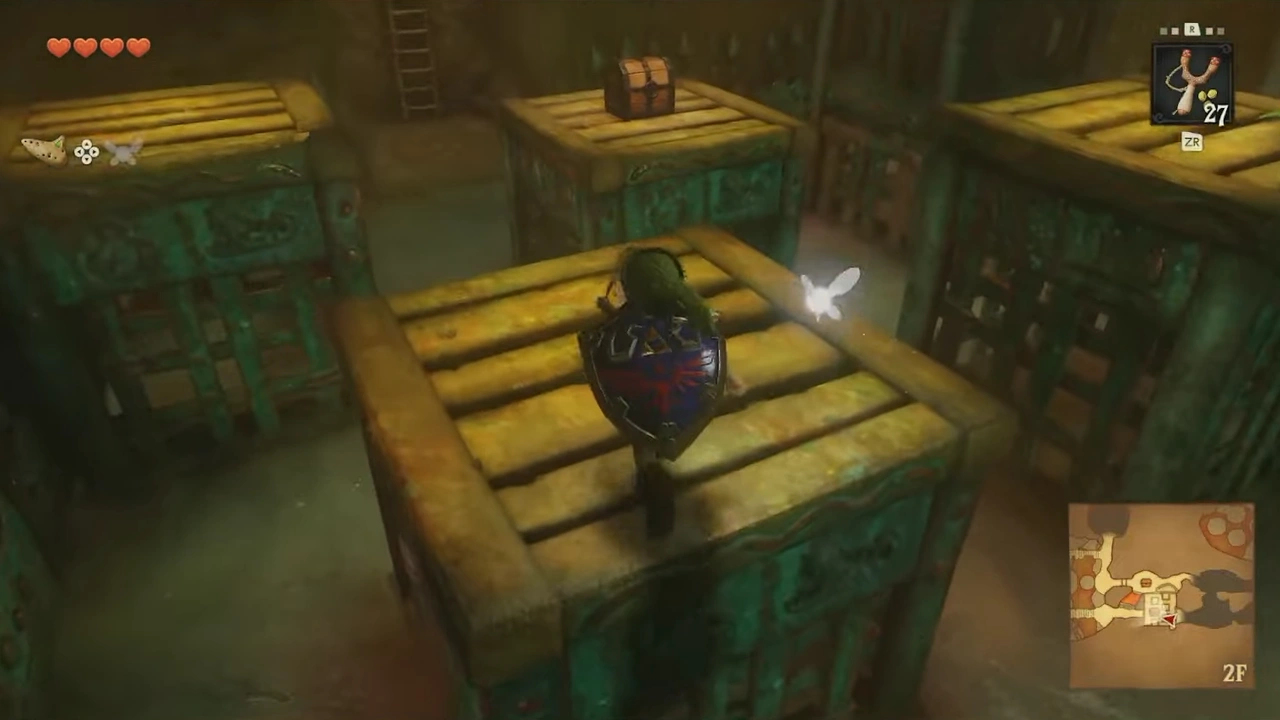
The chest contains Deku Nuts. We'll jump to the platform with a Bomb Flower and throw it to destroy the rock.
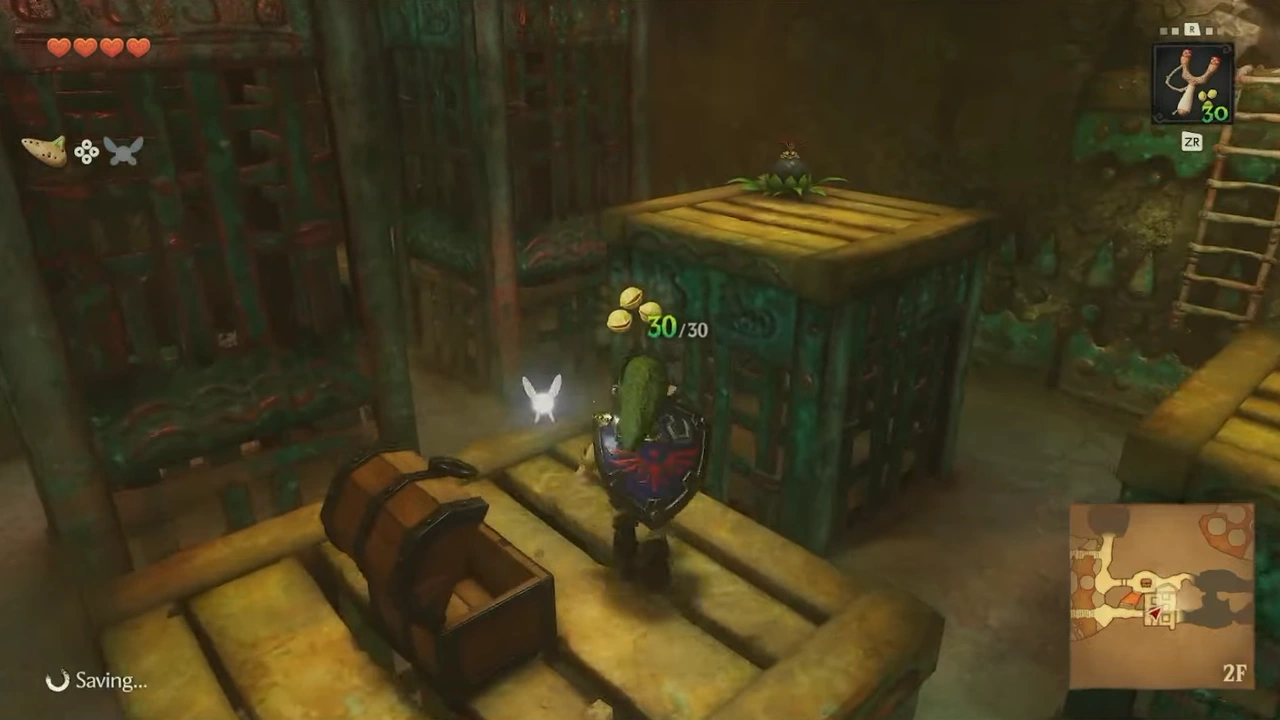
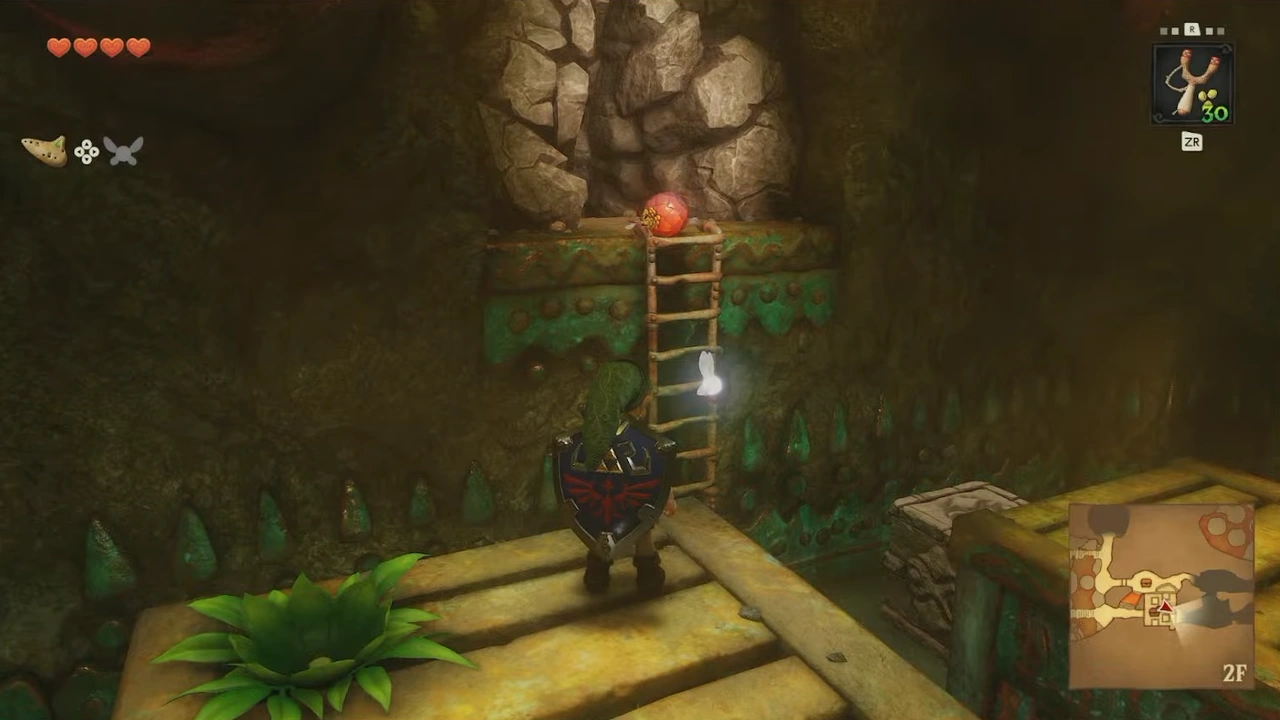
Once the way is clear, we can jump to the stairs or move the block to climb up the stairs.
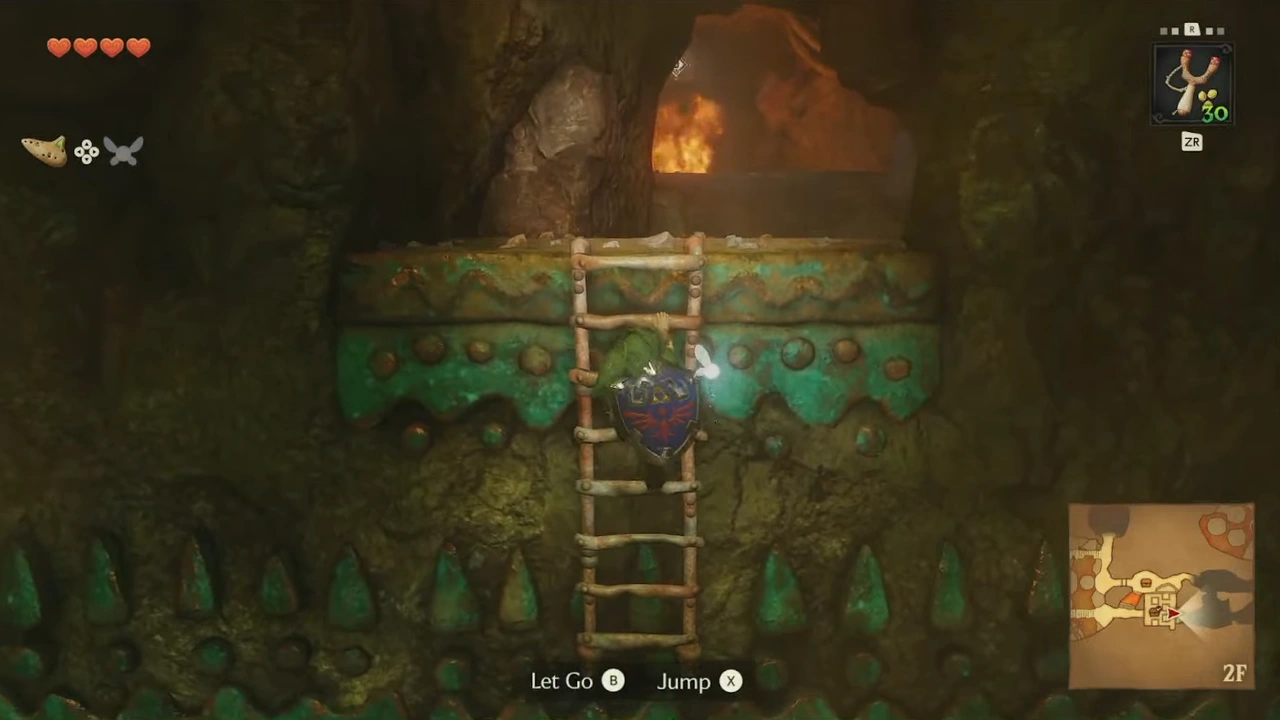
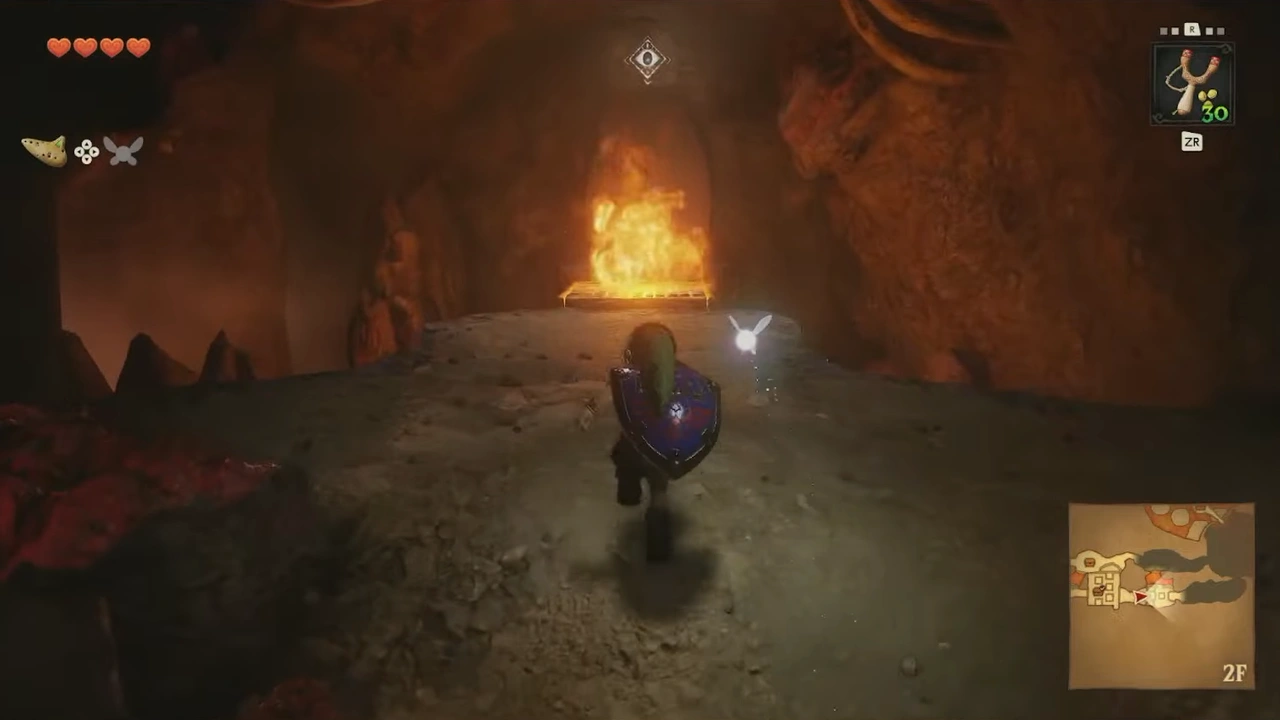
We'll hit the eye to temporarily put out the fire so we can cross to the room with lava and Baby Dodongos.
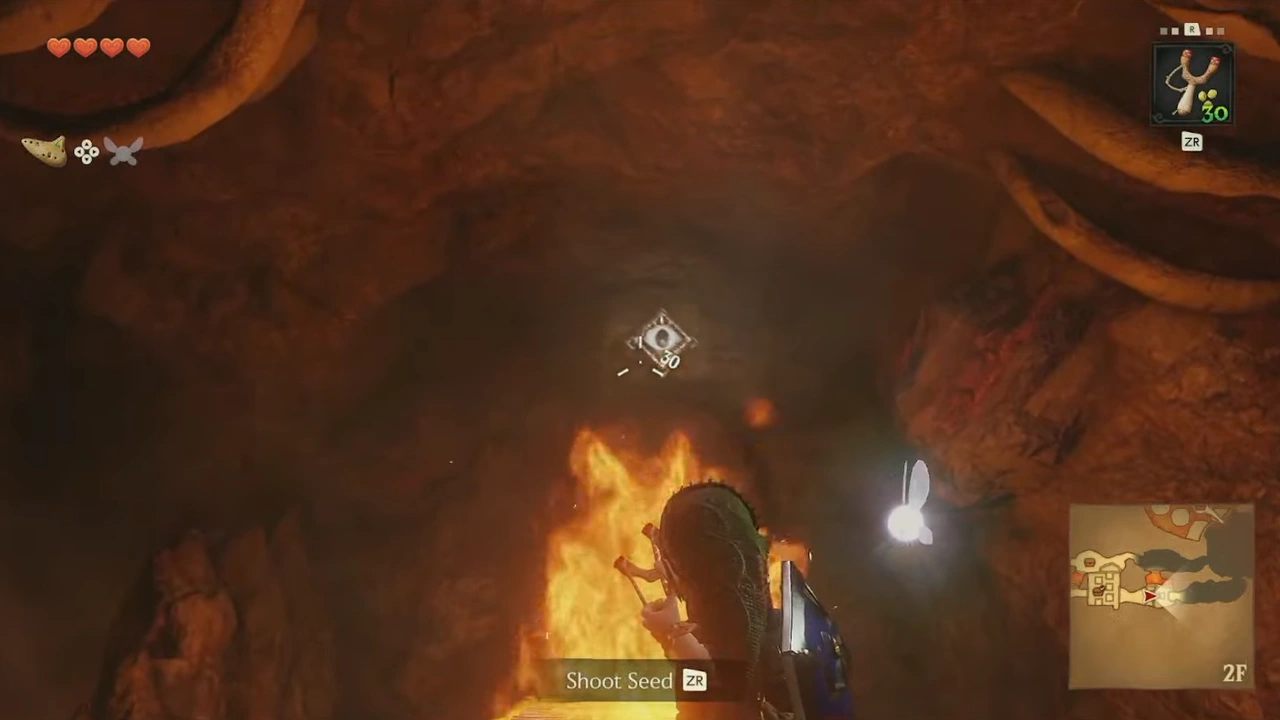
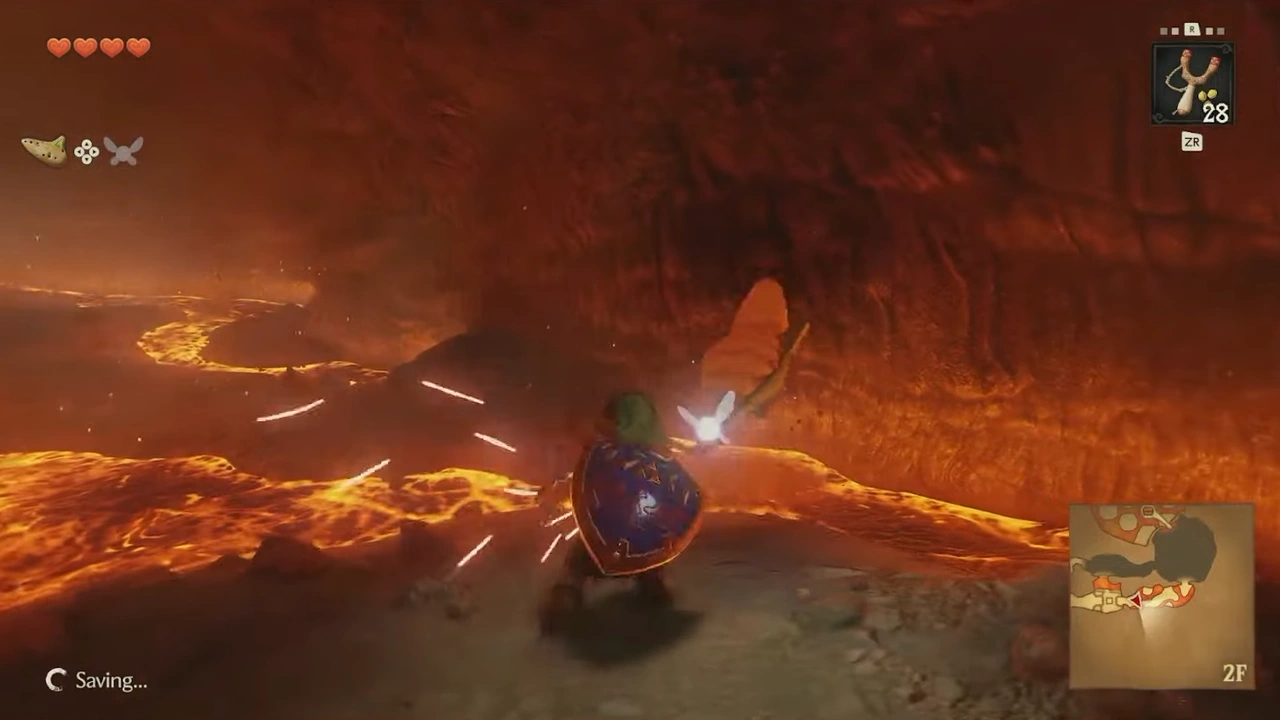
We'll continue and the door will lock behind us; we'll have another fight with 2 Lizalfos.
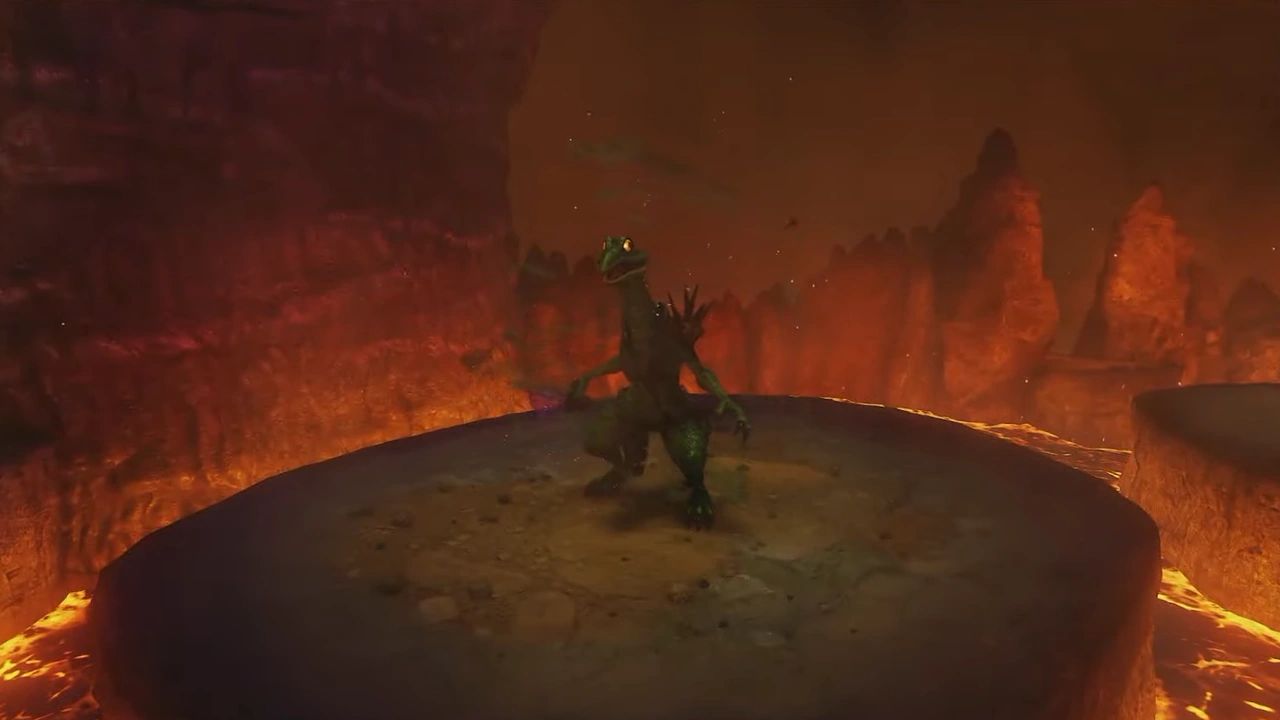
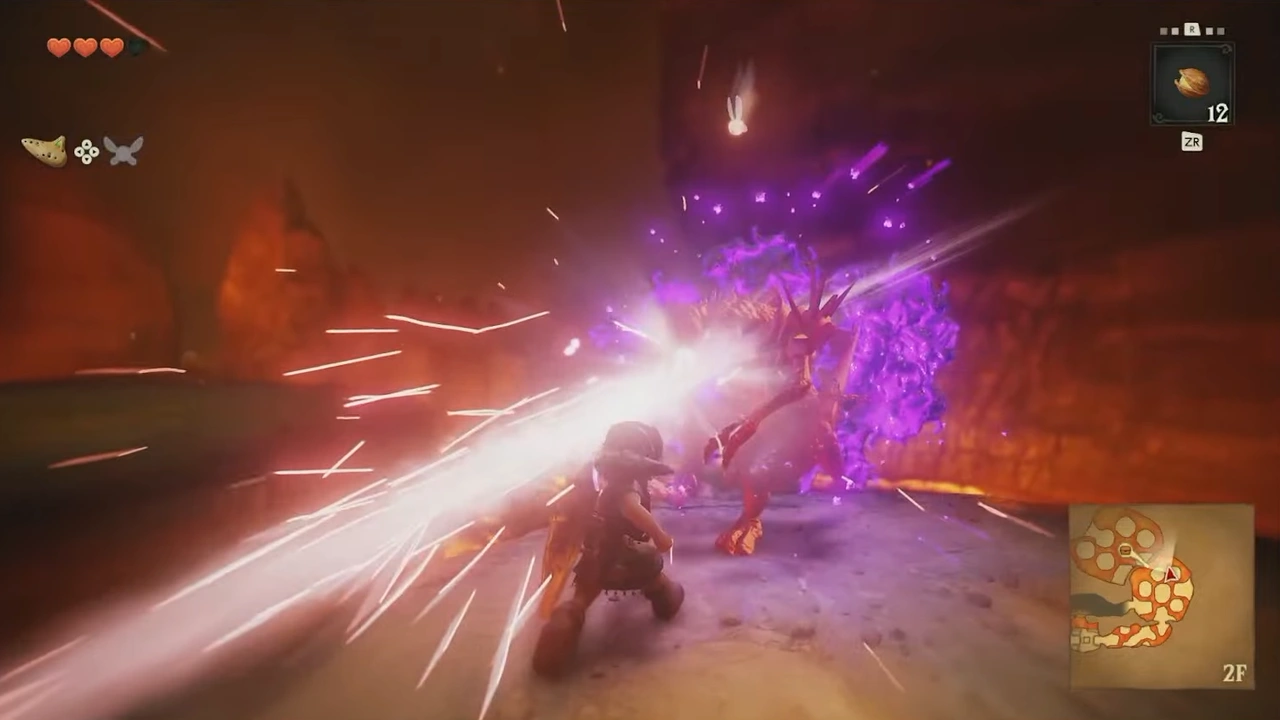
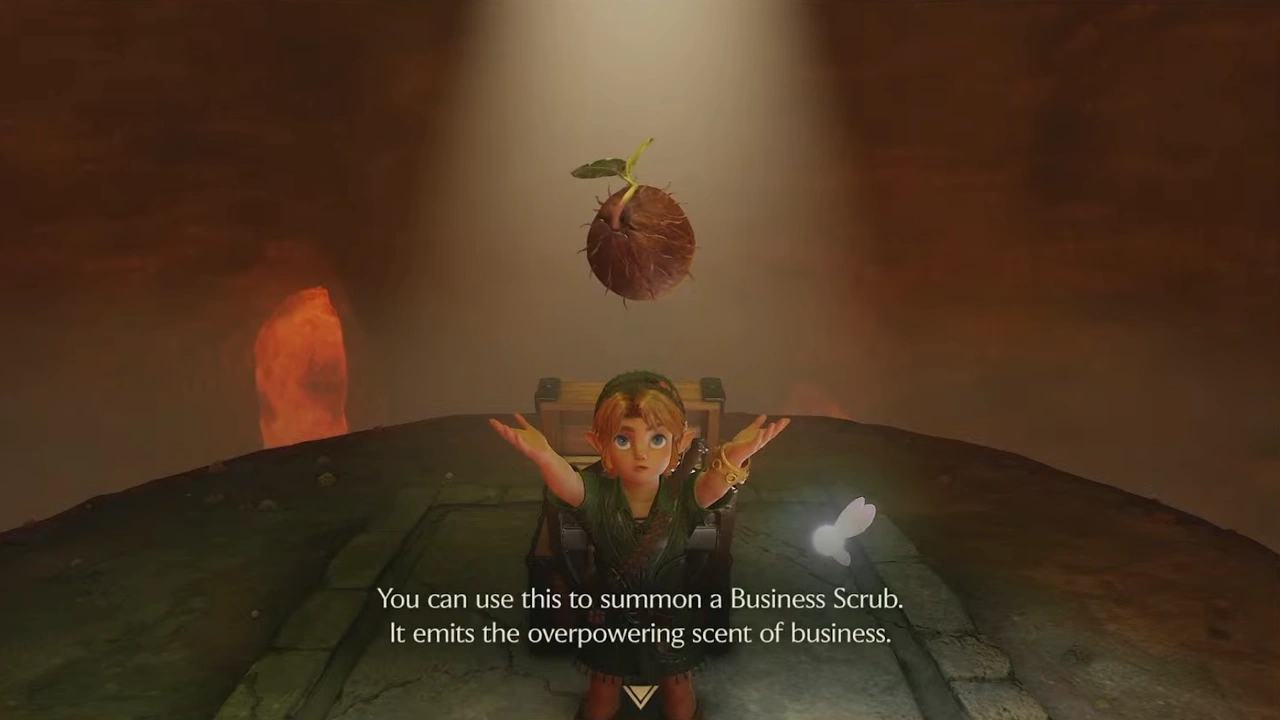
After defeating them, we'll open the chest containing a Business Scrub seed and continue through the east door.
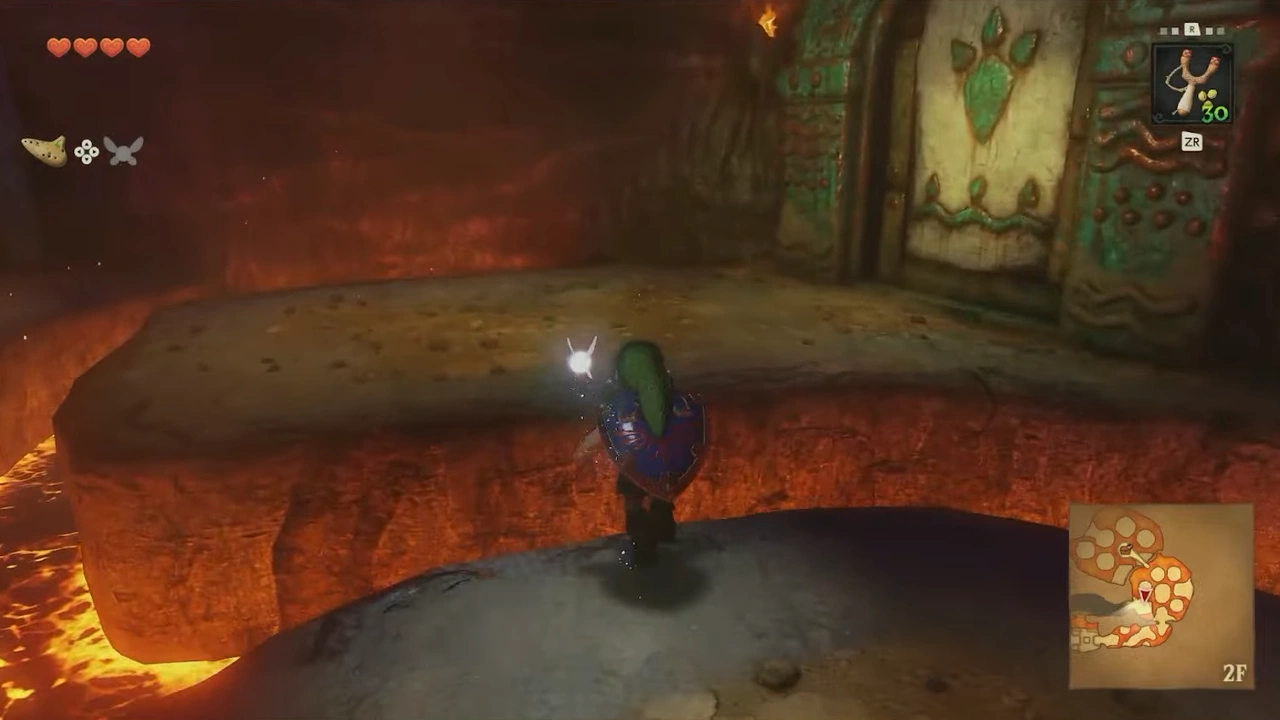
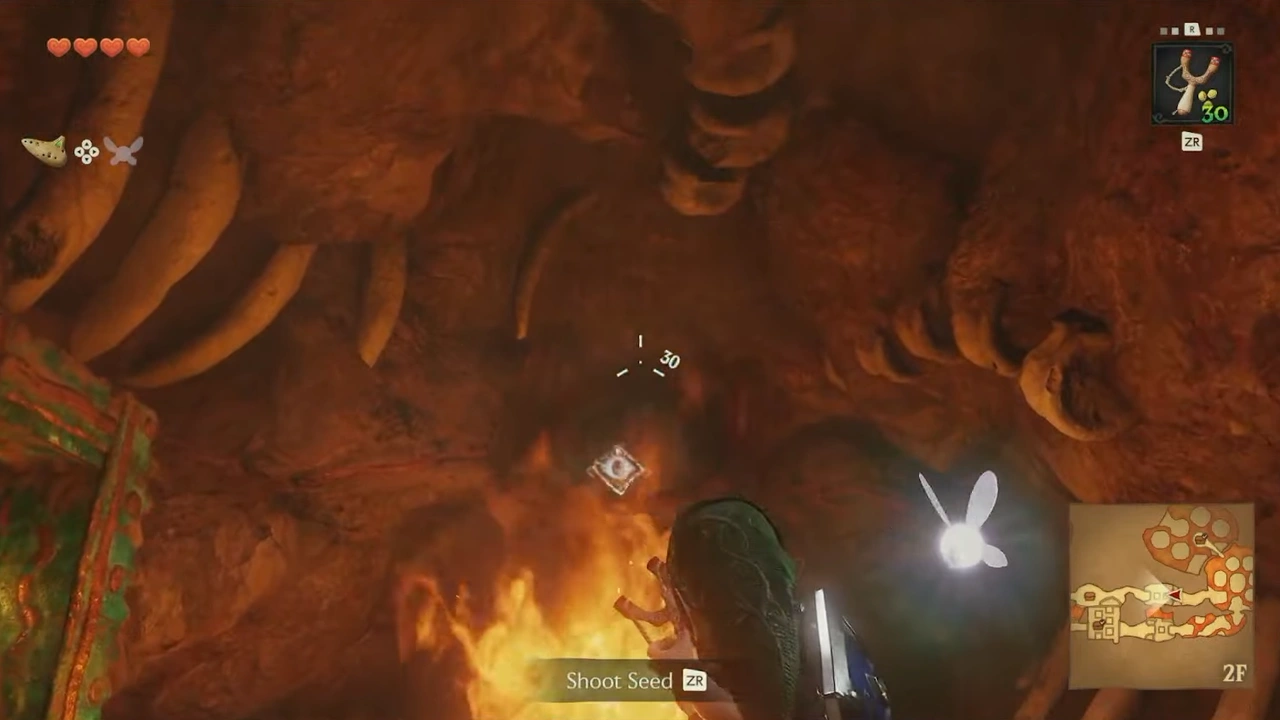
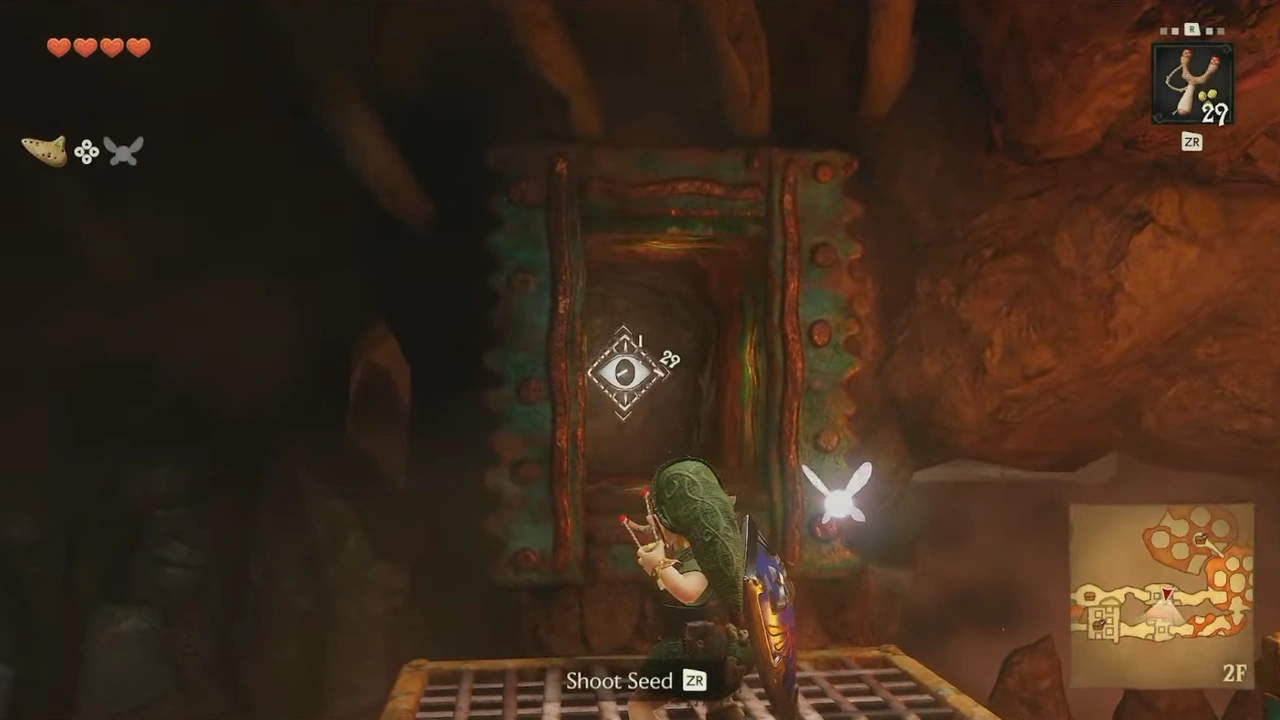
We'll continue into a room with two eyes that stop the fire on the platforms. One is in plain sight, and we'll see the other when we jump to the first platform on our left.
We'll reach a chest containing the Bomb Bag.
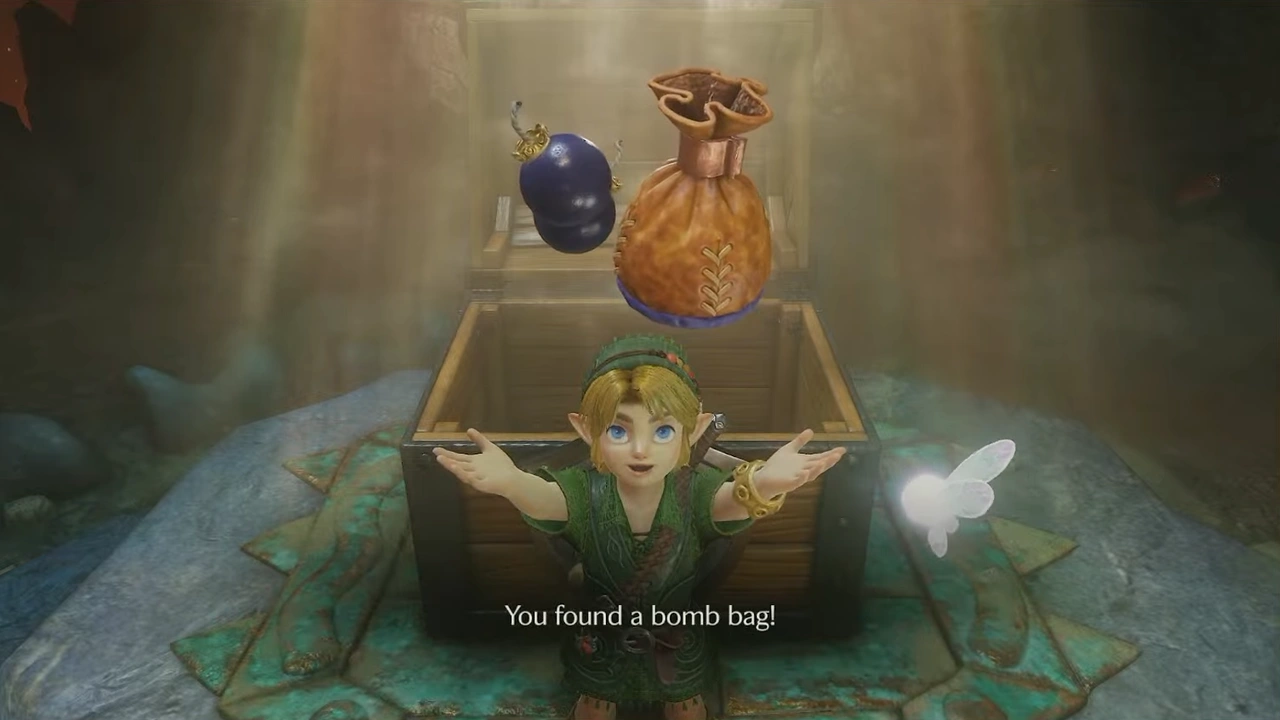
We'll use them to destroy the rock behind us, unlocking a shortcut to the main room as well as an elevator.
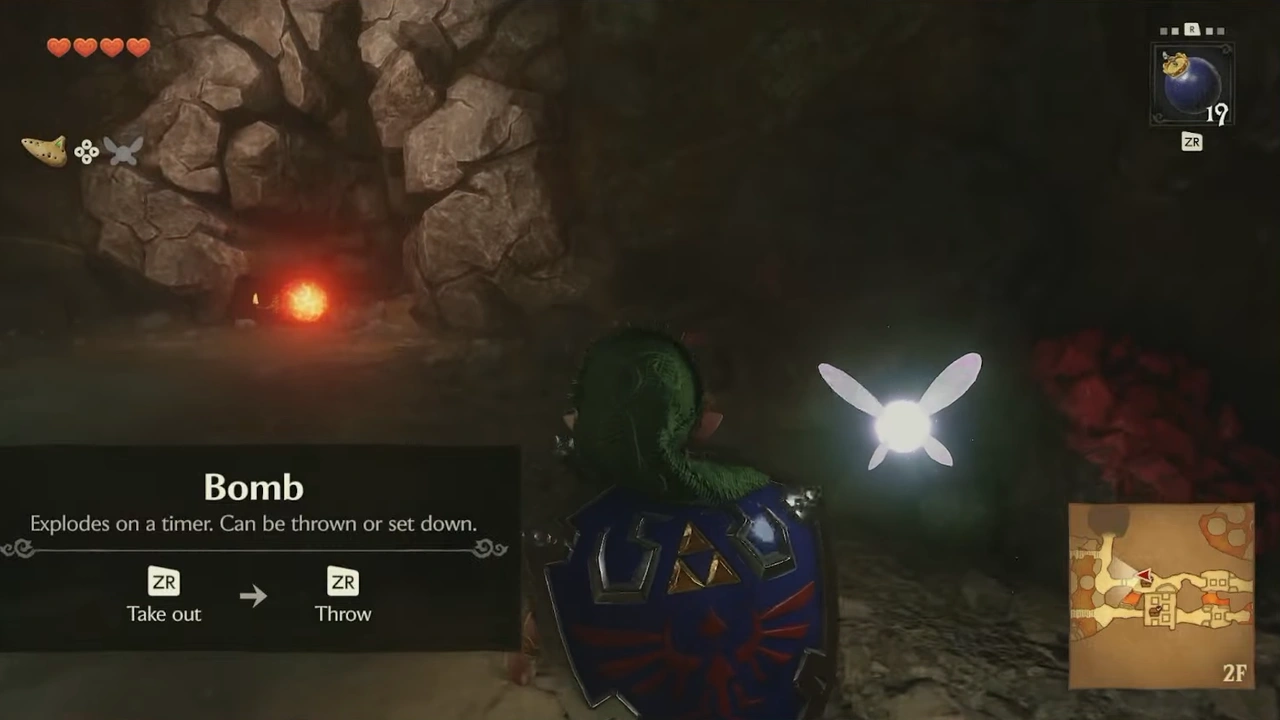
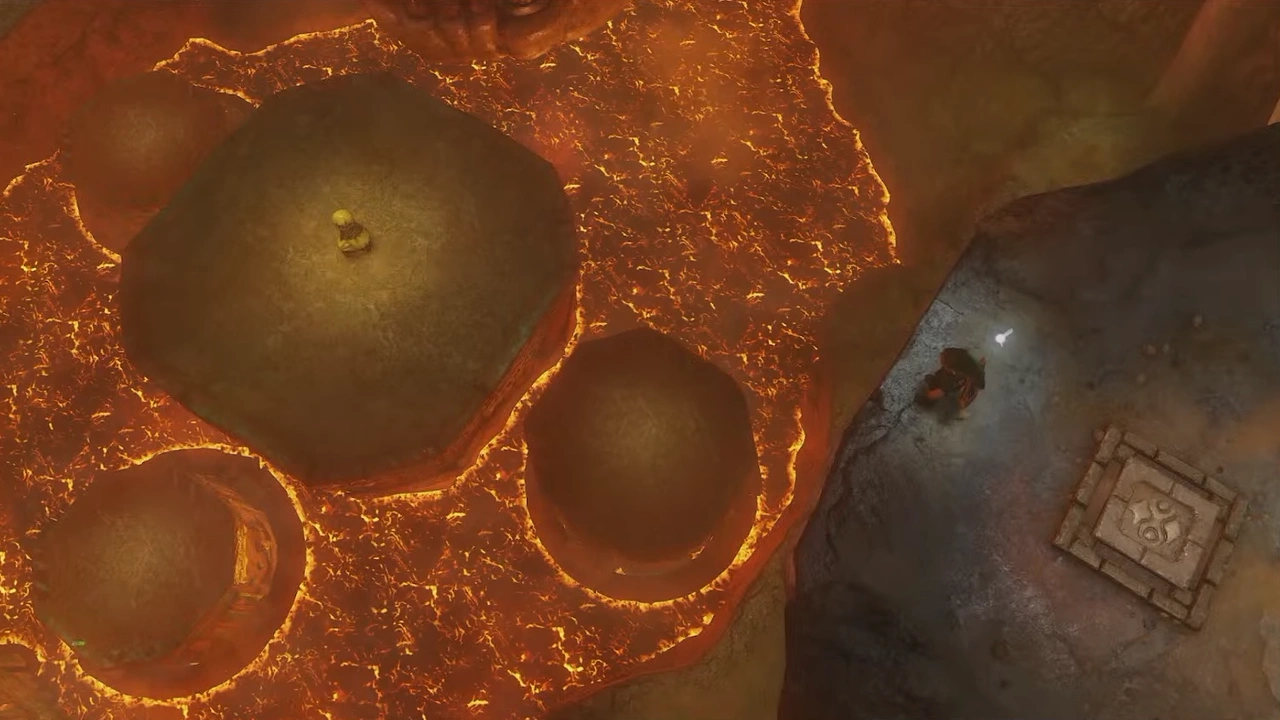
To the north we'll find destructible rocks; inside we'll find two Dodongos and a Gold Skulltula.
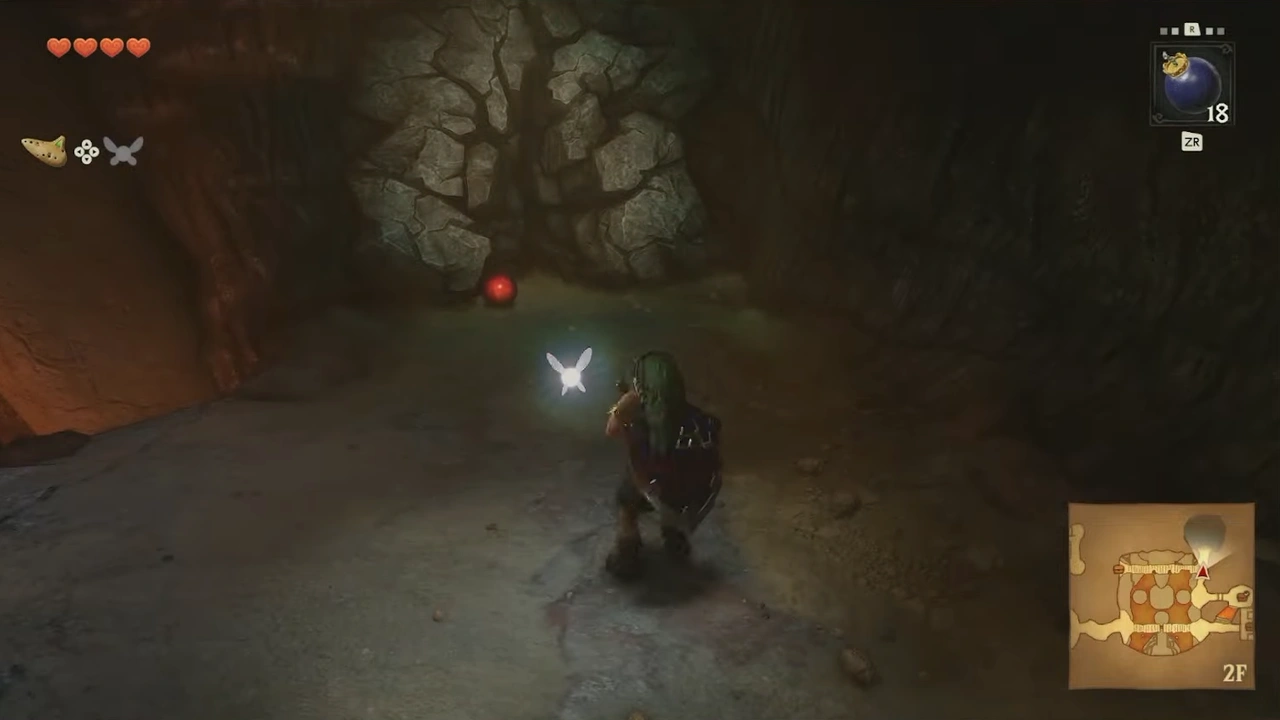
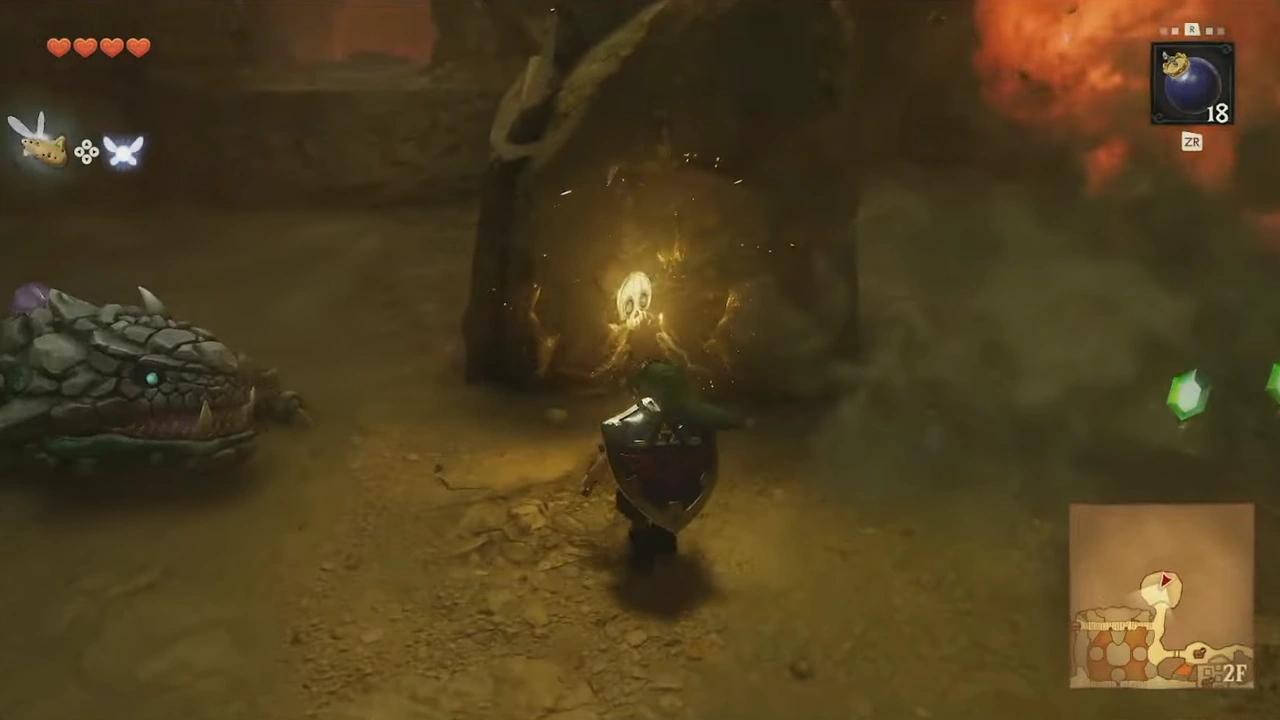
We'll drop bombs into the skeleton's eyes through the gaps in the bridge.
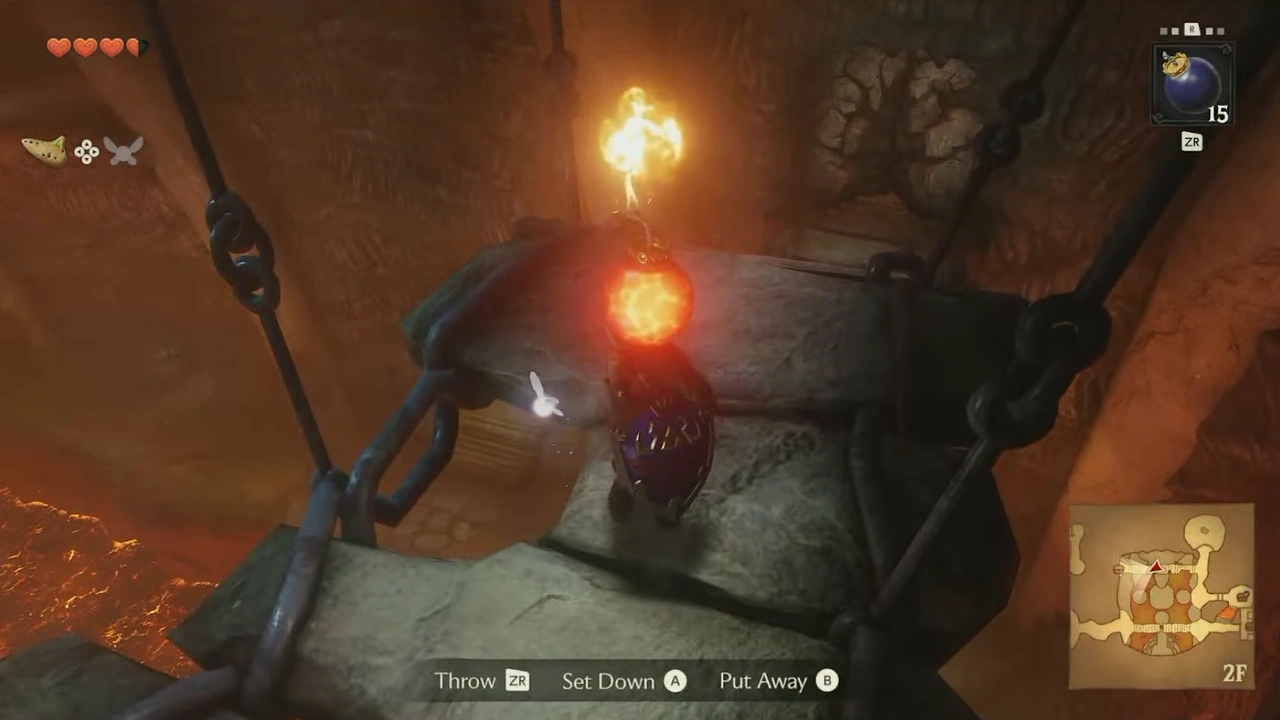
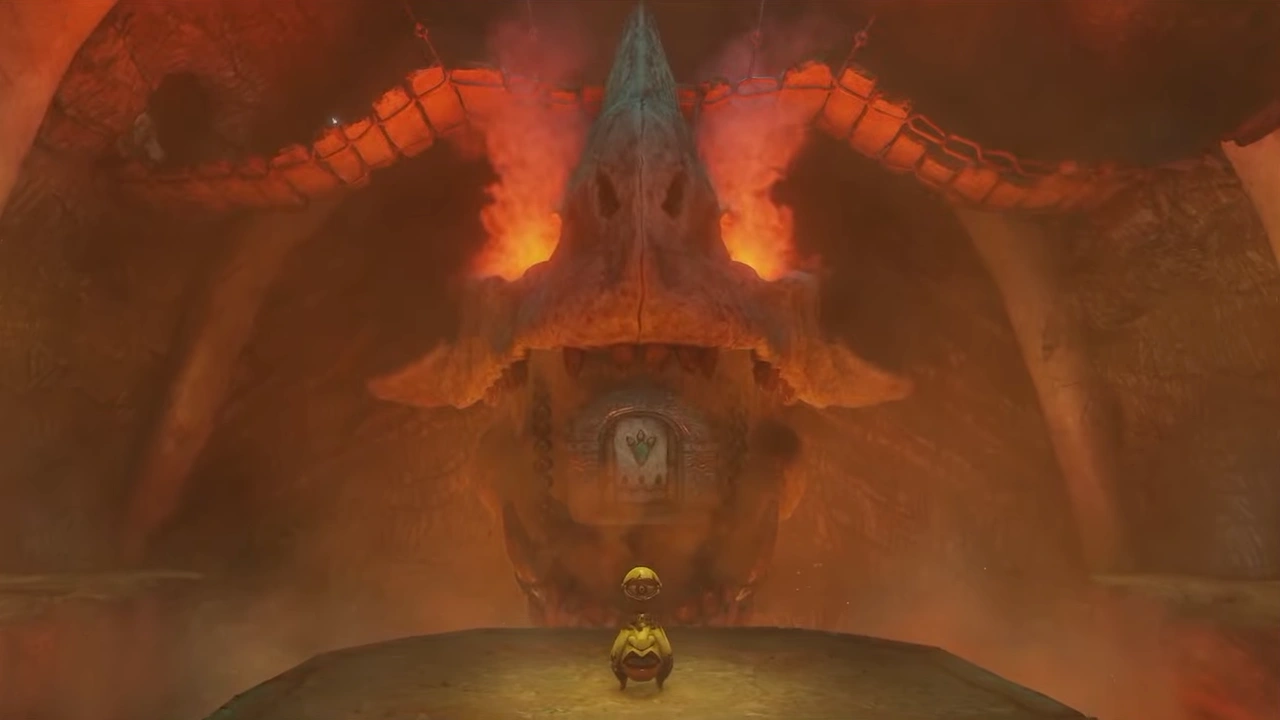
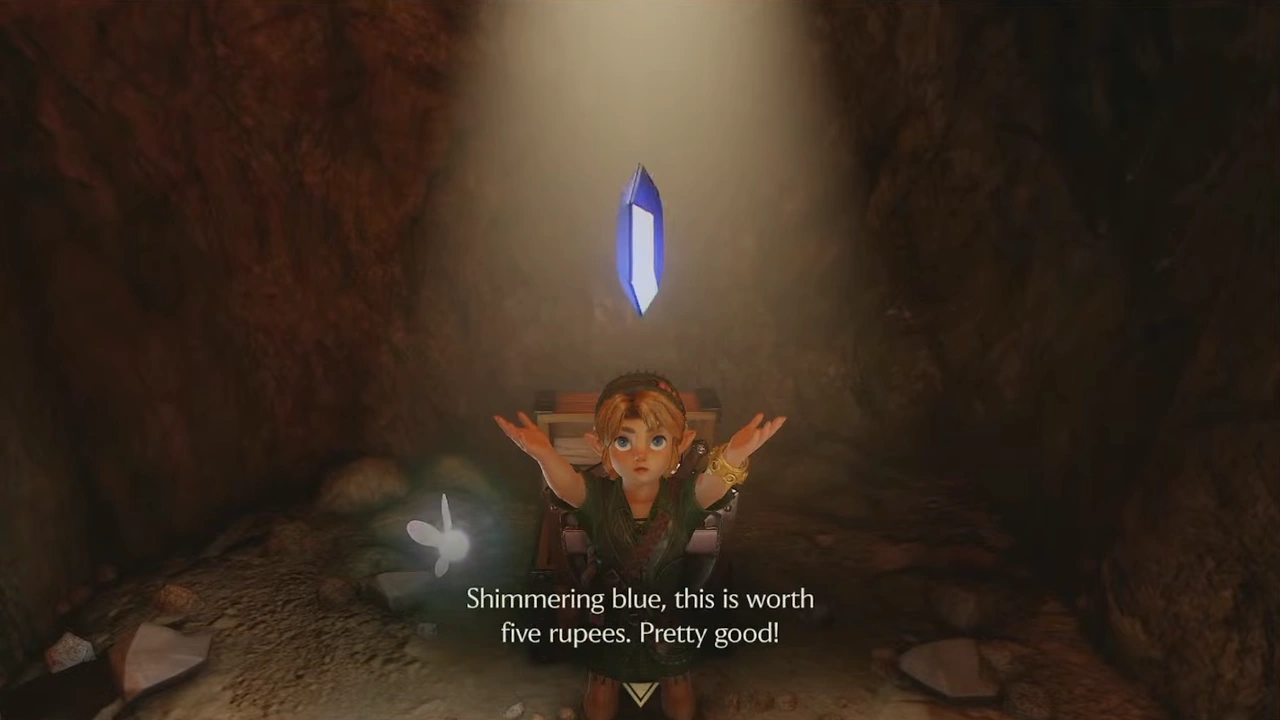
Behind the destructible rocks at the end of the bridge, we can find a Blue Rupee in a chest.
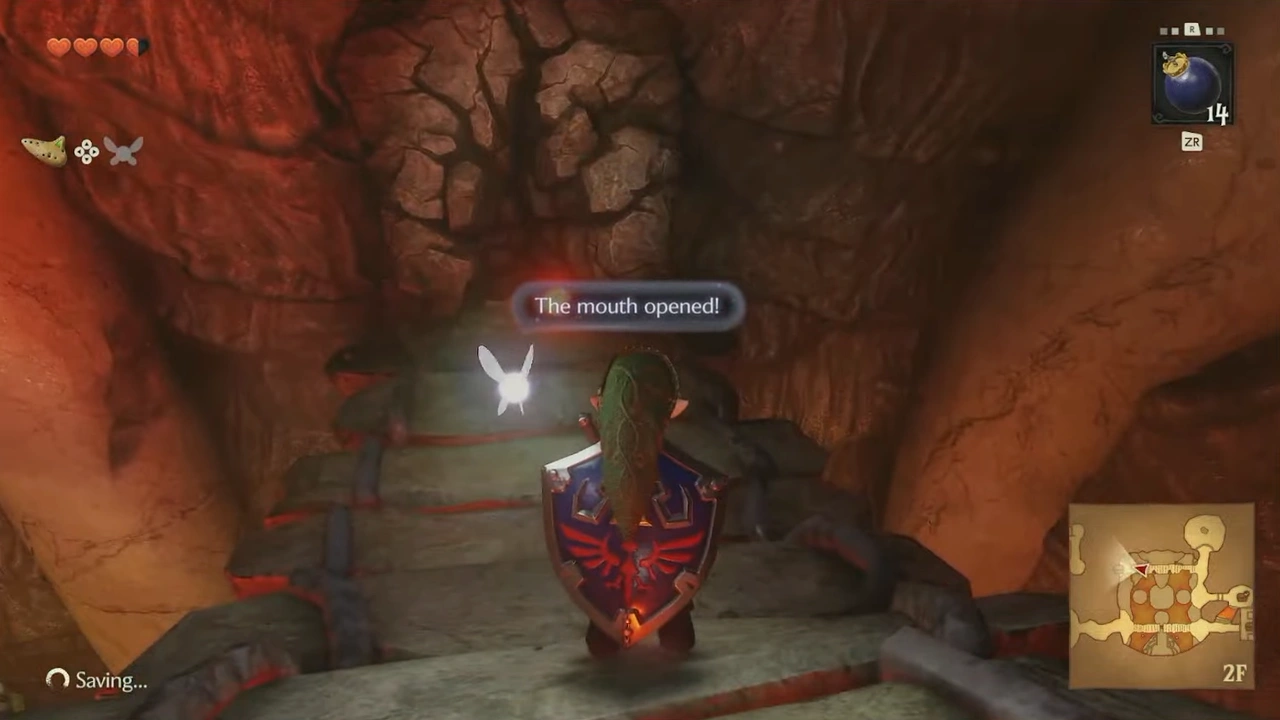
We'll go down and enter, reaching a room with 2 Fire Keese.
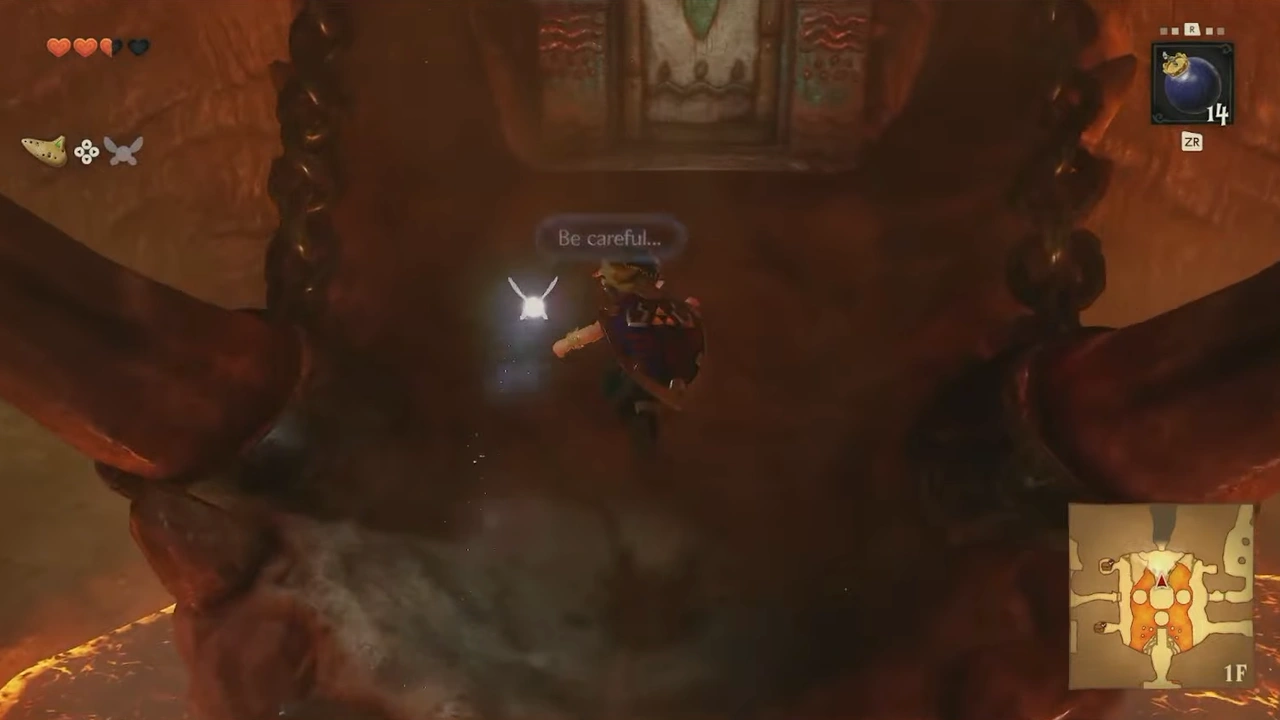
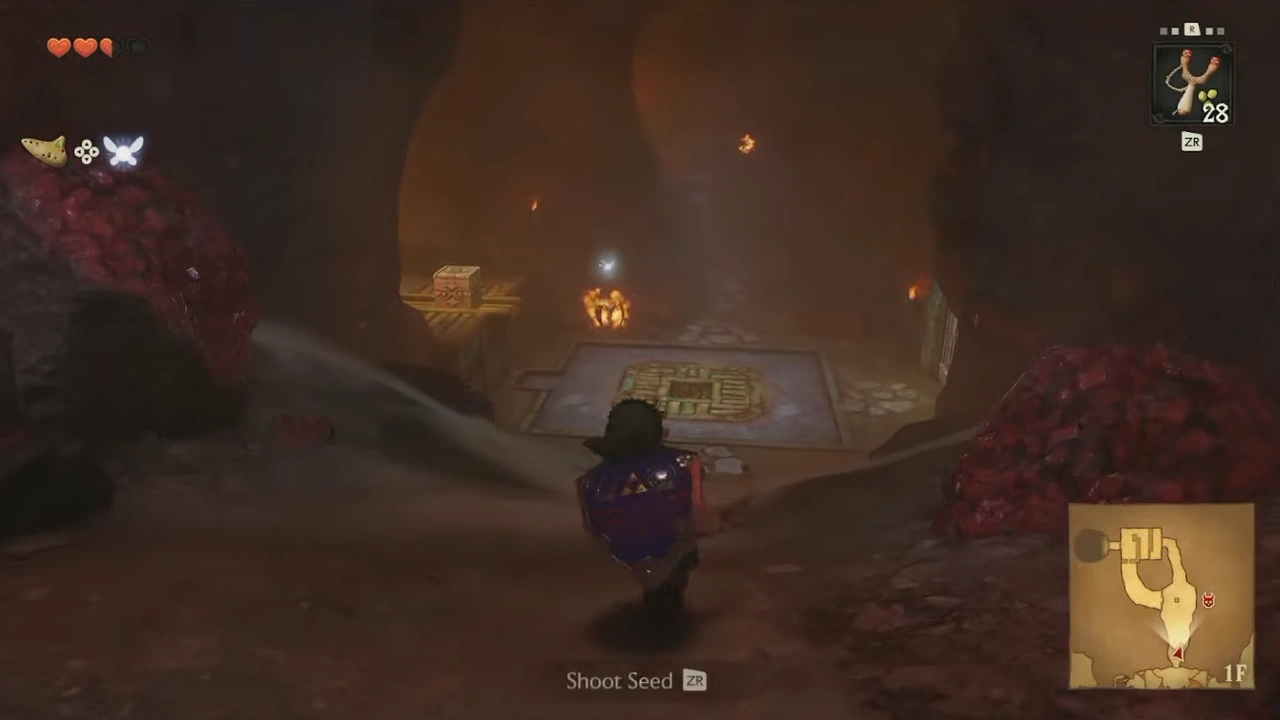
We'll ignore the switch in the center for now and continue north until we reach a room with blocks.
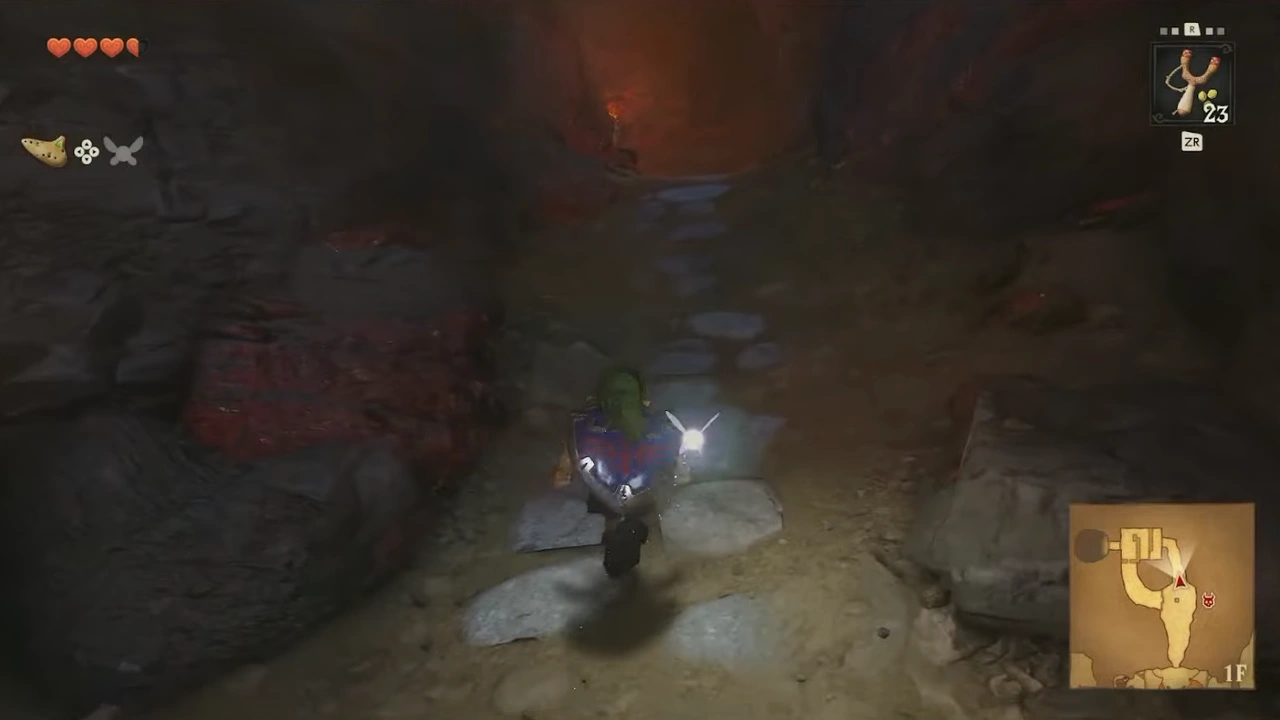
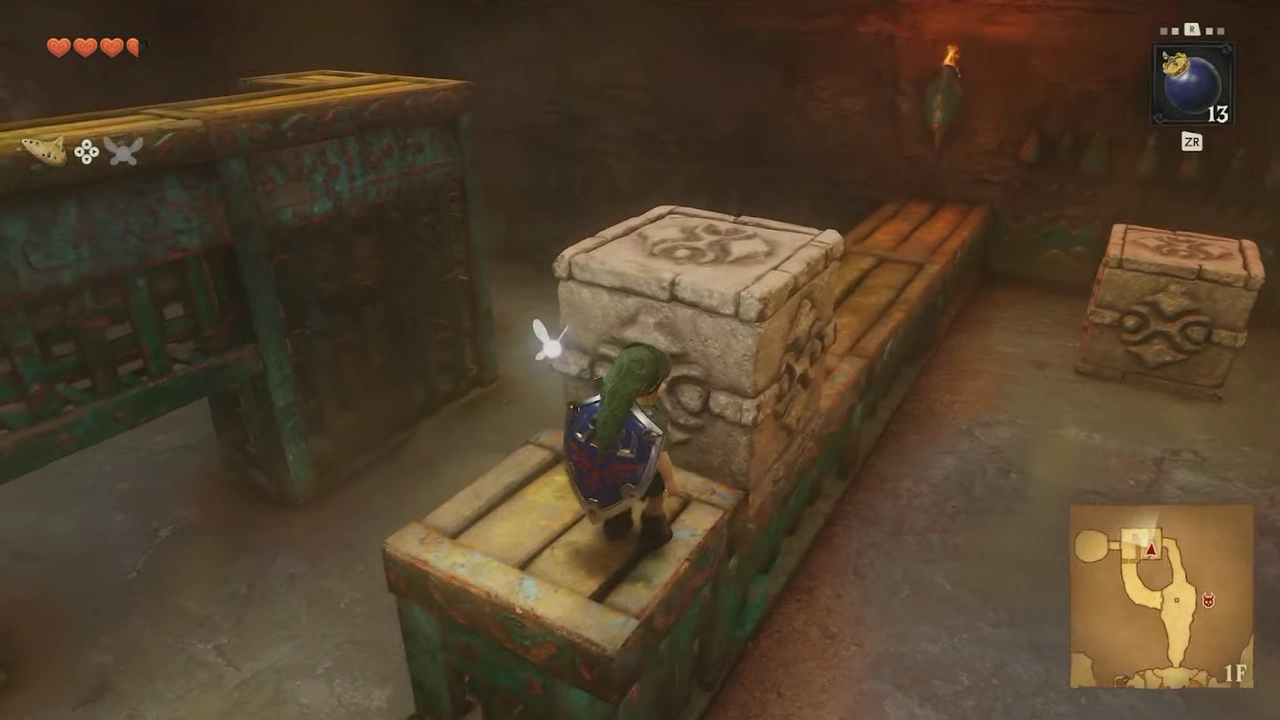
We'll pull the block and push the one on the floor so that we can push the block on the platform down to the ground.
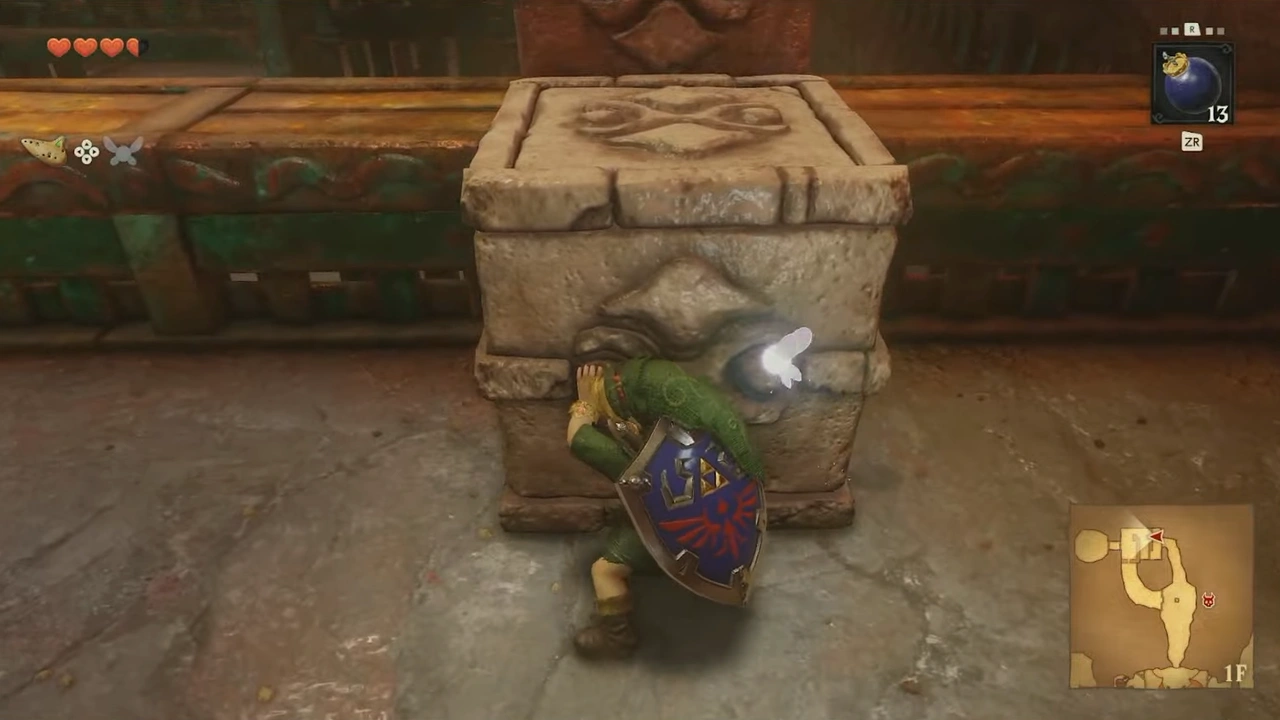
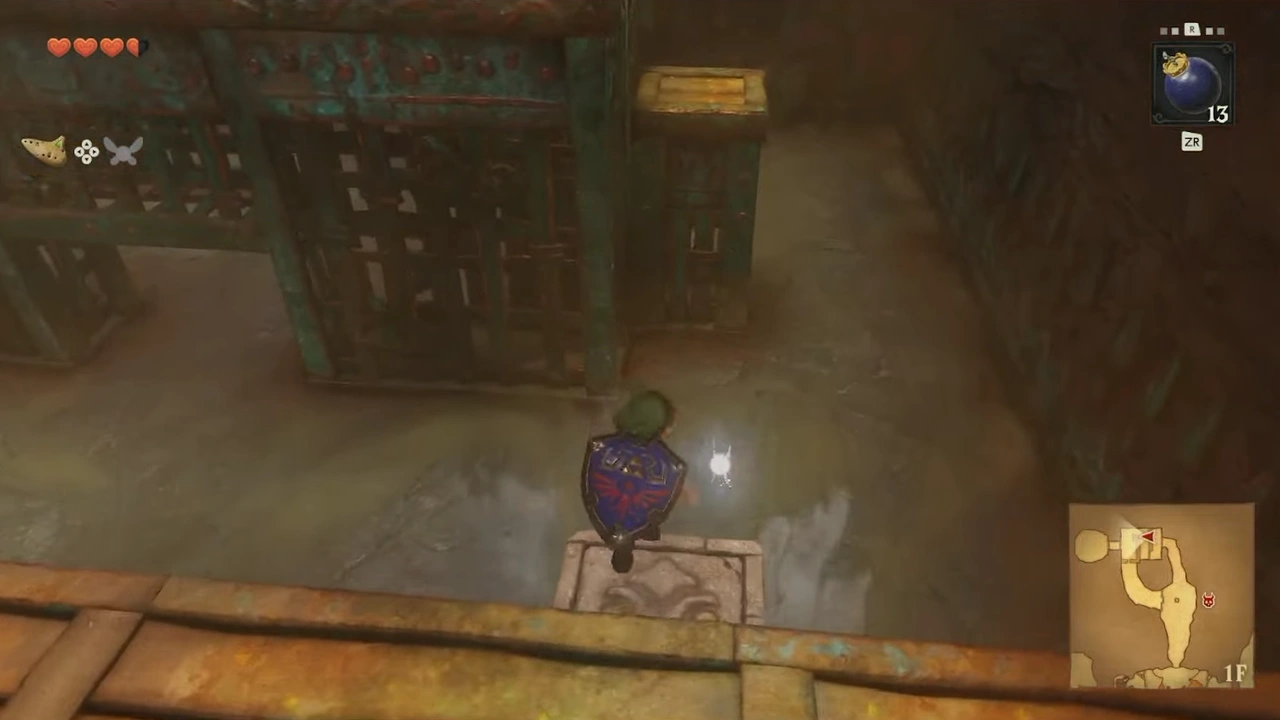
We'll move this block to create a step so we can climb onto the next platform.
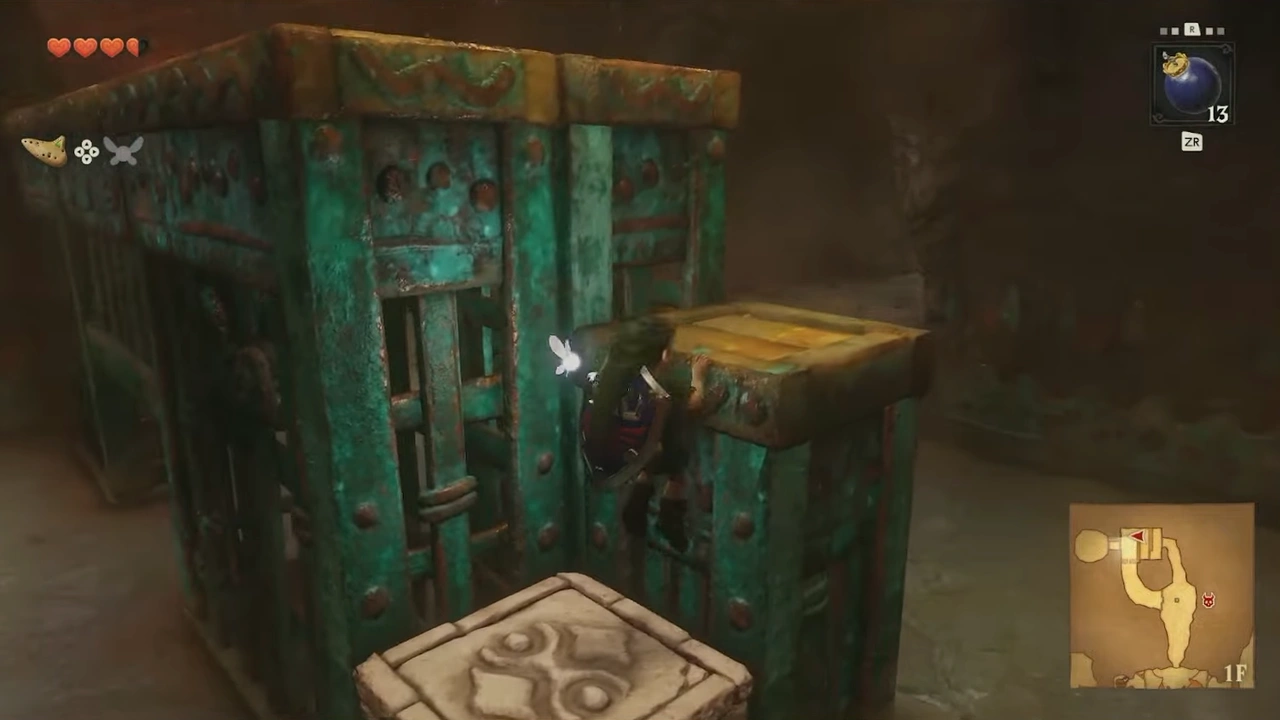
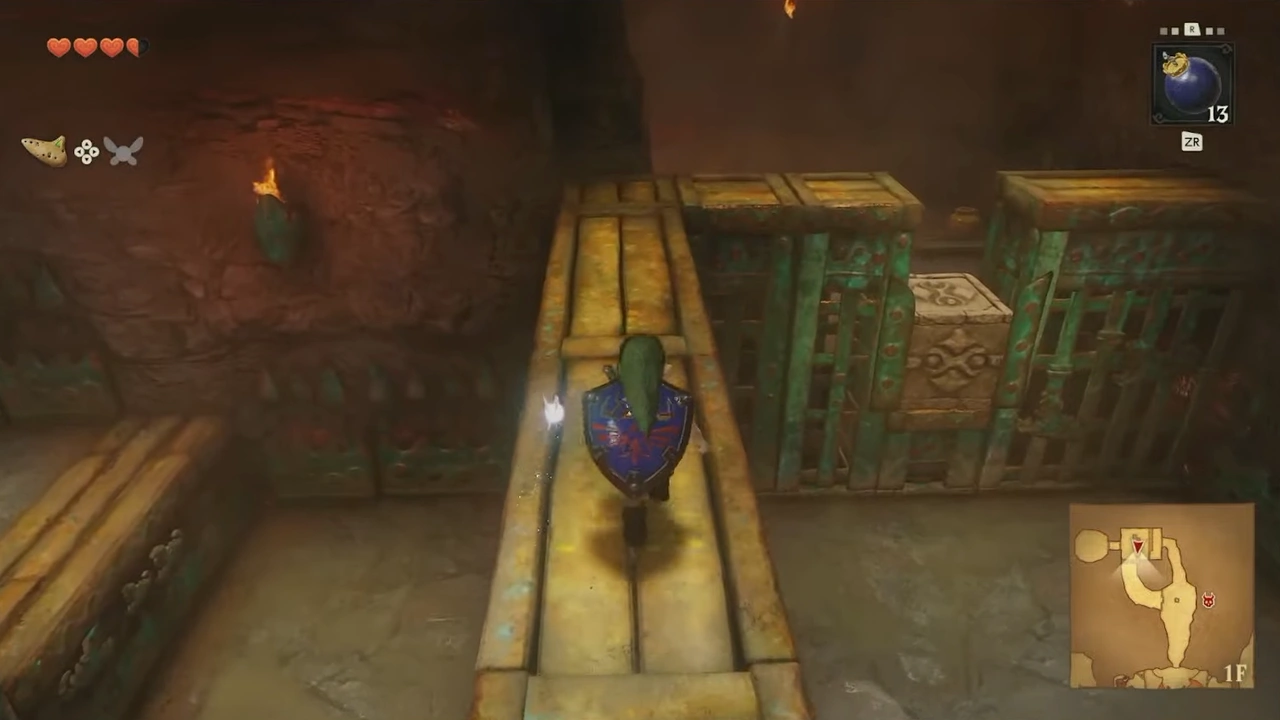
We'll destroy the rocks to enter a room with Baby Dodongos and a statue that hides a Gold Skulltula.
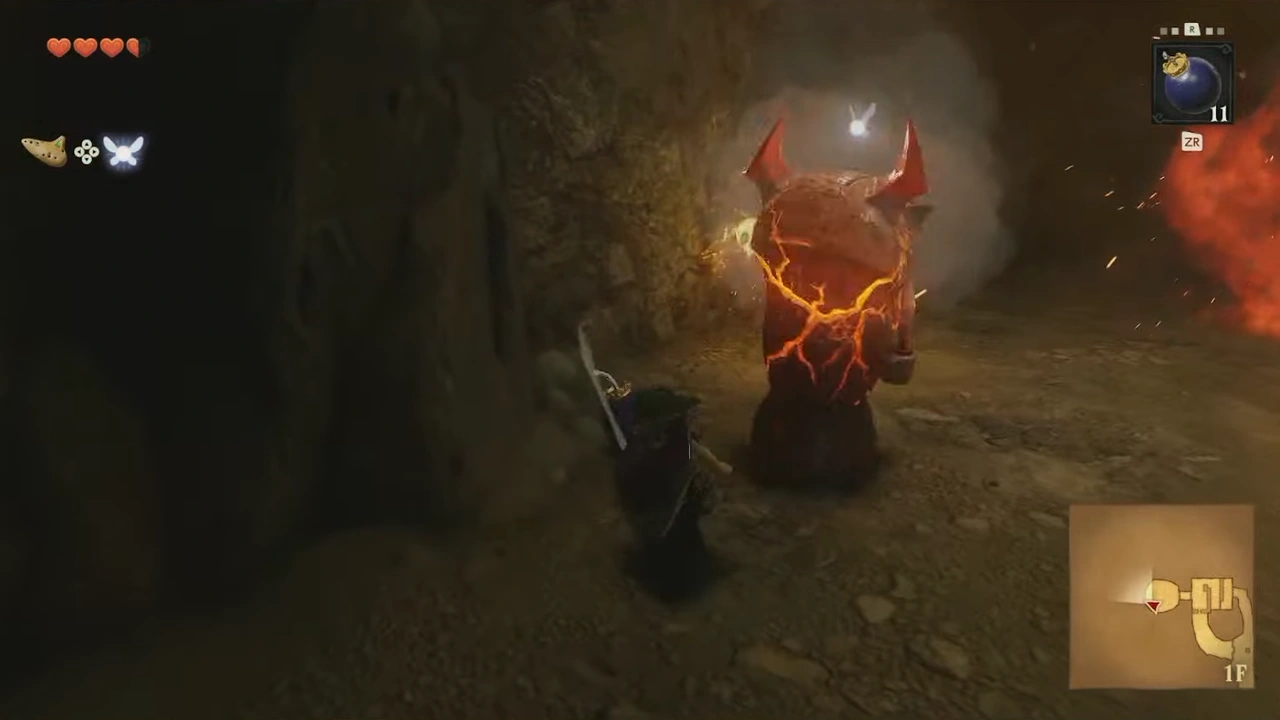
We'll continue until we find a block we can push into the main room, then push it to press the switch.
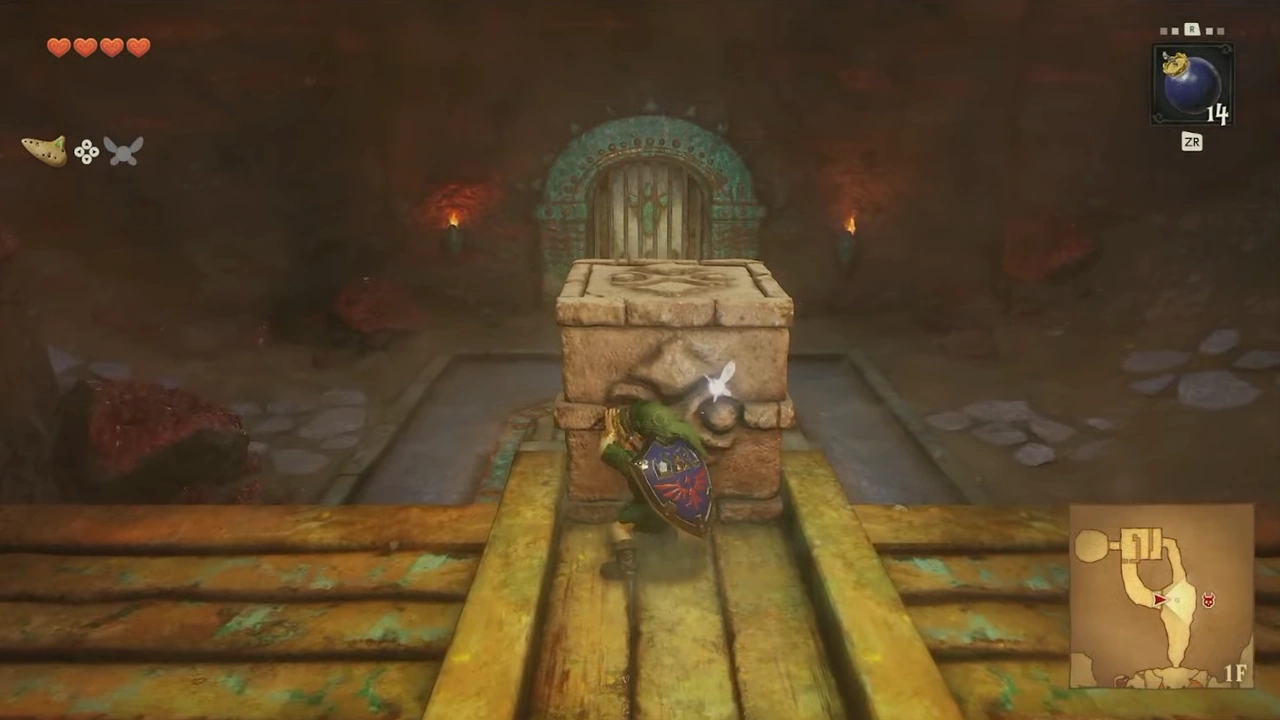
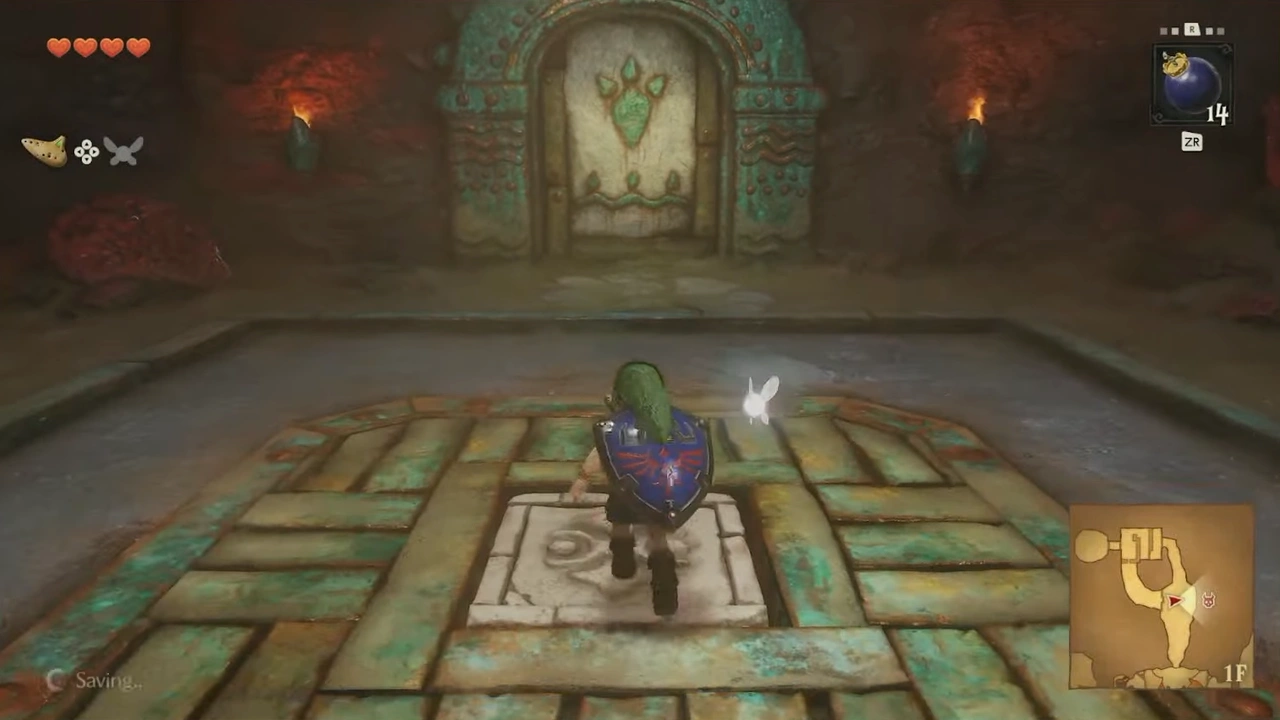
We'll continue to the next room, where we'll have to place a bomb on the floor to destroy the rock. We'll go down to face the second boss.
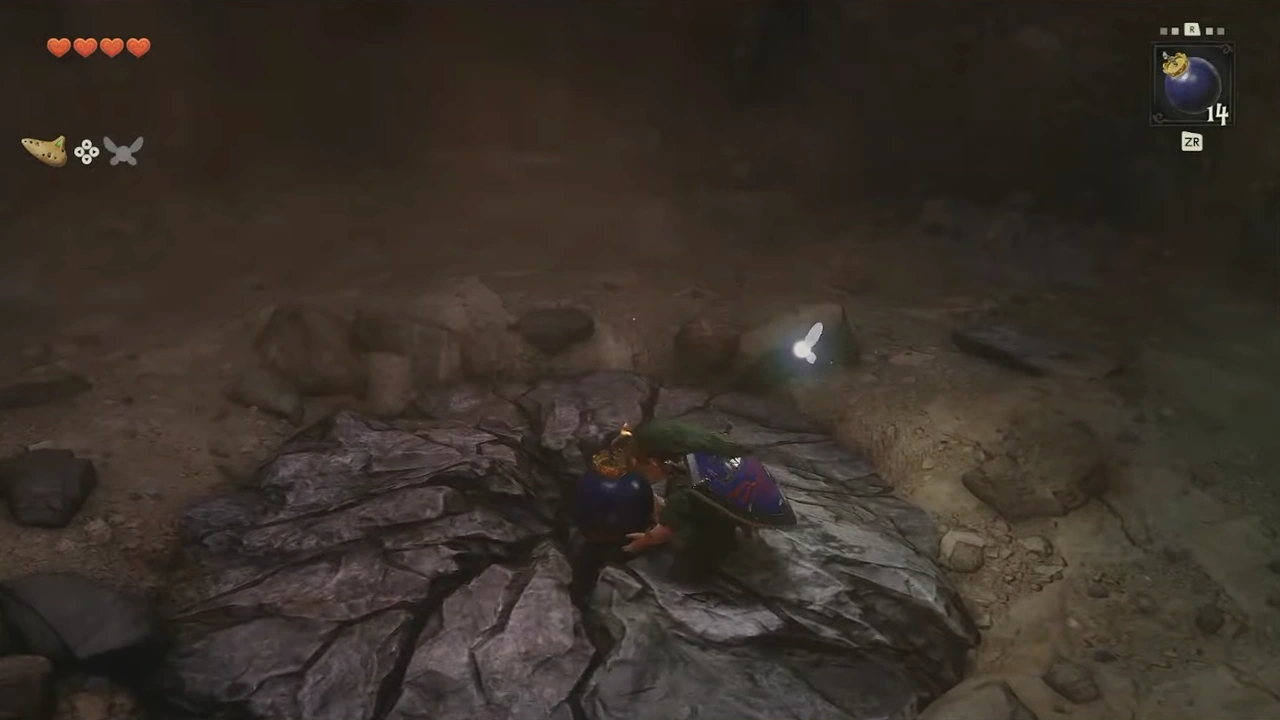
King Dodongo
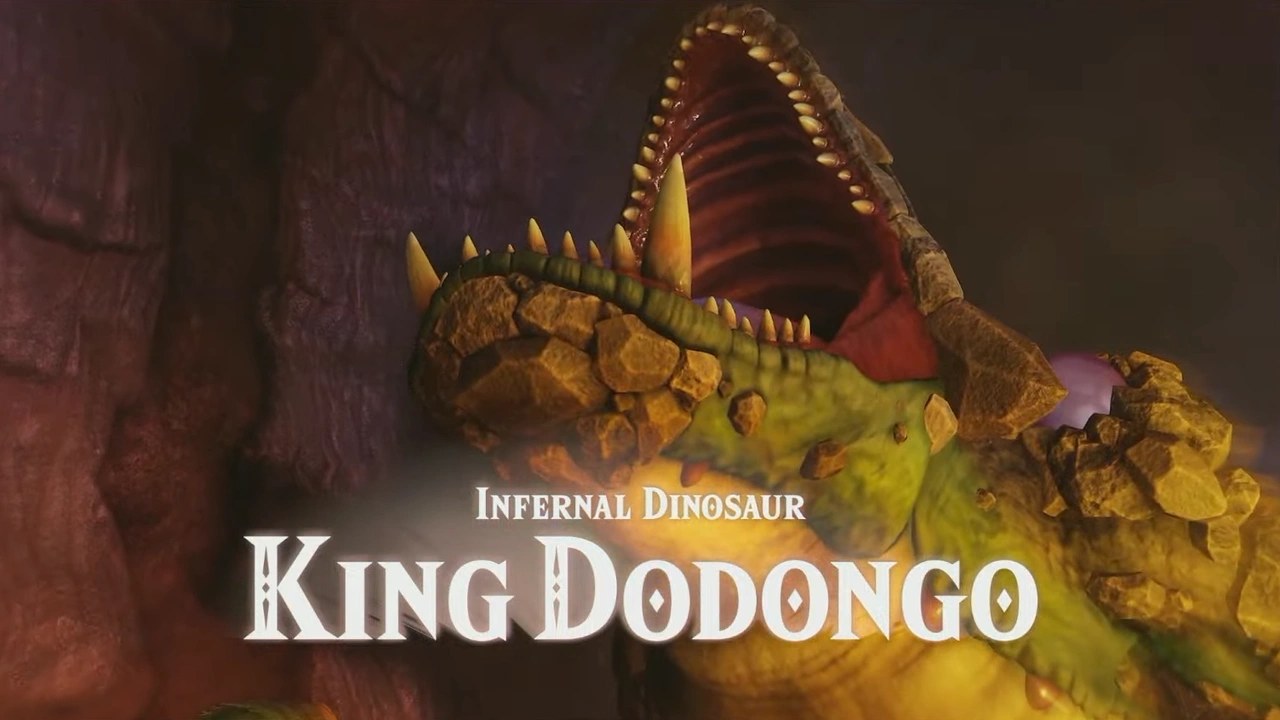
It has two main attacks: one is rolling, which we can dodge by running, and it also summons Baby Dodongos.
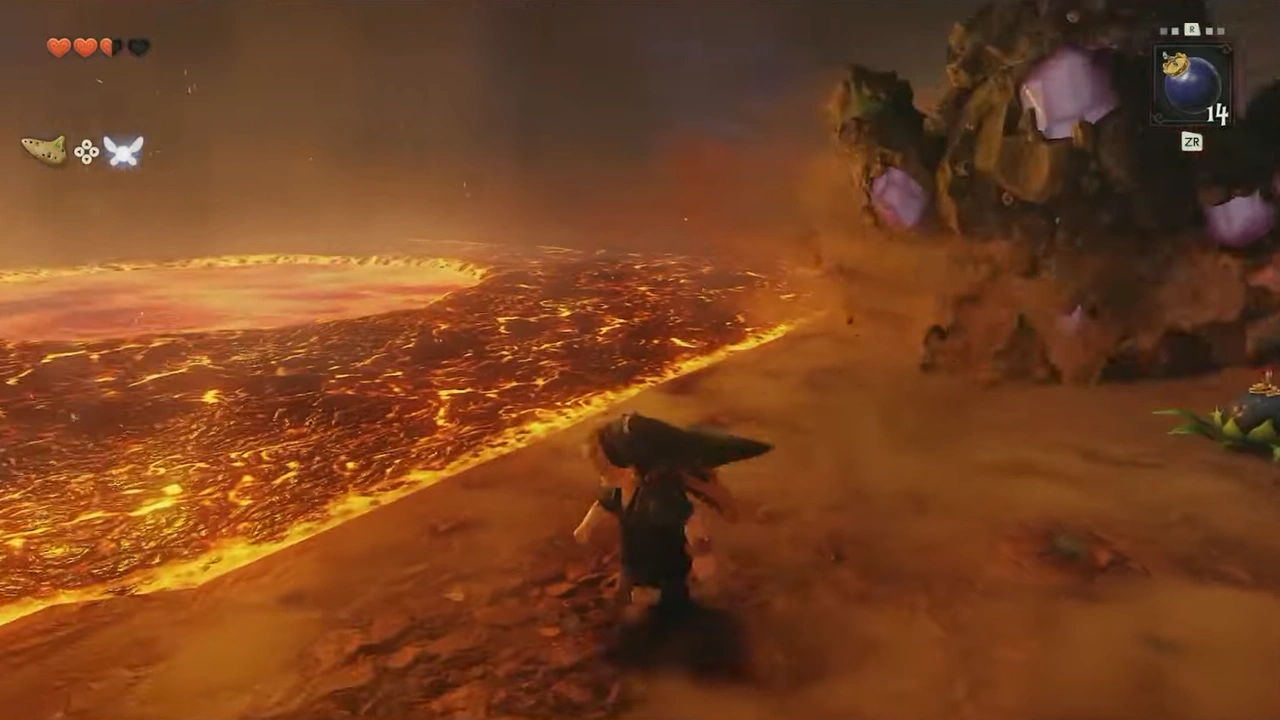
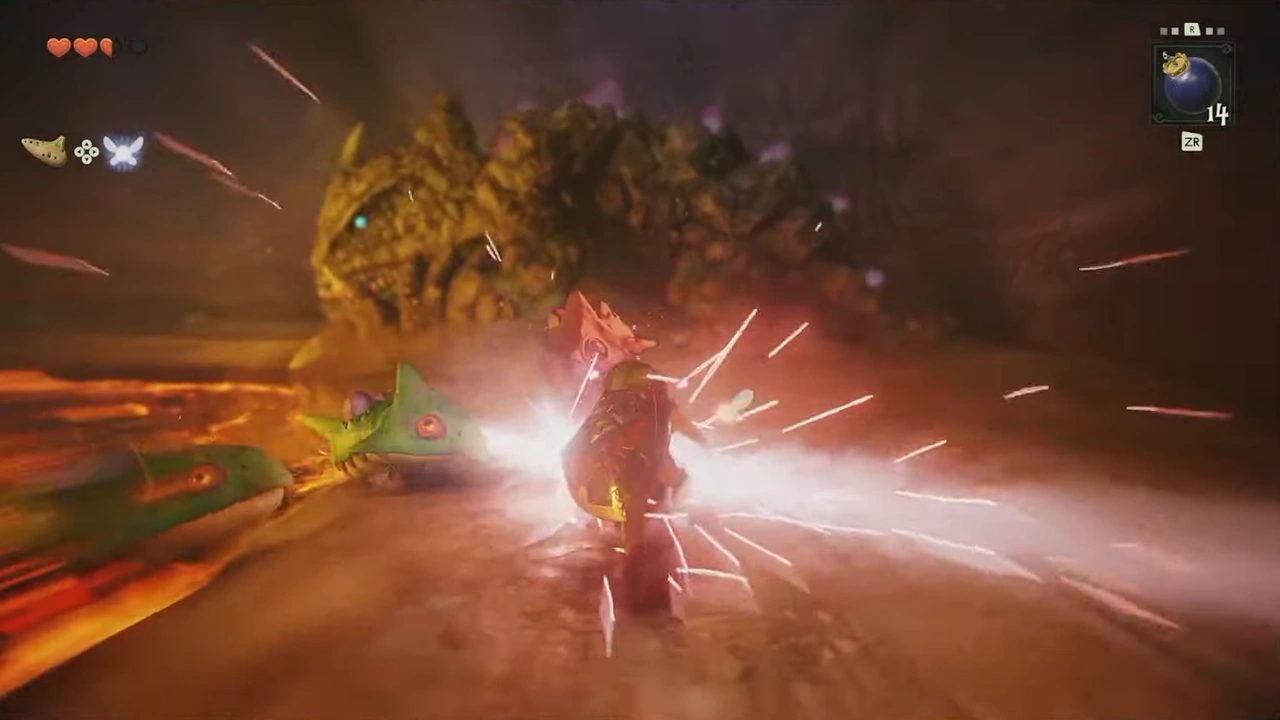
When it opens its mouth to pull us in, we can throw a bomb into it, stunning it and allowing us to damage it.
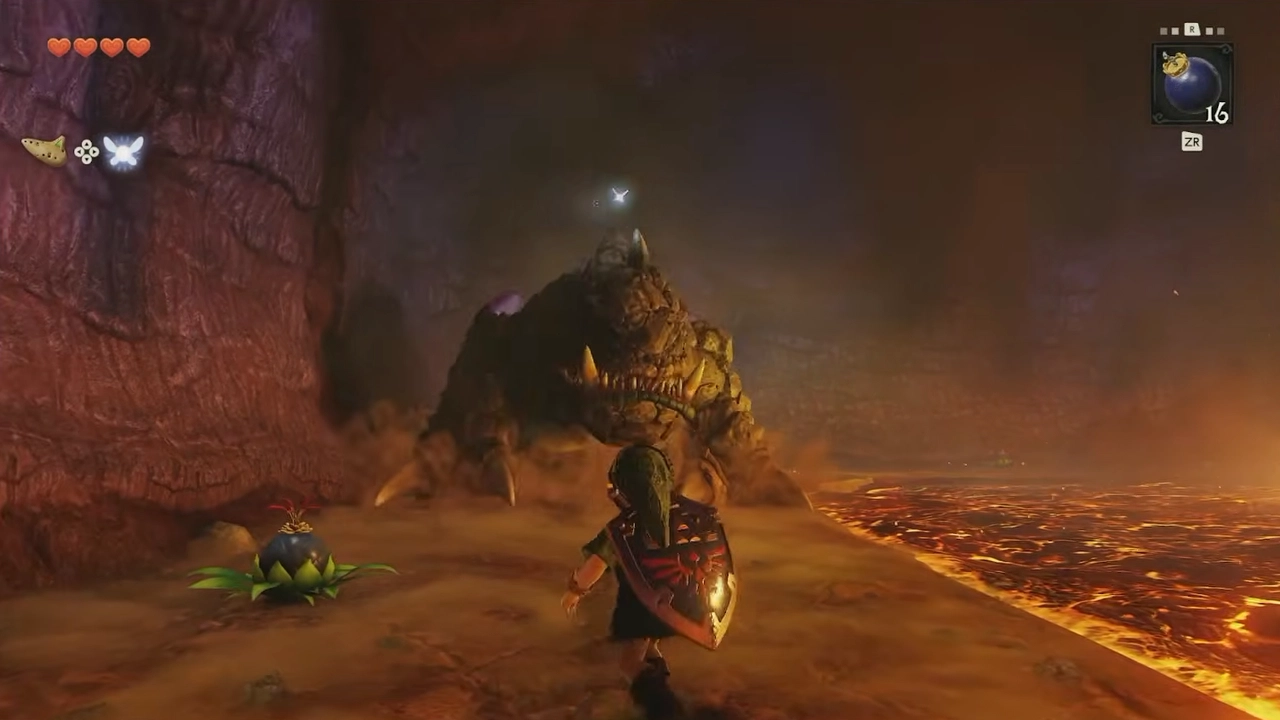
After several attacks, we'll finish it off.
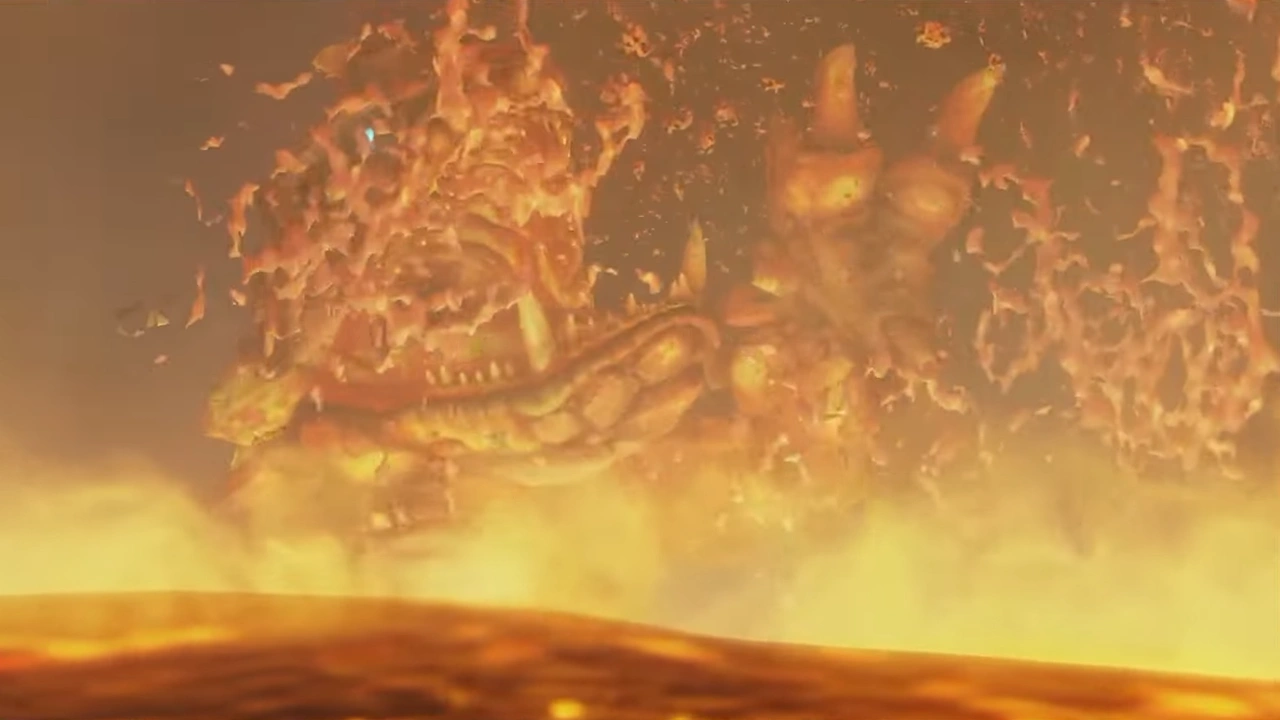
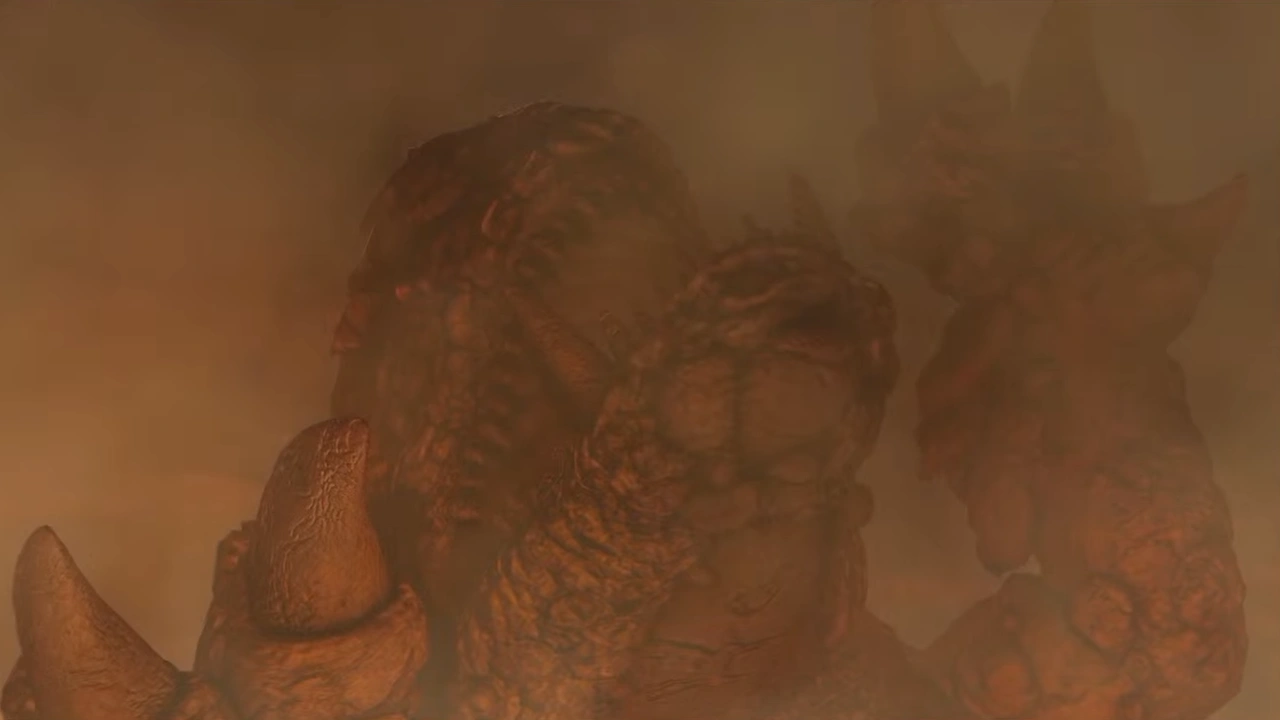
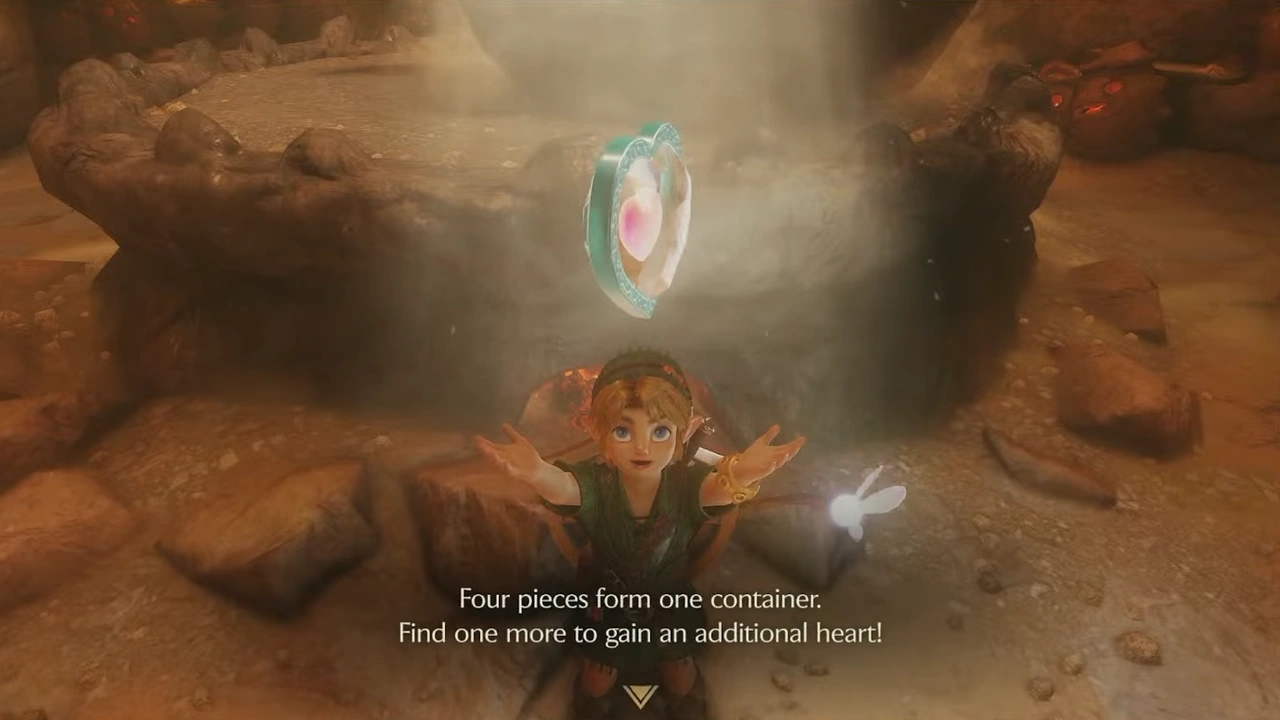
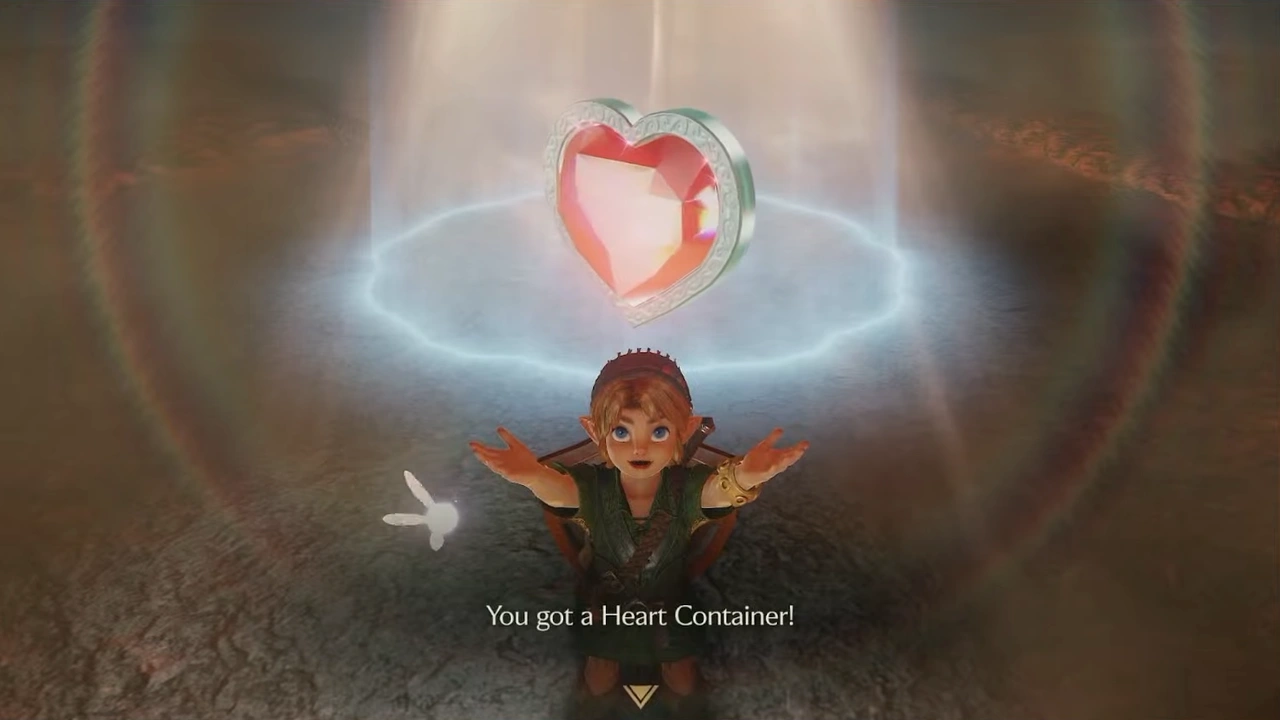
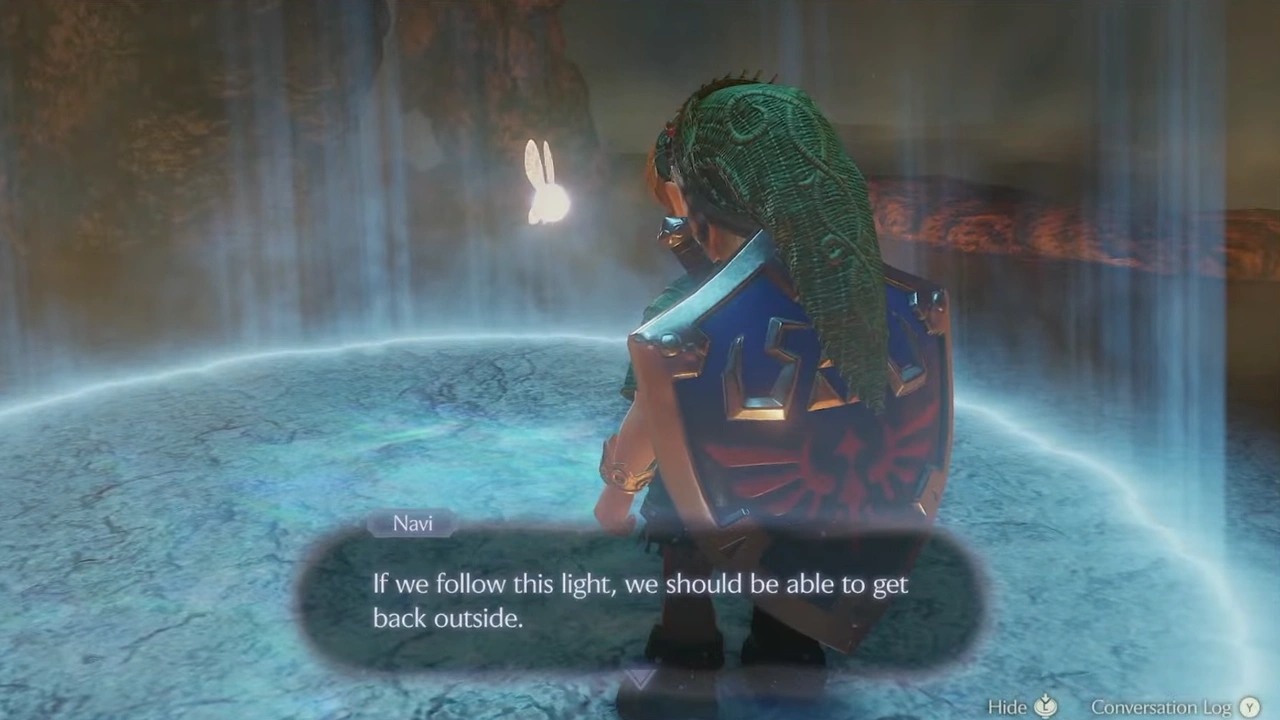
We'll take the Heart Container and follow the light to return outside.
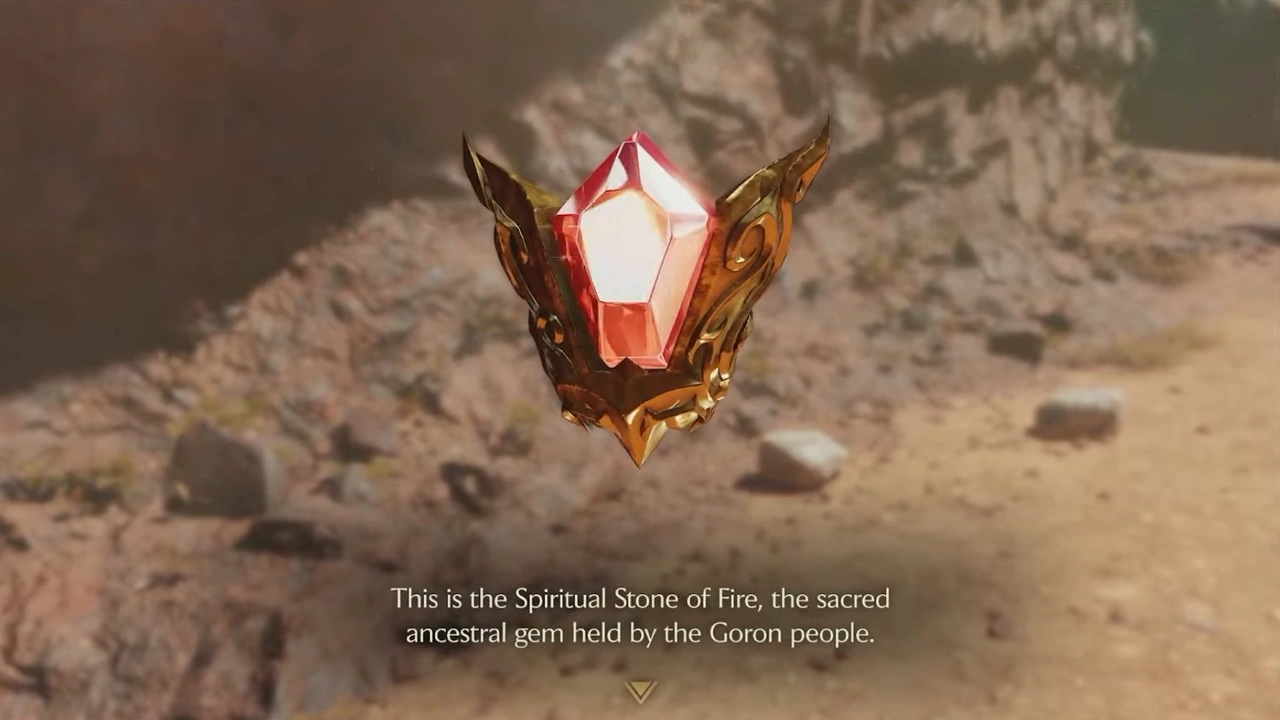
When we leave, Darunia will give us the Goron's Ruby.
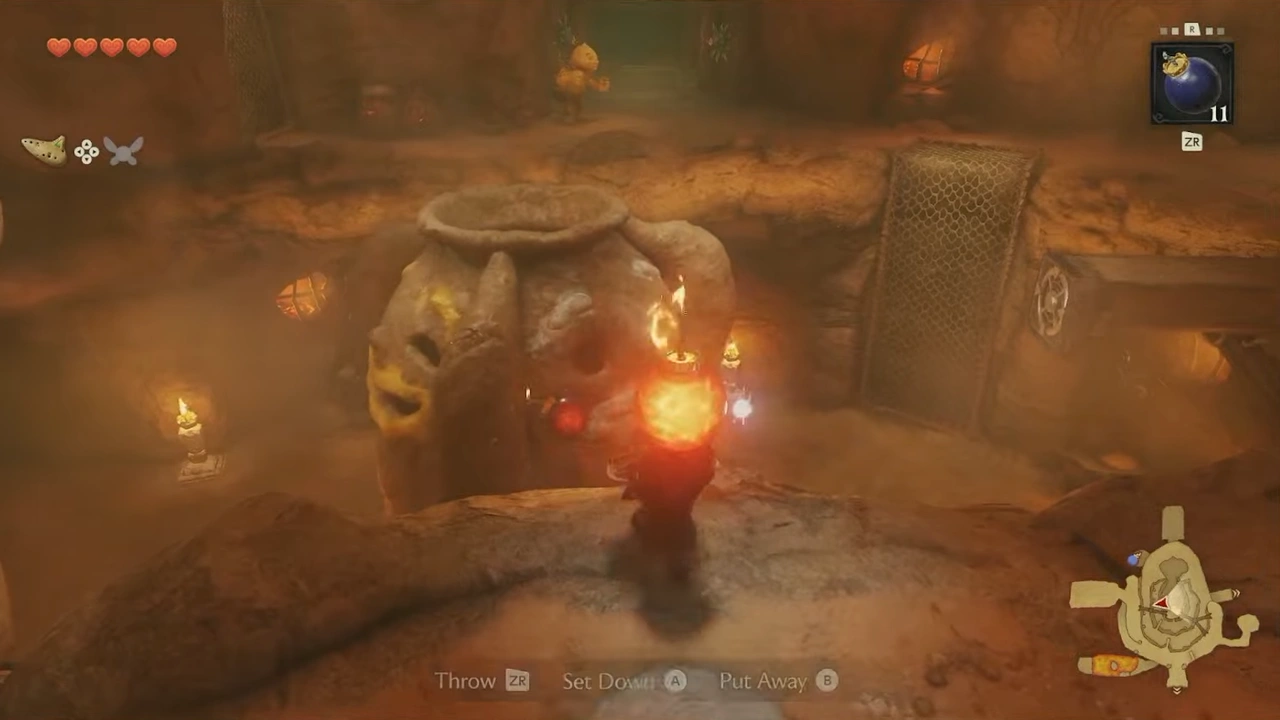
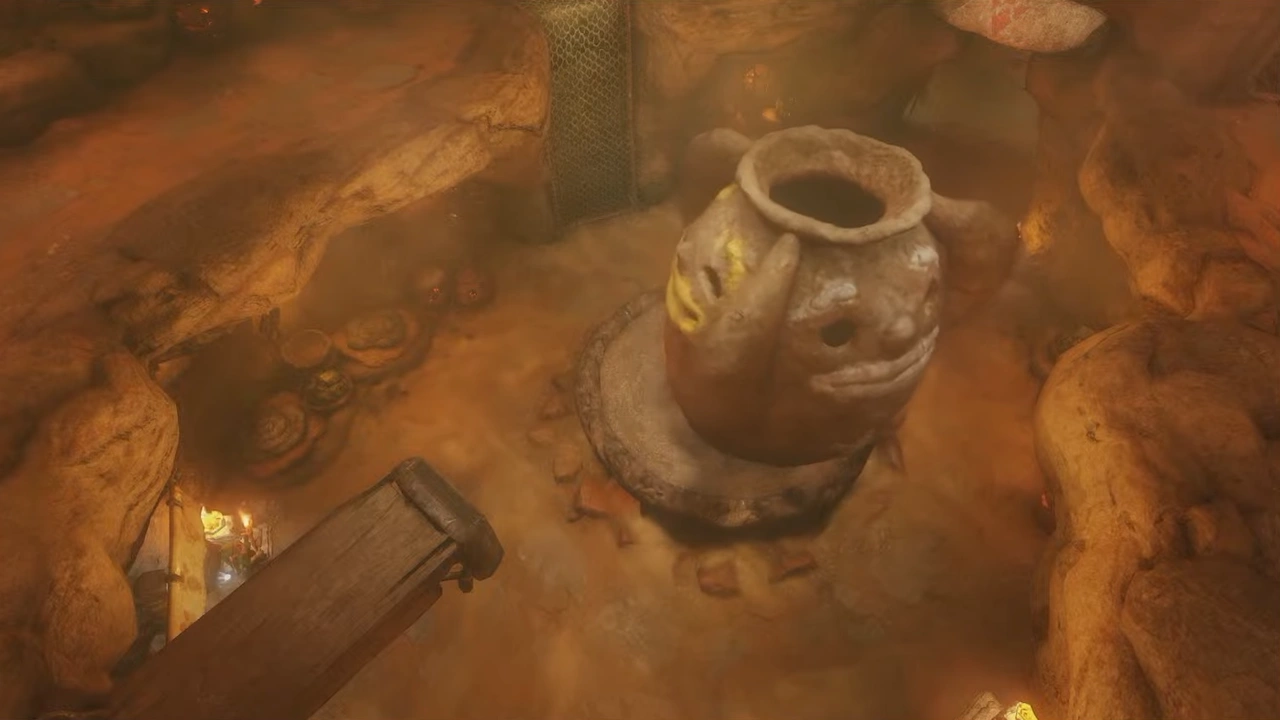
We'll return to Goron City and throw a bomb from the second floor into the jar; with good timing, we'll get a Heart Container.